Read through the instructions thoroughly before beginning and assemble all the materials needed to complete the project. Press and cut the fabric. Hoop two layers of the water-soluble stabilizer.
(Click Image to Enlarge)
Step 2:
Cut the craft stabilizer to size.
(Click Image to Enlarge)
Step 3:
Load the design on the machine. Stitch Color 1 which will stitch a placement line.
(Click Image to Enlarge)
Step 4:
Place the batting and then the white Kona cotton squares over the placement line. Stitch Color 2 to tack everything together.
(Click Image to Enlarge)
Step 5:
Stitch Color 3, the embroidery details.
(Click Image to Enlarge)
Step 6:
Remove the hoop from the machine. Turn the hoop over and place the piece of craft stabilizer inside the placement line that was first stitched.
(Click Image to Enlarge)
Step 7:
Center and place the piece of back fabric, right side up, over the craft stabilizer and tape it down.
(Click Image to Enlarge)
Step 8:
Place the hoop back on the machine and stitch Color 4, which tacks all the layers together.
(Click Image to Enlarge)
Step 9:
Remove the hoop from the machine. Turn the hoop over and very carefully trim the excess fabric close to the stitching line.
(Click Image to Enlarge)
Step 10:
Turn the hoop to the right side and lay it on a flat surface. Trim the excess batting and white cotton close to the outer stitching line. Place the hoop back on the machine. Stitch the satin edge and then the motif run.
(Click Image to Enlarge)
Step 11:
Remove the piece from the hoop. Trim the excess stabilizer close to the embroidery, but be careful not to clip any of the stitching.
(Click Image to Enlarge)
Step 12:
Dip the sponge in the bowl of water and use it to dissolve the remaining stabilizer from around all the edges. Lay the piece aside to dry.
(Click Image to Enlarge)
Step 13:
Repeat all the steps for the rest of the mug rugs. After the mug rugs are dry, you may wish to spray them with a fabric protector to help them stay cleaner longer. Just follow the directions on the can.
(Click Image to Enlarge)
Step 14:
If you wish, use invisible thread to zig-zag the mug mats together—like tiling—to create a table mat, too!
(Click Image to Enlarge)
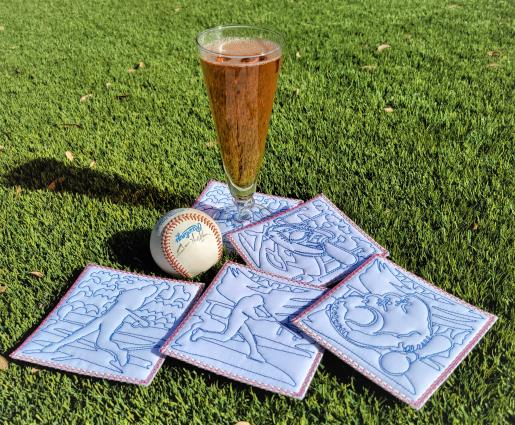
Step 15:
Thank you for purchasing the designs. You’ll have fun doing these and taking them as housewarming gifts when watching games with family and friends.
Ramona Baird has been in the embroidery industry for over 23 years. She and her husband owned a commercial and retail embroidery store in Arizona for many years. She is an experienced digitizer having been mentored by award-winners Pat Williams and Lindee Goodall. Ramona is a contributor to “Creative Machine Embroidery” magazine having 5 covers to her credit. Ramona has worked for Wilcom America and served many years as Education Director for the American Sewing Guild. With a degree in fashion design, she is able to design and execute patterns which Pat Williams says are “out of the box” in creativity and application. Ramona likes to challenge the boundaries of embroidery and bring new and exciting designs, ideas, and projects to EmbroideryDesigns.com. She wants embroiderers of all levels to increase their skills and enjoyment in using their embroidery machine for gift-making and personal pleasure.