


PROJECT INSTRUCTIONS


PROJECT INSTRUCTIONS

ITH Christmas Coasters Embroidery Project
By
Jayne Monsipapa
on
November 19, 2021
PROJECT DETAILS
SKILL LEVEL
Some Experience
TIME REQUIRED
00:30
FINISHED SIZE
4 x 4 inches
Description
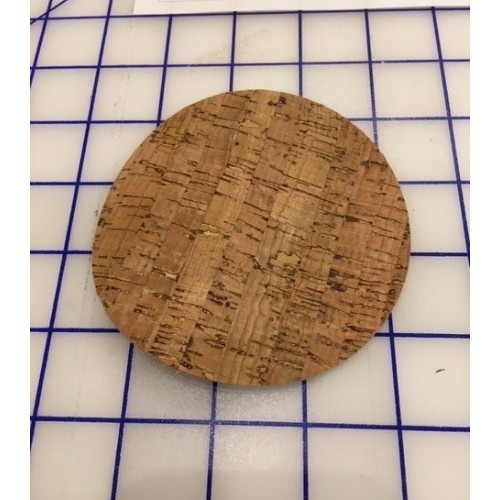
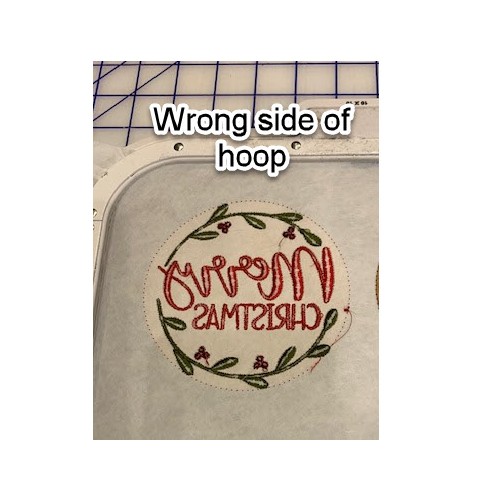
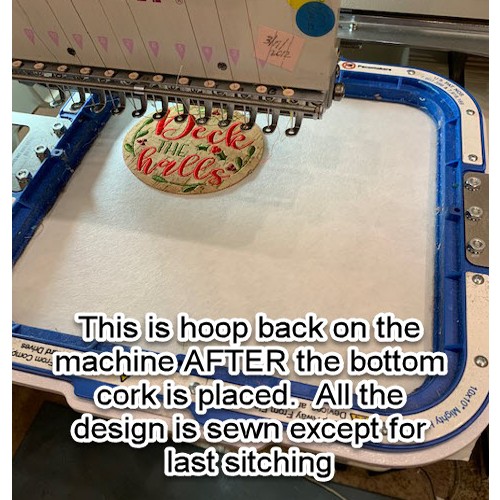
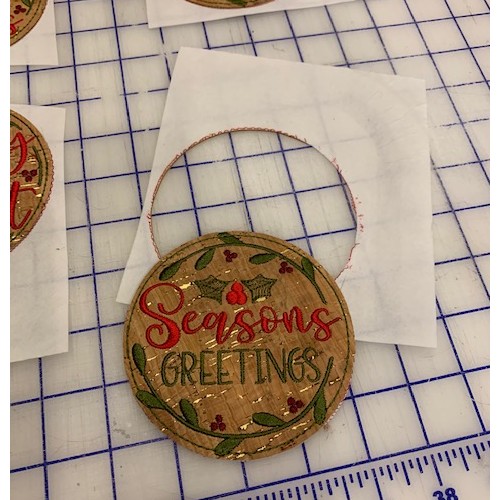
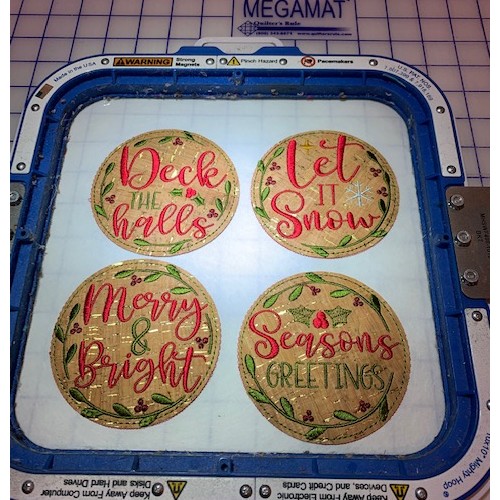
This is an In the Hoop Project, ITH, using cork or vinyl. You can make these festive Holiday Christmas Coasters for yourself or gifts for friends. This does require cutting circles with a Scan & Cut or hand cutting the circles prior to making.
Project Preview Video

QUICK VIEW
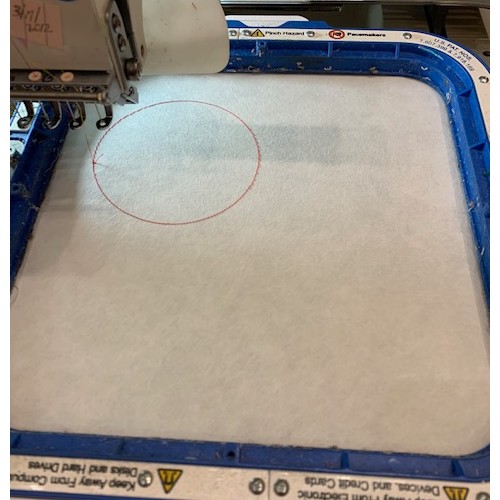
Cut Away Stabilizer - 2.5 Oz wt.
$8.94
Circle Price: $8.05

| Materials 1)Kinship Kreations Designs KK6793 thru KK6801 2)Spray Adhesive (This is just one I really like, and have used for years. Love this brand and use it all the time Madeira MSA1000) 3)Hoop 5” x 7” 4)Cutaway stabilizer 5)Embroidery thread, colors of your choice or my selections 6)Cork or Vinyl. I have recently become “obsessed” with cork. I have seen others use it, but until I actually used it, fell in love with it. I did find out there is a HUGE difference in the cork from Joanns and the cork from Portugal. The Portugal cork is thin, and has a look like leather on the back. The cork from Joanns has a canvas backing. I did make my coasters from the Joann’s cork. They sew the same, but I am sure the Portugal cork will wear longer. I have found the best prices from Fabric.com. You can also use marine vinyl for this project, but I have not cut this on my cutter yet, but I am sure it would work the same. The instuctions are for using precut circles, this is NOT an applique as the process will not work for how these designs are sewn out. 7) Clear tape 8) Sharp/sharp scissors. Trimming around the edge is pretty easy, but you need sharp scissors. I use both my very sharp big ones and my little ones for getting in tighter places. Take caution NOT to cut the edge threads. If you do happen to clip one use fray check. 9) Card Stock for circle pattern |
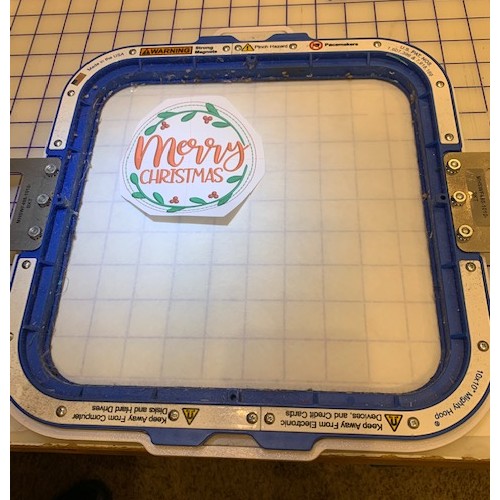
| Designs used in this project |
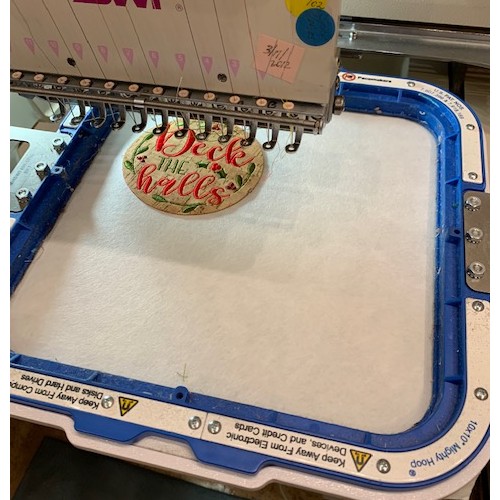
| Final Product: What You Will Create |
 |
|

Projects You May Like
Meet the Author:
Jayne Monsipapa
Jayne Monsipapa has been digitizing for 24 years. It all started after walking into a sewing store in 1993 to buy a couple spools of thread and there was a sewing machine hooked up to a computer! Embroidering the designs were fun at first, but it did not take much to get hooked on digitizing. From 1993 until 1999 she worked on her digitizing skills and found her designs sewed out very good. With her husband’s encouragement Kinship Kreations LLC began in 1999 selling designs online. In those early years she took classes with both Walt Floriani and Lee Caroselli (Balboa Embroidery) who are both very talented and successful digitizers. Jayne joined the EmbroideryDesigns team in 2008.
Feedback
Characters Remaining
Please Login to Submit a Feedback
Invalid Characters, Please enter a valid Comment
Please enter a valid Comment
Reviewed On
Link is Broken, Please check the URL