{{superHeaderAds.title}}
Live Chat
Embroidery Designs
Welcome, Embroiderer
Login
ITH Elegant Cat Mug Rugs
{{mainImageAlt || (productInfo._source && productInfo._source.name) || ''}}

ITH Elegant Cat Mug Rugs Embroidery Project

By   Pat Williams   on   July 29, 2024

PROJECT DETAILS

SKILL LEVEL
Some Experience
TIME REQUIRED
01:30
FINISHED SIZE
6 x 8 inches
Description

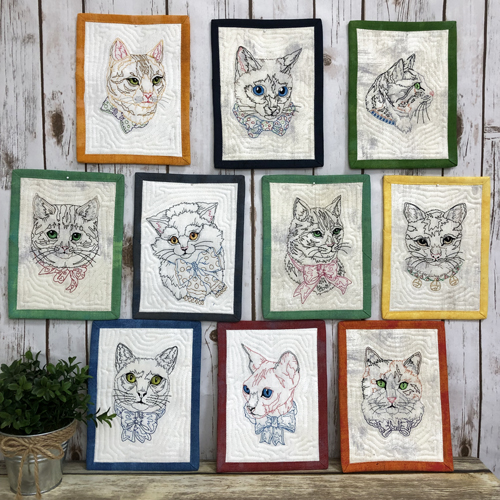
Know a cat lover? Stitch up these Elegant Cat Mug Rugs as great gifts. The mug rugs are embroidered and quilted in the 5" x 7" hoop; the binding is added at your sewing machine. If you have a 14” x 7 7/8” hoop you can stitch two at a time.

Project Preview Video

Materials
  • 5” x 7” embroidery hoop or larger
  • 2 9 ½” x 7 ½” rectangles of white or ivory Gunge 100% cotton fabric
  • 9 ½” x 7 ½” rectangle of Battilizer® or low loft batting
  • 2 ¼” strip of coordinating cotton fabric for binding the width of the fabric
  • 2 ½ ounce cut away stabilizer to fit your hoop
  • Spray Adhesive

  • Designs used in this project

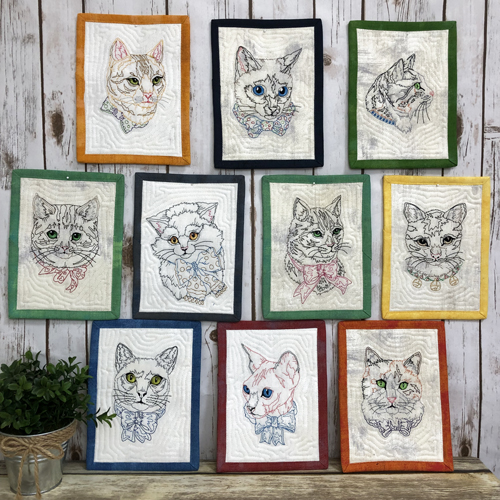
    Final Product: What You Will Create

    Preface:
    See our article Binding Small Embroidery Projects to make quick work of binding these mug rugs.
    Multi-color line work, such as these cats are embroidered, require numerous trims to complete the embroidery. Make sure you have your machine trimmers turned on.


    Step 1:
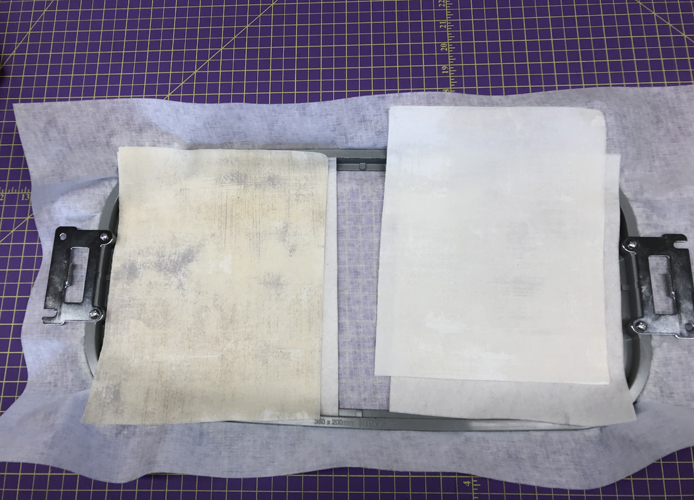
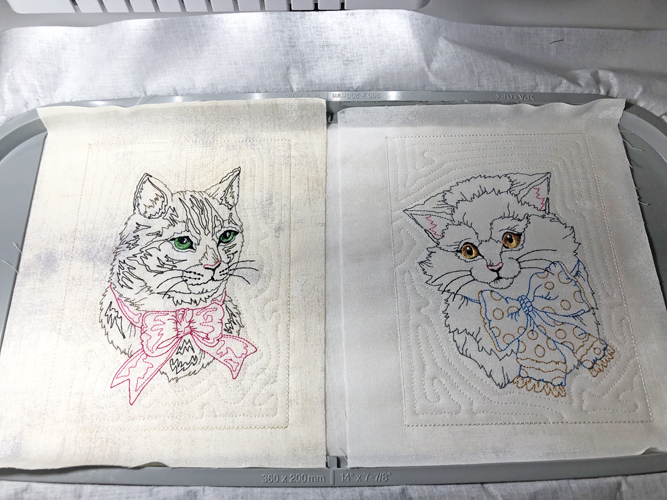
    Cut your fabrics per the materials list above and tautly hoop your stabilizer. For each mug rug you will need 2 9 ½” x 7 ½” rectangles of fabric and 1 rectangle of the same size of Battilizer® or low loft batting. If using a 5” a 7” hoop you will take one set of materials to the embroidery machine. The largest hoop on the machine the samples were sewn on is 14” x 7 7/8” so in this picture 2 sets of fabrics and Battilizer® and fabrics were taken to the machine as two mug rugs can be sewn in one hooping.

    (Click Image to Enlarge)


    Step 2:
    (Click Image to Enlarge)
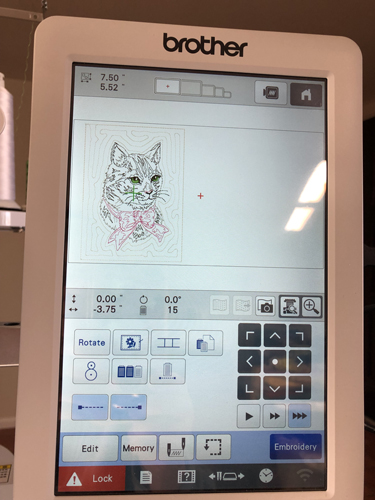
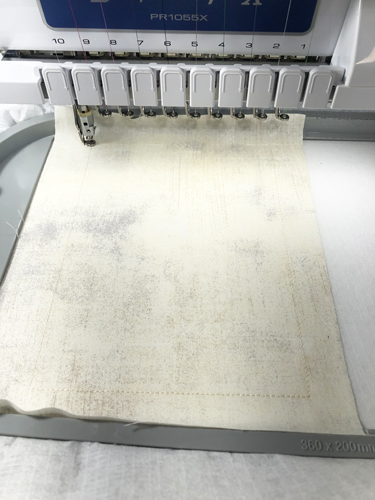
    Some embroidery formats automatically rotate the design in the hoop and some do not. If necessary rotate the design to fit the orientation of your hoop. If running two mug rugs in a large hoop as in the picture above move the first mug rug to within a half inch of the hoop width.


    Step 3:
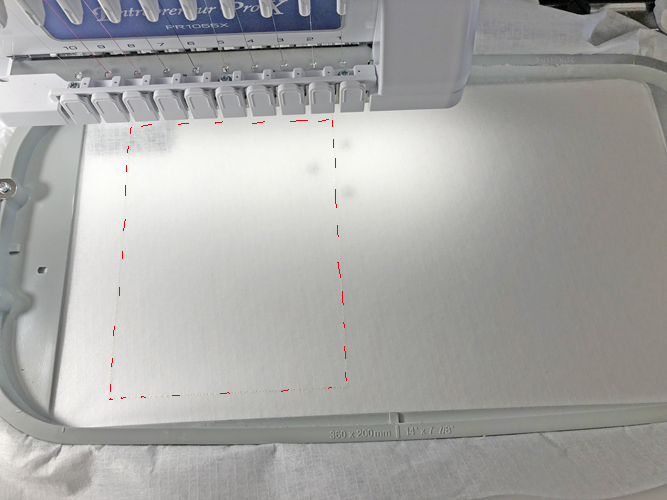
    Run the first color stop (CS1) as a placement line for the fabric.

    (Click Image to Enlarge)


    Step 4:
    (Click Image to Enlarge)
    Spray adhesive on the back of the front fabric and position over the placement lines so that the fabric exceeds the placement line by at least ½” on all sides. Tack it down with CS 2.  


    Step 5:
    (Click Image to Enlarge)
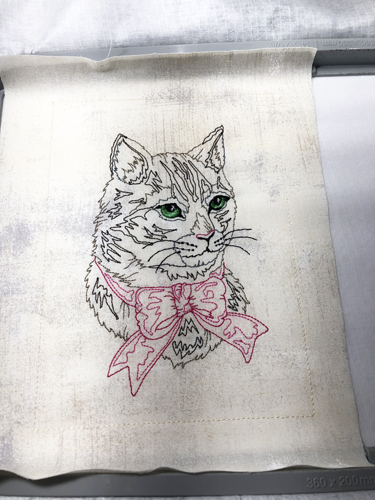
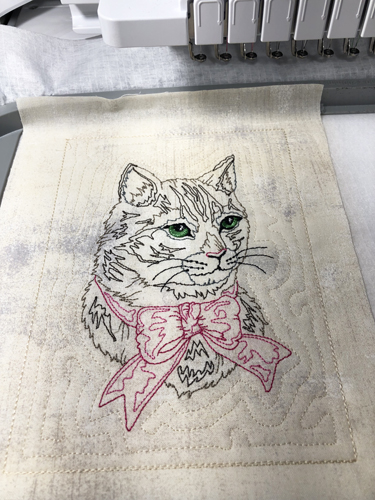
    Follow the color chart to complete the cat on the mug mat. Do not stitch the last two CS yet.


    Step 6:
    (Click Image to Enlarge)
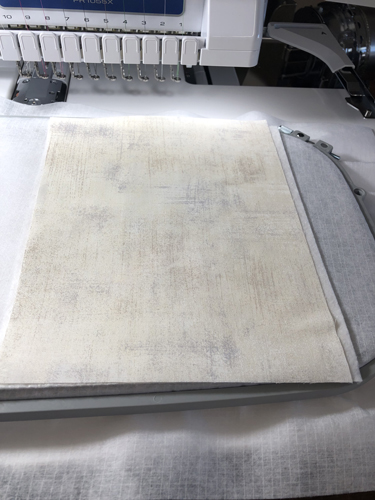
    Remove the hoop from the machine – do not unhoop-place the hoop face down on a flat surface. Spray adhesive on the Battilizer® and position it over the back of the hoop aligning it with your front fabric. Spray adhesive on your backing fabric and position it right side up over the Battilizer®.  


    Step 7:
    (Click Image to Enlarge)
    Return the hoop to the machine and run the next to last color stop to tack down all of the fabrics and batting. 


    Step 8:
    (Click Image to Enlarge)
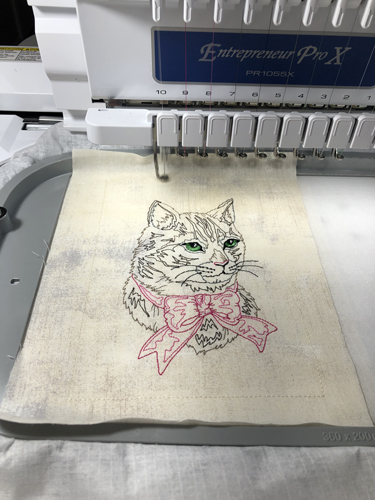
    Run the last color stop to quilt the project. 


    Step 9:
    If using a large hoop you can load the next design and move it to within ½” of the right side of the hoop and repeat the above steps to complete your second mug rug. 

    (Click Image to Enlarge)


    Step 10:
    (Click Image to Enlarge)
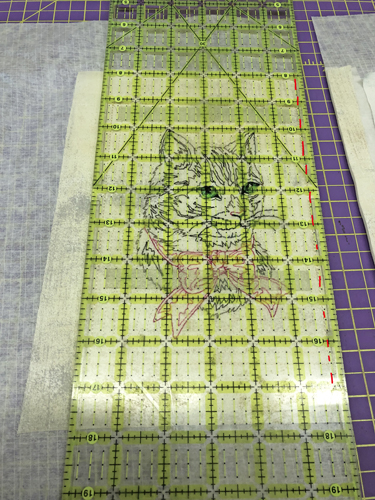
    Remove the project from the hoop. Lay the ¼” mark of a see through ruler along the water soluble tack down lines and trim all sides to a ¼” seam allowance. Bind as desired or use the instructions in our Binding Small Embroidery Projects article to bind the mug rug.


    Step 11:
    Congratulations your first ITH Elegant Cat Mug Rug is complete. Make the whole set to have on hand for those last minute gifts.

    For the love of embroidery…
    Pat Williams
    Meet the Author: Pat Williams
    Pat Williams
    Award winning Digitizer, Embroidery Educator, Author and a Consultant to the Industry, Pat Williams has 30 years of experience in the embroidery industry. Pat has won multiple awards for her digitizing expertise including the 2007 Impressions Awards Grand Championship, Best of Show as well as the 1st and 2nd Place Awards. Pat’s love of digitizing has afforded her the opportunity to write numerous articles for Impressions magazine in the United States and Images Magazine in Europe. In 2001 Pat was named “Embroidery Educator of the Year.” For many years Pat taught digitizing seminars at the ISS Shows in Long Beach, CA and for Compucon software. She now resides in Tucson, AZ.
    More From This Author
    Link is Broken, Please check the URL
    Exclusive Embroidery Offers!
    Copyright © {{ currentDate | date:'yyyy'}} - EmbroideryDesigns.com
    GET 50% OFF! ×