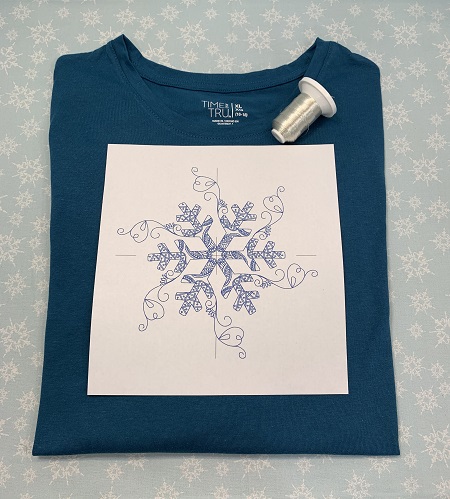
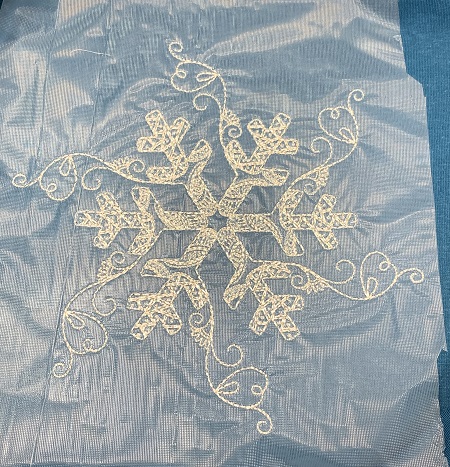
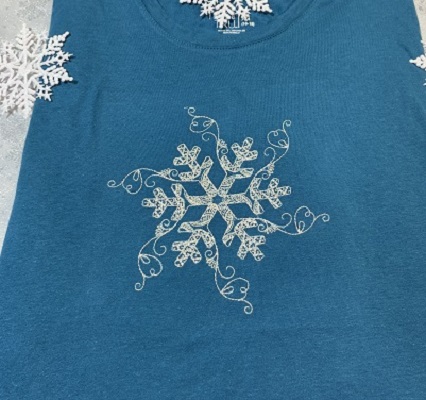
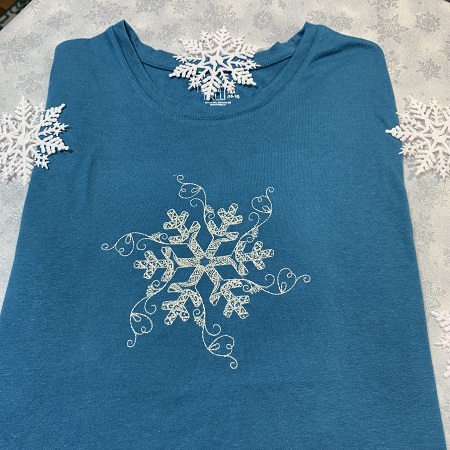
A 'Redwork Snowflake' in a silver metallic thread on a long sleeve to wear on snowy winter days.
Embroidery designs with open areas or a low stitch count will work best on T-shirt knits. Heavy designs make shirts sag, stiff and lumpy, often puckering around the edges because the fabric can’t support the dense stitches. The 'Redwork Snowflake' is a larger design with dimensions 6.9"x6.9" with a stitch count of 17,280.
Step 1:
Read all the directions before beginning the project. Gather the supplies needed to make the project.
Step 2:
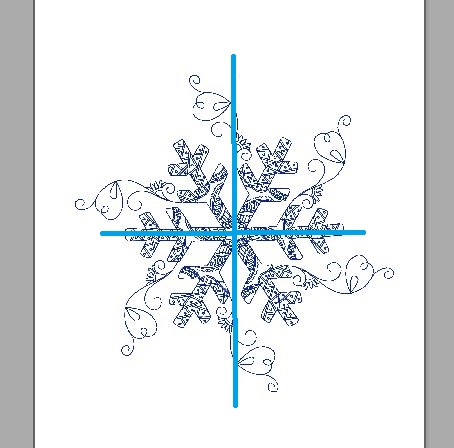
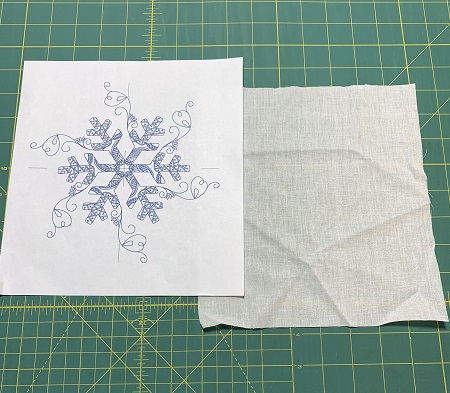
A template is a printout of the design from an embroidery software program. The template is the actual size of the design which makes a great visual tool. The vertical and horizontal axis on the template provides perfect placement of the embroidery designs. Embrilliance 'Essentials' embroidery software program was used to make the design template.
Print a design template.
Step 3:
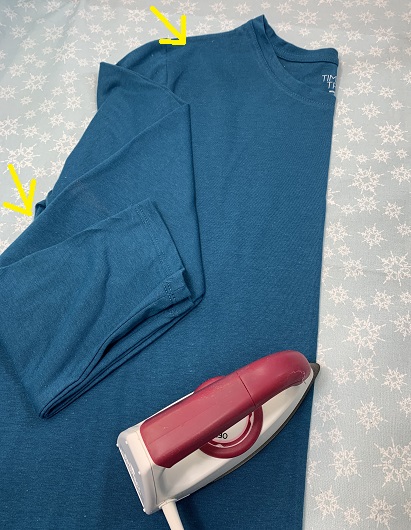
Iron the shirt. Lightly starch the front of the shirt. Fold the t-shirt in half matching shoulder and side seams. Press at the fold to make a crease.
(Click Image to Enlarge)
Step 4:
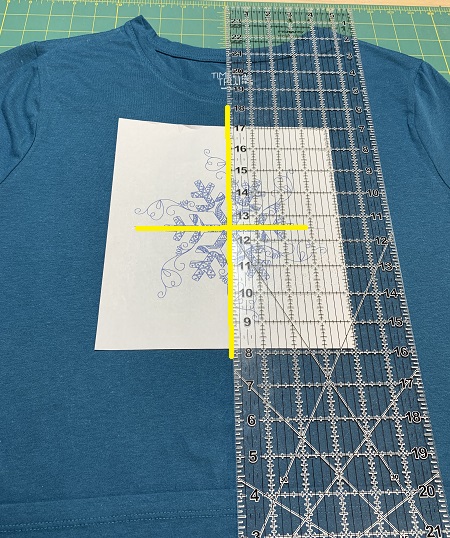
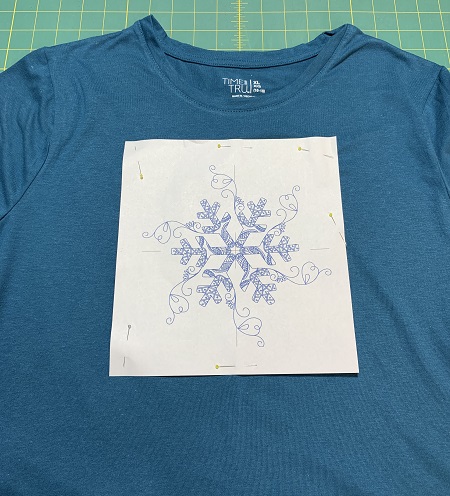
Use the template as a guide for placement and positioning of the design on the t-shirt.
(Click Image to Enlarge)
Step 5:
Pin the design template onto the shirt.
Step 6:
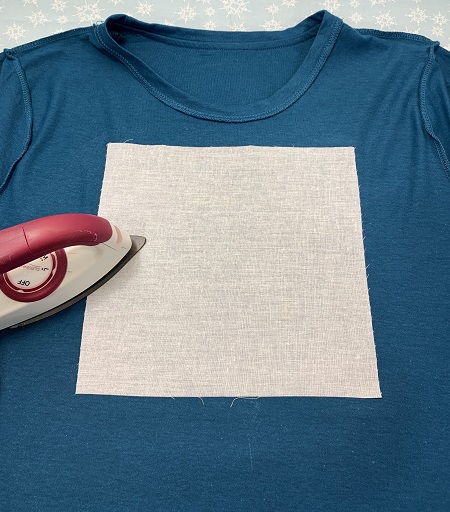
Turn the shirt wrong side out. Use the outline of the design template as a placement guide for the Pellon SF101 super flex interfacing. Follow package directions to bond the SF101 onto the shirt. The SF101 will help stabilize the fabric.
Step 7:
Hoop one piece of medium weight cut away stabilizer. Mark the center point on the stabilizer.
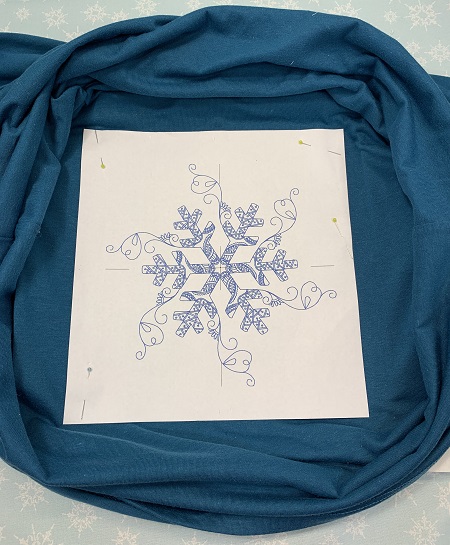
With the shirt turned wrong side out, align the T-shirt with the center point and axis on the stabilizer. Lightly mist one side of the stabilizer with a temporary adhesive spray. Gently press the T-shirt down onto the stabilizer. Make sure the fabric is smooth and wrinkle-free. Repeat for the other side of the T-shirt.
Roll the shirt up so that it doesn’t get caught during stitching. Use pins or wonder clips as needed to keep the shirt out of the stitching field.
(Click Image to Enlarge)
Step 8:
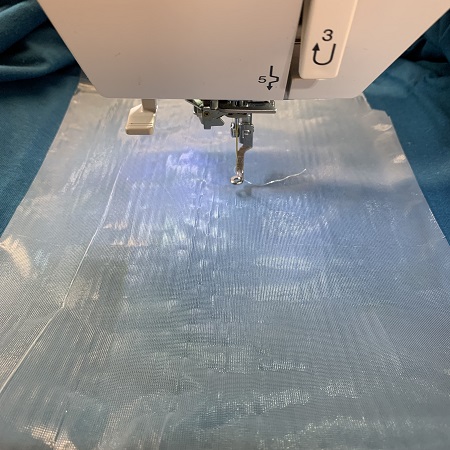
This shirt has a fine ribbed texture to the surface. So, the stitching area was covered with Water Soluble topping to keep the stitches from sinking into the fabric. If needed, use water soluble topping on your shirt.
Step 9:
Load the design on the machine. A 75/11 size embroidery needle is suggested for this project. Attach the hoop to the machine. Check the stitching field area to make sure there is nothing in the way. Metallic threads seem to embroider better when using a thread stand. Another helpful aid for metallic thread is using 'Sewer's Aid' thread conditioner.
Step 10:
Follow package directions to carefully remove the water soluble topping.
Step 11:
Trim excess cut away stabilizer from around the design leaving about a 1/4" margin. Clip carefully so that you don't accidently cut the shirt.
Step 12:
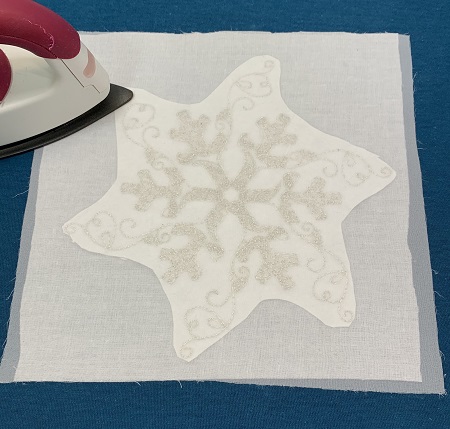
Cut one 8.5"x8.5" piece of 'Baby Soft Cloud Cover'.
Step 13:
Place the 'Baby Soft Cloud Cover over the stabilizer. Follow the directions on the package to bond the cover to the shirt. The soft cover will keep the stabilizer & metallic thread from scratching the skin.
Step 14:
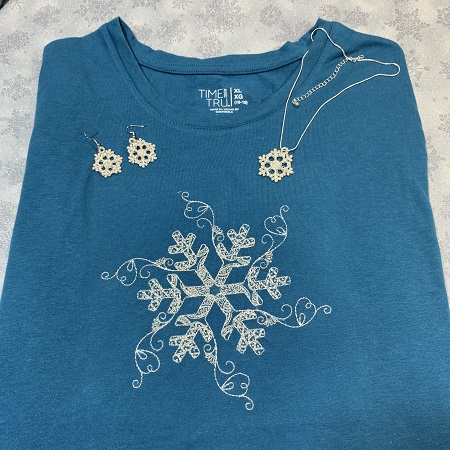
You have completed a 'Redwork Snowflake' metallic shirt. Great job!
Step 15:
Look for the FSL Snowflake Jewelry set in the projects. It's a perfect accessory for the shirt.
Marisa Littleton is a retired educator with a love for teaching and learning. Interests include machine embroidery, hand embroidery, quilting, cooking, and antiques.