The background design requires a large hoop and is done in four hoopings. The snowflake designs can be sewn in a 4” x 4” hoop.
Step 1:
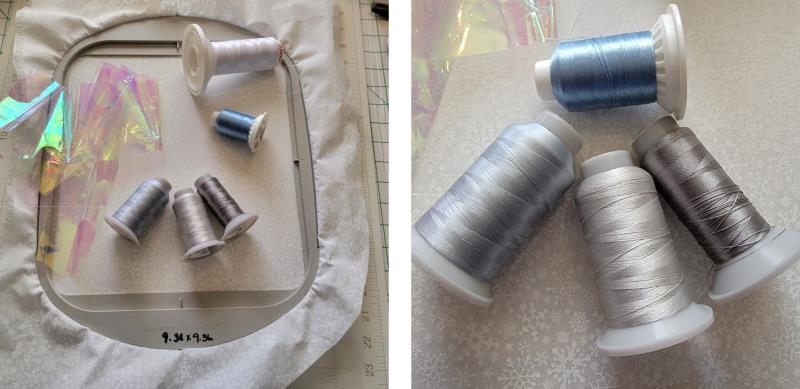
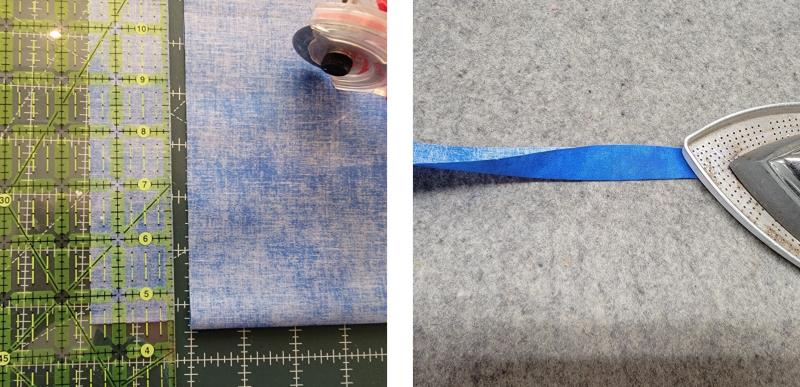
Read through the instructions thoroughly before beginning and assemble all the materials needed to complete the project. NOTE: the snowflake designs may be sewn onto a printed fabric and the pillow made. To do the embroidered background fabric, a large hoop is needed. Choose threads that compliment each other and will work well in the project. Use Mylar that is specifically meant for embroidery. Print the templates for the snowflakes and cut them out.
(Click Image to Enlarge)
Step 2:
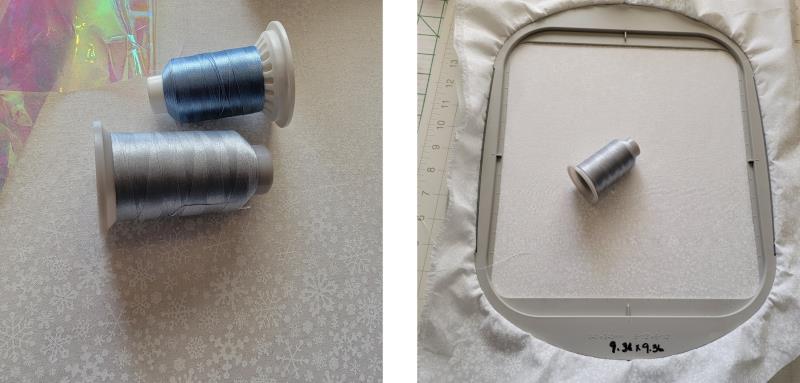
For the project, I chose a winter blue and white for the snowflake designs, and a bluish silver-gray for the background text. To begin hoop one layer of fabric with one layer of stabilizer.
(Click Image to Enlarge)
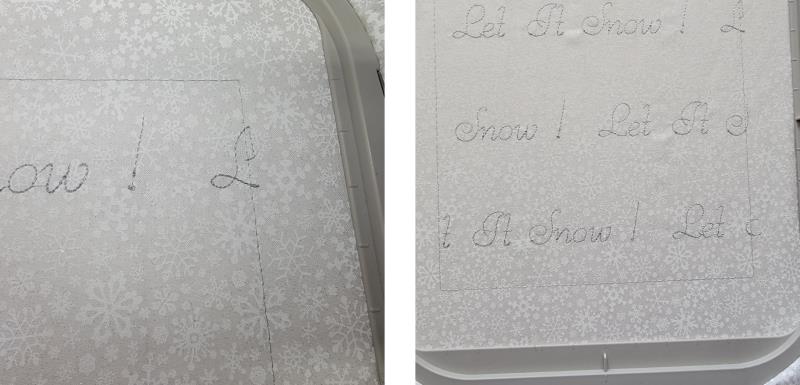
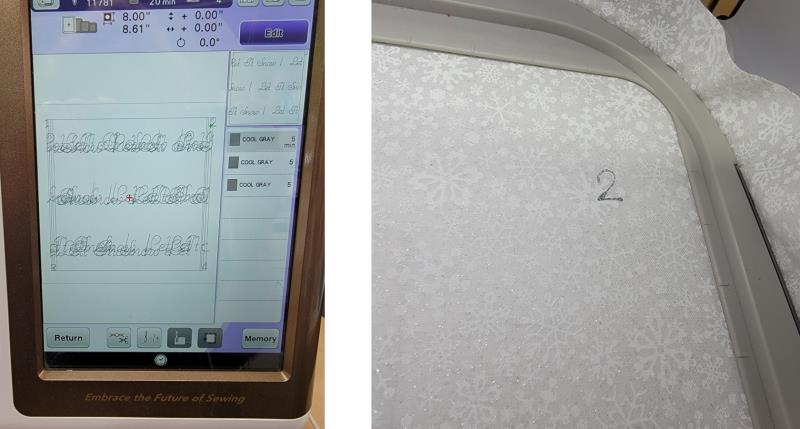
Step 3:
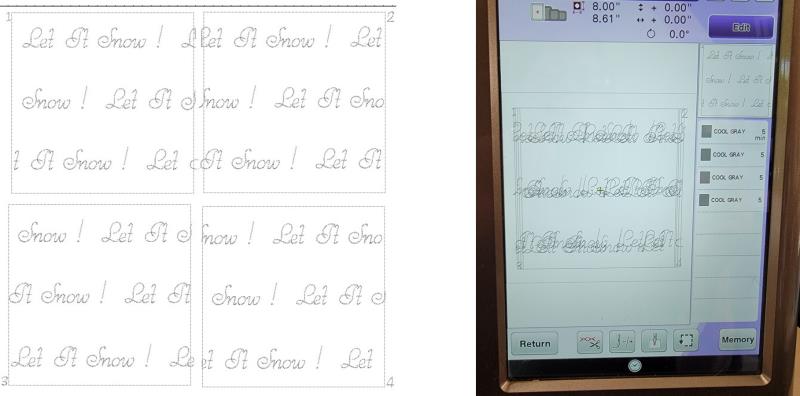
3. The background design actually creates four panels as shown on the left. However, when the design loads on the machine it will look like the photo on the right because all of the panels are stacked one on top of the other with color stops between so that fabric and stabilizer can be rehooped for each panel.
(Click Image to Enlarge)
Step 4:
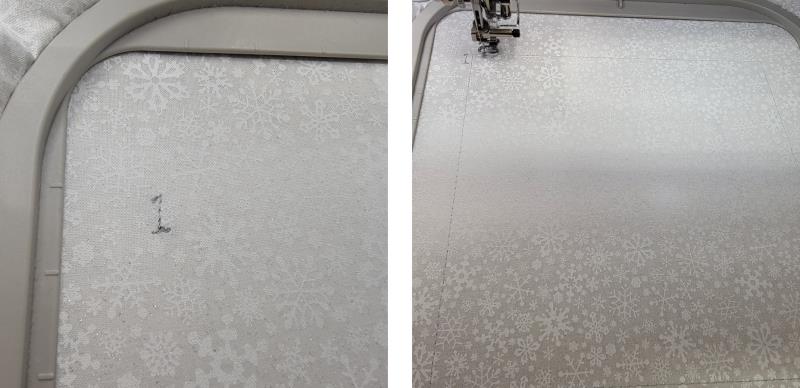
Place the hoop on the machine and stitch color 1, which will be the first panel. The first thing to stitch in each of the four panels will be the number of the panel. After that an outline stitches.
(Click Image to Enlarge)
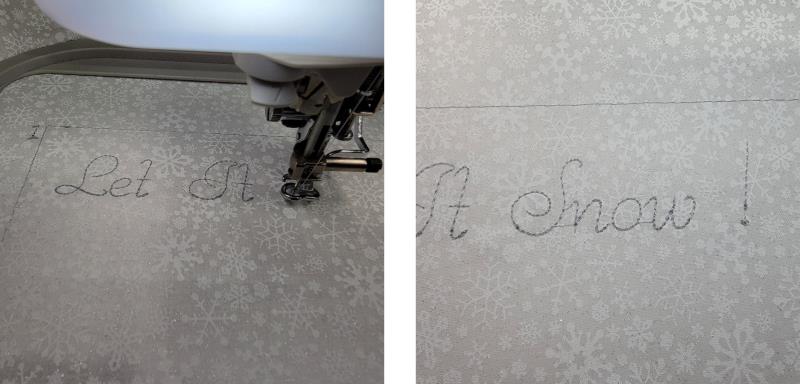
Step 5:
Next to stitch will be the text. Depending on how your machine is set up, there may be a few jump stitches to trim. Just trim between the letters on the front, but don’t trim the jump stitches on the back.
(Click Image to Enlarge)
Step 6:
Notice that the lettering will fall past the outline a little. This is so when the panels are aligned and stitched together, the text will look like it is stitched continuously.
(Click Image to Enlarge)
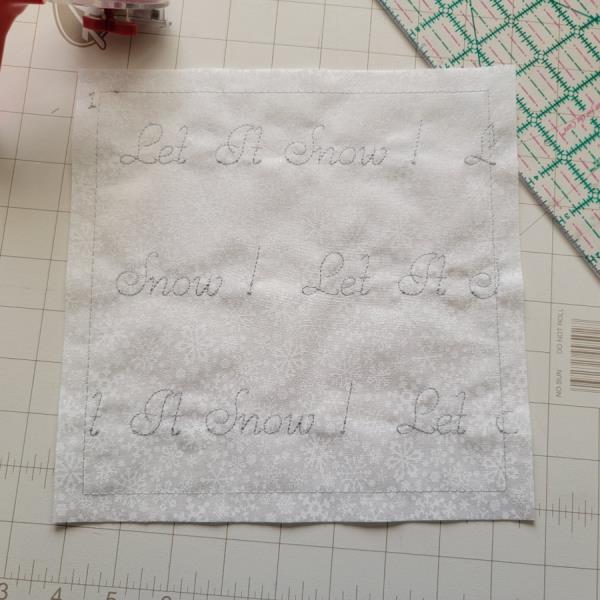
Step 7:
This is how the first panel looks.
(Click Image to Enlarge)
Step 8:
Remove the fabric from the hoop and trim around all four sides leaving a ½” seam allowance.
(Click Image to Enlarge)
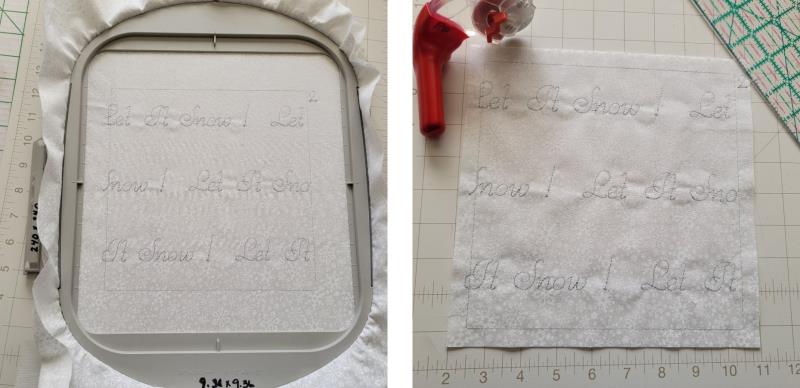
Step 9:
The first panel should now look like this.
(Click Image to Enlarge)
Step 10:
Rehoop another piece of stabilizer and fabric. Place the hoop on the machine and start the machine to stitch color 2, which will go through the same stitching sequence of the number, outline, and text.
(Click Image to Enlarge)
Step 11:
Remove panel 2 from the hoop and trim as before.
(Click Image to Enlarge)
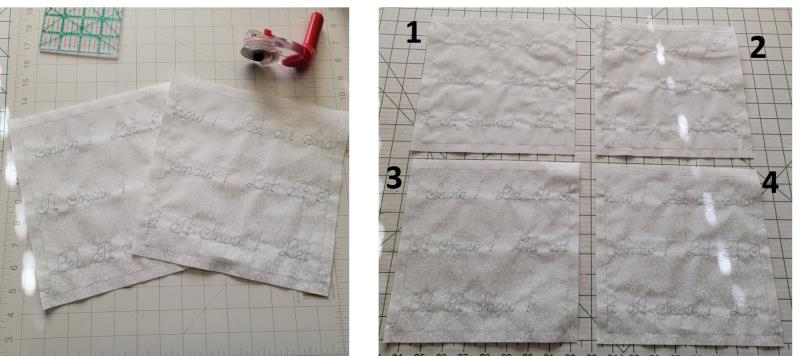
Step 12:
Repeat the same steps of hooping and stitching for colors 3 and 4 to create panels 3 and 4.
(Click Image to Enlarge)
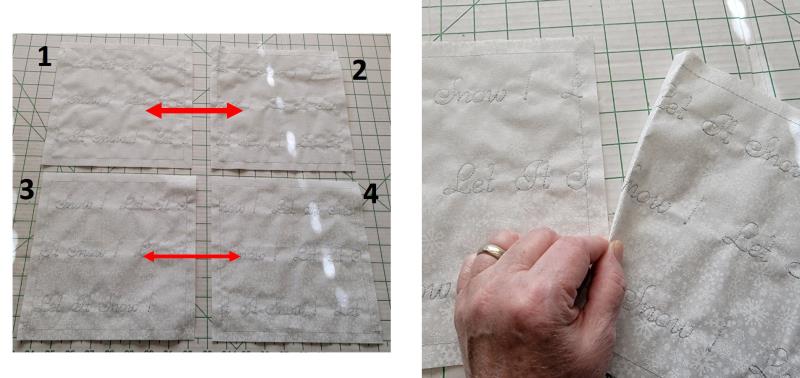
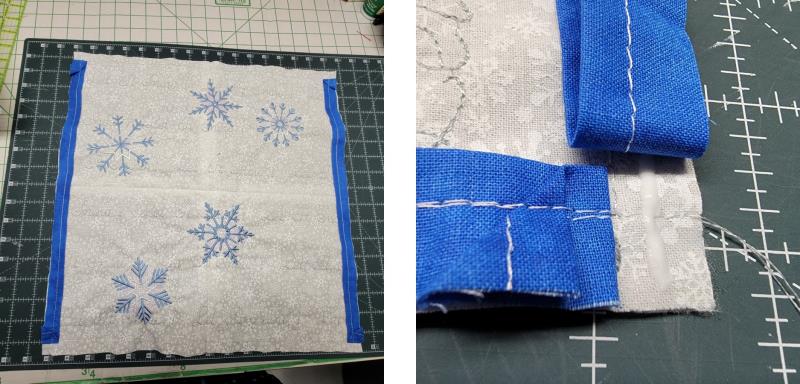
Step 13:
Next will be to sew the panels together. Panel 1 will be stitched to panel 2, and panel 3 to panel 4. I found it easiest to fold back the right panel along the outline to test fit
(Click Image to Enlarge)
Step 14:
and align it over panel 1. Then basting glue was used to hold the panel sections together.
(Click Image to Enlarge)
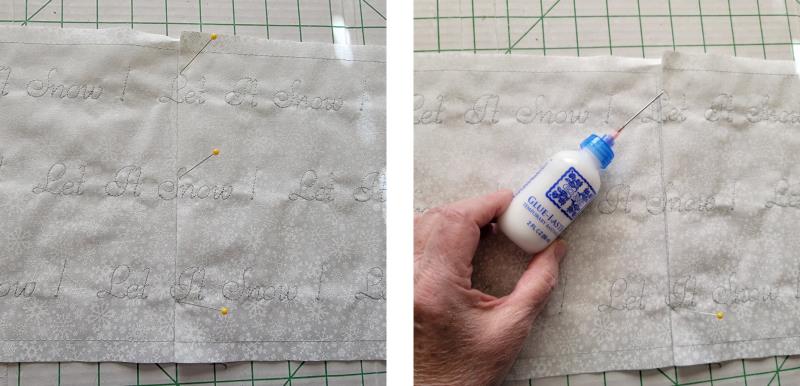
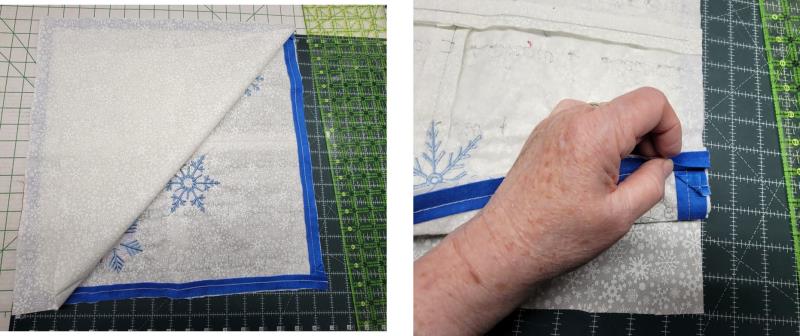
Step 15:
Just use small dots of glue on the right seam allowance of panel 1. Carefully align the left seam allowance (folded back) over the other seam allowance. The lettering needs to align exactly.
(Click Image to Enlarge)
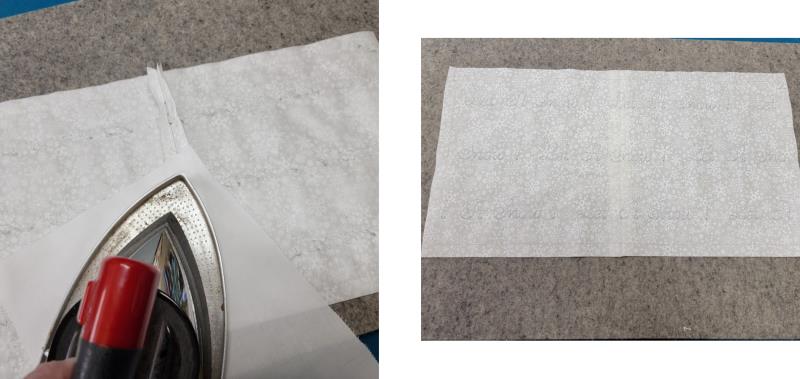
Step 16:
Using a pressing cloth and a dry iron, gently press the glue dry. You will see how the lettering aligns.
(Click Image to Enlarge)
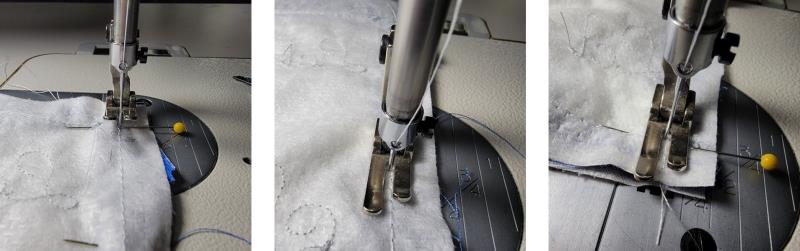
Step 17:
Let the seam cool and then flip the right panel over the left to expose the seam allowance.
(Click Image to Enlarge)
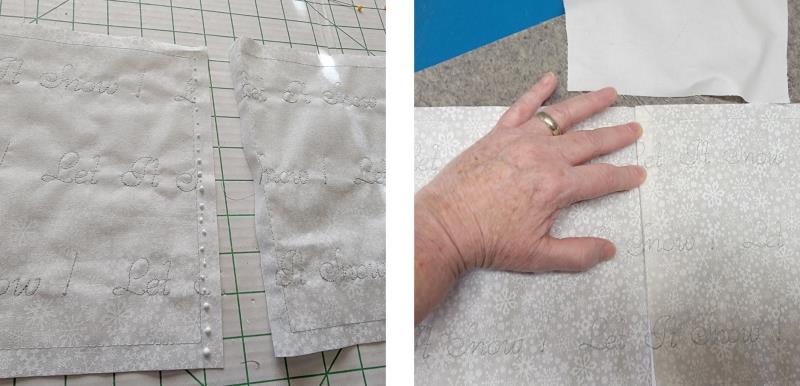
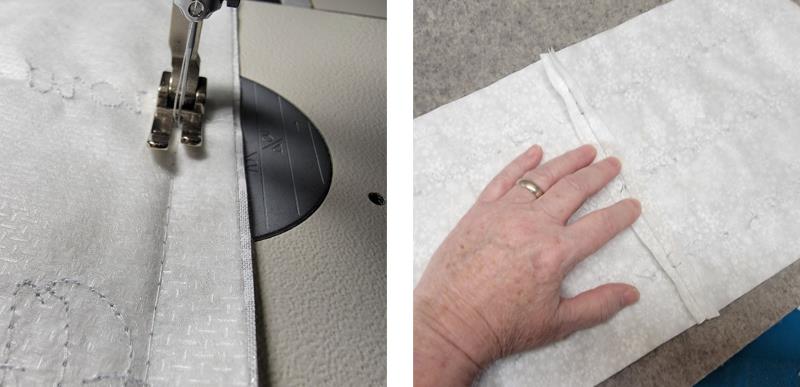
Step 18:
At the machine, stitch just to the inside of the outside stitching line. Finger press open the seam and check the text alignment of the text. If needed, unstitch and realign the seam to correct the text alignment and restitch.
(Click Image to Enlarge)
Step 19:
Press open the seam allowance and set this section aside.
(Click Image to Enlarge)
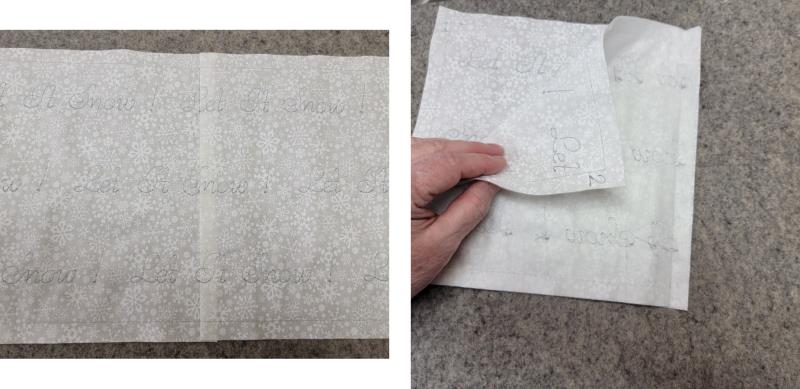
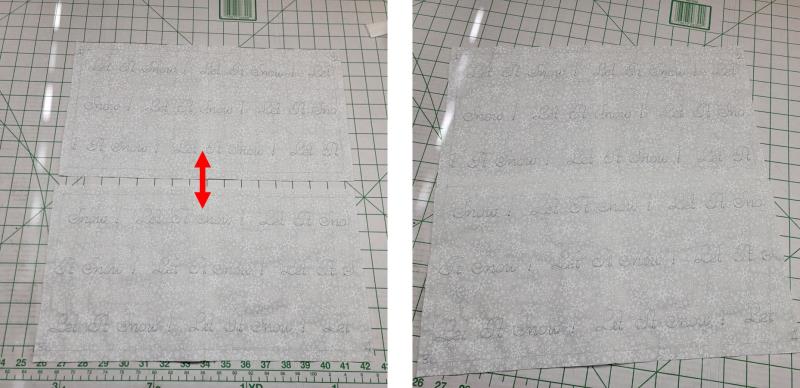
Step 20:
Repeat the steps for stitching panels 3 to 4, and then the top sections to the bottom sections. Make sure the seams align when stitching the top to the bottom. This completes the background for the pillow front.
(Click Image to Enlarge)
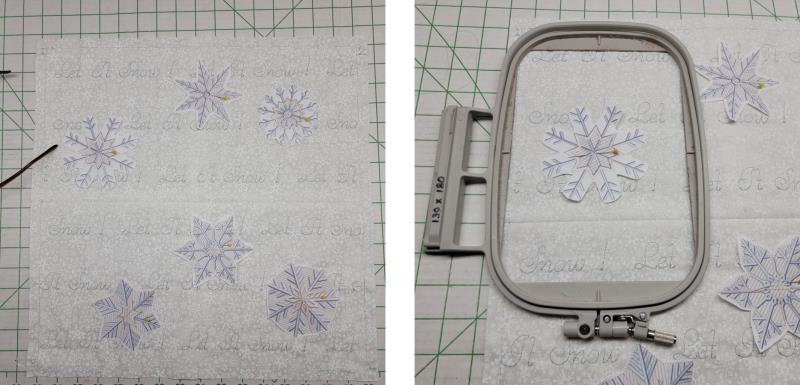
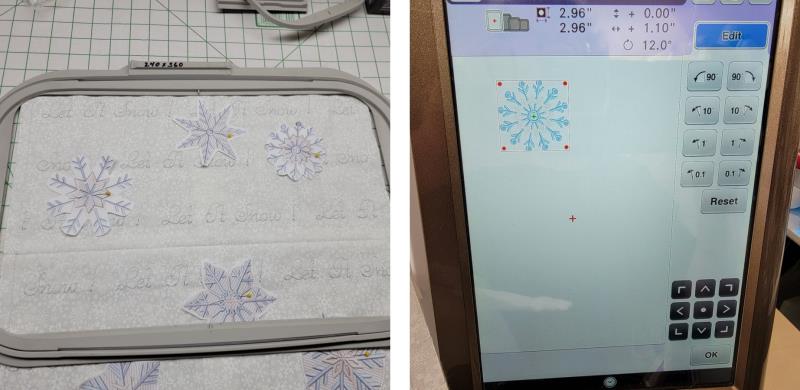
Step 21:
Take the snowflake templates and place them as desired around the pillow front. Use your chosen hoop for stitching the snowflake designs. It can be a small or
(Click Image to Enlarge)
Step 22:
A large hoop. Load the first snowflake design chosen on the machine. Now, if your machine has the capability, the hoop may be scanned and designs placed in a large hoop. I actually hooped the fabric in a large hoop but stitched each snowflake individually.
(Click Image to Enlarge)
Step 23:
Align the needle to the center of the snowflake then remove the paper template.
(Click Image to Enlarge)
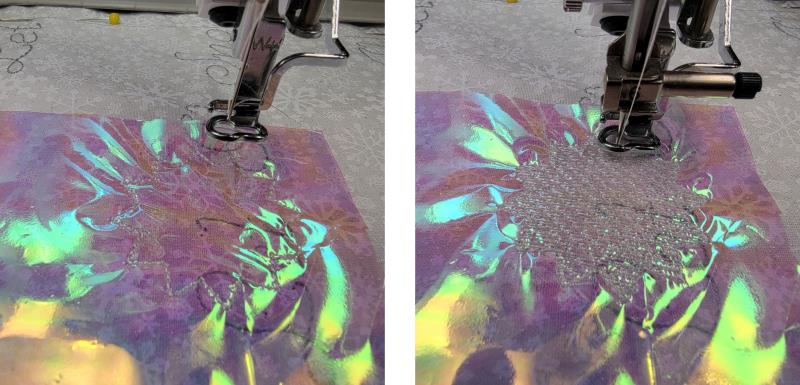
Step 24:
Each snowflake stitches a little bit differently, but basically an outline will stitch and a piece of Mylar laid over the outline.
(Click Image to Enlarge)
Step 25:
The next color tacks the Mylar to the fabric. Next, the light density fill stitches.
(Click Image to Enlarge)
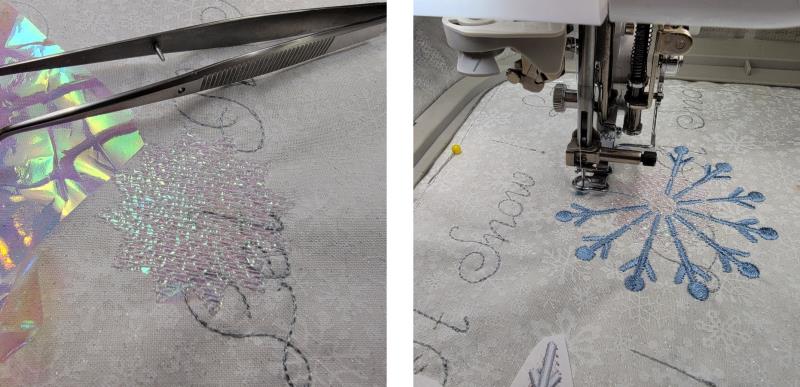
Step 26:
The machine will stop. Use tweezers to carefully remove the excess Mylar and then continue stitching the remaining colors.
(Click Image to Enlarge)
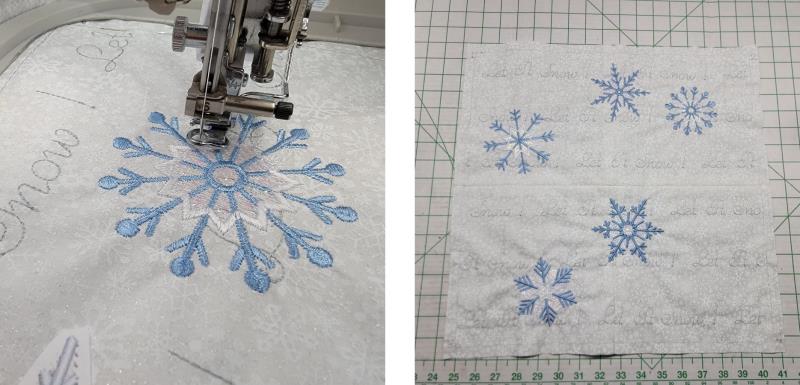
Step 27:
Sew the remaining snowflakes, following the color sequence for each.
(Click Image to Enlarge)
Step 28:
To complete the pillow, measure the sides, add 2” and cut 1 ½” wide strips of the blue fabric, fold the strips in half lengthwise.
(Click Image to Enlarge)
Step 29:
Place the strips along the pillow sides first, matching cut edges and folding back the edges of the strips at the corners as shown; baste the strips in place using the outline along the panels as a guide for stitching. Repeat for the to and bottom edges of the pillow.
(Click Image to Enlarge)
Step 30:
Place the pillow back fabric right sides together over the pillow front.
(Click Image to Enlarge)
Step 31:
Stitch from corner to corner all around the pillow, leaving and opening for turning.
(Click Image to Enlarge)
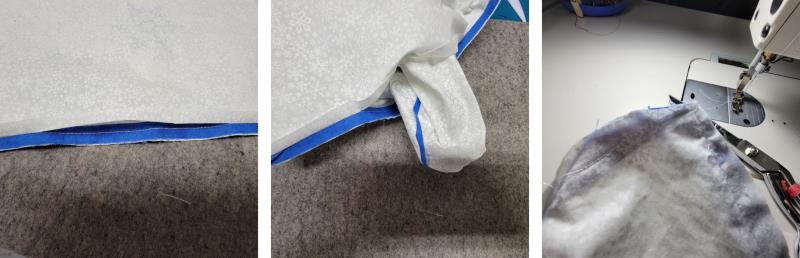
Step 32:
Turn the pillow cover right side out through the opening; trim the corners.
(Click Image to Enlarge)
Step 33:
Form the corners well and make sure the flange is not caught in the corners.
(Click Image to Enlarge)
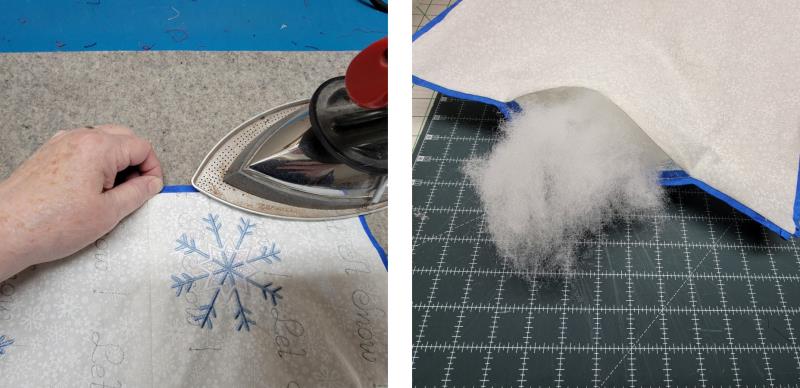
Step 34:
Press the pillow edges, tucking the seam allowance in at the opening. Softly stuff the pillow with the fiberfill.
(Click Image to Enlarge)
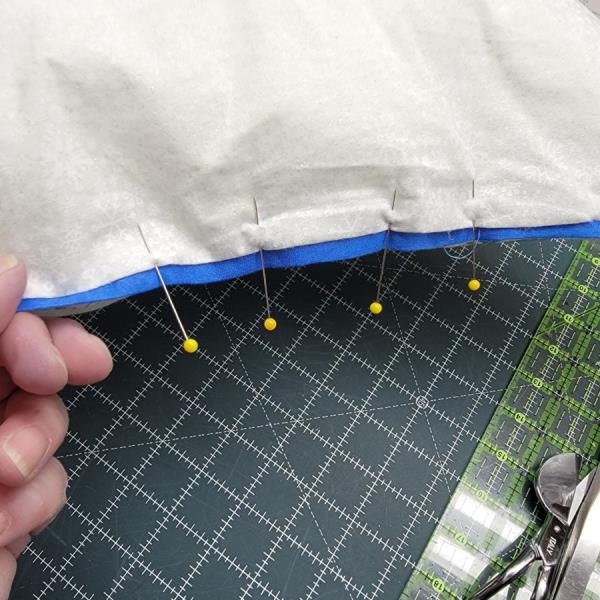
Step 35:
Pin the opening closed and stitch it.
(Click Image to Enlarge)
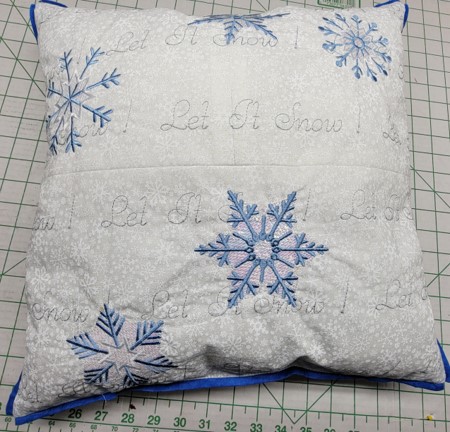
Step 36:
Congratulations! You have a beautiful new seasonal pillow to enjoy year after year.
Ramona Baird has been in the embroidery industry for over 23 years. She and her husband owned a commercial and retail embroidery store in Arizona for many years. She is an experienced digitizer having been mentored by award-winners Pat Williams and Lindee Goodall. Ramona is a contributor to “Creative Machine Embroidery” magazine having 5 covers to her credit. Ramona has worked for Wilcom America and served many years as Education Director for the American Sewing Guild. With a degree in fashion design, she is able to design and execute patterns which Pat Williams says are “out of the box” in creativity and application. Ramona likes to challenge the boundaries of embroidery and bring new and exciting designs, ideas, and projects to EmbroideryDesigns.com. She wants embroiderers of all levels to increase their skills and enjoyment in using their embroidery machine for gift-making and personal pleasure.