A beautiful table runner is created with large designs and a reverse applique technique.
Project Preview Video
Materials
The amount of fabric and number of designs used depends upon the size of the table runner you’d like to create. Measure the table you have and determine what size runner you would like. For this project this is what was used:
Large hoop to fit designs
2- pieces of red buffalo check fabric 18” x 39”
3- pieces of black Kona cotton 1” larger than large hoop
This project uses large designs. Check the size of the designs to make sure you have a hoop that will fit them.
Step 1:
Read through the instructions thoroughly before beginning and assemble all the materials needed to complete the project. This project uses large designs so be sure you have a hoop large enough to accommodate them. Print out the paper templates to aid in placement of the designs.
(Click Image to Enlarge)
Step 2:
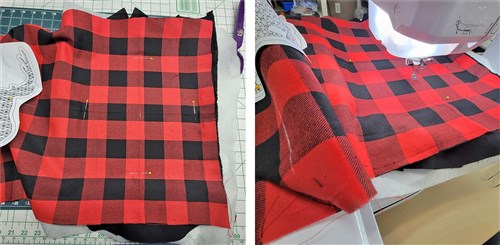
Cut the fabrics to size; press well.
(Click Image to Enlarge)
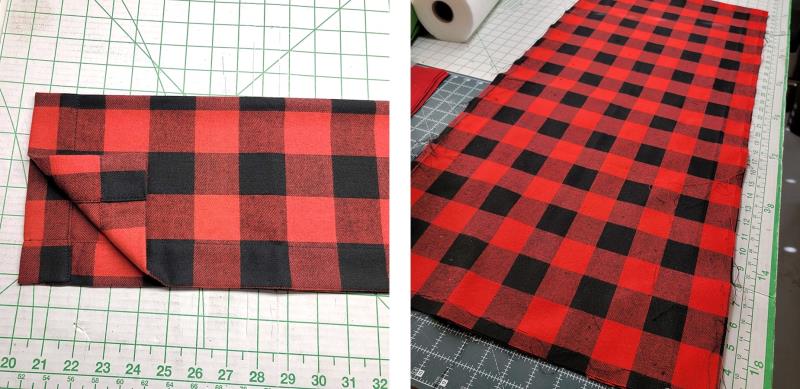
Step 3:
If using table runners as fabric, you may have to remove the stitching at the borders to open them up so you have enough fabric.
(Click Image to Enlarge)
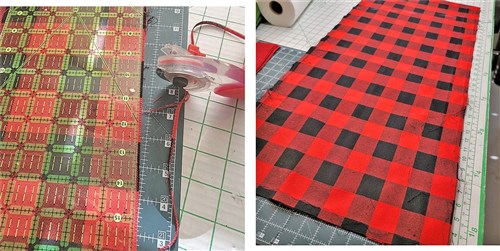
Step 4:
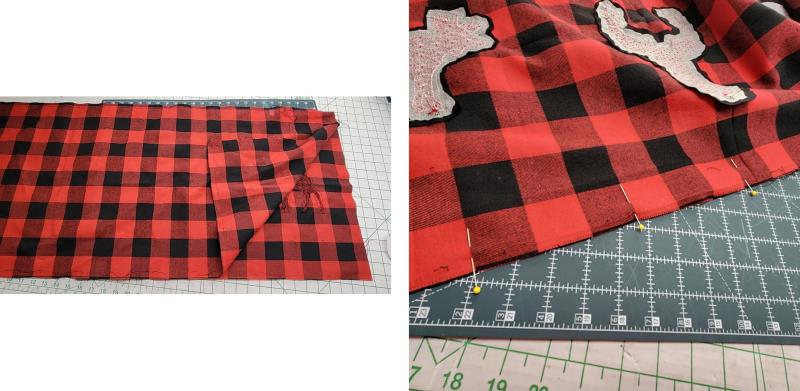
Trim the edges of the fabric so they are straight in line with the fabric pattern.
(Click Image to Enlarge)
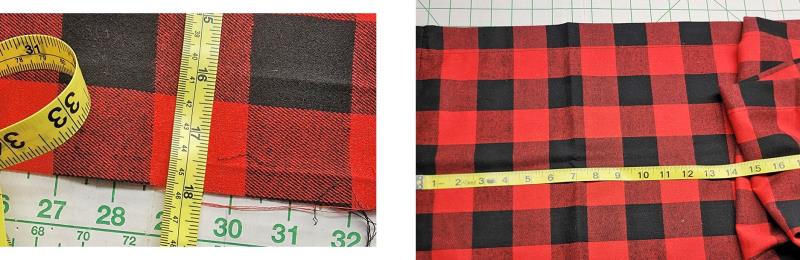
Step 5:
Measure the length and width needed, allowing for seam allowances.
(Click Image to Enlarge)
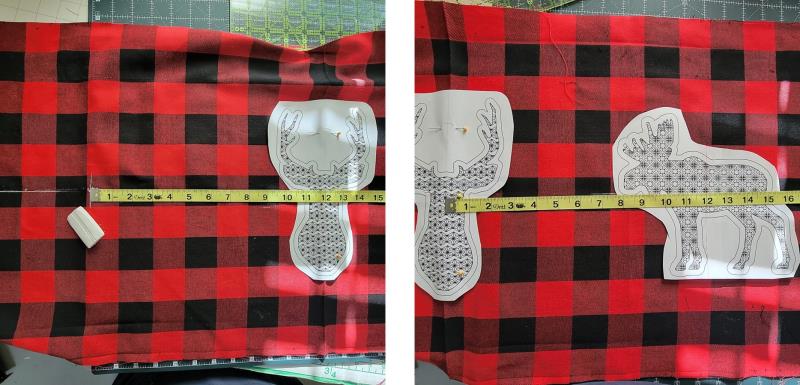
Step 6:
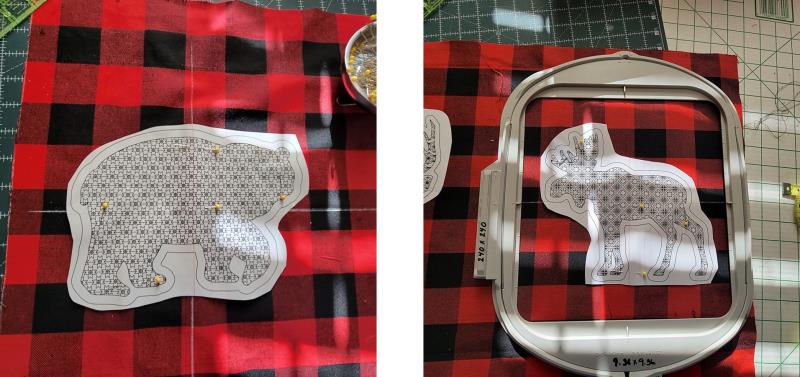
Quarter fold the top fabric and make a mark. This will be for the placement of the center design; pin the template in place. Place down the template for the design on the right until the placement looks good to you; remove the template and make the mark for centering.
(Click Image to Enlarge)
Step 7:
Measure the distance from the center of the middle design to the center of the right design. Now use that measurement to mark for the middle of the center design to the left, for placement of the left design.
(Click Image to Enlarge)
Step 8:
Pin the template in place. The back fabric will be stitched first, and then the checked fabric placed over it to stitch the last color and fasten the layers together. Again, be sure you have a hoop large enough for the design.
(Click Image to Enlarge)
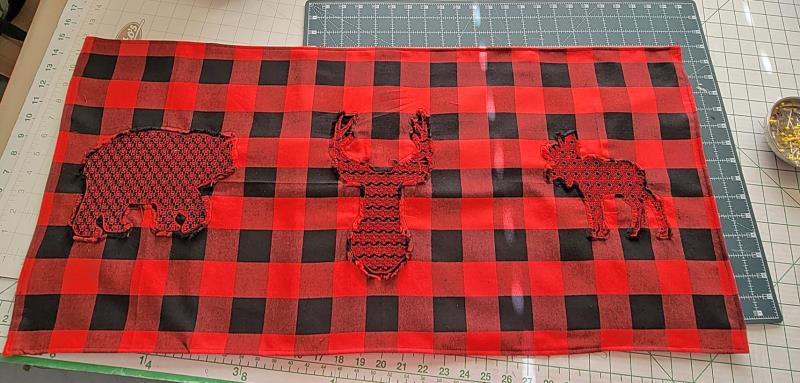
Step 9:
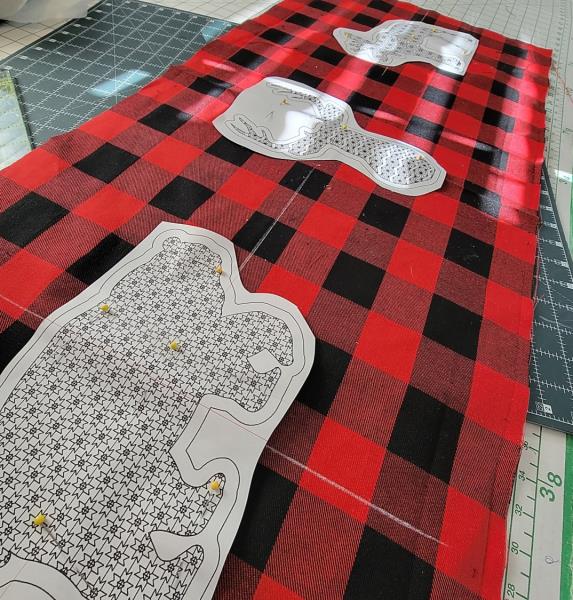
This is how the layout should look. If your table runner is longer, add more designs as you wish.
(Click Image to Enlarge)
Step 10:
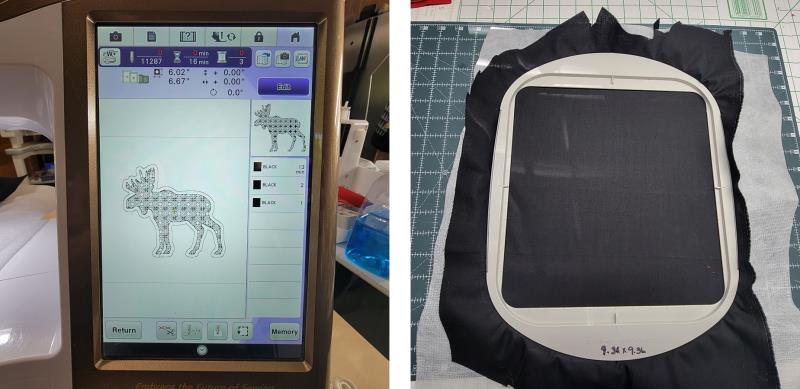
Load the right most design on the machine. Hoop a layer of stabilizer with a piece of the black Kona cotton.
(Click Image to Enlarge)
Step 11:
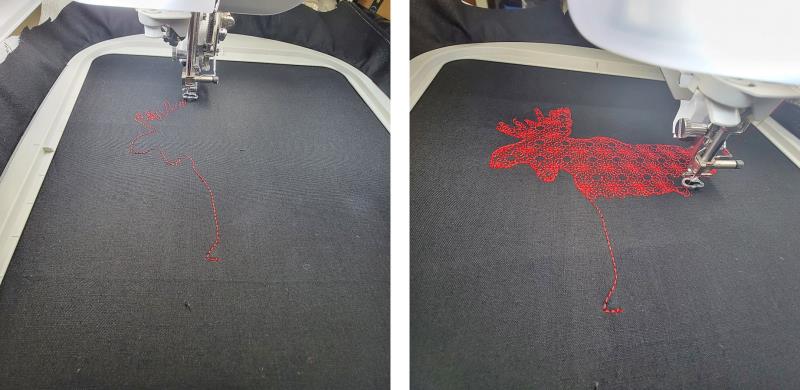
Place the hoop on the machine and stitch color 1, the outline.
(Click Image to Enlarge)
Step 12:
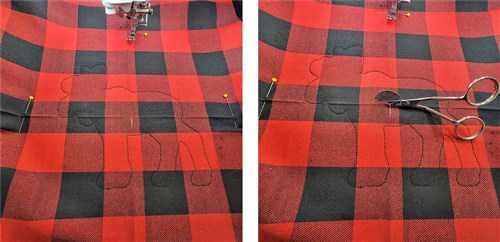
Continue stitching until all but the last color has stitched. DO NOT REMOVE THE FABRIC FROM THE HOOP.
(Click Image to Enlarge)
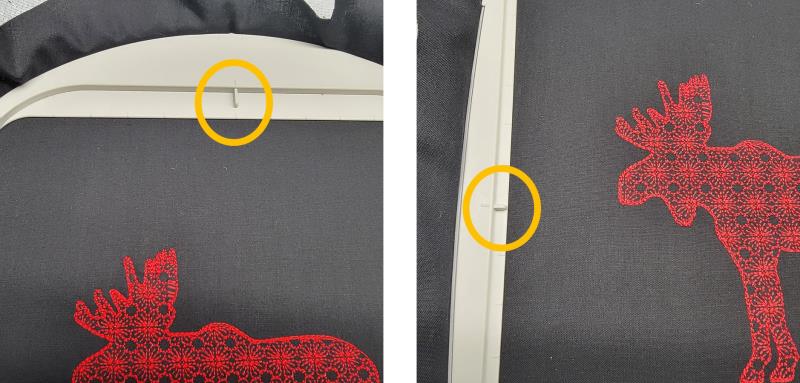
Step 13:
Locate the markings on the hoop which aid in centering fabric.
(Click Image to Enlarge)
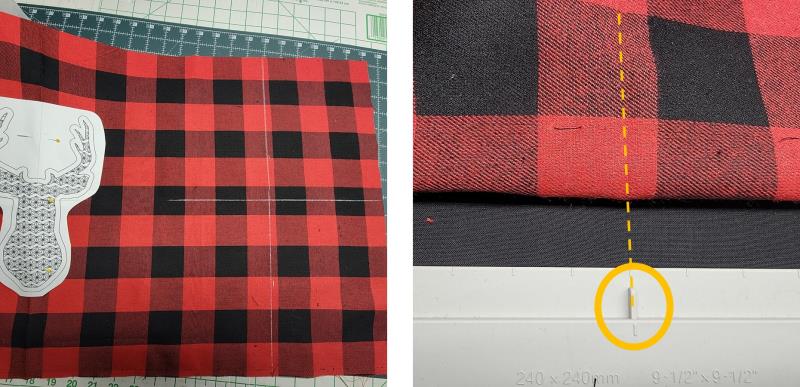
Step 14:
Press the fabric along the drawn crosshairs for the right design. Use the fold marks to align the creases to the top and bottom.
(Click Image to Enlarge)
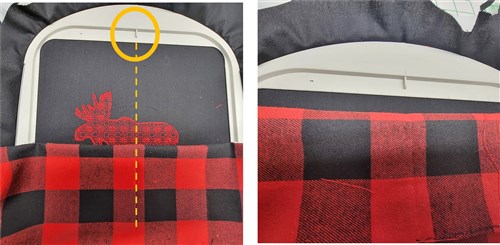
Step 15:
Fold back the fabric and walk it up from the center to the top of the hoop. Fold the fabric back and from side to side to make sure everything is aligned.
(Click Image to Enlarge)
Step 16:
Pin the checked fabric to the black fabric. Carefully place the hoop back on the machine.
(Click Image to Enlarge)
Step 17:
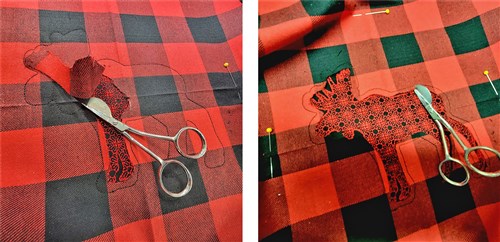
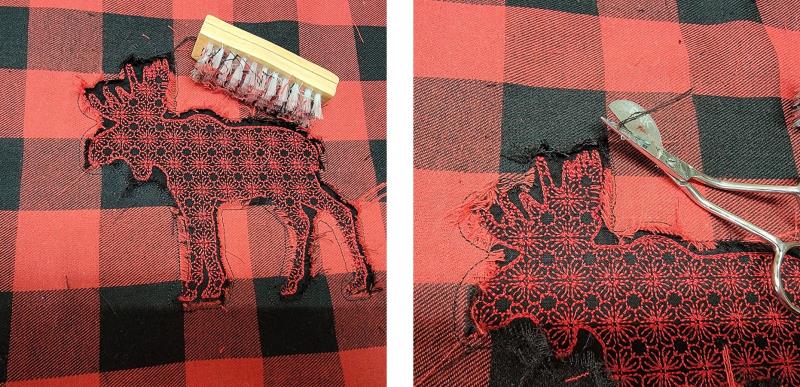
Stitch the final color. Remove the hoop from the machine but keep the fabric in the hoop. Using the small applique scissors, lift up the checked fabric only and make a small snip at the center of the design.
(Click Image to Enlarge)
Step 18:
Trim inside the outline stitching leaving about ¼” as shown.
(Click Image to Enlarge)
Step 19:
Remove the fabric from the hoop and trim away the excess stabilizer, and then trim the black fabric leaving about ¼” all the way around.
(Click Image to Enlarge)
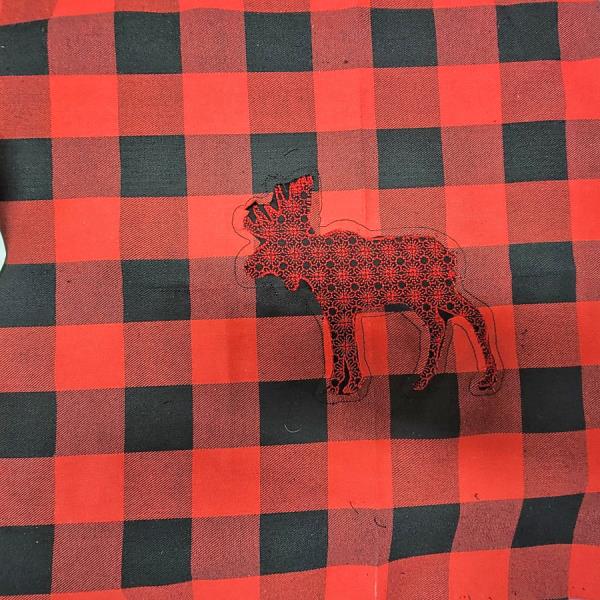
Step 20:
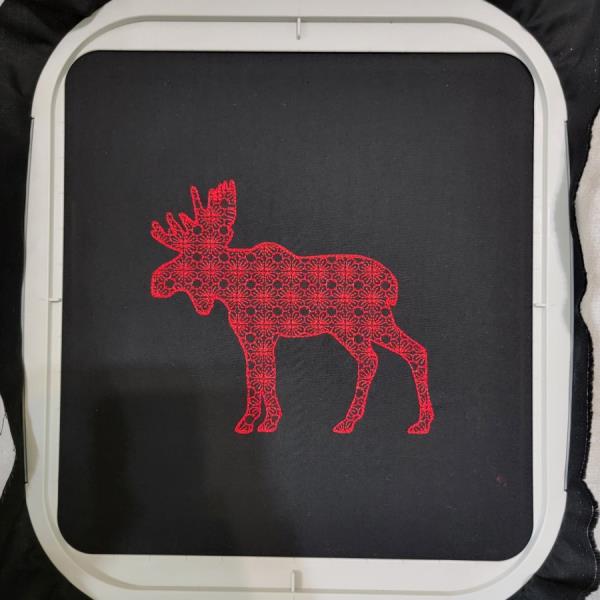
This is how the design should look at this point.
(Click Image to Enlarge)
Step 21:
Repeat steps 10-19 for the center and left designs—or as many designs as you have for your table runner.
(Click Image to Enlarge)
Step 22:
Now will be to finish up. Place the second piece over the embroidered piece, right sides together and pin all around.
(Click Image to Enlarge)
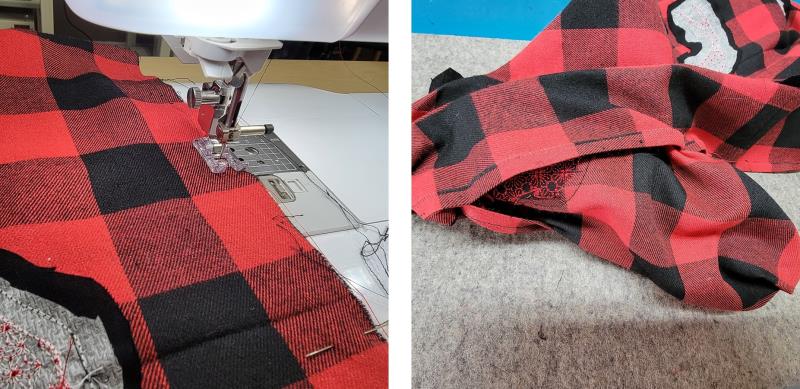
Step 23:
Sew around all sides of the table runner, leaving an opening for turning. Turn the table runner right side out.
(Click Image to Enlarge)
Step 24:
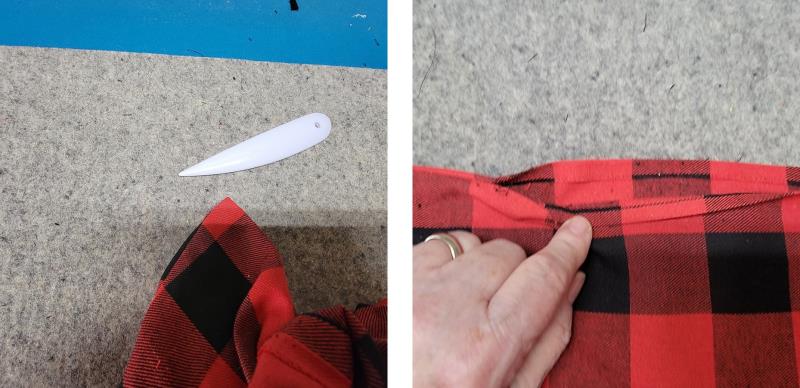
Form the corners well and turn in the seam allowances at the opening.
(Click Image to Enlarge)
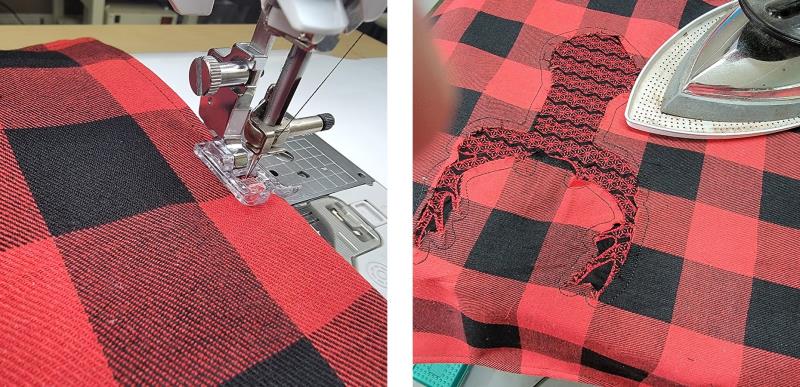
Step 25:
Top stitch around all edges, catching the seam allowance at the opening. Press the table runner well.
(Click Image to Enlarge)
Step 26:
Use a soft nail brush to fringe around the design, trimming any long threads to match the others.
(Click Image to Enlarge)
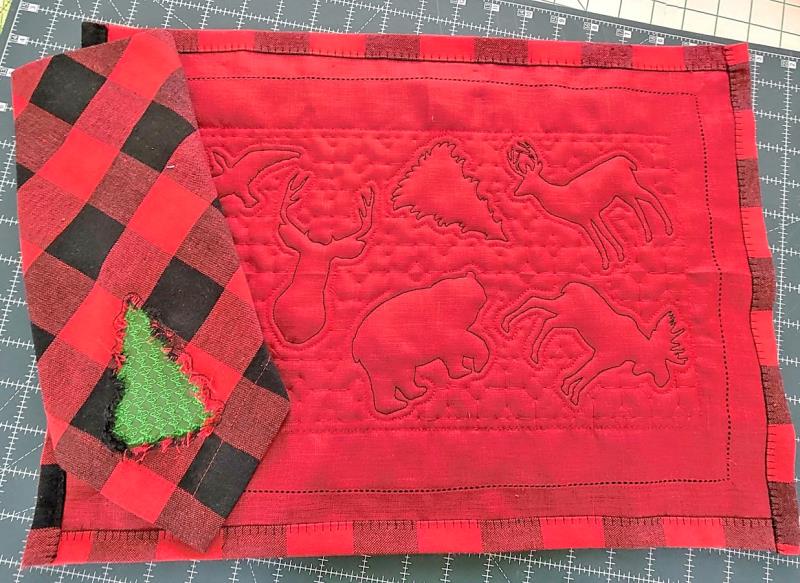
Step 27:
Congratulations! You’ve completed a rustic table runner for winter time decorating.
(Click Image to Enlarge)
Step 28:
If you like this project, make matching napkins and placemats.
Ramona Baird has been in the embroidery industry for over 23 years. She and her husband owned a commercial and retail embroidery store in Arizona for many years. She is an experienced digitizer having been mentored by award-winners Pat Williams and Lindee Goodall. Ramona is a contributor to “Creative Machine Embroidery” magazine having 5 covers to her credit. Ramona has worked for Wilcom America and served many years as Education Director for the American Sewing Guild. With a degree in fashion design, she is able to design and execute patterns which Pat Williams says are “out of the box” in creativity and application. Ramona likes to challenge the boundaries of embroidery and bring new and exciting designs, ideas, and projects to EmbroideryDesigns.com. She wants embroiderers of all levels to increase their skills and enjoyment in using their embroidery machine for gift-making and personal pleasure.