'FSL Bulb Ornaments' are a versatile way to decorate trees, garlands, or wreaths for the Christmas season. Use with jewelry fixings to make a necklace and earring set.
'FSL Bulb Ornaments' are a versatile way to decorate trees, garlands, or wreaths for the Christmas season. Use the FSL Bulb Ornament with jewelry fixings to make a cute necklace and earring set. Project time will vary depending on how many FSL Bulb Ornaments you make.
Step 1:
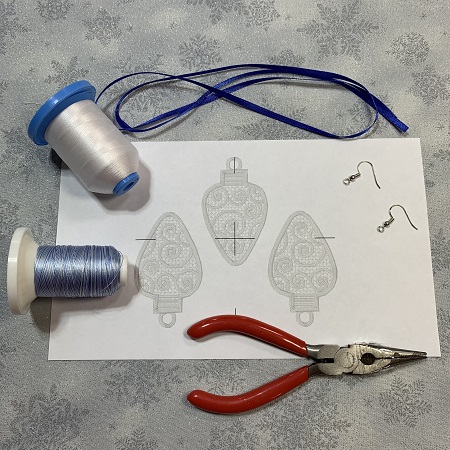
Read all the directions before beginning the project. Gather supplies needed for the project. A 75/11 embroidery needle is suggested for this project. Different embroidery thread types were used to make the FSL Bulb Ornaments (polyester, variegated). It is generally recommended to use matching bobbin thread for FSL. However, you should not use variegated embroidery thread for your bobbin. Instead, just use a matching regular embroidery thread.
Step 2:
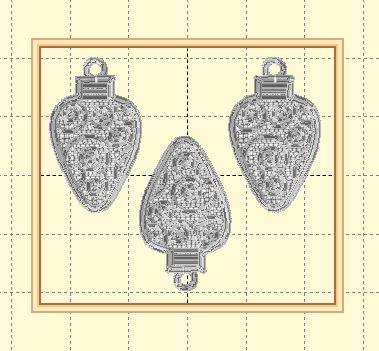
(Click Image to Enlarge)
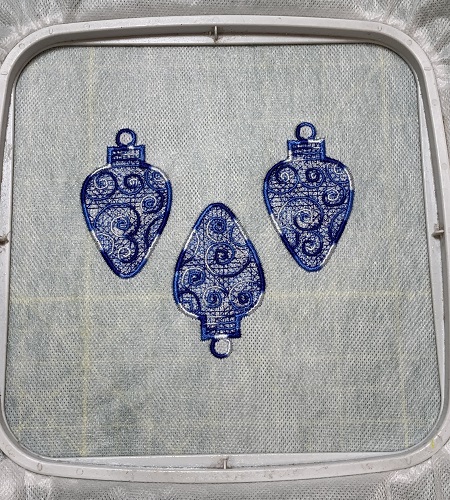
The bulb ornaments were grouped together using an embroidery software program (Embrilliance Essentials) to save time and have less stabilizer waste.
Step 3:
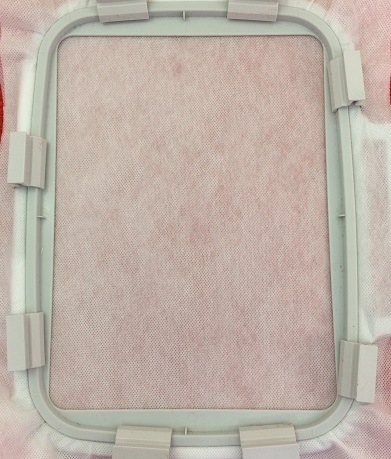
(Click Image to Enlarge)
Free-standing lace embroidery designs are stitched on a fibrous water-soluble stabilizer with no fabric base. A high stitch count holds the lace together. The film plastic-like WSS works better as a topping for deep nap fabrics like towels and is NOT recommended for this project. Drying time is not included in the project completion time.
Hoop 2 pieces of Vilene wash-away stabilizer. Make sure the stabilizer is taut and drum-like in the hoop.
Step 4:
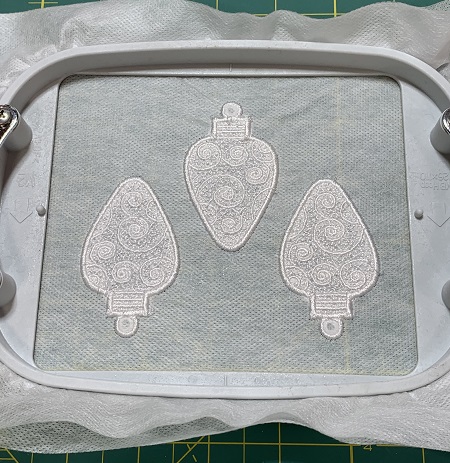
Load the embroidery design on your machine. Use polyester 40 wt. thread with a matching bobbin color. Do not use variegated or metallic threads in the bobbin. Use the same color thread for the bobbin if the lace will be viewed from both sides. Make sure to begin with a full bobbin due to the high stitch count of FSL designs. You don’t want to run out before the design is finished stitching. Stitch the design.
Step 5:
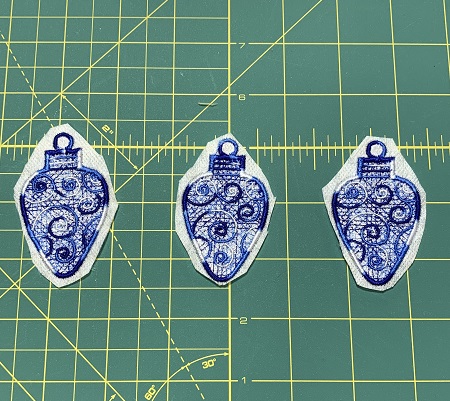
Example of the FSL Bulb Ornament with blue variegated thread.
Step 6:
Remove the stitch out from the hoop. Trim the excess stabilizer to about ¼” from the edge. Trim the long threads if needed on the back of the design. It’s very difficult to clip/remove a stray thread once you remove the water-soluble stabilizer.
Step 7:
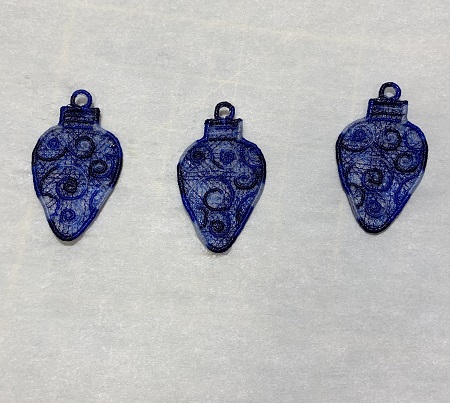
Remove the water-soluble stabilizer by following the directions on the package. WSS is usually removed by running hot water on the design. Hold the FSL Bulb Ornament under the running water just until the WSS is no longer visible around the edges or in holes in the design. Leaving some of the WSS will make the FSL stiff and hold their shape better. Lay the FSL Bulb Ornament on parchment paper to dry for several hours or overnight.
Step 8:
Once the ornament is dry, add ornament hooks to complete the FSL Bulb Ornaments.
Step 9:
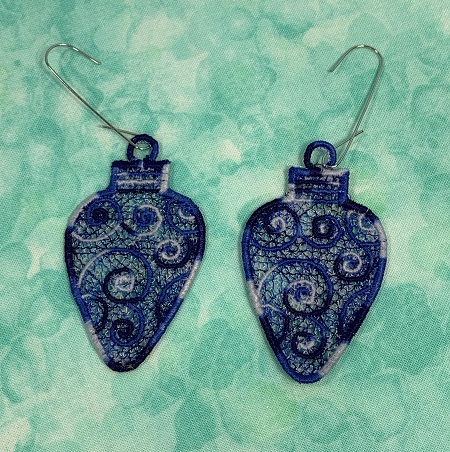
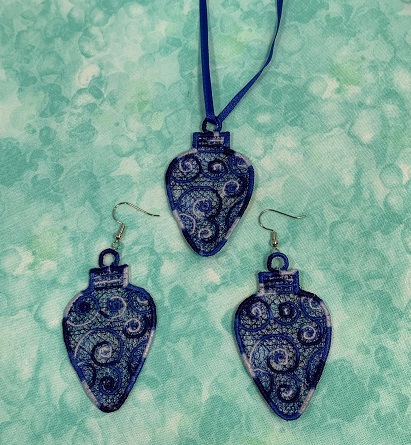
Attach one FSL Bulb Ornament to the ribbon. Tie a tight knot on each end of the ribbon. A fine chain necklace works great also. Attach one wire hook earring fixing to a bulb ornament using small pliers. WTG! You have completed a FSL Bulb Ornament necklace & earring set. This set would make a great gift.
Step 10:
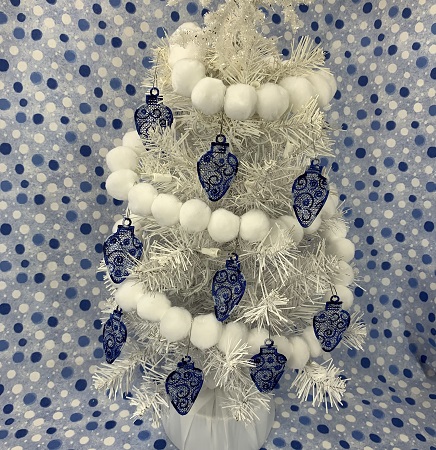
Great job! Now you can decorate with the FSL Bulb Ornaments. Example of the FSL Bulb Ornaments using blue variegated thread.
Step 11:
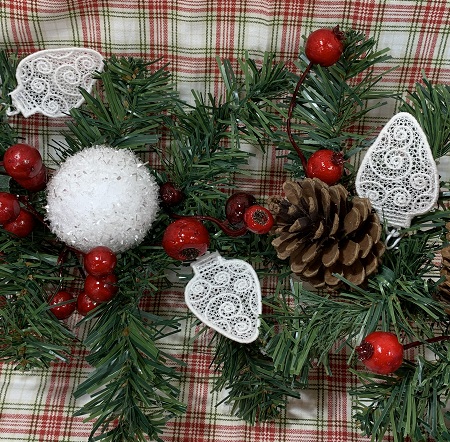
Example of white FSL Bulb Ornaments accenting a winter garland.
Marisa Littleton is a retired educator with a love for teaching and learning. Interests include machine embroidery, hand embroidery, quilting, cooking, and antiques.