{{superHeaderAds.title}}
Live Chat
Embroidery Designs
Welcome, Embroiderer
Login
Rustic Christmas Sign/SVG
{{mainImageAlt || (productInfo._source && productInfo._source.name) || ''}}

Rustic Christmas Sign/SVG Embroidery Project

By   Linda Mills   on   August 26, 2021

PROJECT DETAILS

SKILL LEVEL
Some Experience
TIME REQUIRED
02:00
Description

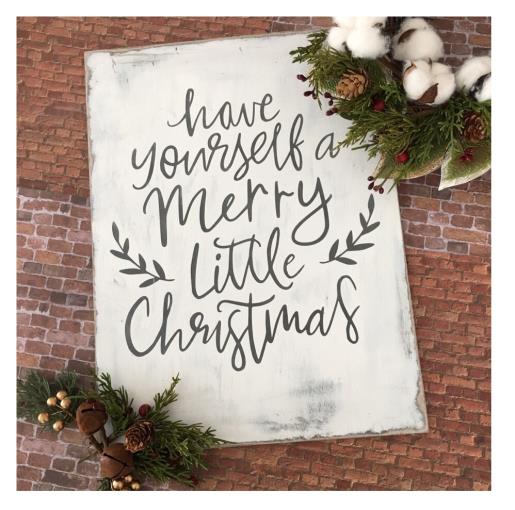
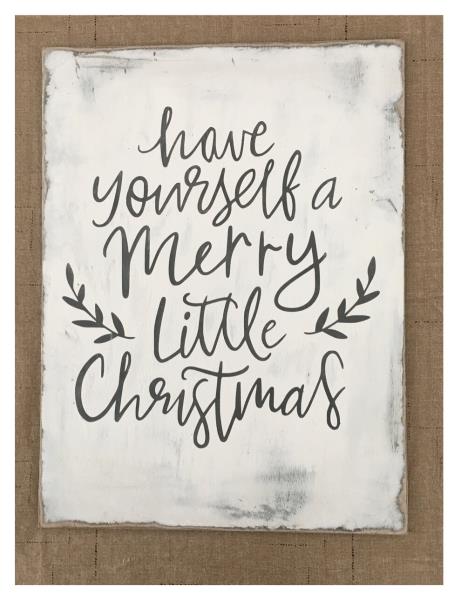
“Have Yourself A Merry Little Christmas” and create a unique holiday look with this Rustic Christmas Sign.

Project Preview Video

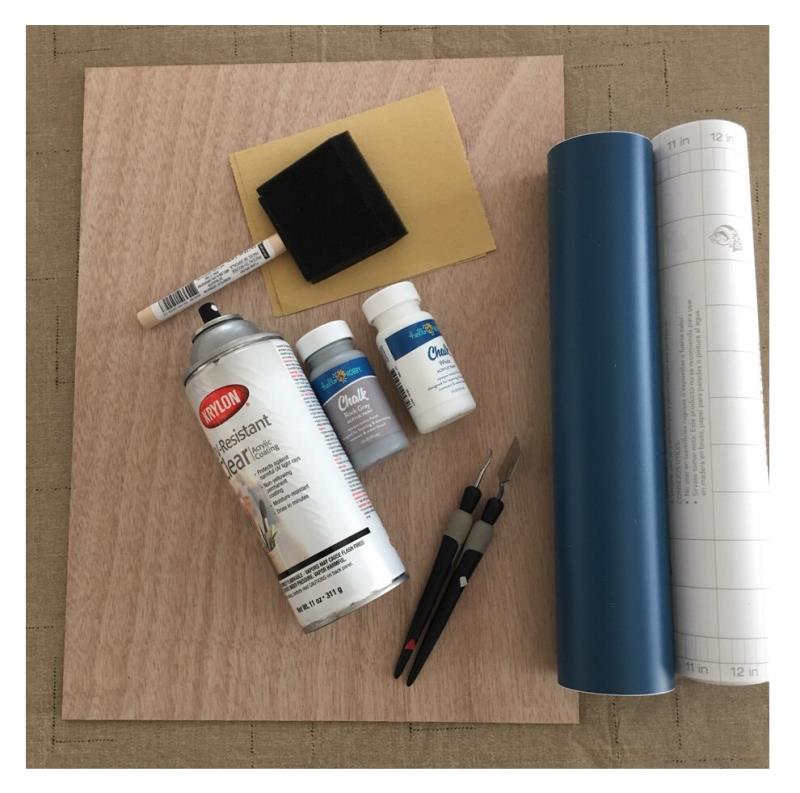
Materials
  • SIGN ART BOARD 12”X 16” SMOOTH SURFACE
  • (1) ADHESIVE BACK REMOVABLE VINYL 12’ X 12” ANY COLOR
  • CUTTING MACHINE ( I.E CRICUT, SILHOUETTE CAMEO)
  • ACRYLIC WATER BASED PAINTS 2 COLORS
  • SAND PAPER 1 SHEET (80 GRIT)
  • WEEDING TOOLS
  • TRANSFER PAPER
  • SPONGE PAINT BRUSH
  • CLEAR ACRYLIC COATING SPRAY

  • Designs used in this project

    Final Product: What You Will Create

    Preface:
    The sign board was first painted with a coat of gray and then painted white over the cut vinyl design after vinyl design was cut as a decal, centered and placed. Vinyl decal removed to reveal the first layer of paint color and then board was distressed. Board used in this tutorial was an Artist’s Loft wood art panel purchased from Michaels craft store. Please allow additional time if needed for paint dry time. Basic knowledge of a cutting machine and how to weed cut vinyl for a decal is needed for this project tutorial.


    Step 1:
     Gather all supplies and review instructions before beginning.

    (Click Image to Enlarge)


    Step 2:
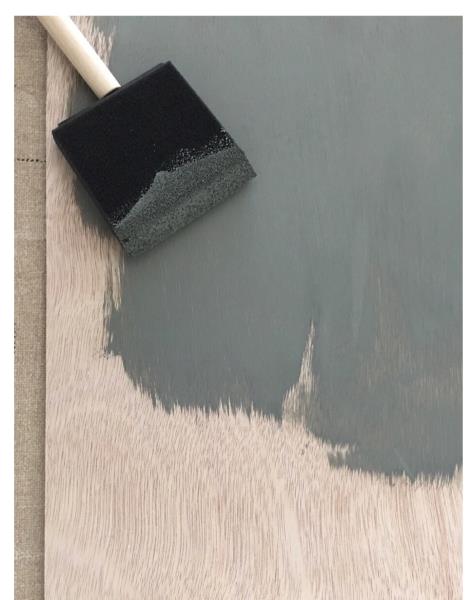
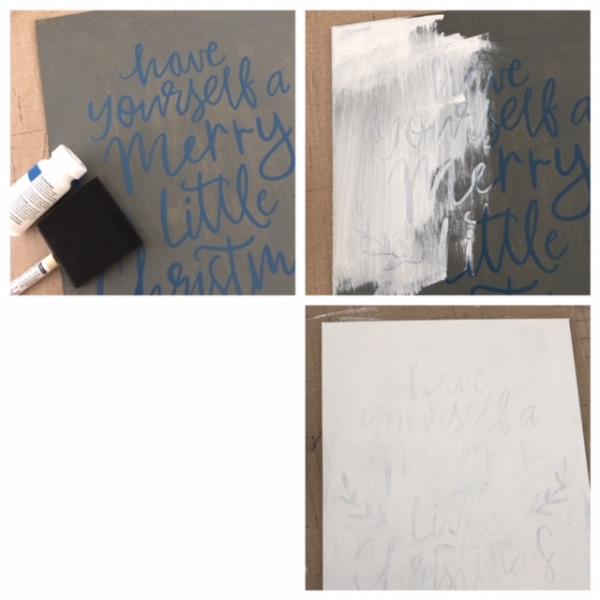
    Paint your board the gray background color as shown in this tutorial or paint with your color of choice. This will be the color that will show through for your cut design. Allow for paint to dry completely.

    (Click Image to Enlarge)


    Step 3:
    (Click Image to Enlarge)
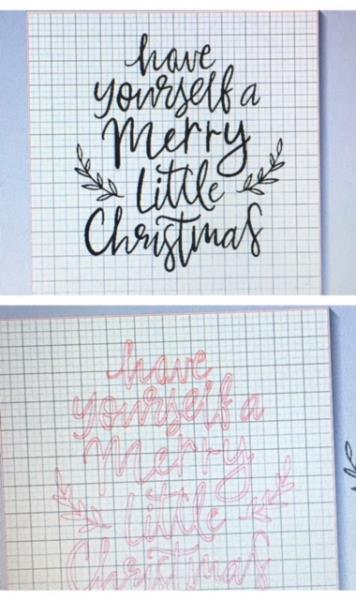
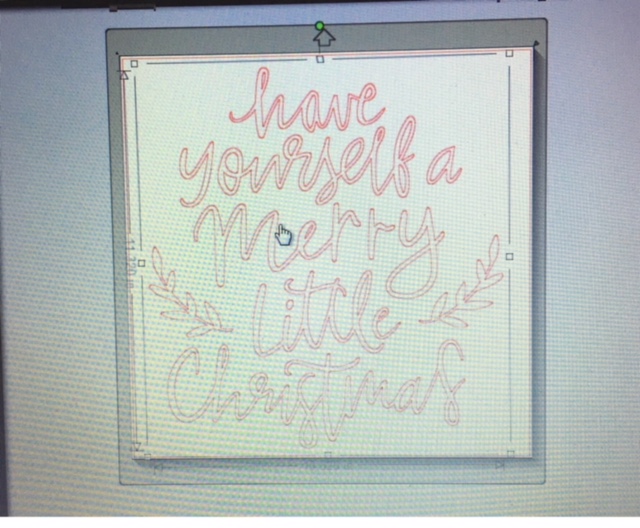
    While your paint is drying bring into your cutting machine’s program design board the SVG design " A Merry Little Christmas”. Cut design.


    Step 4:
    Resize design to 10.5” w x 11.5” length. If you are using a different sized board resize design to fit your board size. 

    (Click Image to Enlarge)


    Step 5:
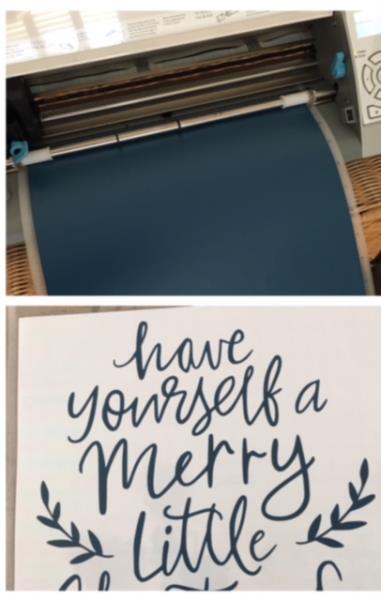
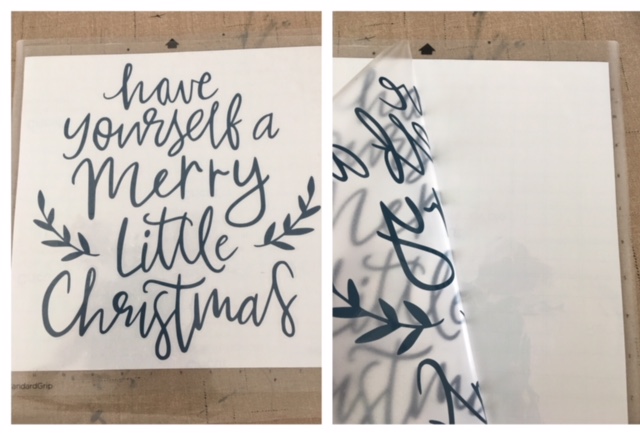
    Prepare vinyl onto your cutting mat. Insert into machine. Make a test cut. Cut design onto your vinyl. Weed your vinyl for a decal. (after you lay your vinyl onto you board you will be painting over everything and will be pulling up the vinyl design from your board which will show your background color.)

    (Click Image to Enlarge)


    Step 6:
    Place transfer tape atop weeded vinyl design. Finger press to secure. Push out any bubbles. Remove the adhesive backing. 

    (Click Image to Enlarge)


    Step 7:
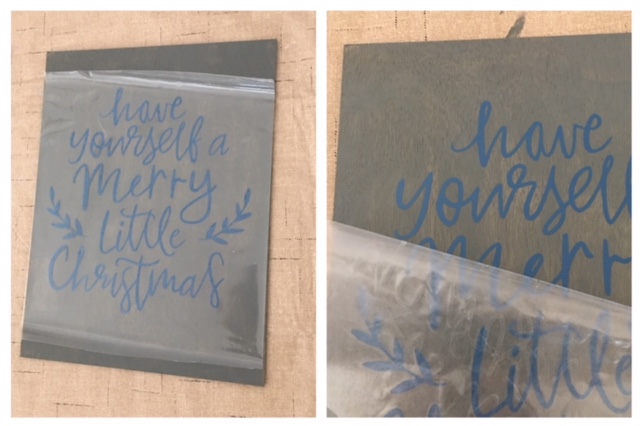
    Center onto painted board (ensure that paint is completely dried) Finger press to secure pressing out any bubbles. Carefully remove transfer tape. 

    (Click Image to Enlarge)


    Step 8:
    Paint over everything using the white paint or paint of choice. Let dry completely. If needed apply a second coat. Allow to dry.

    (Click Image to Enlarge)


    Step 9:
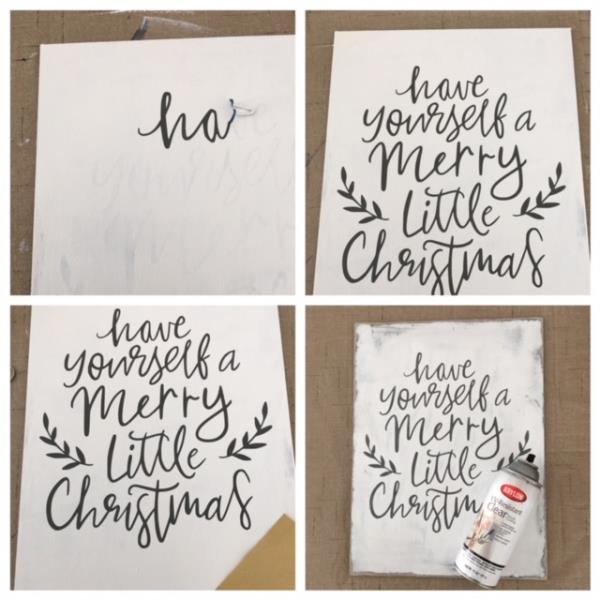
    Carefully remove decal. Sand/ distress all around edges and inside of board around design. Seal paints by spraying with clear acrylic coating spray. Let dry. 

    (Click Image to Enlarge)


    Step 10:
    And your Rustic Christmas sign is finished! Congrats on a job well done!

    (Click Image to Enlarge)

    Meet the Author: Linda Mills
    Linda Mills
    Linda loves to create by sharing her different sewing and machine embroidery techniques so others can utilize their machines to the fullest
    More From This Author
    Link is Broken, Please check the URL
    Exclusive Embroidery Offers!
    Copyright © {{ currentDate | date:'yyyy'}} - EmbroideryDesigns.com
    GET 50% OFF! ×