{{superHeaderAds.title}}
Live Chat
Embroidery Designs
Welcome, Embroiderer
Login
Custom Camping Pillow Case
{{mainImageAlt || (productInfo._source && productInfo._source.name) || ''}}

Custom Camping Pillow Case Embroidery Project

By   Martha Montgomery   on   July 29, 2021

PROJECT DETAILS

SKILL LEVEL
Intermediate
TIME REQUIRED
03:00
Description

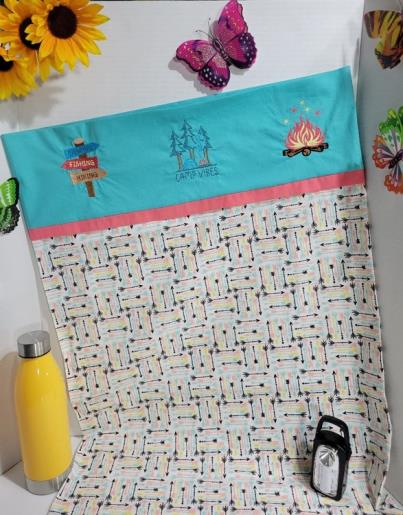
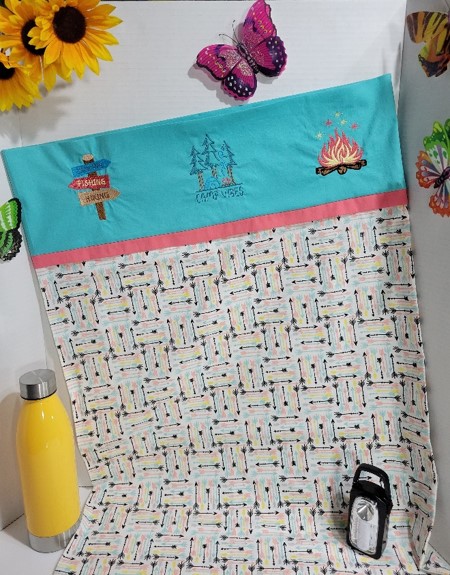
Custom Pillow Case for Camping or Slumber Parties

Project Preview Video
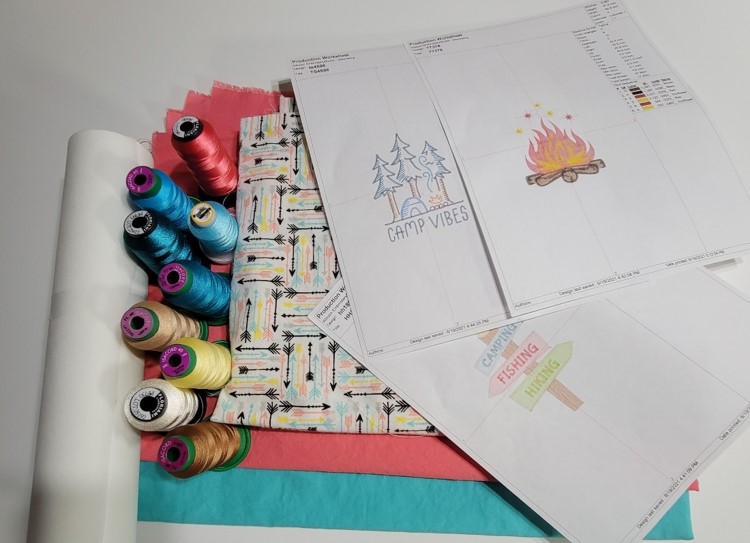
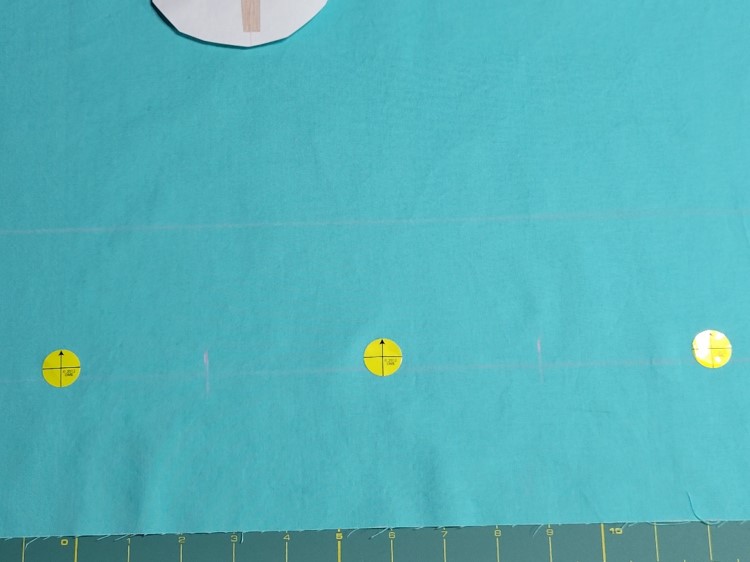
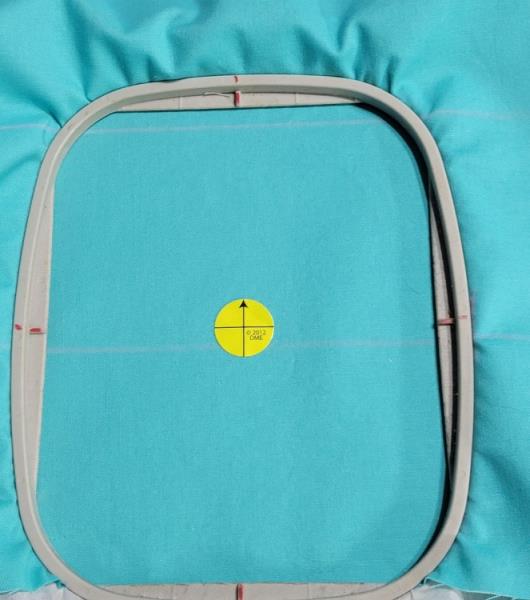
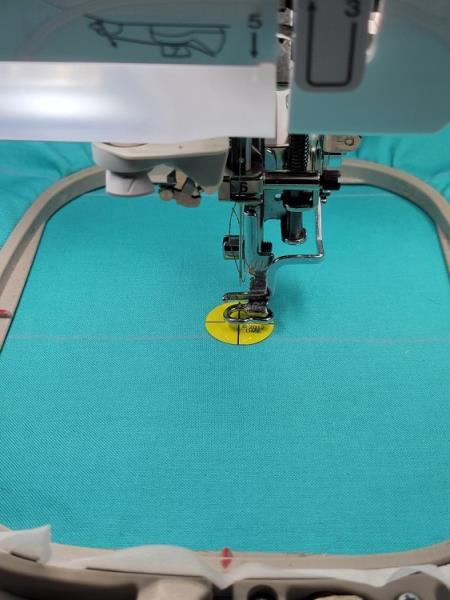
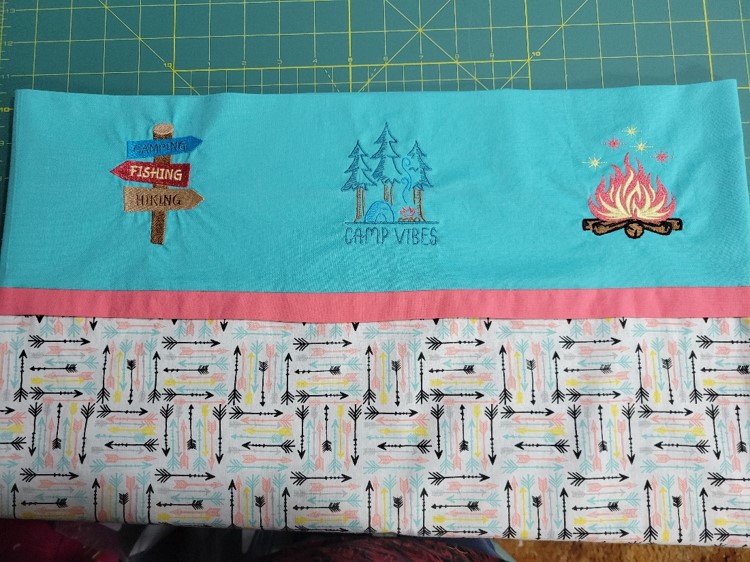
Materials
  • *Purchased pillow case or fabric to make your own.
  • I made this pillow case using the “burrito” method. It’s easy to find how-to videos online.
  • *Embroidery thread
  • *Cutaway stabilizer
  • *Sewing machine to assemble, if you make your own.

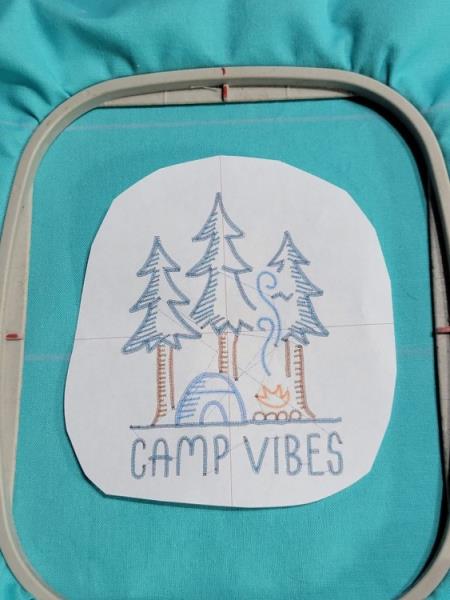
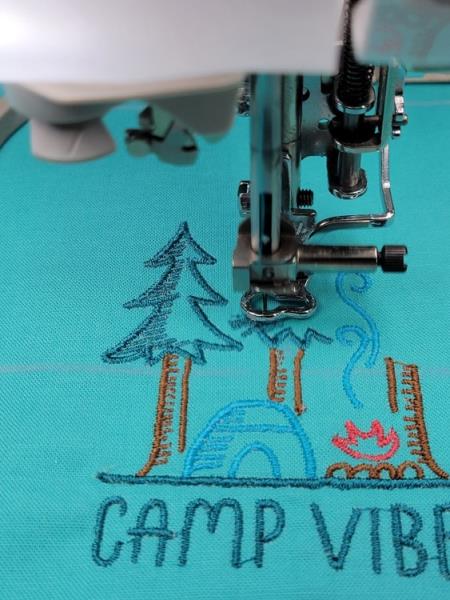
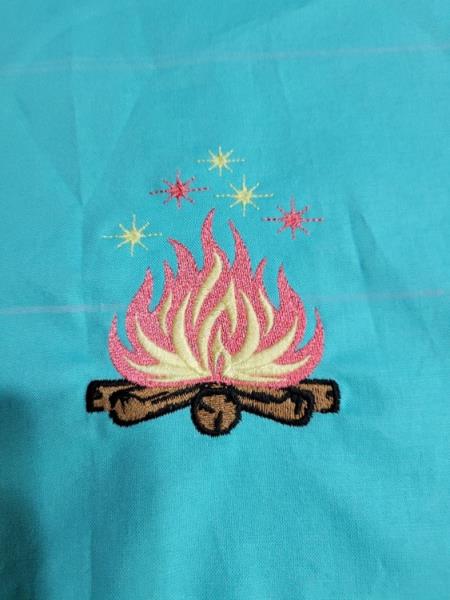
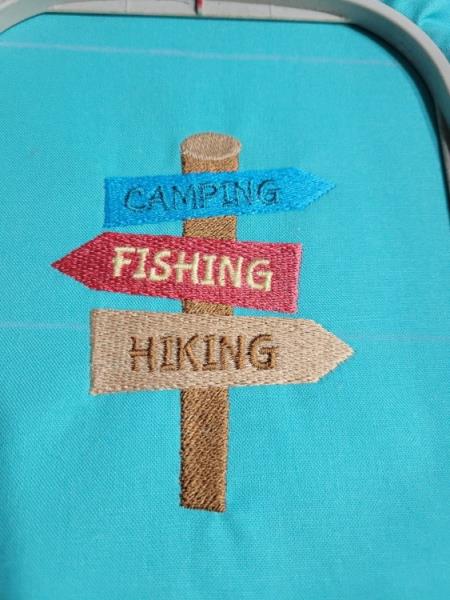
  • Designs used in this project

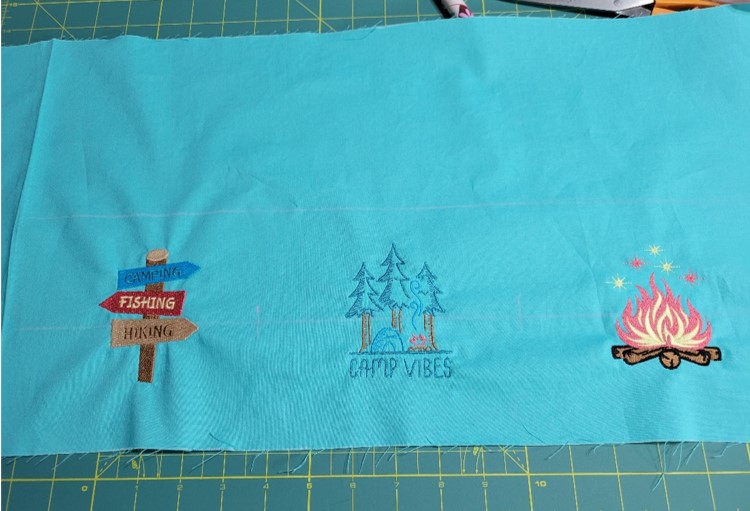
    Final Product: What You Will Create

    Preface:
    This custom made Camping Pillow Case is great for a slumber party or spending time in the great outdoors. You can use contrasting embroidery threads for the designs, or you can do as I did and borrow some of the tones of the pillow case fabrics to stitch the designs.


    Step 1:
    Gather the materials and read through the instructions before beginning. Print out a paper template of the design and color sequence.

    (Click Image to Enlarge)


    Step 2:
    Mark a line on your pillow case cuff where you want the bottom of the designs to align. If you are making your own pillow case, remember to calculate for seam allowances.

    (Click Image to Enlarge)


    Step 3:
    Hoop the cut away stabilizer and set aside. Unless you have a large hoop (or fewer designs) this project will require multiple hoopings.


    Step 4:
    Align your designs along the line marked in step 2 using the paper templates. Make a mark on the fabric where the center of each design is.

    (Click Image to Enlarge)


    Step 5:
    If you have target stickers, they are helpful to use to mark all three centers so you can hoop them easily, one at time, and still be sure the designs are lined up properly along the edge.

    (Click Image to Enlarge)


    Step 6:
    Hoop the first design area.

    (Click Image to Enlarge)


    Step 7:
    Confirm placement using your paper template.

    (Click Image to Enlarge)


    Step 8:
    Place it on your machine, confirming that the design is centered with the needle.  NOTE:  Remember to remove the target sticker. 

    (Click Image to Enlarge)


    Step 9:
    Following the stitch sequence, stitch out the first design.

    (Click Image to Enlarge)


    Step 10:
    Remove from hoop and trim away excess stabilizer.


    Step 11:
    Repeat steps 6, 7, 8 and 9 for the second design.

    (Click Image to Enlarge)


    Step 12:
    Repeat steps 6, 7, 8 and 9 for the third design.

    (Click Image to Enlarge)


    Step 13:
    You now have all 3 designs stitched out. If you have embroidered the designs on a purchased pillow case, you are done! Great job!

    (Click Image to Enlarge)


    Step 14:
    If you are making a custom pillow case as I did in this project, it is time to construct the pillow case following the directions you have chosen for your particular style.

    (Click Image to Enlarge)


    Step 15:
    Pack up the camping gear and set out for a great trip, having sweet dreams on your customized camping pillow case!

    (Click Image to Enlarge)

    Meet the Author: Martha Montgomery
    Martha Montgomery
    Martha has been sewing since childhood. She is a maker of garments, quilter and machine embroiderer. Martha loves all things fabric and fabric-related.
    More From This Author
    Link is Broken, Please check the URL
    Exclusive Embroidery Offers!
    Copyright © {{ currentDate | date:'yyyy'}} - EmbroideryDesigns.com
    GET 50% OFF! ×