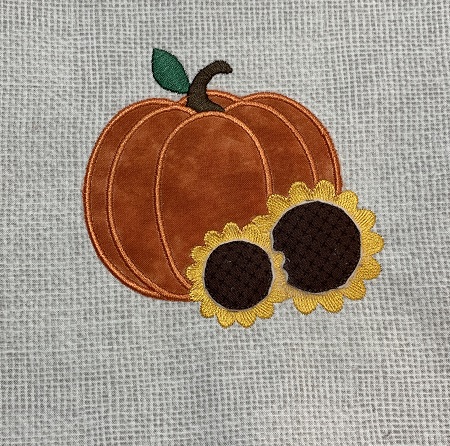
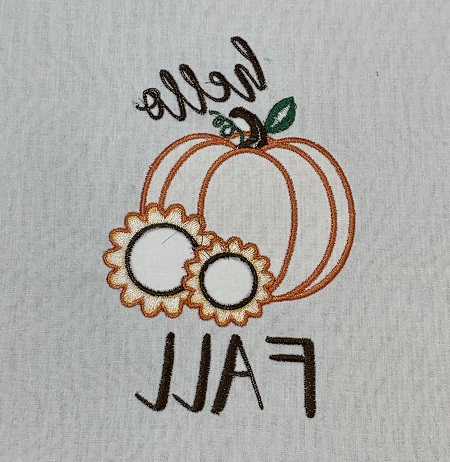
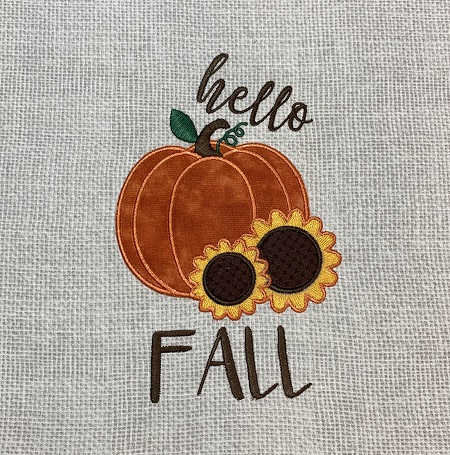
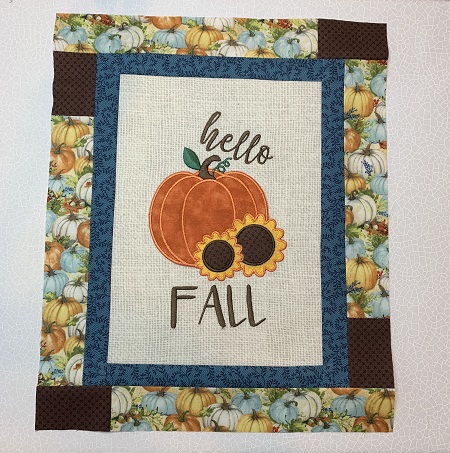
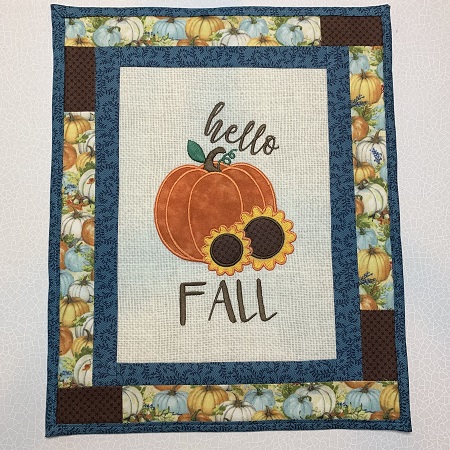
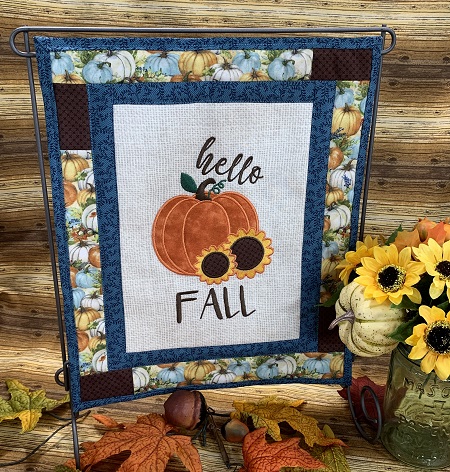
Say 'Hello Fall' with a colorful table top banner or door/wall hanging. The design features an appliqued pumpkin and sunflowers. Measurements may vary slightly. Stitch all seams 1/4".
Step 1:
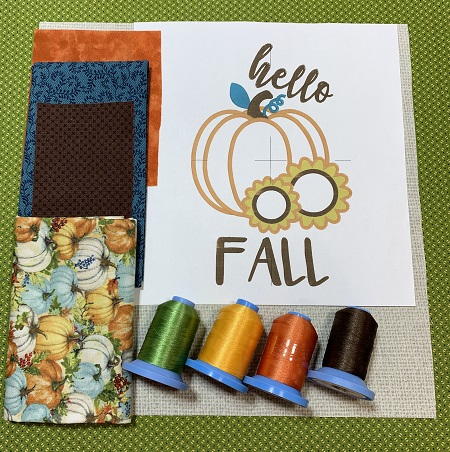
Gather & prepare the materials needed for the project. Read the directions before you begin the project. Iron and lightly starch the fabrics.
Step 2:
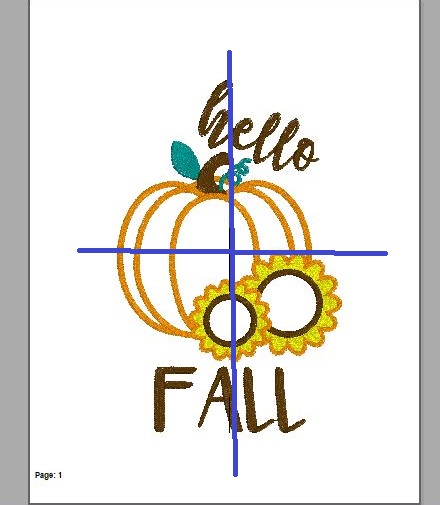
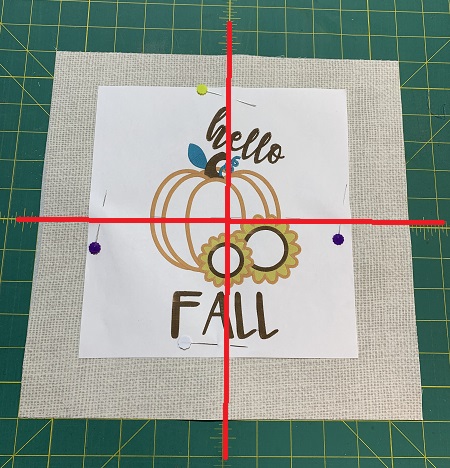
An essential tool for embroidery position and placement is a design template. A design template is a printout of the actual size of the design. It has the center of the design identified, as well as the horizontal and vertical axis lines. An embroidery program can print a template of any design. (Embrilliance Essentials embroidery software program was used to print the design template).
Print the design template.
Step 3:
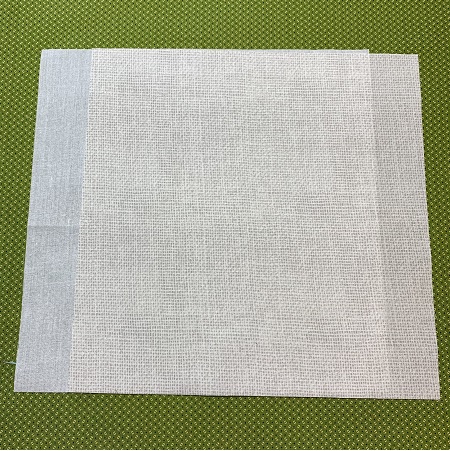
Follow the package directions to bond one 12"x12" piece of SF101 super flex interfacing to the back of the 12"x12" background fabric.
Step 4:
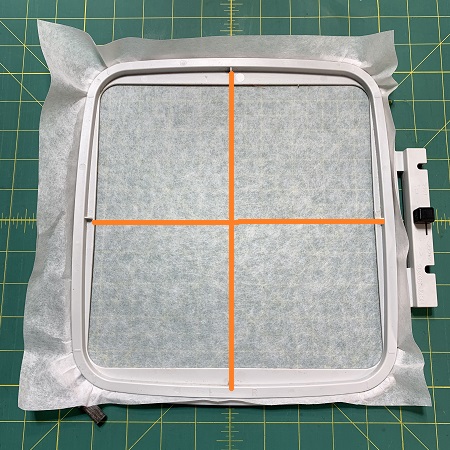
The size of the design is 4.9"x7.7" with a stitch count of 18,131. Hoop one piece of medium weight (2.0) tear away stabilizer.
Mark the center and axis points on the stabilizer.
Step 5:
Match the center of the design template with the center point on the stabilizer. Match the horizontal and vertical points on the hoop and the design template.
Use a light mist of 505 Temporary Adhesive spray on the stabilizer. Press the fabric onto the stabilizer. Secure the fabric to the stabilizer with wonder pins.
Step 6:
Load the design on the machine. A 75/11 size embroidery needle is suggested for this project. Attach the hoop to the machine. Check the stitching field area to make sure there is nothing in the way. Use the color guide to stitch the design.
The applique technique consists of three parts: placement stitches, tack down stitches, and finishing stitches. Color changes are used to stop the embroidery machine for each step.
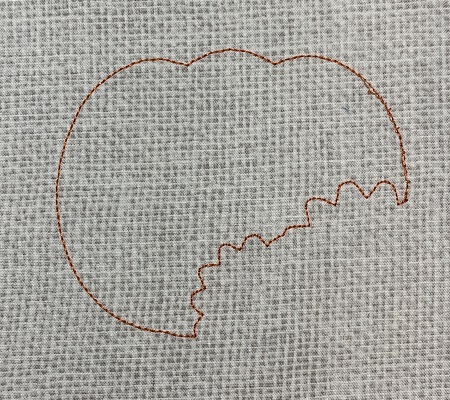
Stitch Color Stop 1 (CS1). CS1 is the placement stitch for the pumpkin.
Step 7:
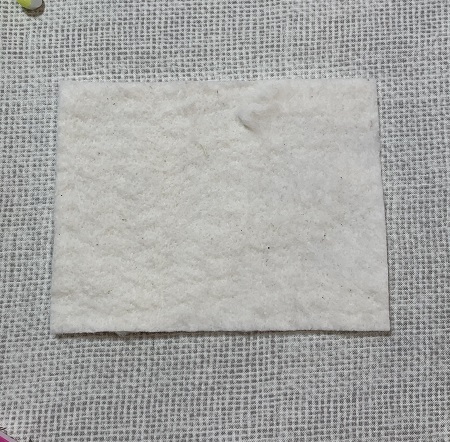
Use a light mist of the 505 Temporary Adhesive spray on one side of the 4"x5" piece of low nap batting. Place the batting over the top of the placement stitches. Press down gently. Surface must be smooth and wrinkle free.
Step 8:
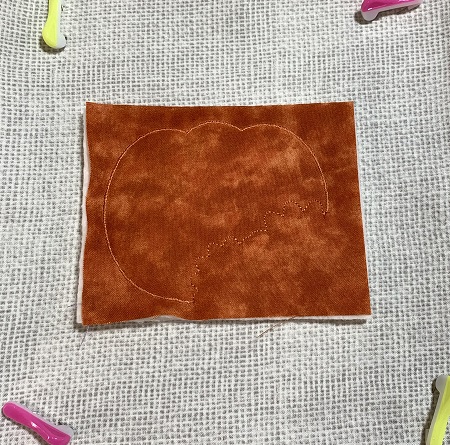
Use a light mist of 505 Temporary Adhesive spray on the back of the 4"x5" piece of orange fabric. Press the orange fabric gently onto the batting. Stitch CS2. CS2 is the tack down stitches for the orange fabric.
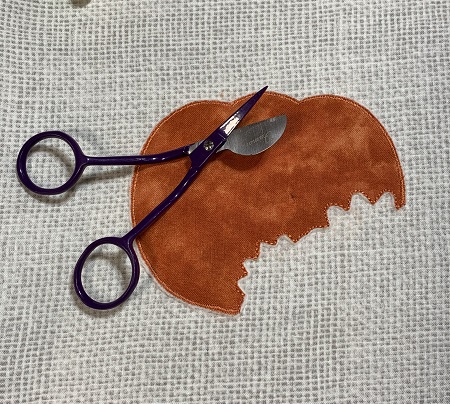
Step 9:
Remove the hoop from the embroidery machine. DO NOT remove the stabilizer from the hoop. Trim excess fabric from around the stitching. Re-attach the hoop.
Step 10:
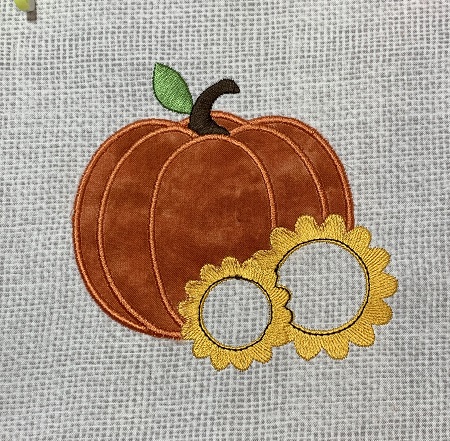
Follow the color guide to stitch the sunflower, leaf, and stem.
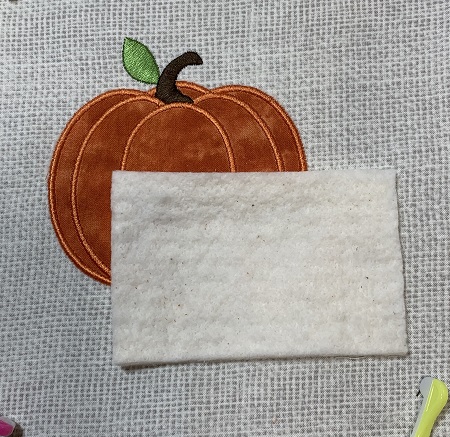
Step 11:
Use a light mist of 505 Temporary Adhesive spray on one side of the 2"x3.5" piece of low nap batting. Place the batting over the sunflower centers.
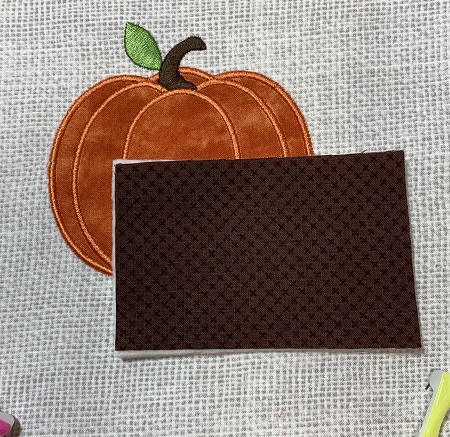
Step 12:
Lightly mist the back of the brown 2"x3.5" fabric with 505 Temporary Adhesive spray. Gently place the fabric on the batting on the sunflowers.
Stitch the tack down stitches.
Step 13:
Remove the hoop from the embroidery machine. DO NOT remove the project from the hoop. Trim excess fabric from around the sunflower centers. Re-attach the hoop.
Step 14:
Finish stitching the design.
Step 15:
Once the design has completed stitching, remove the hoop from the machine. Remove the fabric from the hoop. Gently tear away the stabilizer from around the design.
Step 16:
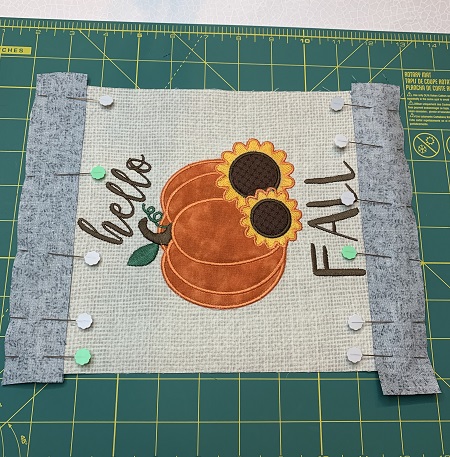
Trim the stitched fabric to measure 8"x11".
Step 17:
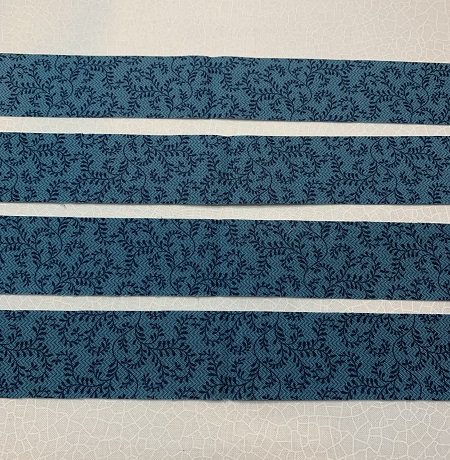
Cut two border strips 1.5"x8.5". Cut two border strips 1.5"x13".
Step 18:
Pin the 1.5"x8.5" border pieces to the top and bottom of the block. Sew a 1/4" seam.
Step 19:
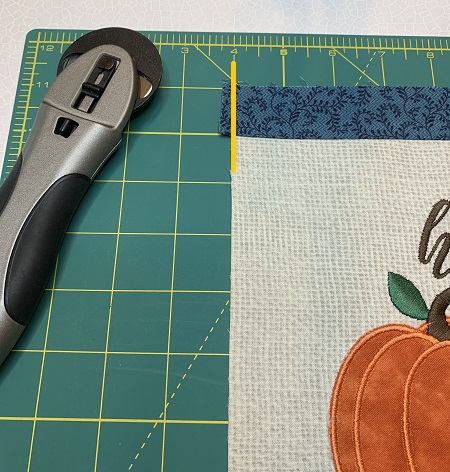
Trim overlap border fabric if needed.
Step 20:
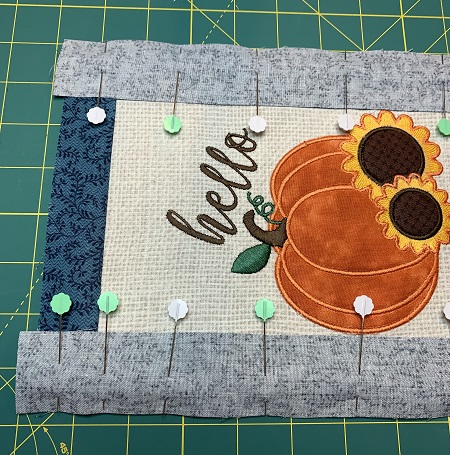
Pin the 1.5"x13" border fabrics on the sides of the block. Stitch a 1/4" seam. Trim any overlap fabric if needed.
Step 21:
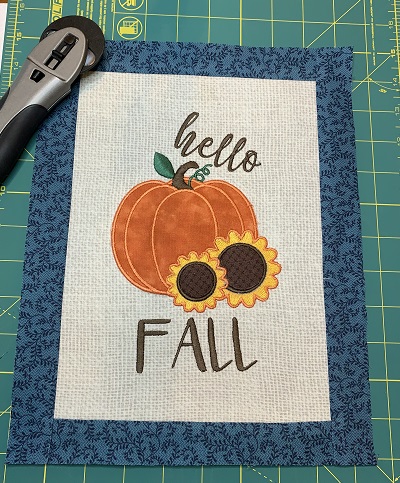
Press the border with an iron.
Step 22:
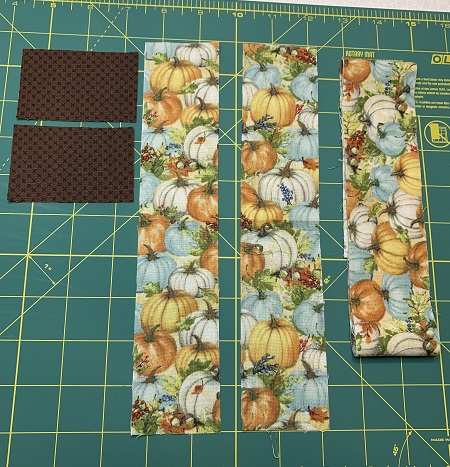
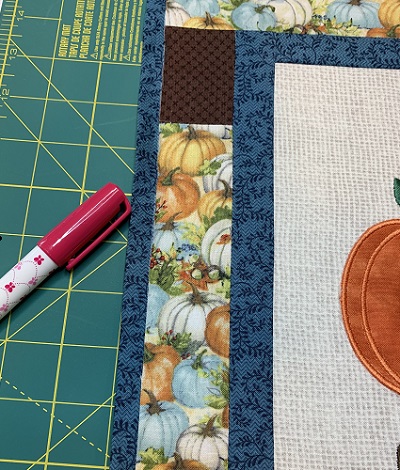
Cut four 2"x10" coordinating fabric. Cut four 2"x4" coordinating fabric.
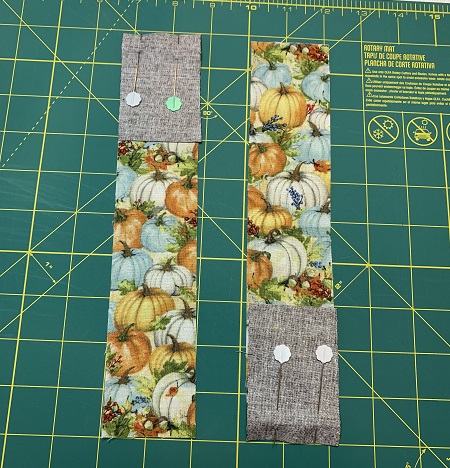
Step 23:
Pin one 2"x4" piece to one 2"x10" fabric piece. Stitch a 1/4" seam along the pinned side. Repeat this step for three more border strips.
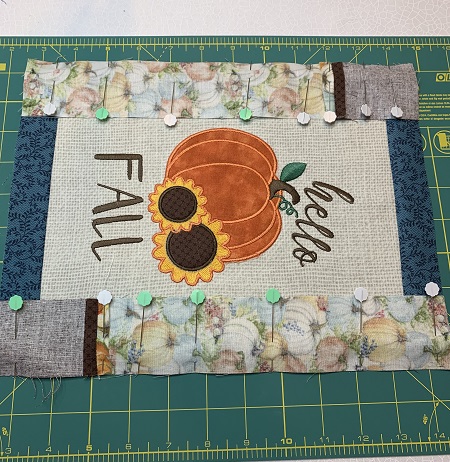
Step 24:
Pin two border strips to the sides of the block. Stitch a 1/4" seam along the pinned sides.
Step 25:
Pin the border strips to the top and bottom sides of the block. Stitch a 1/4 seam along the pinned sides.
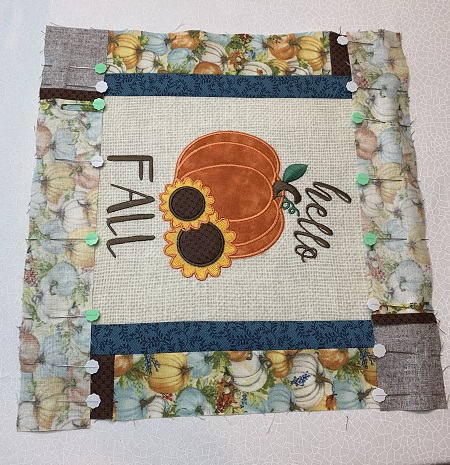
Step 26:
Press the border with an iron. Square the sides if needed.
Lay paper towels on a flat surface. Lay one piece of 12"x12" low nap batting on the paper towels. Lightly mist the batting surface with 505 Temporary Adhesive spray. Place the block on the batting. The surface must be smooth and wrinkle free. Trim any batting that overlaps on the sides if needed.
Step 27:
Place the 14"x14" piece of backing on a flat surface with the WRONG side up. Center the stitched block on the backing fabric. Use a light mist of 505 Temporary Adhesive spray on the wrong side of the backing fabric. Press the fabric block onto the backing fabric.
The overlap of the backing fabric should be equal on all side. Trim the overlap to 1.0" on all sides.
Step 28:
Fold the backing down 1/2". Press on the fold line. Fold the fabric over again. Pin or glue the binding in place.
Step 29:
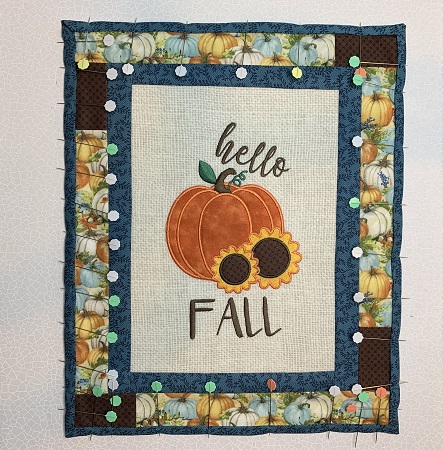
Pin the three pieces together (front, batting, & backing). Topstitch around the outer border. Topstitch around the focal block.
Step 30:
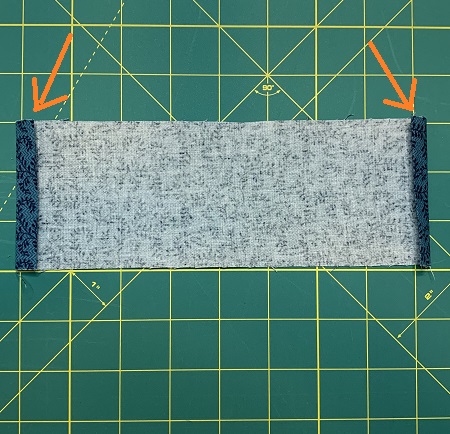
Fold the sides down 1/4" of the 4"x10" fabric piece. Press on the fold line. Fold down again 1/4" and press.
Stitch a 1/4" seam.
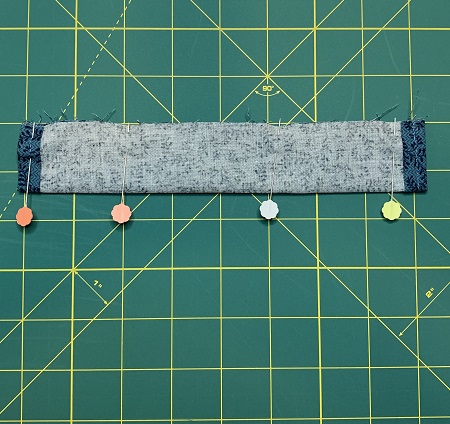
Step 31:
Fold the fabric in half and pin. Stitch a 1/4" seam on the pinned side. Turn the fabric right side out. Press with an iron.
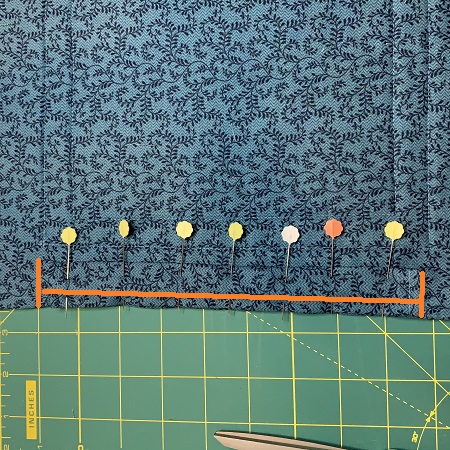
Step 32:
Center the fabric sleeve on the back of the banner at the top. Match the edge of the sleeve to the top edge of the banner. Pin the sleeve in place. Stitch a 1/4" seam the length of the sleeve.
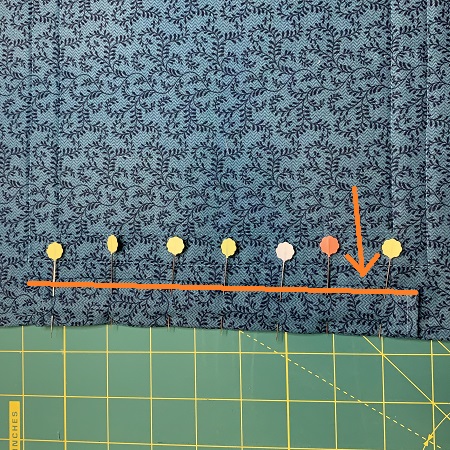
Step 33:
Use a slip stitch with a needle and thread to hand stitch the lower edge of the sleeve on the banner.
Step 34:
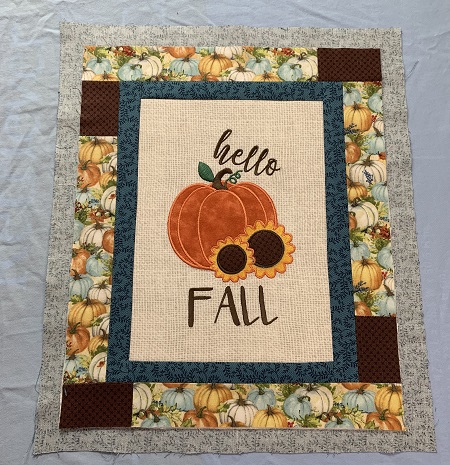
'Hello Fall'!
Step 35:
Congrats! Great job!
Beautiful things come together one stitch at a time...
Marisa Littleton is a retired educator with a love for teaching and learning. Interests include machine embroidery, hand embroidery, quilting, cooking, and antiques.