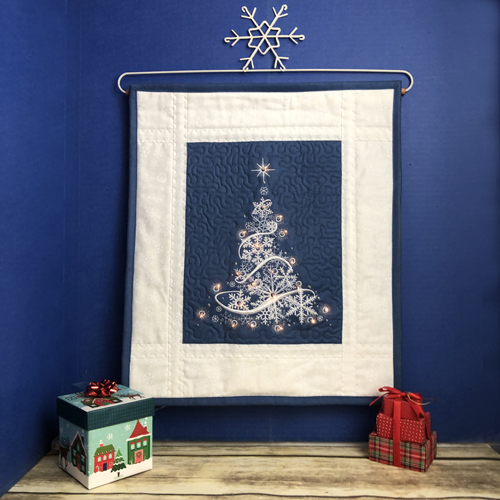
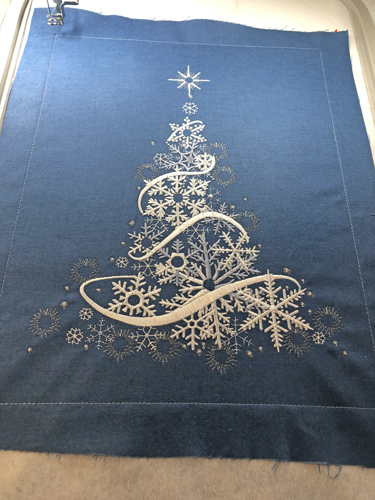
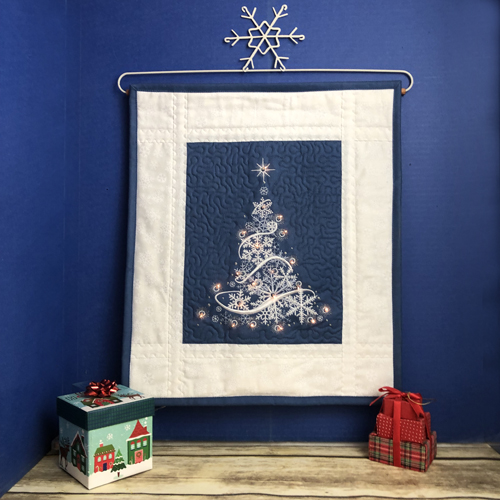
Amaze you friends with this lovely wall hanging that you can create on your embroidery machine. The lights can be set for a steady glow or can flash. This design is created for a 9 ½” x 14” hoop or larger.
Step
of
Lighted Snowflake Christmas Tree Wall Hanging
By Pat Williams
The instructions include adding a small pocket to the back of the wall hanging to hold the battery pack. The weight of the battery pack can distort the bottom line of the quilt, so if you can hang your quilt close enough to a mantle or table top you can set the battery pack on the table and hide it with a small gift box or other Christmas related décor as shown in the main picture. Therefore, adding the pocket is optional. The hoop shown in the making of the sample is a 16” x 10 5/8” hoop.
Step 1:
(Click Image to Enlarge)
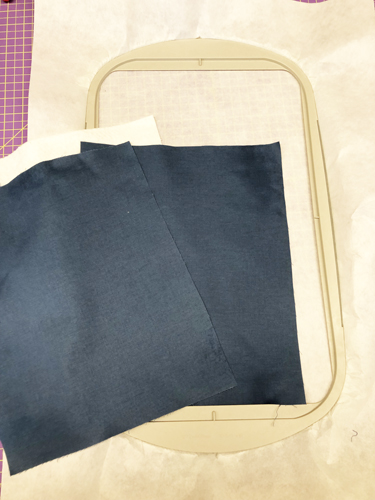
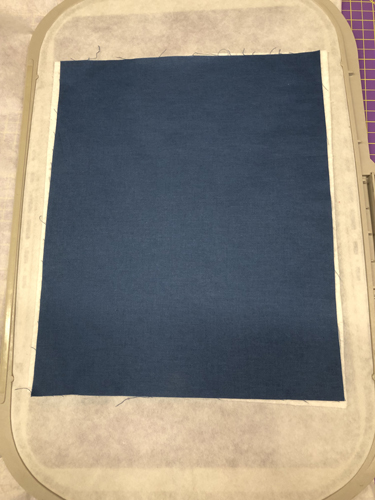
Cut two 11” x 14” rectangles of the blue Kona® Cloth and one 11” x 14” rectangle of Battilizer® or low loft batting. Tautly hoop 2.5-ounce stabilizer in your hoop.
Step 2:
(Click Image to Enlarge)
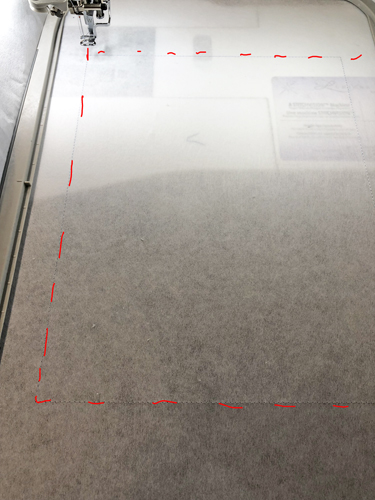
Run color-stop (CS) 1 in a neutral thread as a placement line.
Step 3:
(Click Image to Enlarge)
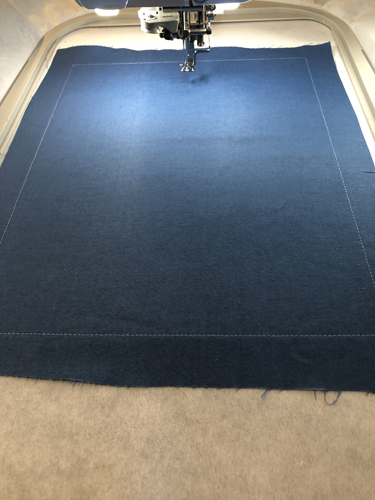
Spray adhesive on the back of one of the blue fabric rectangles and position over the stabilizer so that the fabric exceeds the placement line by approximately 1” on all sides. Run CS 2 in water-soluble thread to tack down the fabric.
Step 4:
(Click Image to Enlarge)
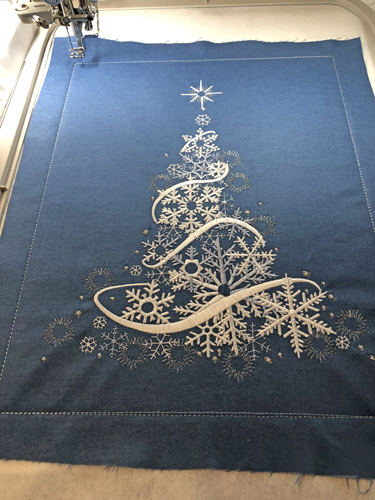
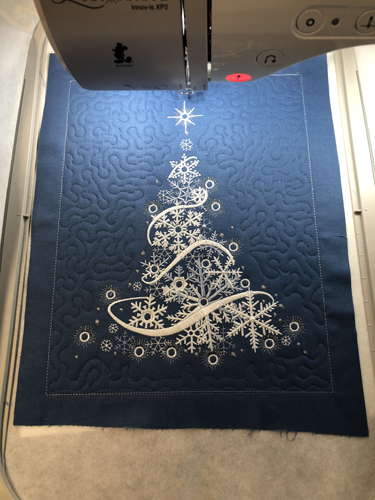
Follow the color chart through CS 7 to embroider the snowflake Christmas Tree.
Step 5:
(Click Image to Enlarge)
Remove the hoop from the machine, do not unhoop. Lay the hoop face down on a flat surface. Spray adhesive on the Battilizer® and smooth it over the placement lines on the back of the hoop having the Battilizer® exceed the placement lines by 1” on all sides. Spray adhesive on the back of remaining blue fabric rectangle and align over the Battilizer®.
Step 6:
(Click Image to Enlarge)
Return the hoop to the machine and run CS 8 in water-soluble thread to tack down the back fabrics.
Step 7:
(Click Image to Enlarge)
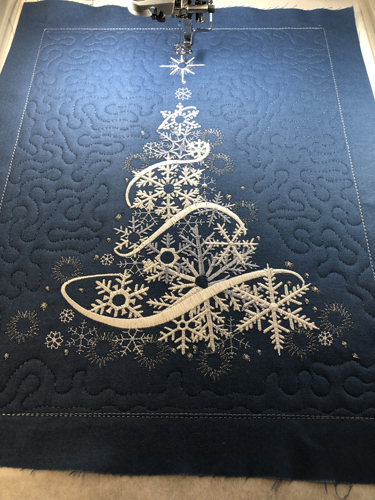
Run CS 9 in invisible thread (YLI recommended) to quilt the project.
Step 8:
(Click Image to Enlarge)
Run CS 10 in white thread to embroider the eyelets.
Step 9:
(Click Image to Enlarge)
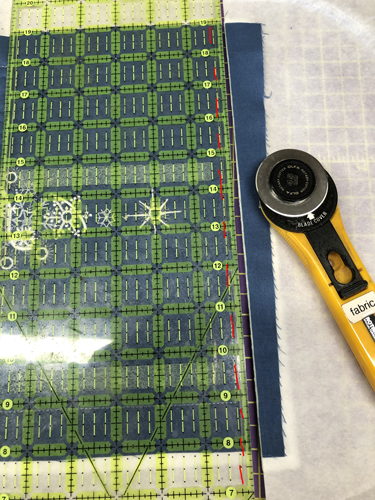
Lay the ¼” mark of a see-through ruler along the outside water-soluble placement lines and trim all edges to a 1/4” seam allowance.
Step 10:
(Click Image to Enlarge)
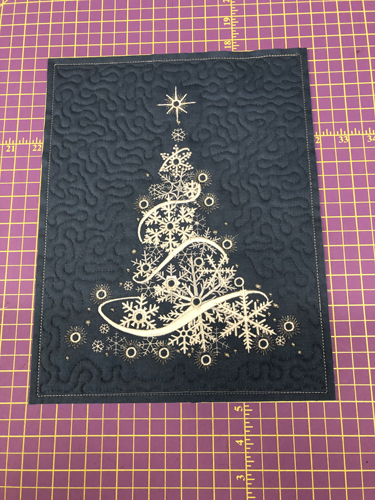
Your center panel will now look like this. I am sure you will be tempted to open the eyelets at this point but wait until instructed to do so.
Step 11:
(Click Image to Enlarge)
Cut for borders:
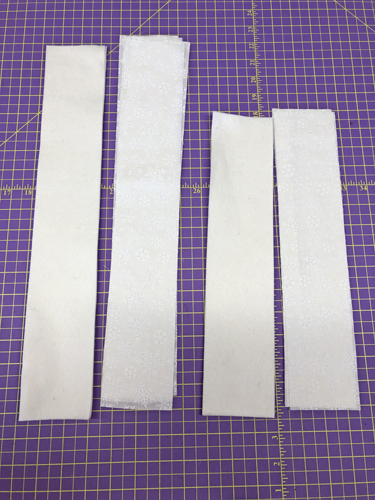
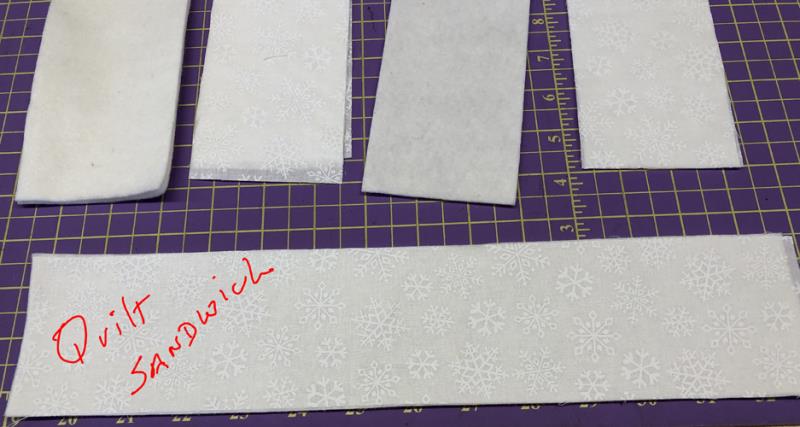
a. 4 strips 14” x 3” white snowflake print b. 4 strips 18” x 3” white snowflake print c. 2 strips of Battilizer® or low loft batting 14” x 3” d. 2 strips of Battilizer® or low loft batting 18” x 3”
Step 12:
Make 4 quilt sandwiches for the borders by spraying one side of the Battilizer® with adhesive spray. Align a corresponding snowflake fabric and finger press it into place. Spray adhesive on the backside of the Battilizer® and cover it with a second corresponding strip of fabric right side up. Repeat for all four border pieces.
(Click Image to Enlarge)
Step 13:
(Click Image to Enlarge)
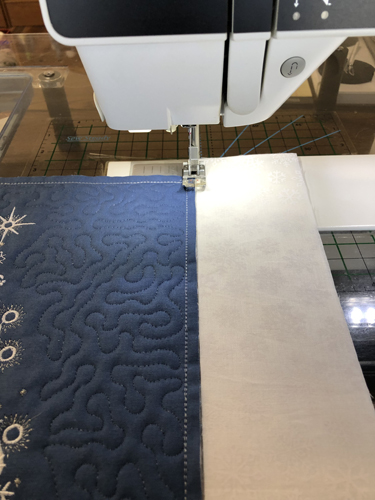
Use invisible thread in the top and bobbin of the sewing machine for the remainder of the steps. Attach the side borders to the center block first by aligning the 14” x 3” border with a side of the block having the border extend about 1” above the top and bottom of the block. Using a 5mm width zigzag with a spacing of approximately 3.5mm. Stitch the border to the block without overlaps or gaps. Repeat for the other side border.
Step 14:
(Click Image to Enlarge)
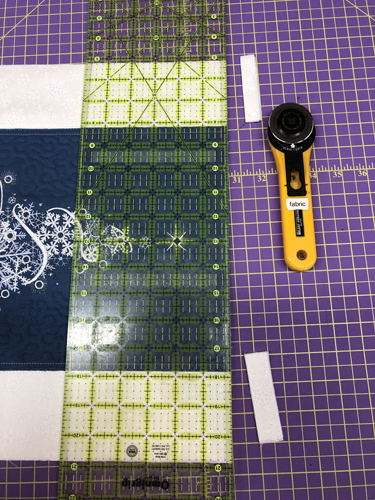
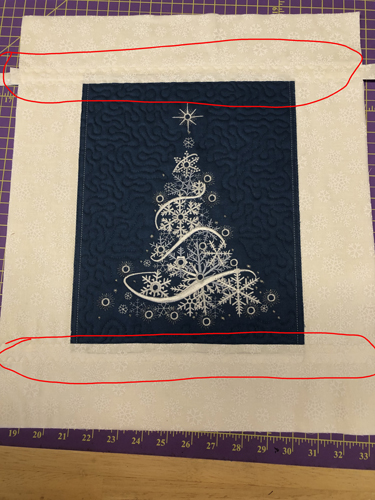
Lay the see-through ruler straight across the top and bottom of the project and trim off the borders.
Step 15:
(Click Image to Enlarge)
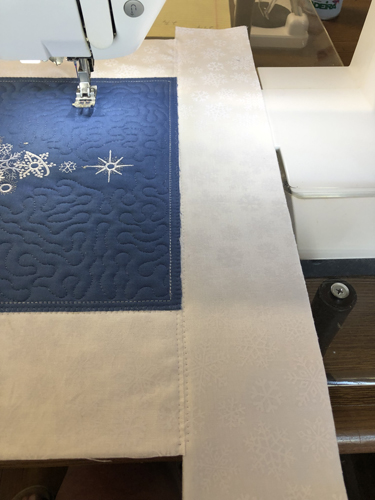
Using the 18” x 3” quilt sandwiches attach the top and bottom borders all the way across the project as in Step 13.
Step 16:
(Click Image to Enlarge)
Trim the excess borders from the sides of the quilt.
Step 17:
(Click Image to Enlarge)
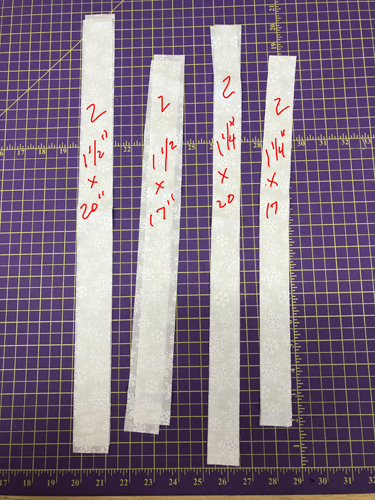
For sashing cut from snowflake print:
a. Two strips 1 ½” x 20” b. Two strips 1 ½” x 17” c. Two Strips 1 ¼” x 20” d. Two Strips 1 ¼” x 17”
Step 18:
(Click Image to Enlarge)
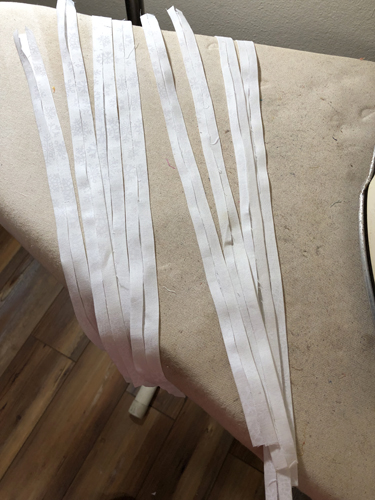
Spray all the sashing strips with spray starch, fold the long edges in to meet in the center of the strips and press. Keep the narrow sashing strips separate from the wider sashing. The narrow sashing will be applied to the back of the wall hanging, the wide will be stitched to the front of the project.
Step 19:
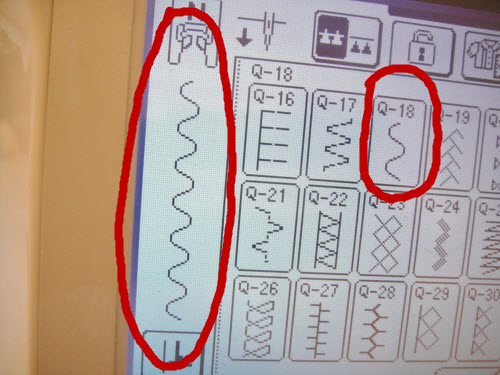
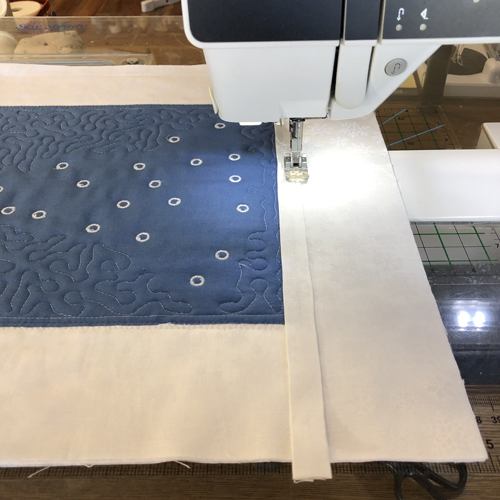
The sashing is stitched to the quilt with a Serpentine stitch such as illustrated in the picture. If you do not have a Serpentine stitch you can use a straight or any other stitch you choose. Use invisible thread in the top and bottom of the machine.
Step 20:
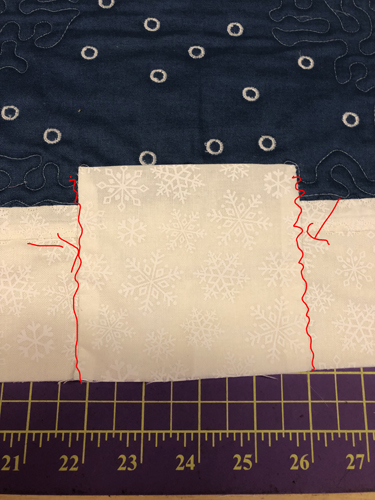
Starting on the back of the mini quilt and at the bottom seam lay the 17” narrow sashing strip across the zigzag stitch seam extending the sashing about 1” above the project edges. Stitch down both sides of the sashing. Repeat on the top joining seam.
Step 21:
(Click Image to Enlarge)
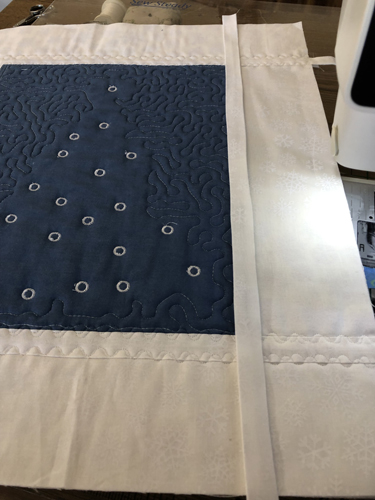
Turn the project right side up. Stitch the wider 17” sashing strip over the two horizontal zigzag seams and stitch down in the same manner.
Step 22:
(Click Image to Enlarge)
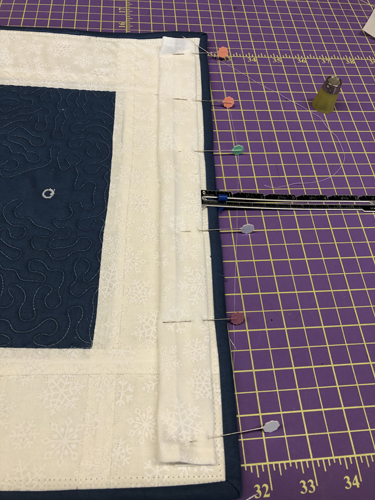
Turn the project face down. Align the narrow 20” strips across the whole project even through the joining seam is only in the center of the quilt. Stitch down both sides with the Serpentine stitch. Turn the project face up and stitch the wider sashing strips down over the zigzag seam lines in the same manner.
Step 23:
(Click Image to Enlarge)
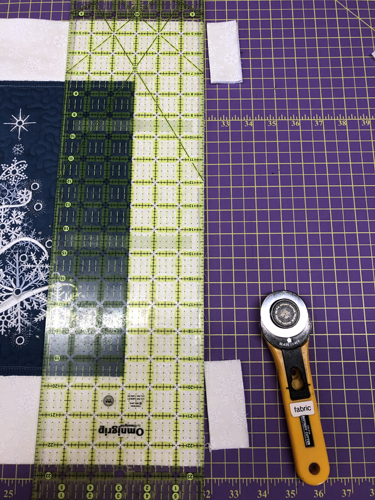
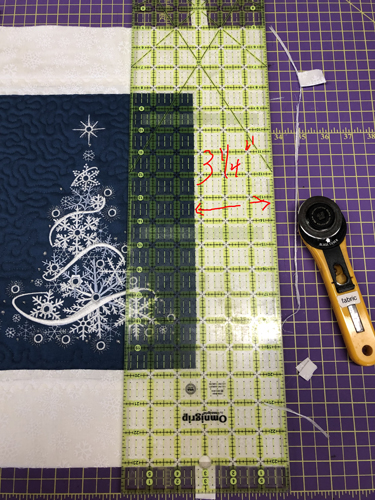
Trim the excess sashing and square up your quilt at the same time. This is done by measuring from the inside of the quilt block where the white sashing meets the blue center, my measurement was 3 ¼”. This may trim off a slight amount of border as well as trim the excess sashing.
Step 24:
(Click Image to Enlarge)
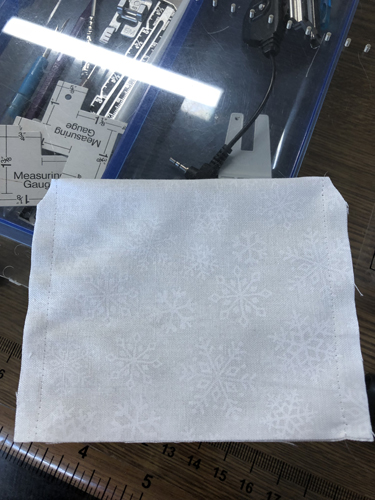
To make the optional pocket for the battery pack on the back of the quilt (see the note in the preface above the instructions) cut a 4.5” by 8” scrap of fabric. Fold it in half right sides together and stitch down both sides with a ¼” seam. Trim the corners and turn right side out. Press.
Step 25:
(Click Image to Enlarge)
Align the center of the pocket, raw edges at the bottom, with the bottom center of the quilt and hand stitch down both sides, being sure to only stitch through the back fabric. Then cut 2 strips of 2 1/4” binding strips and bind the quilt using your preferred method catching the bottom edge of the pocket in the binding. If you don’t have a preferred binding method see our article on Binding a Small Embroidery Project.
Step 26:
(Click Image to Enlarge)
Attach a binding sleeve to the top back of the quilt ½” below the top edge. The binding sleeve for this quilt was cut 15 ½” by 3 ½”. If you need instructions for making a handing sleeve see our article Attaching a Hanging Sleeve to a Mini Quilt.
Step 27:
(Click Image to Enlarge)
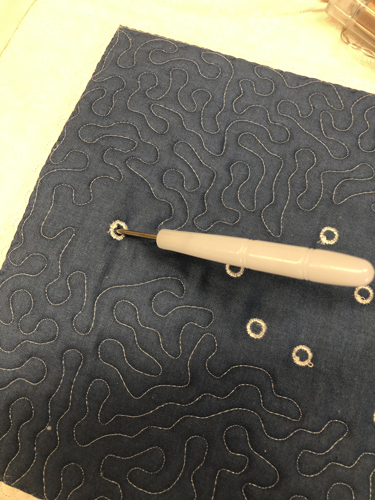
Now we will make the holes through the eyelets to insert the light bulbs. We want to not make the holes too large so the lights don’t fall all the way through the front of the quilt, but the embroidered circles are made a little larger than necessary for the Tiny Lites incase you have to use a different brand of lights. Working from the back of the quilt punch a hole all the way through the quilt.
Step 28:
(Click Image to Enlarge)
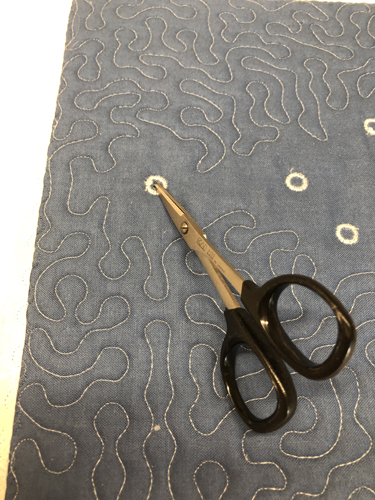
With a small pair or scissors that are sharp right to the tip, insert the scissors in the whole and make a small snip to one inside edge of the circle.
Step 29:
(Click Image to Enlarge)
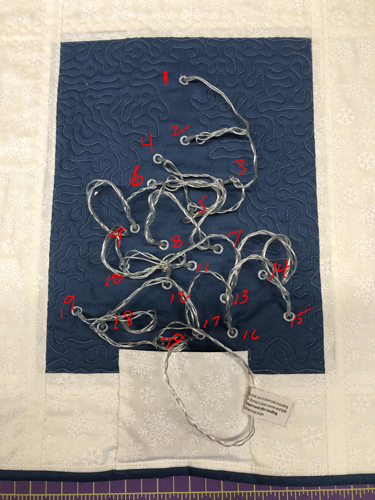
You do not have to follow this diagram completely, but this is how the tips of the light bulbs were inserted into the sample. You want to insert the 1st lights through the top hole and work you way down to the bottom.
Step 30:
Insert the snowflake frame and your Lighted Snowflake Christmas Tree Wall Hanging is Complete.
Award winning Digitizer, Embroidery Educator, Author and a Consultant to the Industry, Pat Williams has 30 years of experience in the embroidery industry. Pat has won multiple awards for her digitizing expertise including the 2007 Impressions Awards Grand Championship, Best of Show as well as the 1st and 2nd Place Awards. Pat’s love of digitizing has afforded her the opportunity to write numerous articles for Impressions magazine in the United States and Images Magazine in Europe. In 2001 Pat was named “Embroidery Educator of the Year.” For many years Pat taught digitizing seminars at the ISS Shows in Long Beach, CA and for Compucon software. She now resides in Tucson, AZ.