{{superHeaderAds.title}}
Live Chat
Embroidery Designs
Welcome, Embroiderer
Login
Halloween Lantern/SVG
{{mainImageAlt || (productInfo._source && productInfo._source.name) || ''}}

Halloween Lantern/SVG Embroidery Project

By   Linda Mills   on   June 14, 2021

PROJECT DETAILS

SKILL LEVEL
Some Experience
TIME REQUIRED
01:15
Description

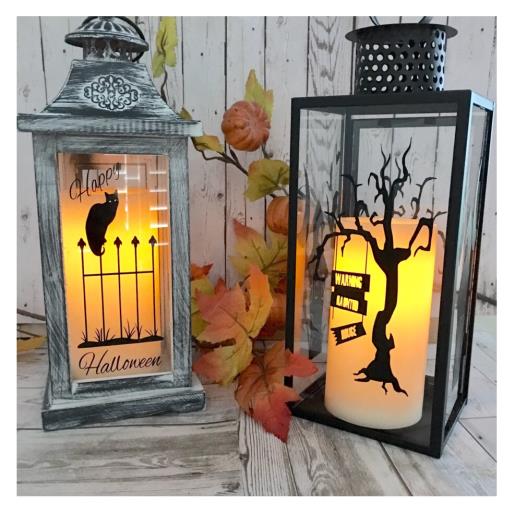
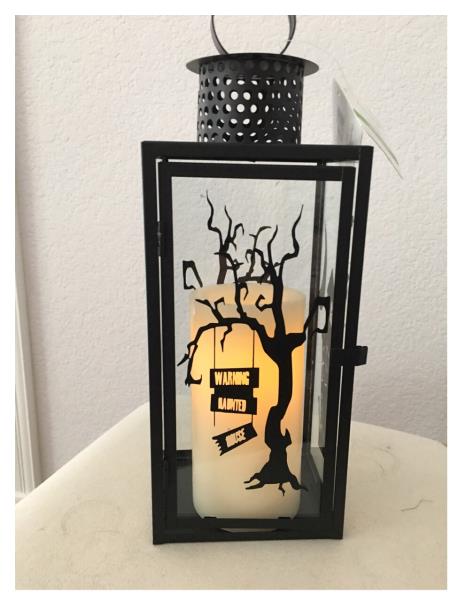
Halloween will be here before your know it! This lantern will surely add to your Halloween decor for the eerie Halloween season.

Project Preview Video

Materials
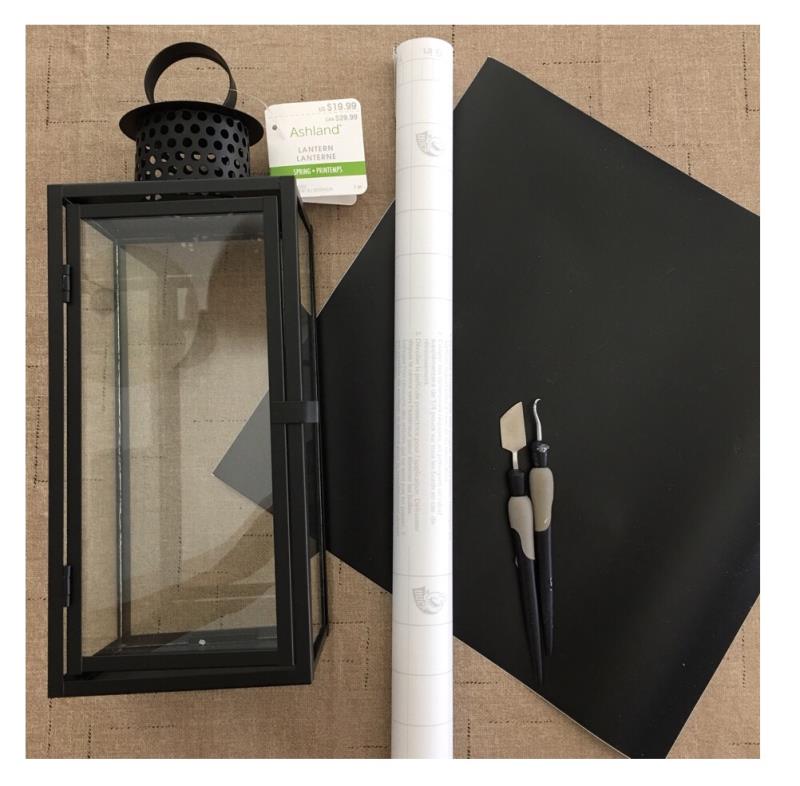
  • METAL LANTERN( BODY OF LANTERN APPROX 9” TALL WAS USED FOR THIS TUTORIAL)
  • BLACK ADHESIVE BACK VINYL (1) 12” X 12”
  • TRANSFER PAPER
  • CUTTING MACHINE
  • WEEDING TOOLS
  • TALL PILLAR CANDLE SINGLE WICK BATTERY OPERATED

  • Designs used in this project

    Final Product: What You Will Create

    Preface:
    Create “spooky” decals with these SVG designs using your cutting machine to place onto the outside of your lantern's glass windows. When lit at night it will glow with a creepy display and an eerie delight!  *Basic knowledge of the usage of a cutting machine and how to weed the cut design vinyl into a decal is needed. 


    Step 1:
    Gather all supplies and review instructions before beginning. Clean the front of your lantern windows of dust and dirt. 

    (Click Image to Enlarge)


    Step 2:
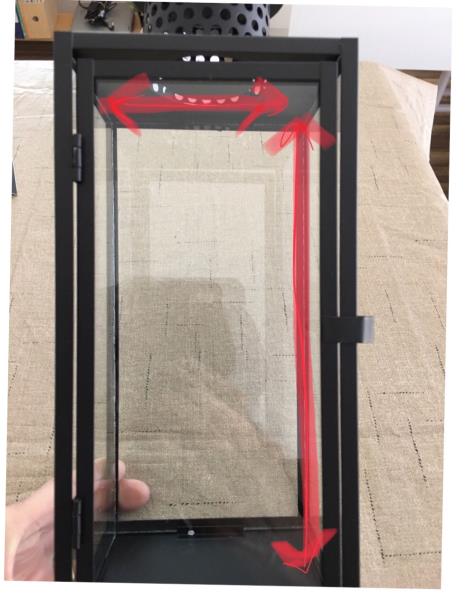
    Measure from inside the frame of the four windows on your lantern as you will need to resize the SVG designs to fit. Not all the lantern windows are the same size so be sure to measure all four. 

    (Click Image to Enlarge)


    Step 3:
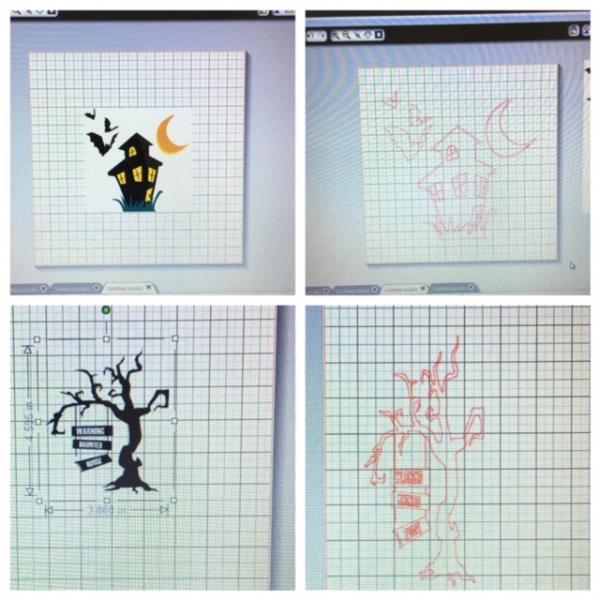
    Bring into you cutting machine’s program the SVG design Warning Haunted House. Cut design and resize to fit your lantern’s window. Repeat this step using the SVG design Haunted House. You will need to cut two of each.

    (Click Image to Enlarge)


    Step 4:
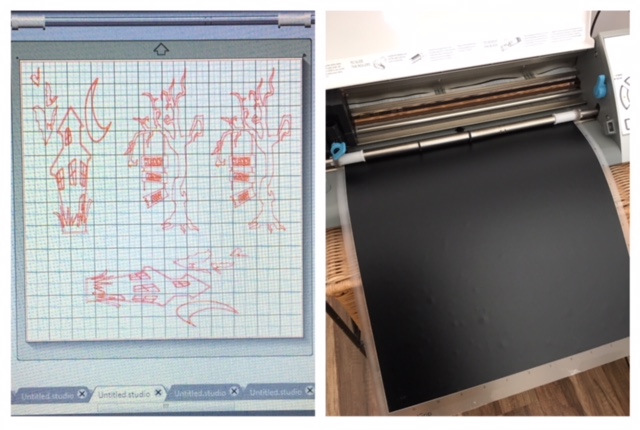
    Position your cut designs on your cutting machine program screen. I was able to cut four designs on a vinyl 12” x 12” sheet based on the size of my designs. Additional vinyl may be needed based on your size of design. Prepare your vinyl using your cutting mat. Load into your cutting machine.

    (Click Image to Enlarge)


    Step 5:
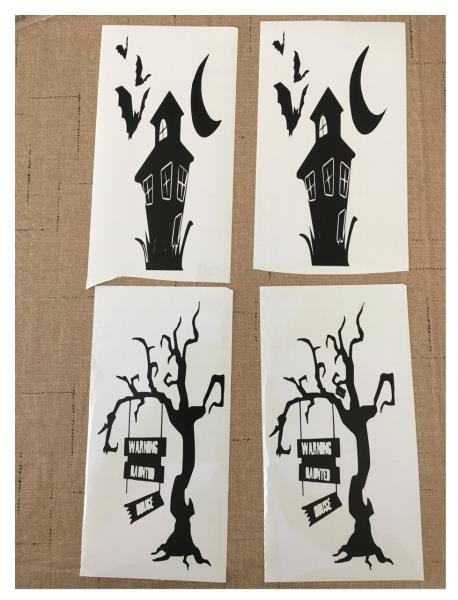
    Adjust your cut settings and cut designs onto vinyl. Weed your cut designs for a decal by removing all the
    unwanted vinyl.

    (Click Image to Enlarge)


    Step 6:
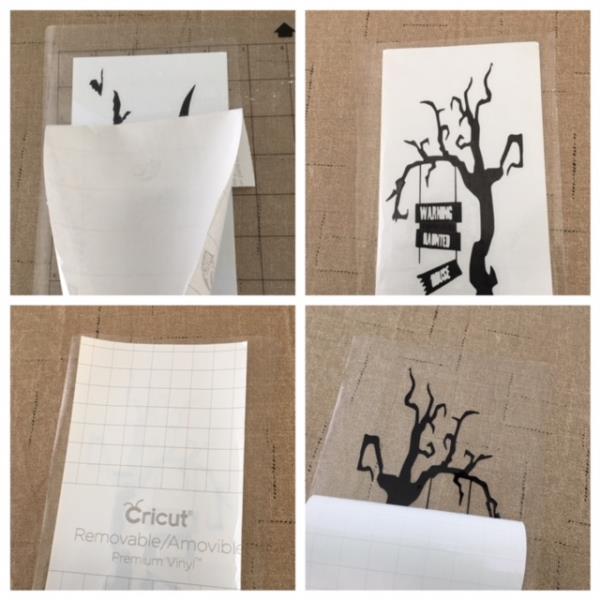
    Place transfer tape on each cut design. Smooth out any air bubbles. If you haven't already, remove any dust/dirt from your lantern windows. Consider your placement of each decal. Remove adhesive backing from one of your decals.

    (Click Image to Enlarge)


    Step 7:
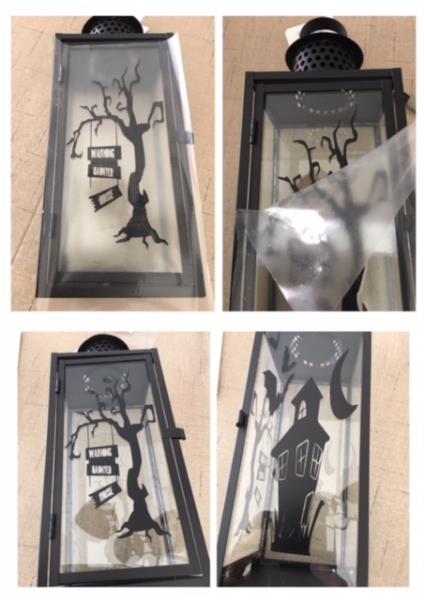
    Center and place one of the decals onto one of your lantern windows. Finger press to adhere, smoothing out air bubbles. Slowly remove transfer tape and your first window is done! Repeat steps for the remainder lantern windows. 

    (Click Image to Enlarge)


    Step 8:
    Add your candle and your Halloween lantern is complete! Way to go! Happy Haunting!

    (Click Image to Enlarge)

    Meet the Author: Linda Mills
    Linda Mills
    Linda loves to create by sharing her different sewing and machine embroidery techniques so others can utilize their machines to the fullest
    More From This Author
    Link is Broken, Please check the URL
    Exclusive Embroidery Offers!
    Copyright © {{ currentDate | date:'yyyy'}} - EmbroideryDesigns.com
    GET 50% OFF! ×