


PROJECT INSTRUCTIONS


PROJECT INSTRUCTIONS

Felt Laptop Case Embroidery Project
By
Kylie Burke
on
May 07, 2021
PROJECT DETAILS
SKILL LEVEL
Experienced
TIME REQUIRED
02:00
Description
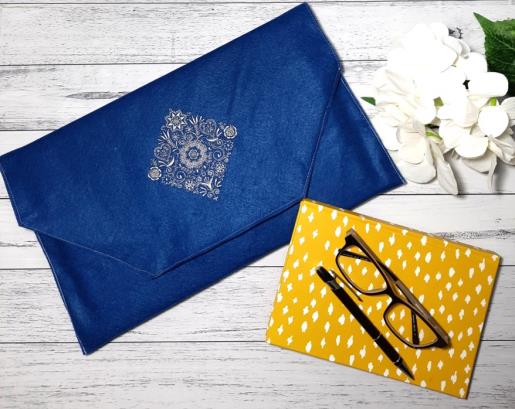
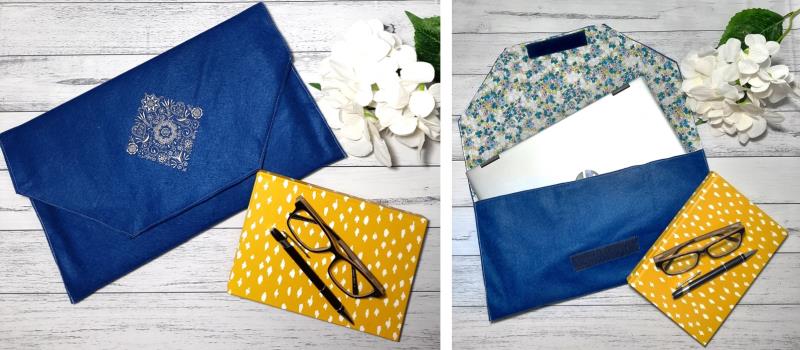
Don't settle for a boring laptop case when you can use this elegant embroidery design and follow these simple steps to whip up a stylish laptop case!
Project Preview Video

QUICK VIEW
Tear Away Stabilizer
$7.98
Circle Price: $7.18

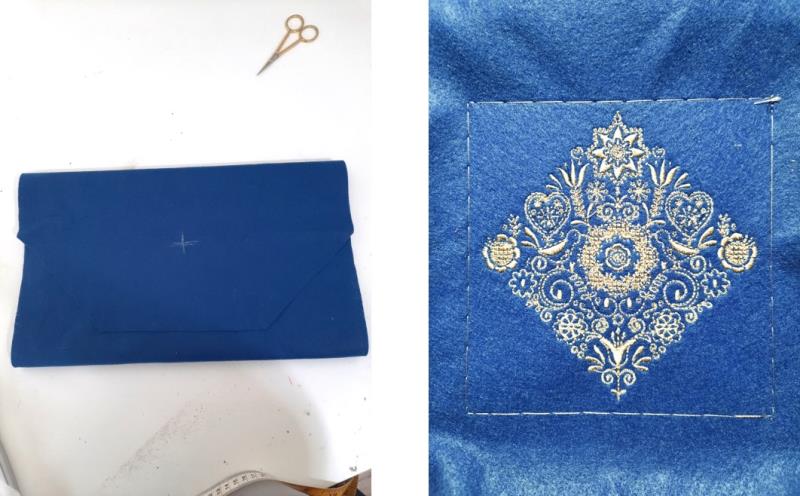
Floral Diamond
$4.99
$0.99
Circle Price: $0.99


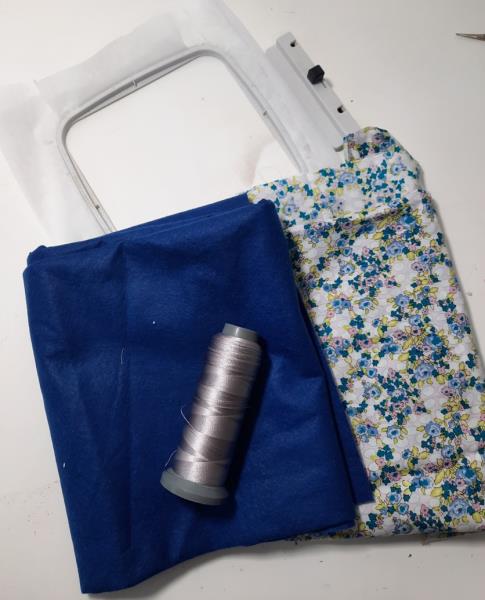
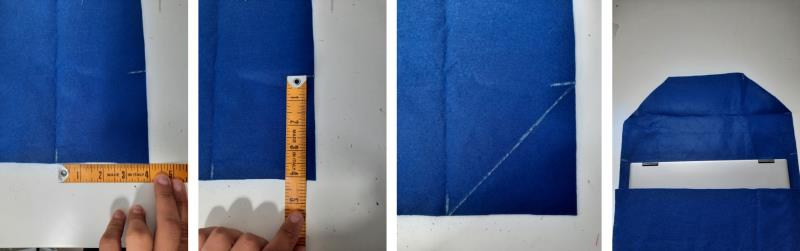
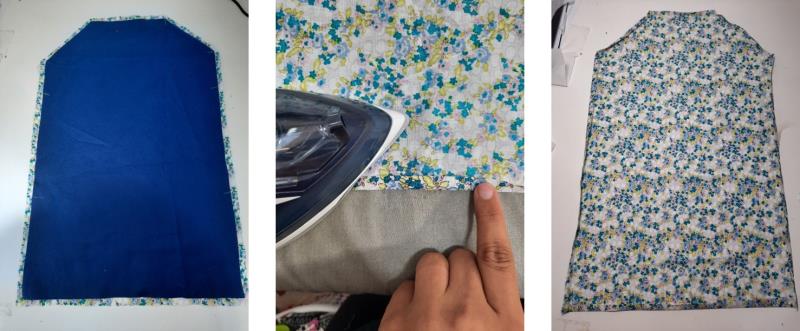
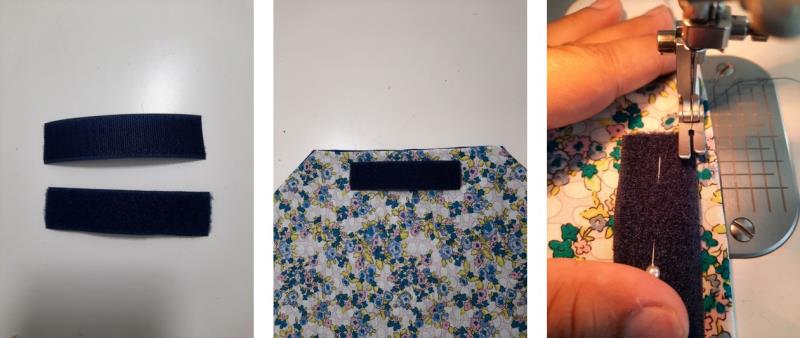
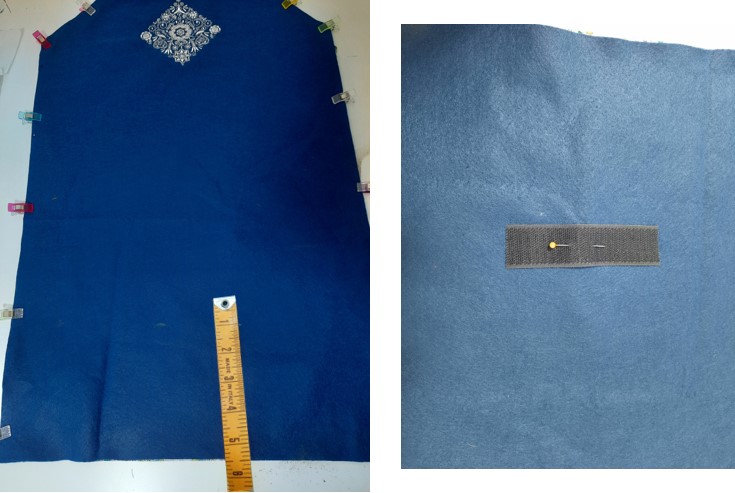
| Materials Felt 15” x 24” Printed cotton fabric 16” x 25” Silver embroidery thread 4”hoop Tearaway stabilizer Sewing machine Silver poly/cotton thread 4” strips of hook and loop tape |
| Designs used in this project |
| Final Product: What You Will Create |
 |
|
Projects You May Like
Meet the Author:
Kylie Burke

Kylie is based in Australia and loves creating and sharing her unique pieces.
Feedback
Characters Remaining
Please Login to Submit a Feedback
Invalid Characters, Please enter a valid Comment
Please enter a valid Comment
Reviewed On
Link is Broken, Please check the URL