






PROJECT INSTRUCTIONS
.jpg)


PROJECT INSTRUCTIONS

Lumbar Pillow Cover Embroidery Project
By
Linda Mills
on
April 22, 2021
Description
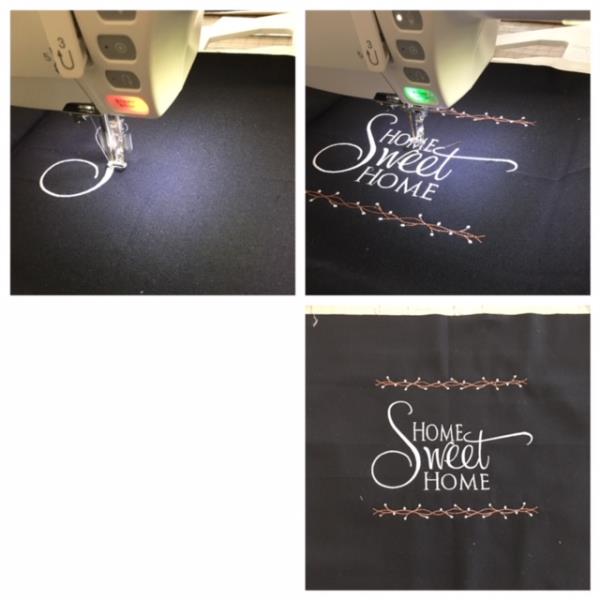
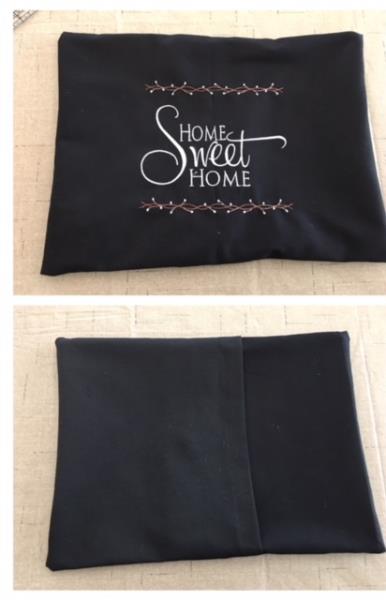
Create not only a stylish embroidered pillow cover that will bring you joy but a pillow cover for your lumbar pillow insert that brings you comfort.
Step
of
Materials
Project Preview Video

Vintage Folk Art Border
$8.00
$4.00
Circle Price: $3.85

Home Sweet Home
$4.49
$2.25
Circle Price: $2.10

QUICK VIEW
Tear Away Stabilizer
$7.98
Circle Price: $7.18

505 Spray Temporary Spray Adhesive
$19.99
Circle Price: $19.99
{{ item.name }}
{{ item.listPriceDisplay }}{{ item.salePriceDisplay }}
Circle Price:
{{ item.clubPriceDisplay }}



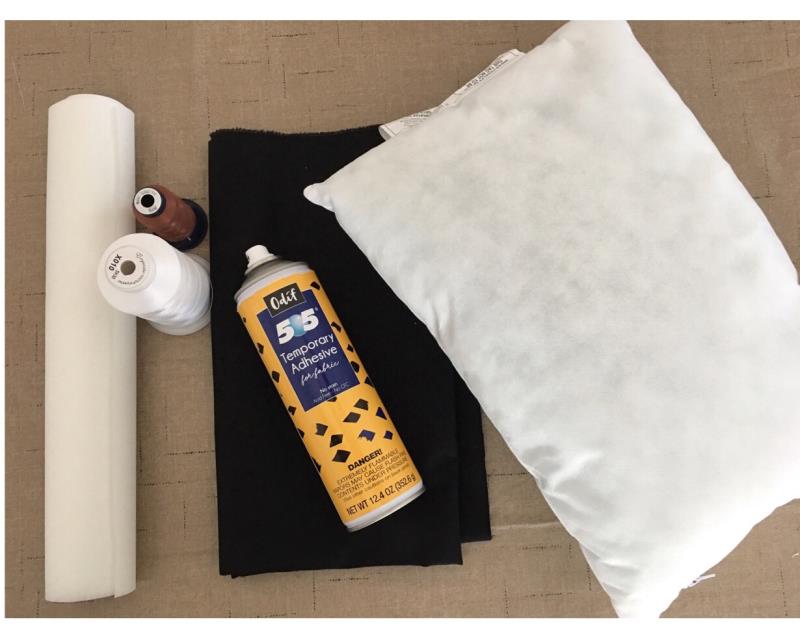
| Materials (1) LUMBAR PILLOW FORM 12” X 16” ½ YARD HEVY WEIGHT COTTON FABRIC ( CANVAS, DENIM) EMBROIDERY THREAD SEWING THREAD TEAR AWAY STABILIZER TEMPORARY ADHESIVE SPRAY EMBROIDERY SOFTWARE PROGRAM (Artistic Suite Software was used in this tutorial) |
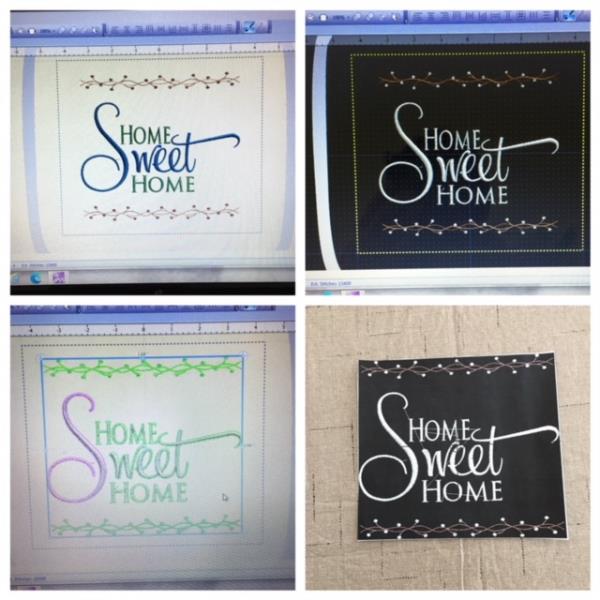
| Designs used in this project |
| Final Product: What You Will Create |
.jpg) |
|
Projects You May Like
Meet the Author:
Linda Mills

Linda loves to create by sharing her different sewing and machine embroidery techniques so others can utilize their machines to the fullest
Feedback
Characters Remaining
Please Login to Submit a Feedback
Invalid Characters, Please enter a valid Comment
Please enter a valid Comment
Reviewed On
Link is Broken, Please check the URL