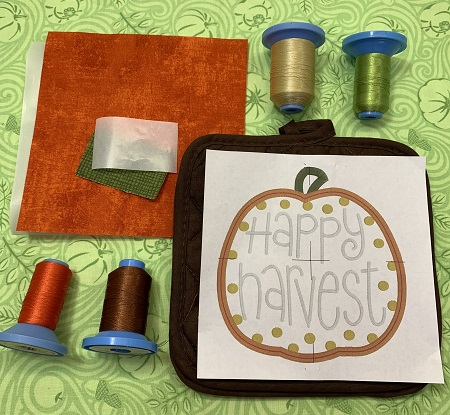
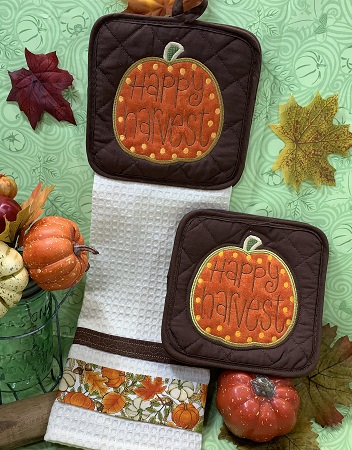
Perk up your kitchen with a cute pumpkin. Happy Harvest Kitchen Set is a matching appliqued potholder and kitchen towel. Basic sewing skills are used to finish the set. A single needle embroidery machine was used to make this project. The potholder could also be used as a hot pad. Use cotton embroidery thread for the potholder/hot pad because polyester thread could melt.
Step 1:
Read the directions before beginning the project. Gather all materials needed. Iron and lightly starch the fabric. Print a design template.
Step 2:
Follow package directions to bond the Hot Fix Adhesive to the orange and green fabric.
Step 3:
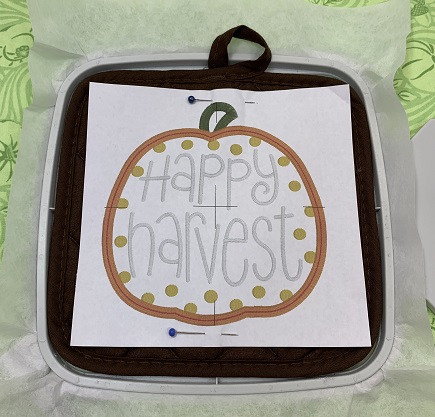
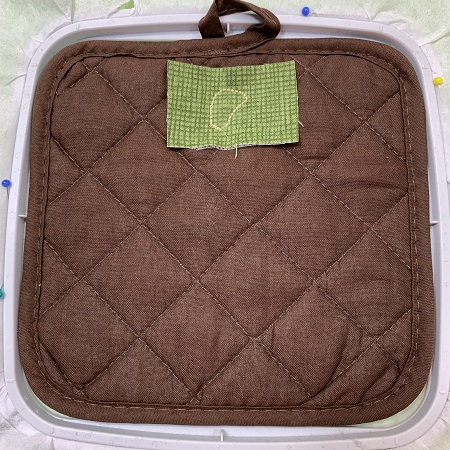
POTHOLDER: Center the design on a potholder. Hoop one piece of tear away stabilizer. Center the potholder on the stabilizer in the hoop. Lightly spray the stabilizer with 505 Temporary Adhesive spray. Press the potholder onto the stabilizer.
Attach the hoop to the machine. A 75/11 embroidery needle is recommended. Load the design onto the machine.
Step 4:
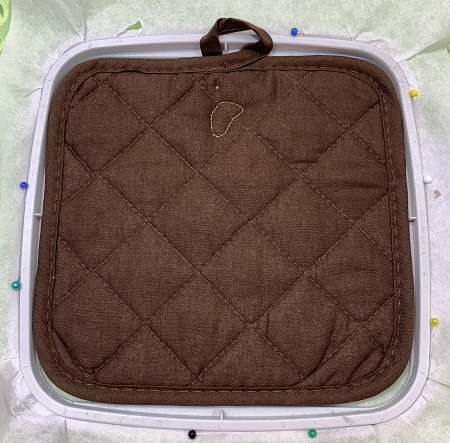
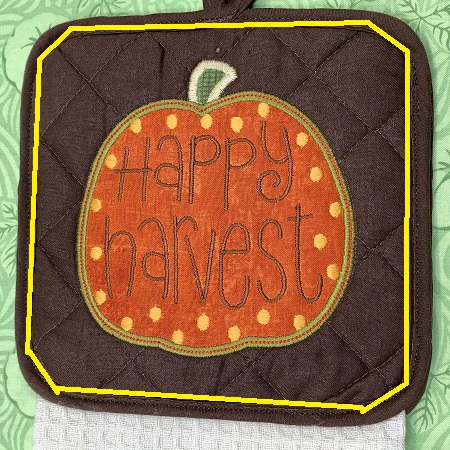
The pumpkin is appliqued onto the fabric. The applique technique in embroidery stitches fabric pieces onto a foundation piece (potholder) to make a design. Applique has three types of stitches: placement stitches, tack down stitches, and finishing stitches. Stitch the placement stitch for the stem.
Step 5:
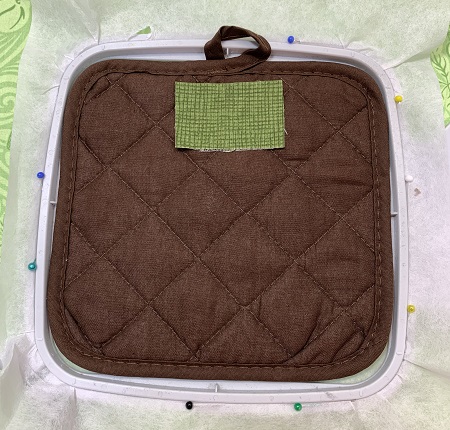
Place the green fabric over the placement stitches.
Step 6:
Stitch the tack down stitches for the stem.
Step 7:
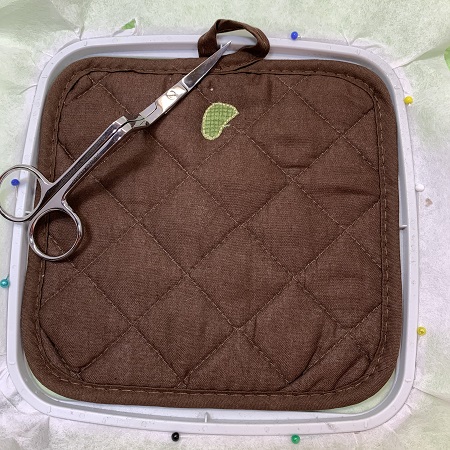
Remove the hoop from the machine. Do not remove the stabilizer from the hoop. Carefully trim the excess fabric from around the stem.
Step 8:
Re-attach the hoop to the machine. Stitch the finishing stitches around the stem.
Step 9:
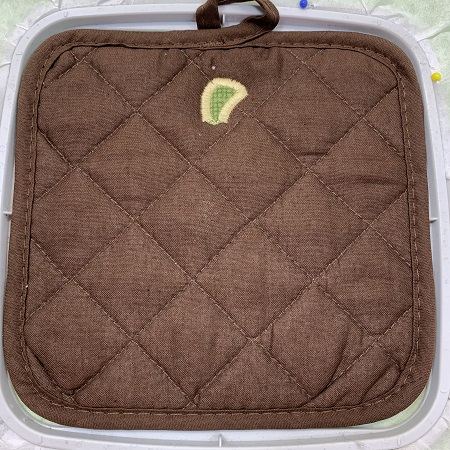
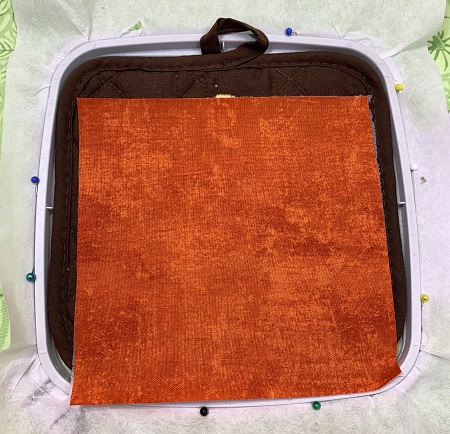
Stitch the placement stitches for the pumpkin.
Step 10:
Place the orange fabric over the placement stitches.
Step 11:
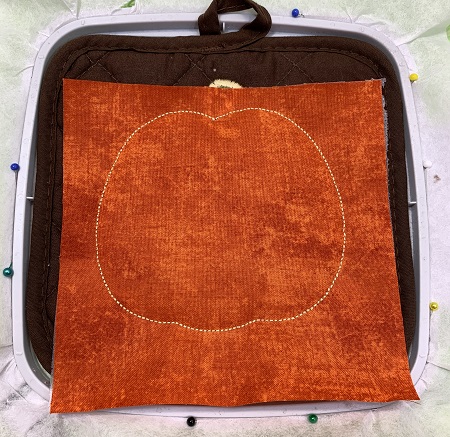
Stitch the tack down stitches for the pumpkin.
Step 12:
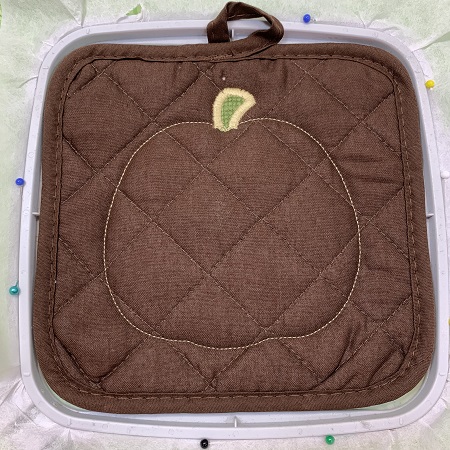
Remove the hoop from the machine. Do not remove the stabilizer from the hoop. Carefully trim the excess fabric from around the pumpkin.
Step 13:
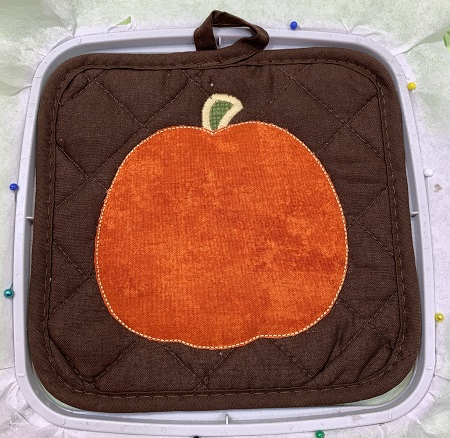
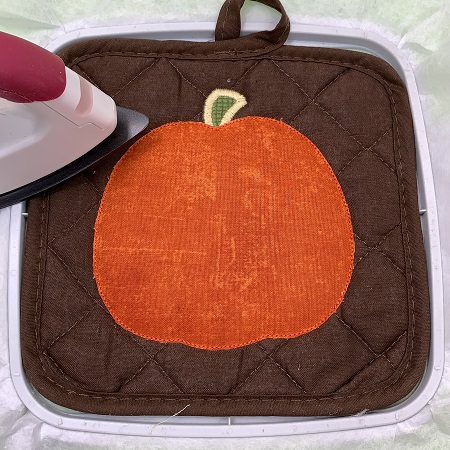
Use a small craft iron to bond the appliqued fabric to the potholder.
Step 14:
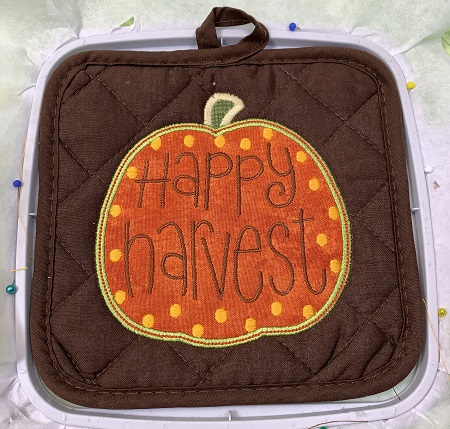
Re-attach the hoop. Follow the color guide and finish stitching the design. Remove the hoop when finished stitching.
Step 15:
Tear away the stabilizer from the back of the potholder. Trim long threads if needed.
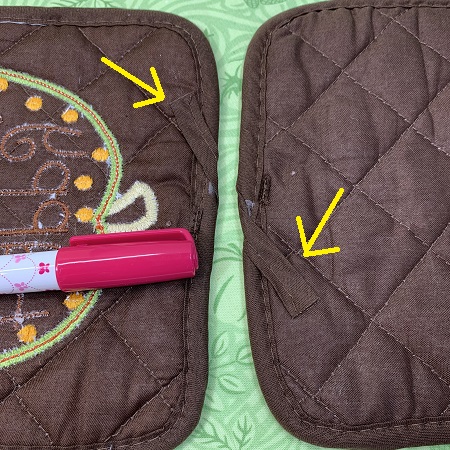
Step 16:
Next, we will put a second potholder on the back of the stitched potholder. Lay two the potholders with the looped ends together. Use fabric glue to hold the loops down.
Step 17:
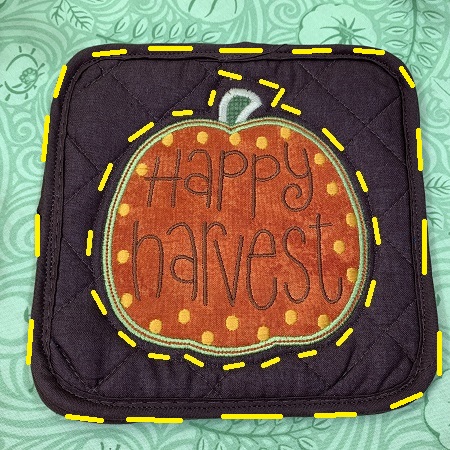
Clip the potholders together with right sides out. Topstitch around the pumpkin and the outer edges of the potholder. You have finished a 'Happy Harvest' potholder.
Step 18:
KITCHEN TOWEL: Follow steps 2-15 to applique the same design onto another potholder.
Step 19:
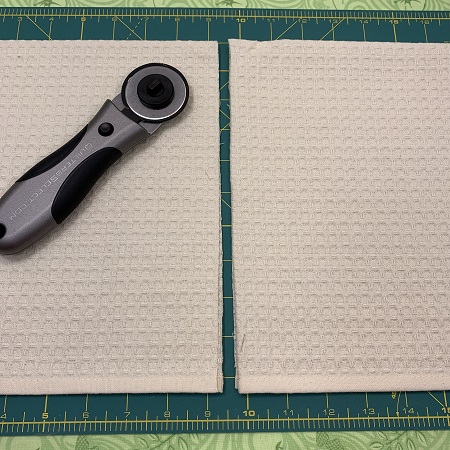
Cut the kitchen towel in half. The towel is approximately 18"x28".
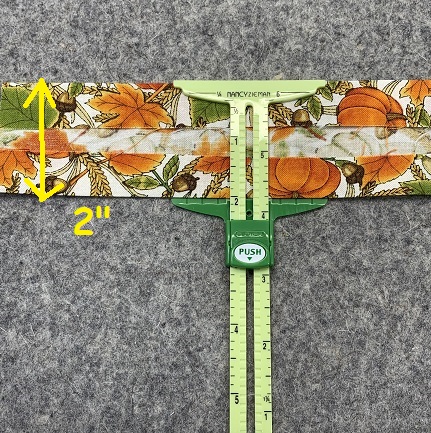
Step 20:
Fold the edges down 1/2" on the 3" x 22" accent fabric toward to the wrong side of the fabric. Press edges with an iron.
Step 21:
Fold the edges down 1/2" of the 1 3/4" x 22" accent fabric toward to the wrong side of the fabric. Press edges with an iron.
Step 22:
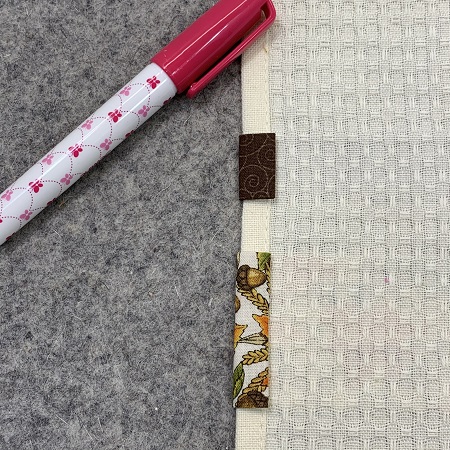
Pin the accent fabrics on the lower end of the kitchen towel. Leave about an 1" overlap on each side.
Step 23:
Fold the overlap toward the back of the towel. Tuck the raw edges of the accent strips in. Glue the strips in place with fabric glue on each side of the towel.
Step 24:
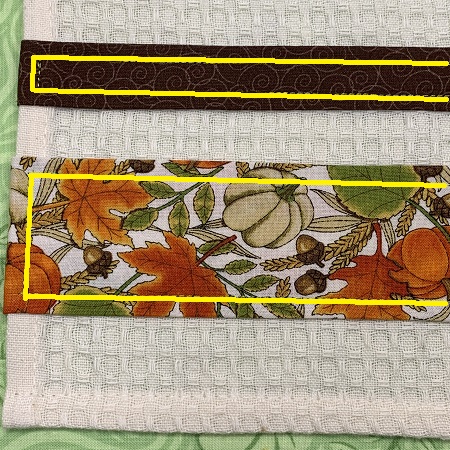
Topstitch the accent strips on the towel.
Step 25:
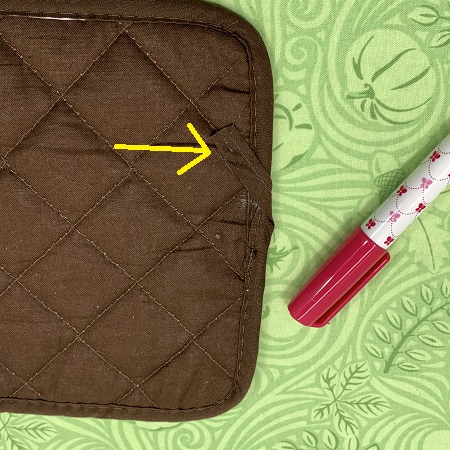
Glue the hoop on the blank potholder down using fabric glue.
Step 26:
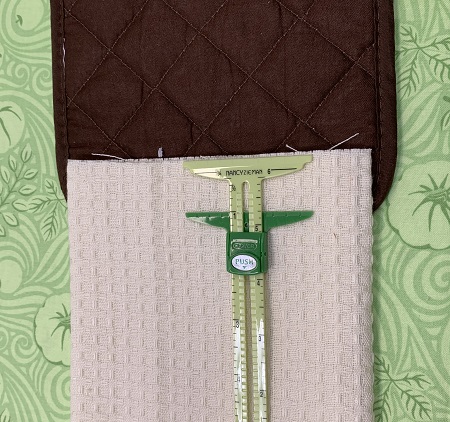
Fold the towel into thirds. Place the folded towel on the blank potholder about 1" from the bottom edge.
Step 27:
Place the appliqued potholder on the blank potholder. Clip the potholders together.
Step 28:
Stitch around the outer edges of the potholder.
Step 29:
(Click Image to Enlarge)
Congrats! You have made a 'Happy Harvest' kitchen set!
Marisa Littleton is a retired educator with a love for teaching and learning. Interests include machine embroidery, hand embroidery, quilting, cooking, and antiques.