{{superHeaderAds.title}}
Live Chat
Embroidery Designs
Welcome, Embroiderer
Login
Blue Jacobean Napkins
{{mainImageAlt || (productInfo._source && productInfo._source.name) || ''}}

Blue Jacobean Napkins Embroidery Project

By   Marisa Littleton   on   February 17, 2021

PROJECT DETAILS

SKILL LEVEL
Some Experience
TIME REQUIRED
02:00
FINISHED SIZE
20 x 20 inches
Description

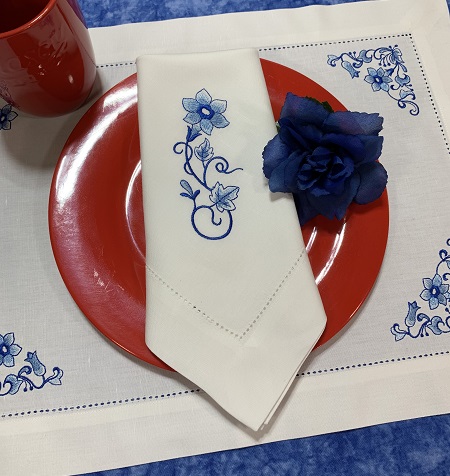
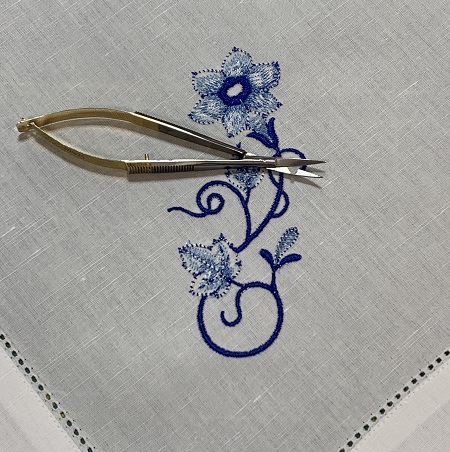
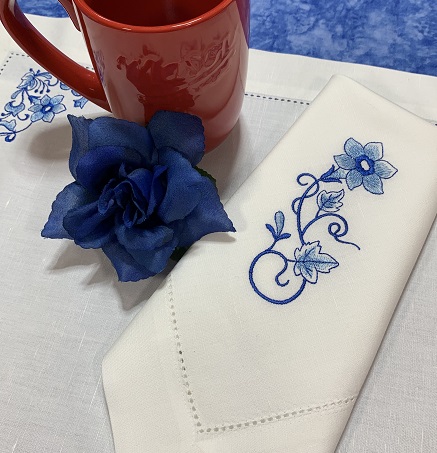
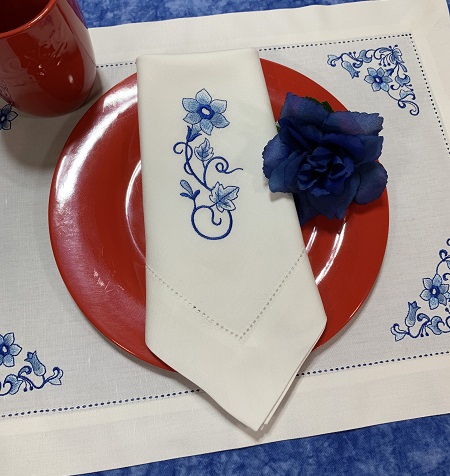
Blue Jacobean Napkins give a classic look to your table setting. Shades of blue on white hemstitched napkins make a perfect combination using a Blue Jacobean embroidery design.

Project Preview Video

Materials
  • Design Template
  • Napkins (Cotton/linen blend fabric)
  • Embrilliance Essentials embroidery software program, optional
  • Sulky Easy Tear away stabilizer
  • 404 Repositionable Spray
  • 40 wt. Embroidery thread (Robison-Anton Super Brite poly)
  • 75/11 Embroidery needle
  • Spray starch
  • tweezers
  • cutting snips
  • *Napkins were purchased from Amazon

  • Designs used in this project

    Final Product: What You Will Create

    Preface:
    Jacobean embroidery became popular in the early 17th century during the reign of King James I whose Latin named was 'Jacobean'.  Jacobean embroidery is a style of embroidery design based on fanciful motifs rather than an embroidery technique.  Linen was often the fabric of choice for Jacobean embroidery.


    Step 1:
    Read the directions before beginning.  Gather the materials needed for the project.  Iron and lightly starch the napkins.


    Step 2:
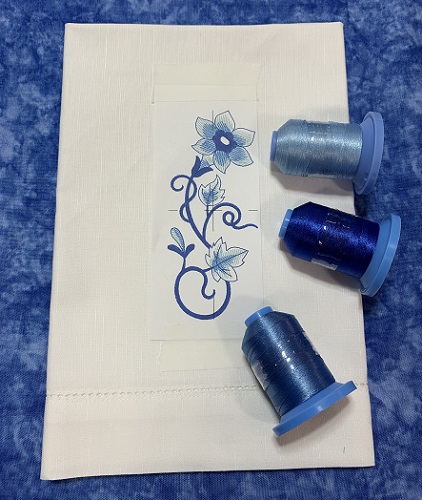
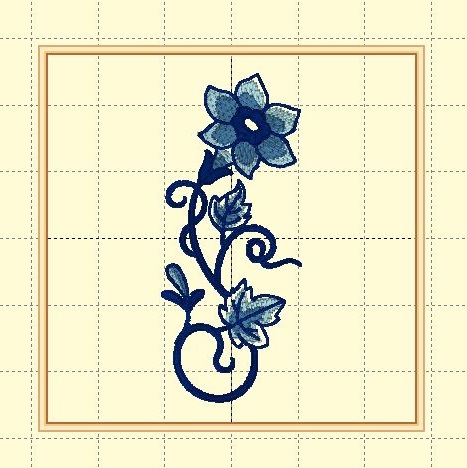
    The embroidery design 'Blue Jacobean Flowers' is available in 3 sizes.  The medium size (2.06"x4.87") was used on the napkins.  Embrilliance Essentials embroidery software program was used to print a design template. 
     
    Print a design template.


    Step 3:
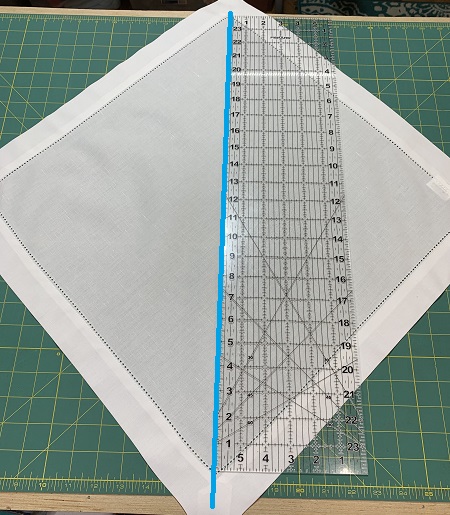
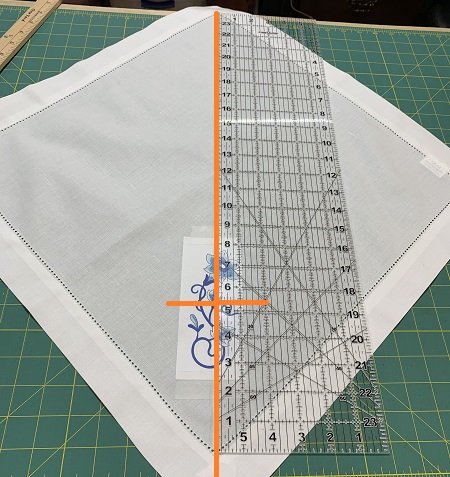
    Place the napkin on a cutting board so that it forms a diamond shape.  Place a ruler diagonally across the center from corner to corner.


    Step 4:
    Use the design template with the ruler to determine placemat on the napkin.  


    Step 5:
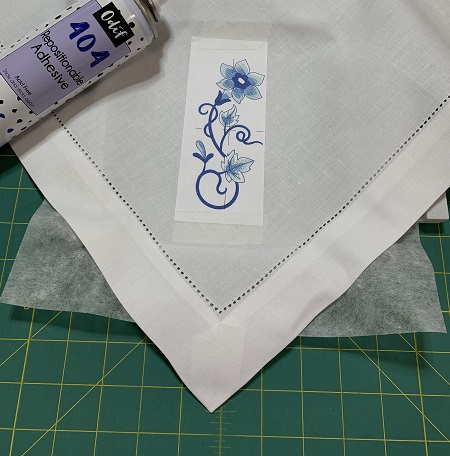
    Hoop one piece of easy tear away stabilizer tautly.  Center the design on the hoop.  Lightly mist the stabilizer with the 404 Repositionable spray.  (The 404 Repositionable spray is not as sticky as the 505 Temporary Spray and a better choice for the delicate fabric.)  Gently press the placemat onto the stabilizer. Fabric surface must be smooth and wrinkle free.   


    Step 6:
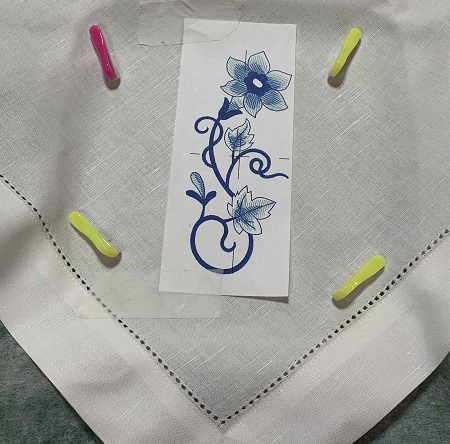
    Use Wonder Pins to secure the fabric to the stabilizer.


    Step 7:
    Load the design onto the embroidery machine.  A 75/11 embroidery needed is recommended because of the fabric type and design style.  Check the bobbin.  Attach the hoop.  Make sure the stitching field is clear.  Embroider the design.  


    Step 8:
    Remove the napkin from the hoop.  Clip any long threads if needed.  A soft touch is needed when removing the stabilizer.  Lay the napkin on a flat surface with the wrong side up.  Press firmly on stitching with one hand while gently removing stabilizer with the other hand.  Use tweezers to remove any small remaining pieces of stabilizer.  


    Step 9:
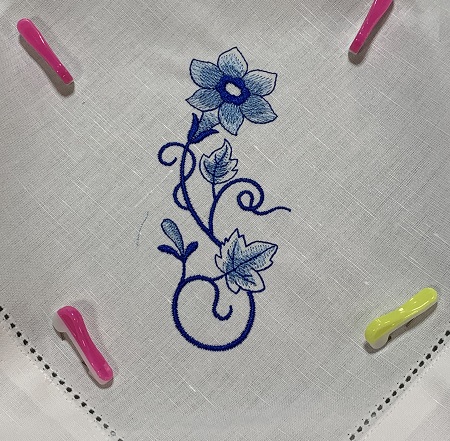
    Congratulations!  You have completed a 'Blue Jacobean Napkin'!  Now, repeat these steps for a set of napkins...


    Step 10:
    Great job!  Love blue & white together!

    Beautiful things are made one stitch at a time...
     
    Marisa Littleton 
    Meet the Author: Marisa Littleton
    Marisa Littleton
    Marisa Littleton is a retired educator with a love for teaching and learning. Interests include machine embroidery, hand embroidery, quilting, cooking, and antiques.
    More From This Author
    Link is Broken, Please check the URL
    Exclusive Embroidery Offers!
    Copyright © {{ currentDate | date:'yyyy'}} - EmbroideryDesigns.com
    GET 50% OFF! ×