











































PROJECT INSTRUCTIONS


PROJECT INSTRUCTIONS

Blue Jacobean Placemats Embroidery Project
By
Marisa Littleton
on
February 16, 2021
Description
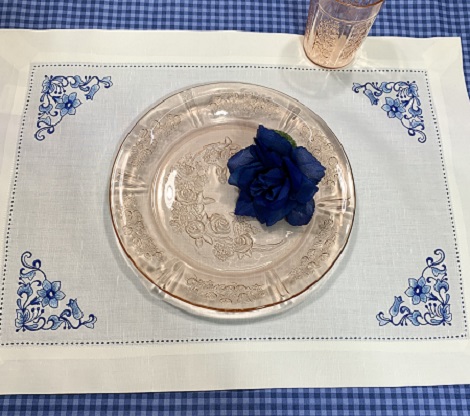
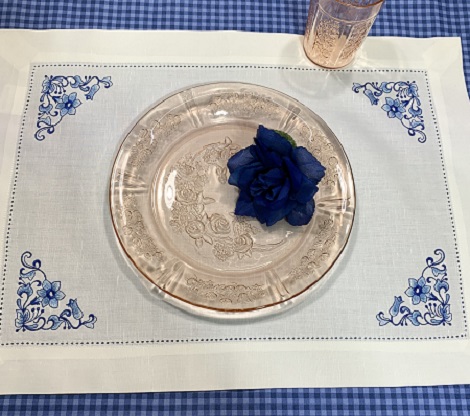
Blue Jacobean Placemats give a timeless, classic beauty to your table setting. Shades of blue on white hemstitched placemats make a perfect combination using a Blue Jacobean embroidery design.
Step
of
Materials
Project Preview Video

Blue And White Corners
$8.00
$4.00
Circle Price: $3.85

QUICK VIEW
Embrilliance Essentials - Software Download
$139.00
$125.10
Circle Price: $125.10

Wonder Pins
$20.75
Circle Price: $20.75

Cut Away Stabilizer - 2.5 Oz wt.
$8.94
Circle Price: $8.05

Cut Away Stabilizer - 2 oz wt.
$8.52
Circle Price: $7.67


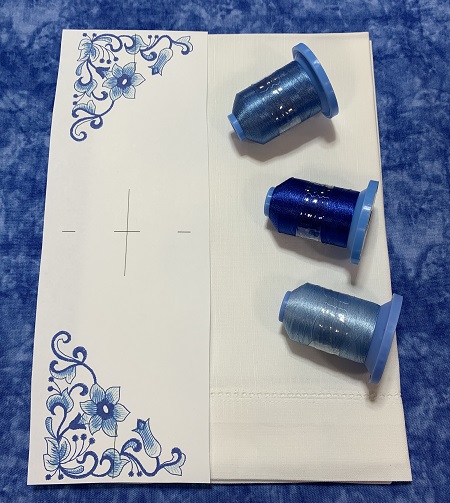
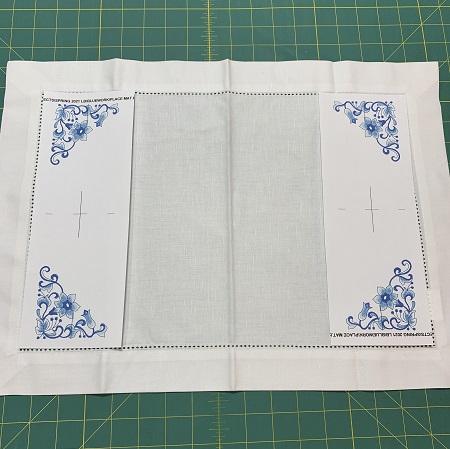
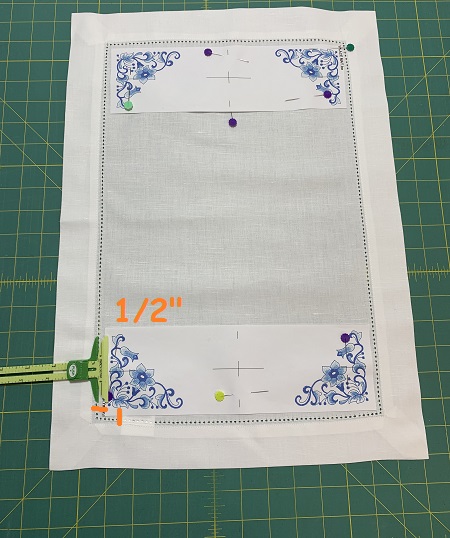
| Materials 4”x4” or 8”x11” hoop Design Template Embrilliance Essentials embroidery software program, optional 14"x19" hemstitch border placemats (cotton/linen blend fabric) Sulky Easy Tear away stabilizer 404 Repositionable Spray 40 wt. Embroidery thread (Robison-Anton Super Brite poly) 75/11 Embroidery needle tweezers cutting snips Spray starch Wonder Pins *Placemats were purchased from Amazon. |
| Designs used in this project |
| Final Product: What You Will Create |
 |
|
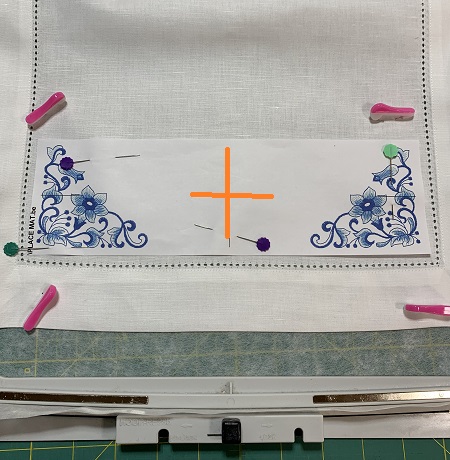
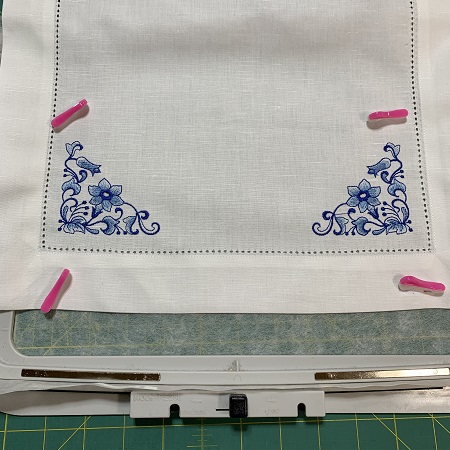
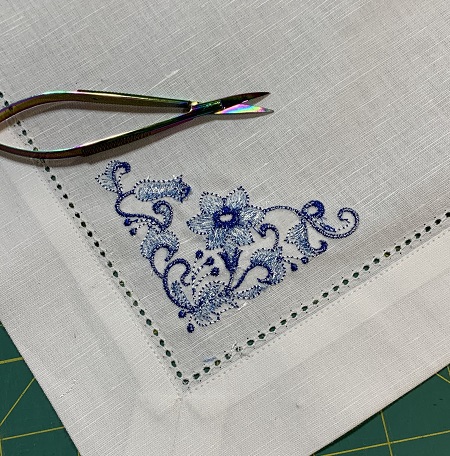
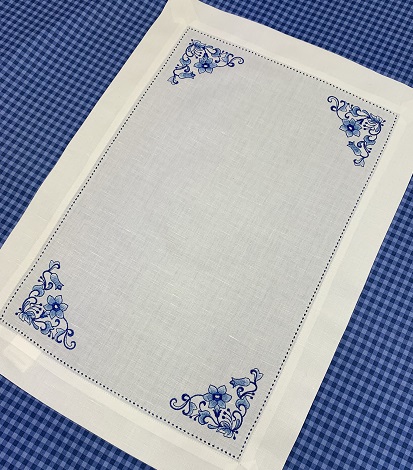
Beautiful things are made one stitch at a time... Marisa Littleton |
Projects You May Like
Meet the Author:
Marisa Littleton

Marisa Littleton is a retired educator with a love for teaching and learning. Interests include machine embroidery, hand embroidery, quilting, cooking, and antiques.
Feedback
Characters Remaining
Please Login to Submit a Feedback
Invalid Characters, Please enter a valid Comment
Please enter a valid Comment
Reviewed On
Link is Broken, Please check the URL