This picnic blanket will have a vinyl backing to keep moisture at bay. You will be cutting your vinyl and top cotton fabric to the same size. For a little bit of added character to your picnic blanket you will be creating a label using your remnant heavy weight cotton fabric and embroidering the words “Picnic Time” using the delightful Summer Picnic Font. Font size used: 1.75" This font is not a keyboard font so each letter needs to be brought in individually into your machine or an embroidery program. (embroidery program used for this tutorial : Artistic Suite) Each letter, number, symbol is a file. Once created you will adhere the label to the top fabric of your Picnic Blanket using fusible web (Wonder Under).
Step 1:
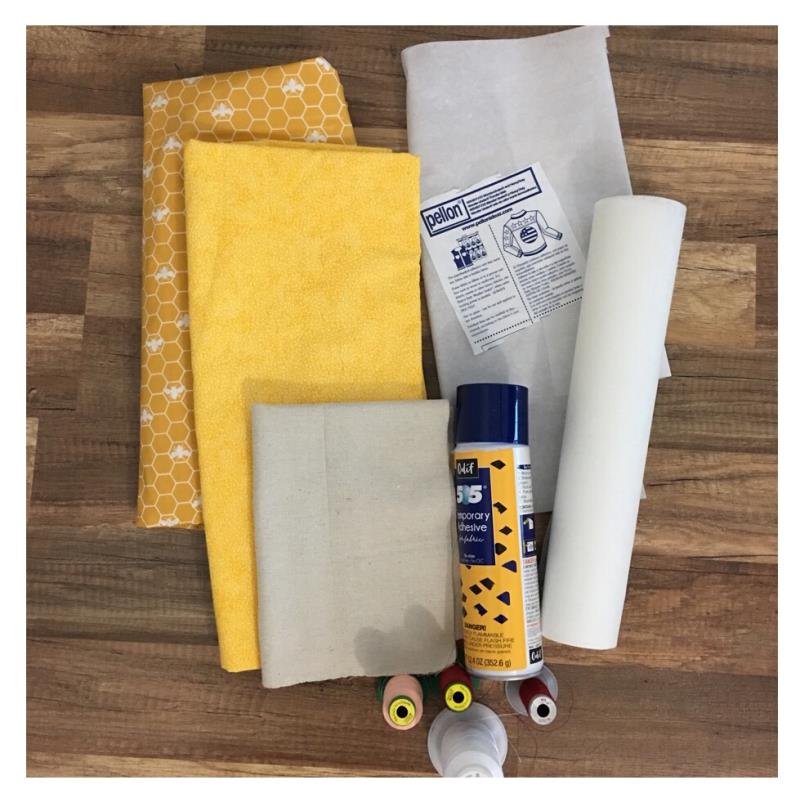
Gather all supplies and review instructions before beginning.
(Click Image to Enlarge)
Step 2:
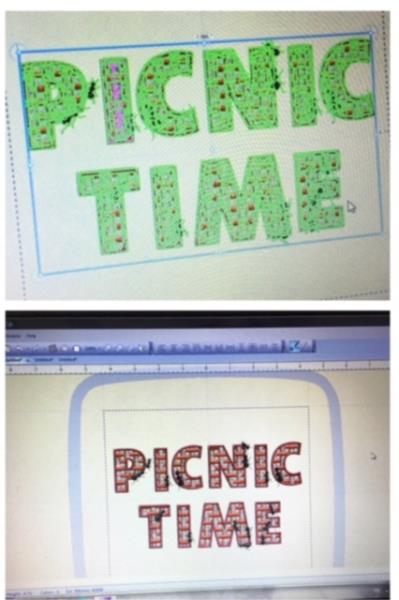
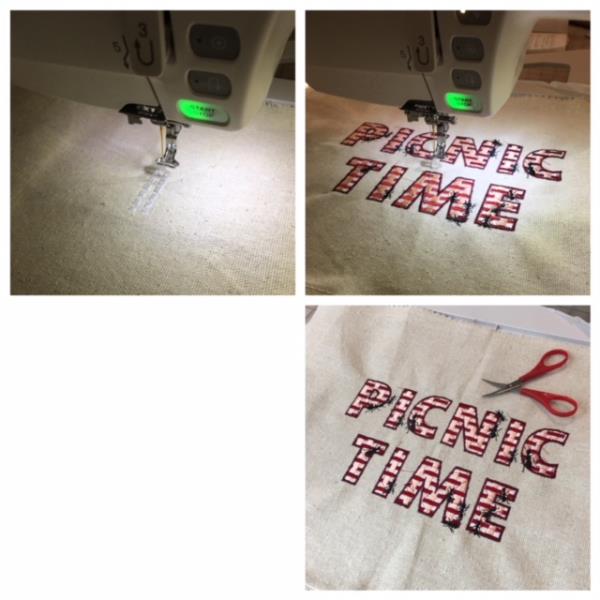
With your embroidery software program create the saying:" Picnic Time" Bring each letter file into your program per your program's instructions. Once you have created resize the full design to approximately 4.7” x 8.” If you are not using an embroidery program refer to your machine’s instructions capability on how to bring in each letter file into your machine to create the saying.
(Click Image to Enlarge)
Step 3:
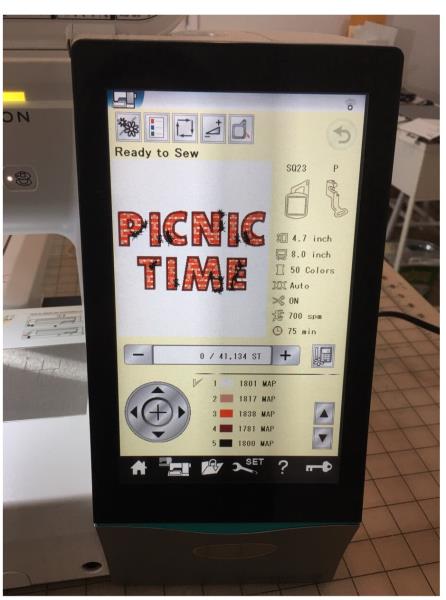
Load design into your machine. Design will have over 41,000 stitches. If your stitch speed is set at 700 SPM ( stitches per minute) it will take approximately 75 minutes to stitch out. Increase your stitch speed and it will decrease your time.
(Click Image to Enlarge)
Step 4:
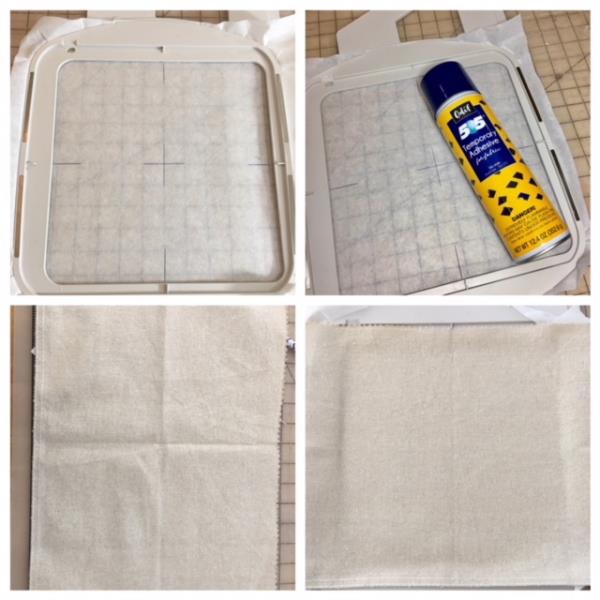
Hoop stabilizer and mark axis points and center cross hair directly onto stabilizer. Spray temporary adhesive spray. Using your remnant heavy weight cotton fabric piece… quarter fold fabric creating a folded crosshair. Center onto stabilizer. Fingertip press and smooth out fabric to secure.
(Click Image to Enlarge)
Step 5:
Confirm center needle placement per your machine’s instructions. Begin the embroidering process. Each letter will stitch out individually which means multiple thread changes. When complete remove hoop. Cut/ trim all jump stitches and loose thread ends front and back. Remove stabilizer and iron press.
(Click Image to Enlarge)
Step 6:
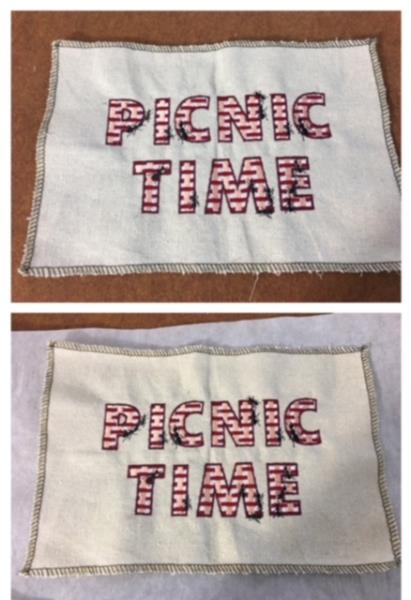
Trim your label to a size of 12” x 8” . Using a coordinating thread color, frame all sides using a zig zag, blanket stitch etc or serge all sides. This will also help keep the fabric from fraying. Place label (wrong side) on top of rough side of fusible web (Wonder Under). Refer to manufacturer’s instructions for How To Use. Trim excess fusible web (Wonder Under)to size. Trim all thread ends if needed.
(Click Image to Enlarge)
Step 7:
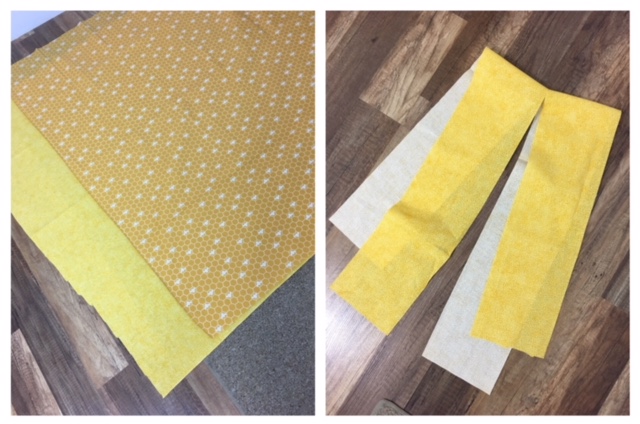
Cut your cotton fabric and vinyl tablecloth each to size 46” x 62”. Cut two strips from your cotton fabric 5.5”x 30” ( these two strips will be your ties)
(Click Image to Enlarge)
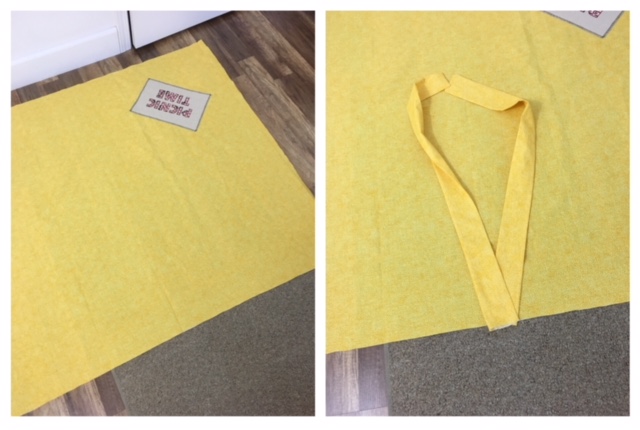
Step 8:
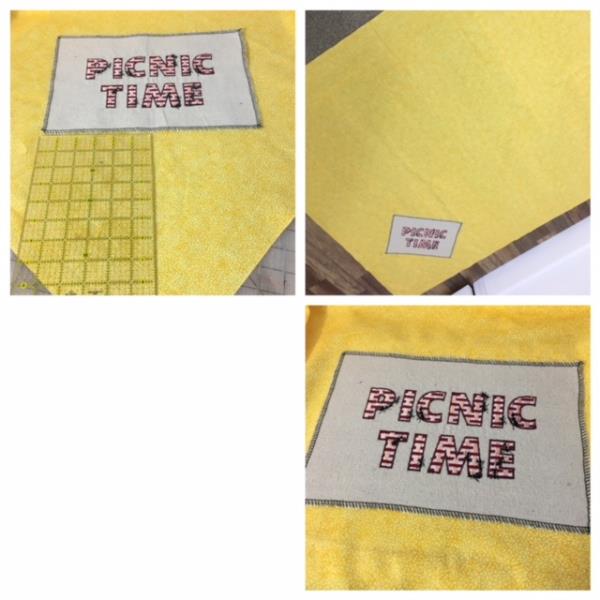
Center place your label atop your cotton fabric approximately 12” up from tip of one of your fabric’s corners. Fuse label to cotton fabric ( refer to manufacturer’s instructions)
(Click Image to Enlarge)
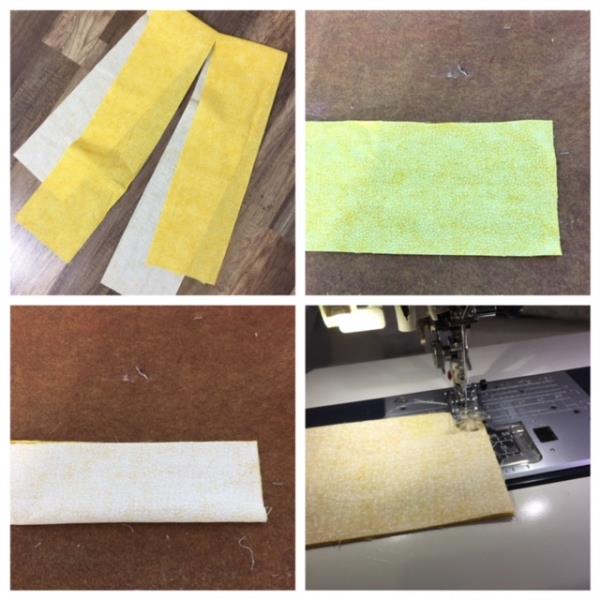
Step 9:
Ties Fold each strip in half lengthwise (right sides together). Leaving one end open for turning stitch one end and side using ¼” seam allowance. Repeat for 2nd strip. Turn right side out and iron press
(Click Image to Enlarge)
Step 10:
Attaching Ties
Find center on the 62” side of your top fabric opposite side of the label. Place both ties matching up raw
edges. Pin and stitch in place using ¼” seam allowance
(Click Image to Enlarge)
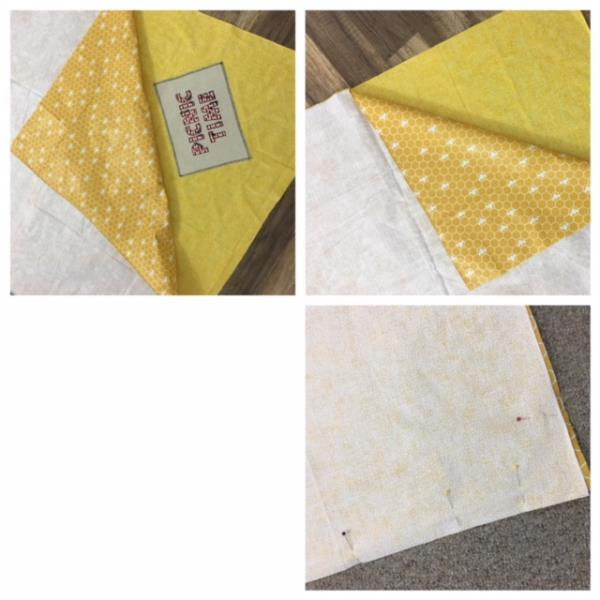
Step 11:
Right sides together. Place vinyl atop cotton fabric. Make sure ties are facing inwards. Pin all sides in place. Stitch all sides leaving an opening for turning using ½” seam allowance. Remove pins. Turn right side out through opening. Fingertip press around seams. Turn in seam in opening and topstitch all around sides as this will close opening.
(Click Image to Enlarge)
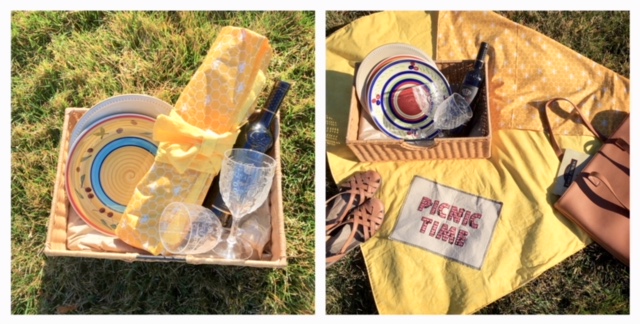
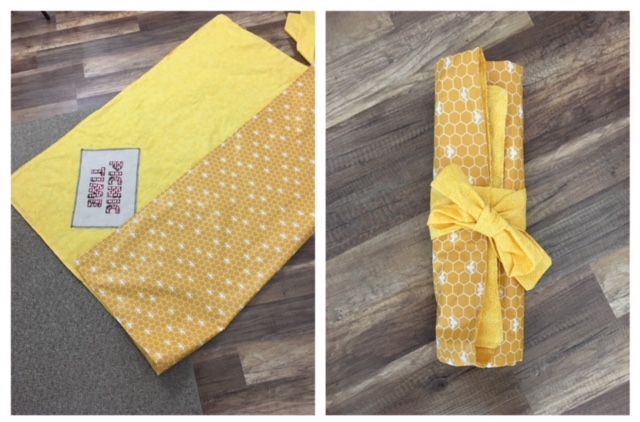
Step 12:
Viola! Your Waterproof Picnic Blanket is finished! Congratulations! It's Picnic Time!
(Click Image to Enlarge)
Step 13:
To tie: Fold picnic blanket in thirds. Roll up towards ties. Wrap tie around and then tie in a bow.


.jpg)


.jpg)