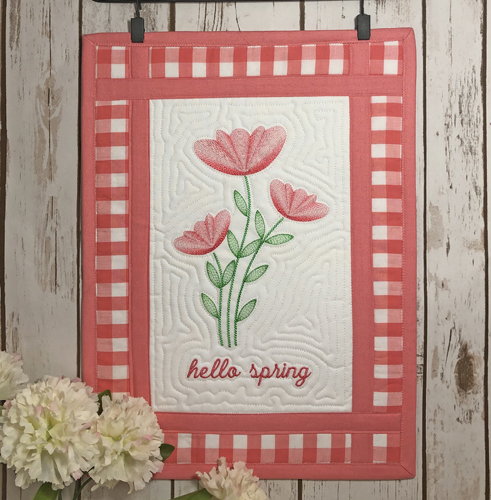
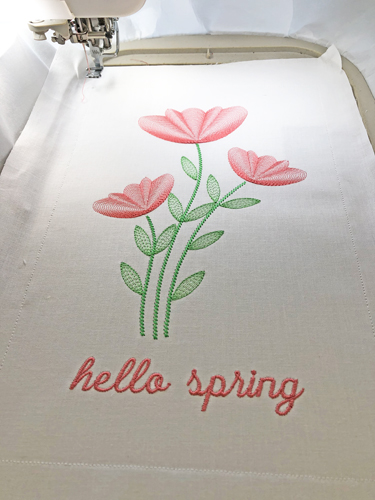
The center quilt block of this lovely wall hanging is embroidered and quilted in the hoop. The borders, sashings and binding are stitched with your sewing machine.
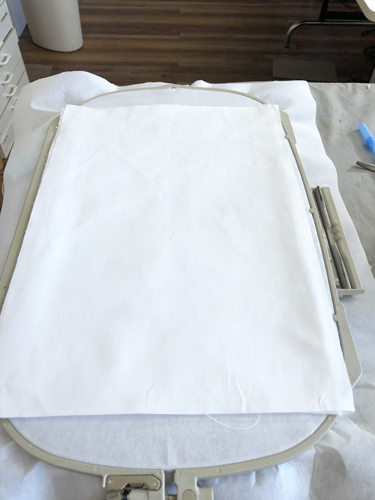
Cut 2 10” x 14” rectangles of white Kona® cloth and 1 10” x 14” rectangle of low loft batting. Tautly hoop 2.5 ounce cut-away stabilizer in your embroidery hoop.
Step 2:
(Click Image to Enlarge)
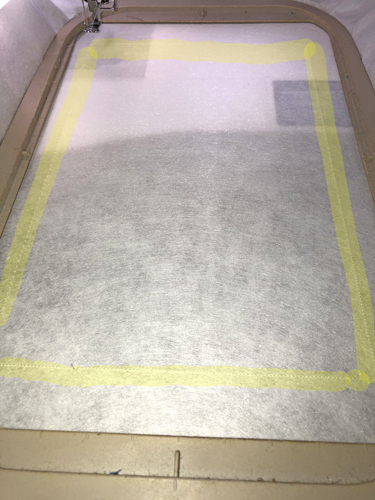
Run the 1st color-stop (CS 1) as a placement line for your fabric.
Step 3:
(Click Image to Enlarge)
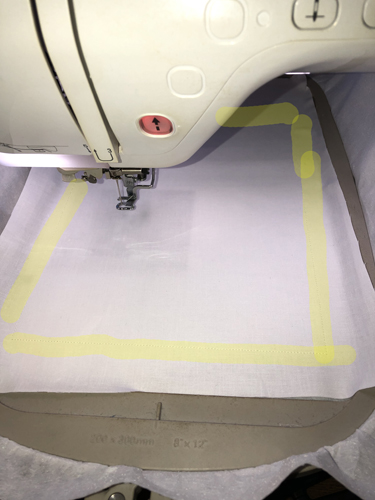
Spray adhesive on the back of one layer of the Kona® cloth and position over the placement line so that the fabric exceeds the placement line by at least ½” on all sides.
Step 4:
(Click Image to Enlarge)
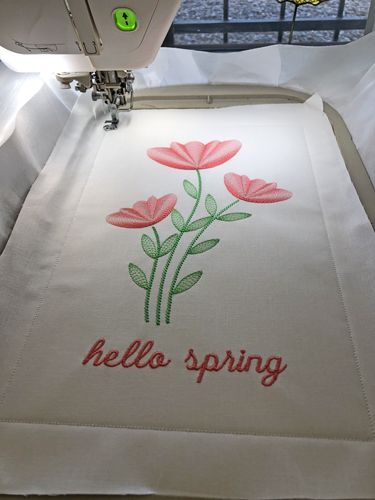
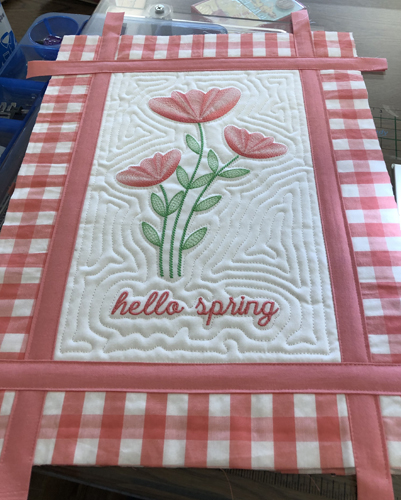
Follow the color chart to embroidery the flowers and lettering. Do not stitch the last two color stops yet.
Step 5:
(Click Image to Enlarge)
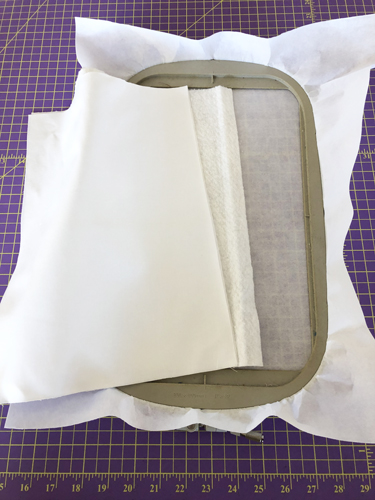
Remove the hoop from the machine, do not unhoop. Lay the hoop face down on a flat surface. Spray adhesive on the 10” x 14” rectangle of low loft batting and position over the original placement lines so that the batting aligns with the front fabric. Spray the remaining piece of Kona® cloth with adhesive and align on top of the batting.
Step 6:
(Click Image to Enlarge)
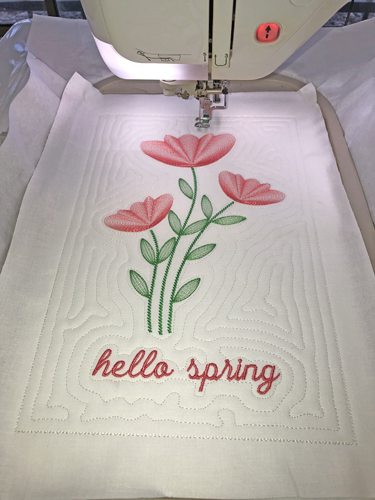
Return the hoop to the machine and run CS 6 to tack down the back fabrics and batting.
Step 7:
(Click Image to Enlarge)
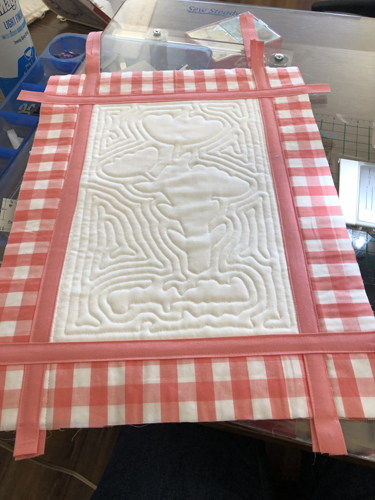
Run the final CS to quilt the block.
Step 8:
(Click Image to Enlarge)
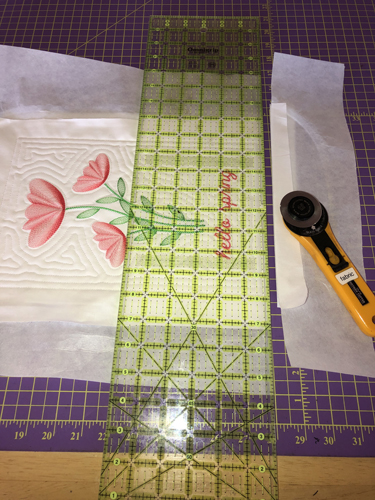
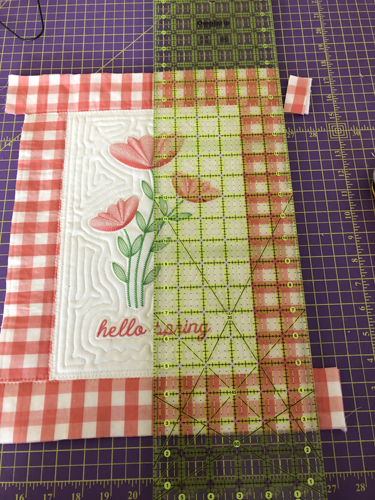
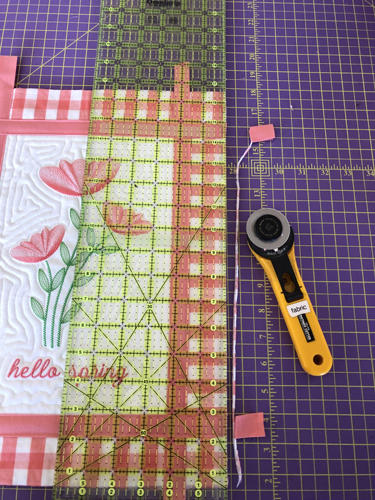
Lay the ¼” mark of a see-through ruler along the tack down stitches and trim all sides of the quilt block to a ¼” seam allowance.
Step 9:
(Click Image to Enlarge)
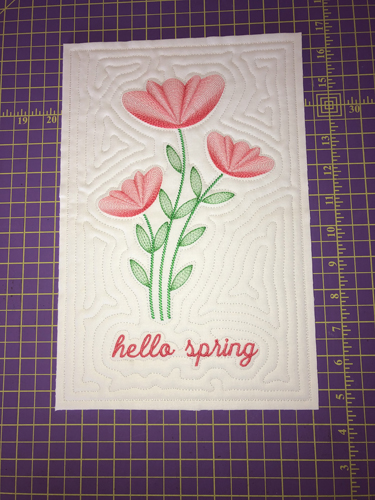
Your quilt block will now look like this picture.
Step 10:
(Click Image to Enlarge)
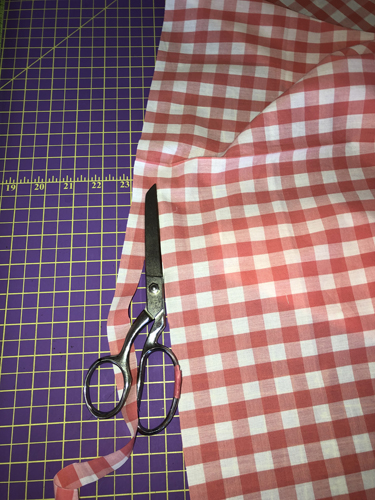
Cut 3 2” strips of fabric across the width of the fabric. If you are using a check fabric you may want to cut the strips with scissors instead of folding the fabric and cutting with a rotary cutter so the colored strips will stay straight in your borders.
Step 11:
(Click Image to Enlarge)
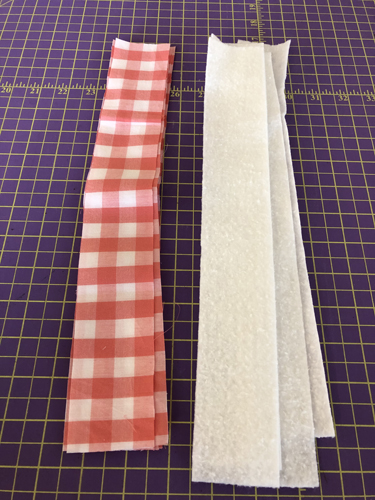
Sub cut your border strips into 8 2” x 14” strips. Cut 4 strips of batting into 4 2” x 14” strips.
Step 12:
Make quilt sandwiches for the borders by spraying adhesive on one side of Battilizer® strip and aligning a corresponding fabric strip over the top. Spray the other side of the Battilizer® and align a corresponding strip of fabric on that side.
Step 13:
(Click Image to Enlarge)
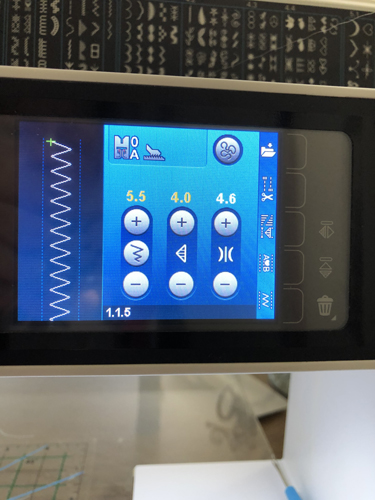
Load the top and bobbin of your sewing machine with invisible thread (YLI brand recommended.) Select a wide zigzag stitch that is spaced 4mm or so apart.
Step 14:
(Click Image to Enlarge)
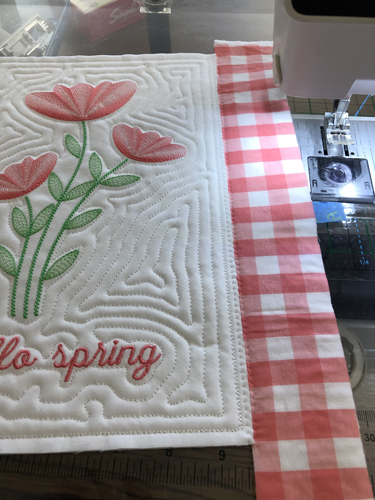
Butt the edge of one border strip to the side of quilt block having the border strip extend at least ½” over the top and bottom of the quilt block. You should not have any gaps or overlaps. Zigzag stitch over the butted edges to join them. Join a border strip to the other side of the quilt block in the same way.
Step 15:
(Click Image to Enlarge)
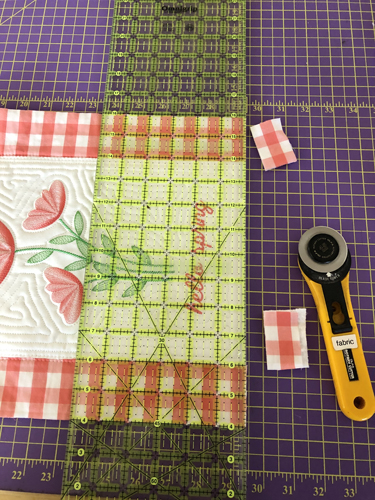
Trim the excess border strips from both ends of the wall hanging.
Step 16:
(Click Image to Enlarge)
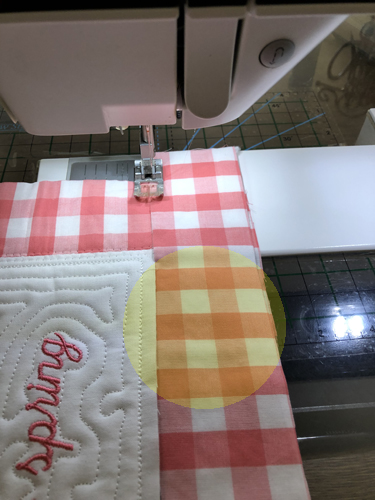
Stitch the top and bottom border strips using the same zigzag technique.
Step 17:
(Click Image to Enlarge)
Trim the excess top and bottom border.
Step 18:
Cut 2 1 ¼” strips, 2 1 ½” strips across the width of the sashing fabric as well as 2 2 ¼” for the binding.
Step 19:
(Click Image to Enlarge)
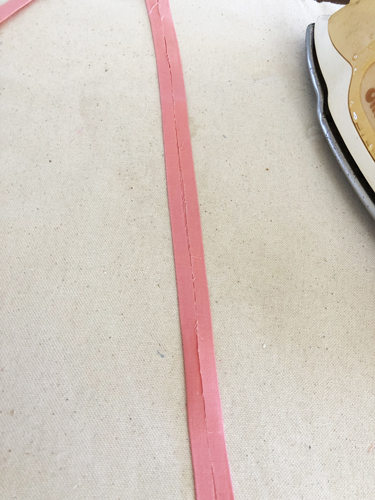
Starch and press the long sides of the 1 ¼” and 1 ½” sashing strips into the center. Keep the narrow strips separate from the wider sashing strips. The narrow strips will be used on the back of the mini quilt, the wider ones will be stitched to the front.
Step 20:
Working on the back of the quilt first, center a narrow sashing strip over the vertical seams the sashing strips should extend approximately ½” over the top and bottom of the mini quilt. Stitch down both sides of the sashing with a straight stitch.
Step 21:
(Click Image to Enlarge)
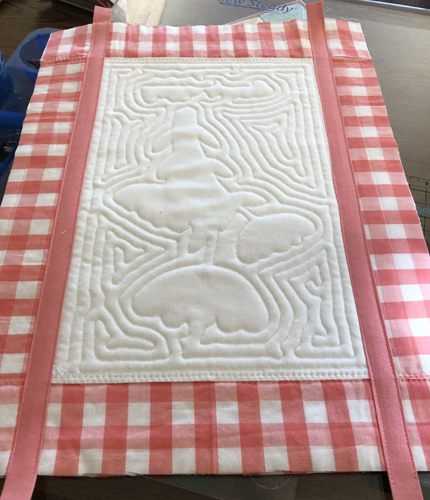
Turn the quilt face up and stitch the wider sashing strips across the vertical seams on the front.
Step 22:
(Click Image to Enlarge)
Turn the quilt face down and stitch the narrow sashing strips across the horizontal seams and stitch down. These two should extend all the way across the quilt and have the sashing exceed the width of the quilt by ½” on both sides.
Step 23:
Turn the quilt face up and stitch the wider sashing strips across the horizontal seams.
Step 24:
(Click Image to Enlarge)
Trim the excess sashing from the quilt.
Step 25:
(Click Image to Enlarge)
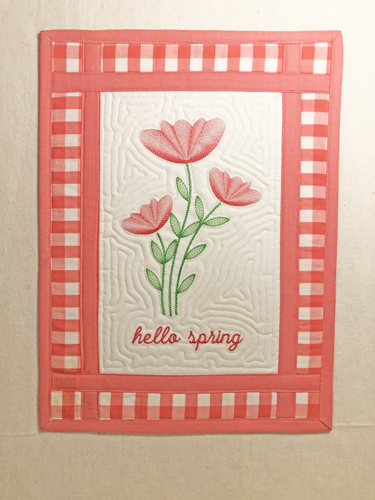
Bind the quilt using your preferred method. If you do not have a preferred method see our article Binding Small Embroidery Projects.
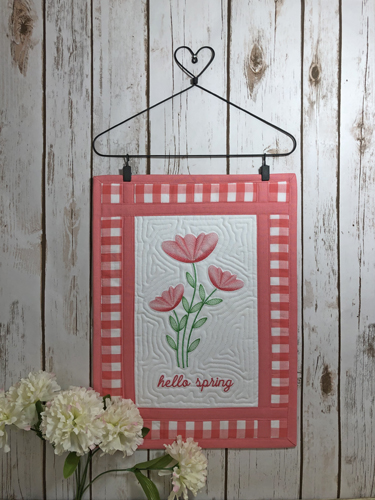
Step 26:
(Click Image to Enlarge)
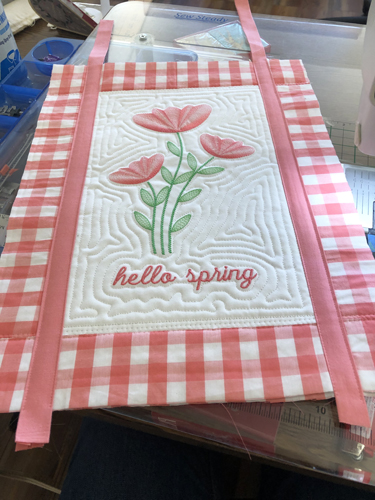
Attach the wall hanging to the hanger with the small clips. Congratulations your Hello Spring Wall Hanging is complete!
Award winning Digitizer, Embroidery Educator, Author and a Consultant to the Industry, Pat Williams has 30 years of experience in the embroidery industry. Pat has won multiple awards for her digitizing expertise including the 2007 Impressions Awards Grand Championship, Best of Show as well as the 1st and 2nd Place Awards. Pat’s love of digitizing has afforded her the opportunity to write numerous articles for Impressions magazine in the United States and Images Magazine in Europe. In 2001 Pat was named “Embroidery Educator of the Year.” For many years Pat taught digitizing seminars at the ISS Shows in Long Beach, CA and for Compucon software. She now resides in Tucson, AZ.