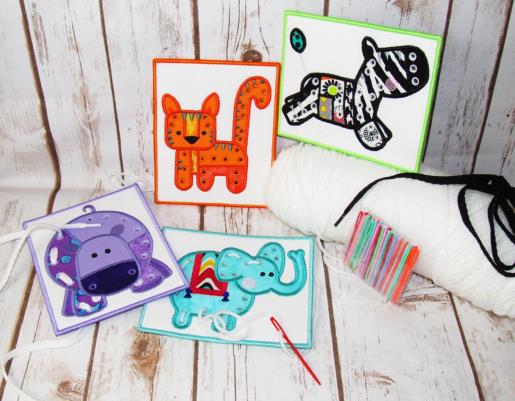
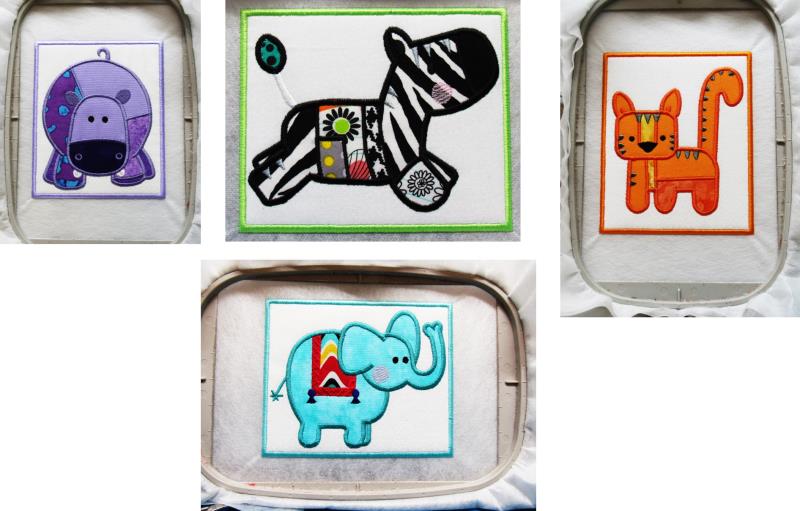
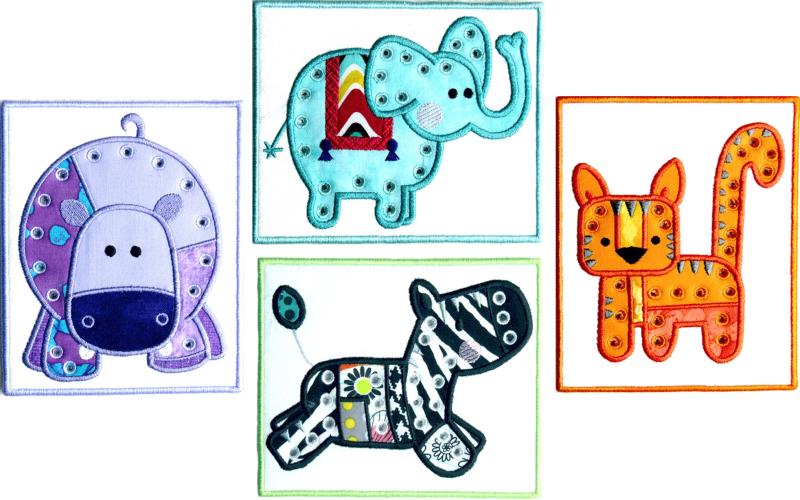
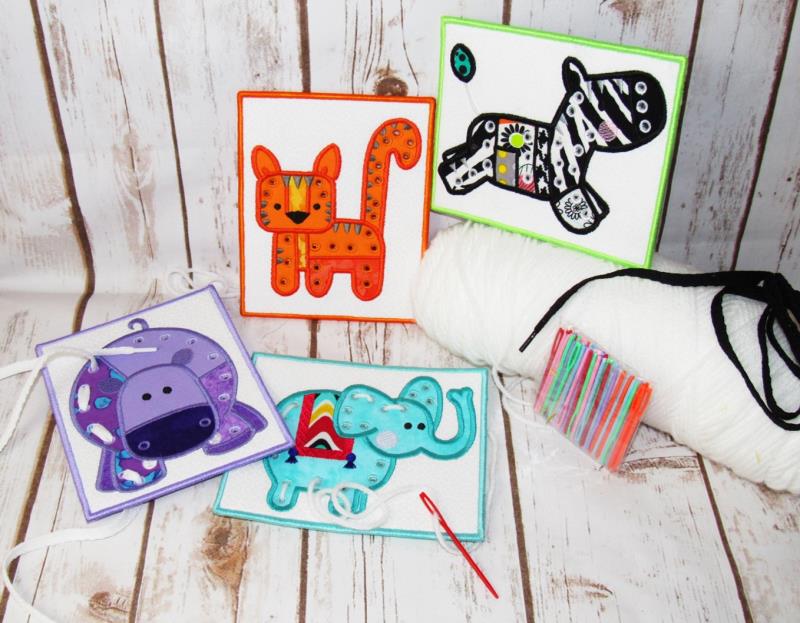
These designs are digitized so they can be used in two ways: as a mug mat for a younger child, or a sewing card for an older child or even as a fun gift for a sewing friend!
Step
of
ITH Patchy Zoo Animals Mug Mat/Sewing Cards
By Ramona Baird
The designs used in this project are digitized so they can be used in two ways. If the last two colors are NOT stitched, then the project can be used as children’s mug mats.
If the last two colors ARE stitched, then the designs may be used as sewing cards. These cards are not intended for use by very young children. Use your judgement, but usually about age 6 and up, with adult supervision with the plastic needle and yarn or shoe lace, which are used to go in and out of the holes like sewing. They would also be good as a fun white elephant gift for a sewing party or for sewing friends!
Step 1:
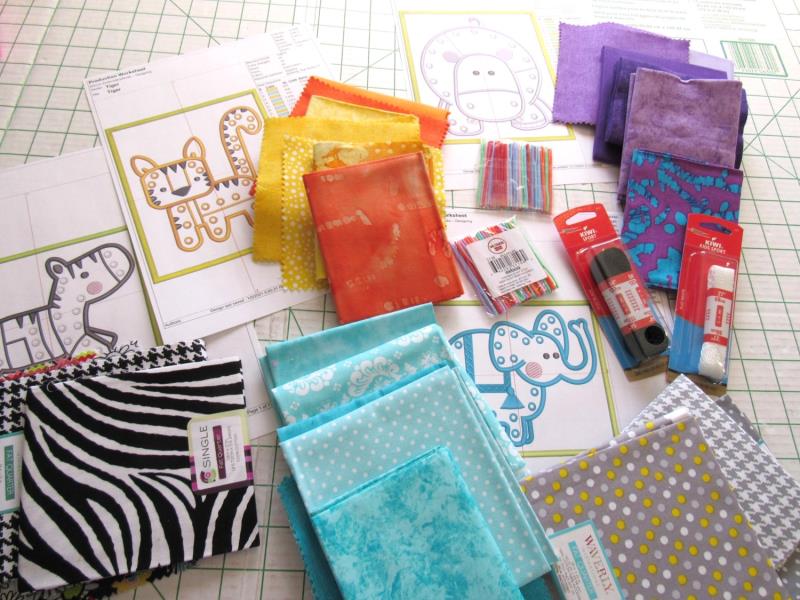
Read through the instructions thoroughly before beginning and assemble all the materials needed to complete the project. These appliques are meant to be very “patchy”, so this is a good time to use up those smaller scraps.
The list of fabrics is the minimal size needed for the area to be covered. I recommend cutting them larger so they are easier to handle when trimming in the hoop.
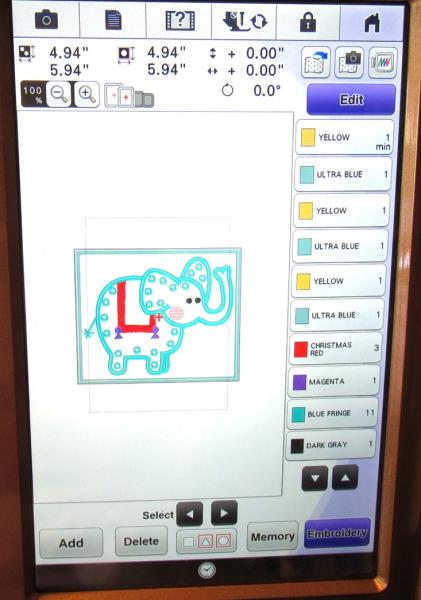
The steps are pretty basic. For each area there will be a placement line that stitches. Next the fabric is laid over the area and then the next color will tack down the fabric. After that, the fabric is trimmed in the hoop using small applique scissors. This continues throughout the design—just follow the color sequence.
Again, if you want just cute little mug mats for small children, stop before the last two colors stitch and finish up by trimming away the stabilizer and using water to dissolve the stabilizer from around the edges. If you want the sewing cards, then stitch the last two colors, creating punched holes between the steps, and then finish up.
(Click Image to Enlarge)
Step 2:
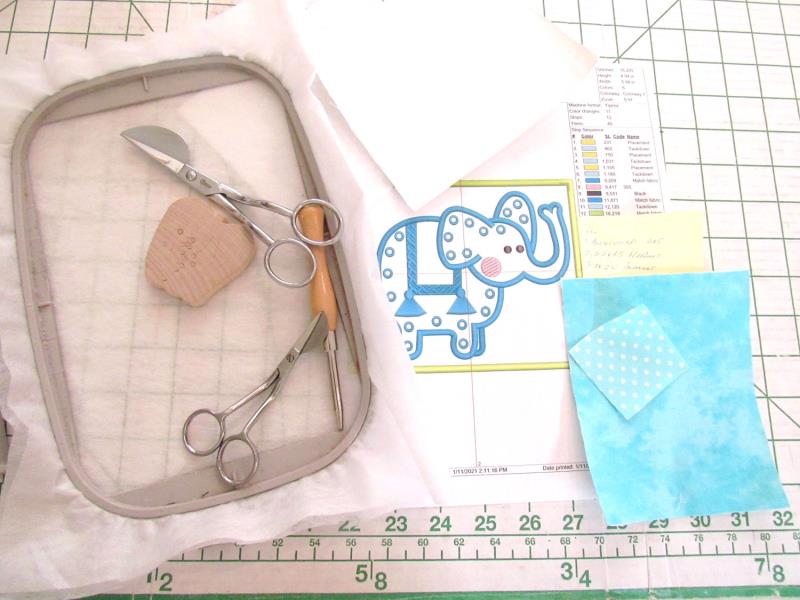
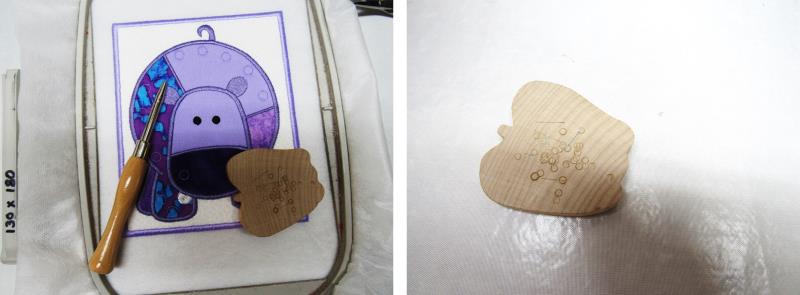
There are several types of fabric punches on the market and come either with a little mat or wooden block. Small sharp applique scissors work well for trimming in the hoop. An awl is used to make the holes a bit larger after the last color stitches.
For the design you are doing, press the fabric, cut out the fabrics, cut out the Heat ‘n Bond Lite the same size as the fabric and follow the directions to fuse the adhesive to the back of each fabric piece. Leave the paper on until it is time to place the fabric down in the hoop.
(Click Image to Enlarge)
Step 3:
Here is another tip: Fibrous water-soluble stabilizer is used in the hoop DO NOT use steam when pressing! This is what happens—the stabilizer shrinks up causing wrinkles that will not press out! Use a DRY iron only.
(Click Image to Enlarge)
Step 4:
Load the chosen design on the machine, rotating it if necessary.
(Click Image to Enlarge)
Step 5:
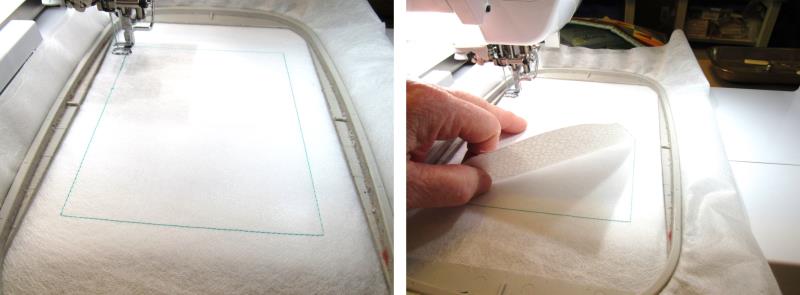
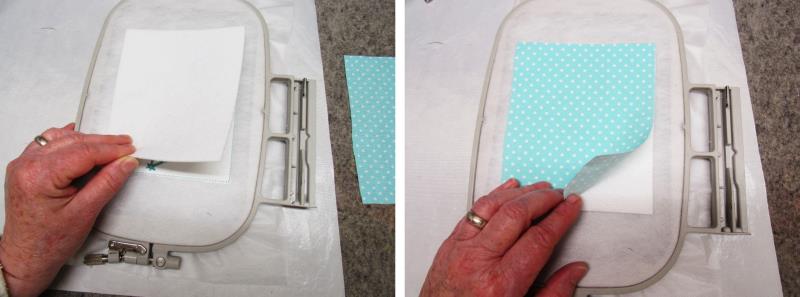
Hoop two layers of fibrous water-soluble stabilizer. Stitch color 1, the background fabric placement line. Remove the paper backing from the adhesive backed fabric and place it right side up over the placement line.
(Click Image to Enlarge)
Step 6:
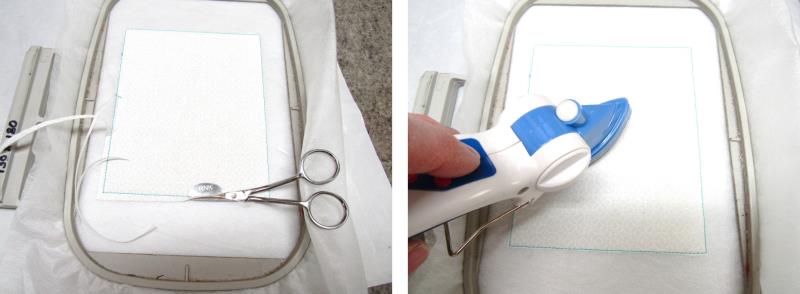
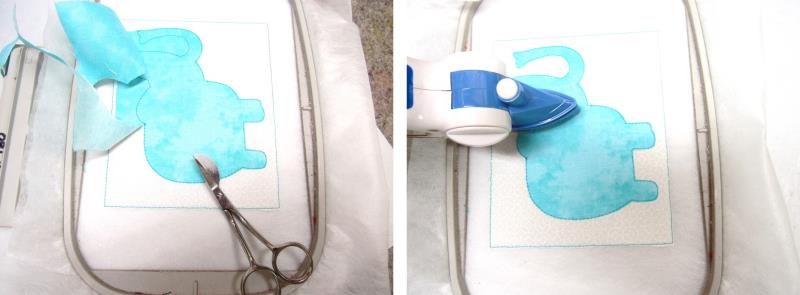
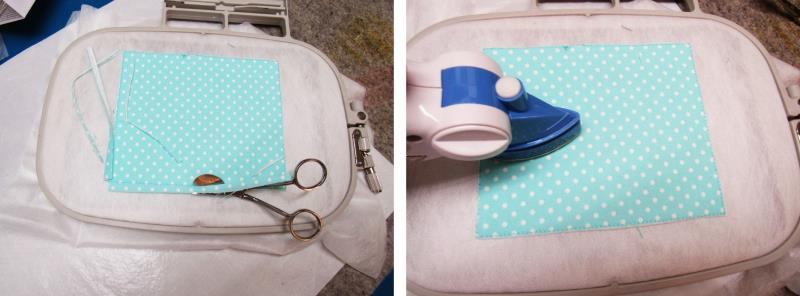
Stitch color 2, the tackdown line. Place the fabric on the ironing surface and trim close to the stitching line around the fabric. Use the dry iron to bond the fabric to the stabilizer.
(Click Image to Enlarge)
Step 7:
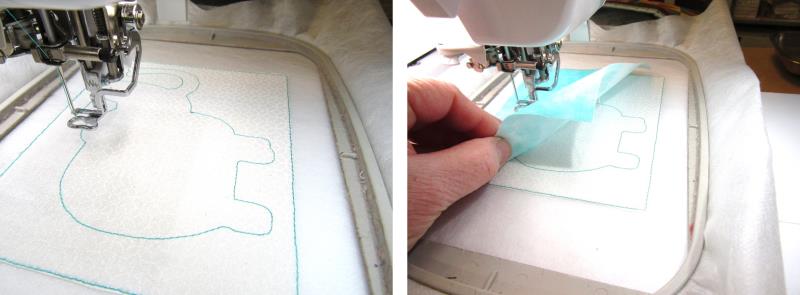
Place the hoop back on the machine. Stitch color 3, the placement line. Remove the paper backing from the adhesive and place it right side up over the placement line.
(Click Image to Enlarge)
Step 8:
Stitch the next color to tack down the fabric. Remove the hoop from the machine and place it on the ironing surface. Trim the excess fabric close to the stitching line and press with a dry iron to bond the fabrics together.
(Click Image to Enlarge)
Step 9:
Continue repeating the process as directed in the color sequence.
(Click Image to Enlarge)
Step 10:
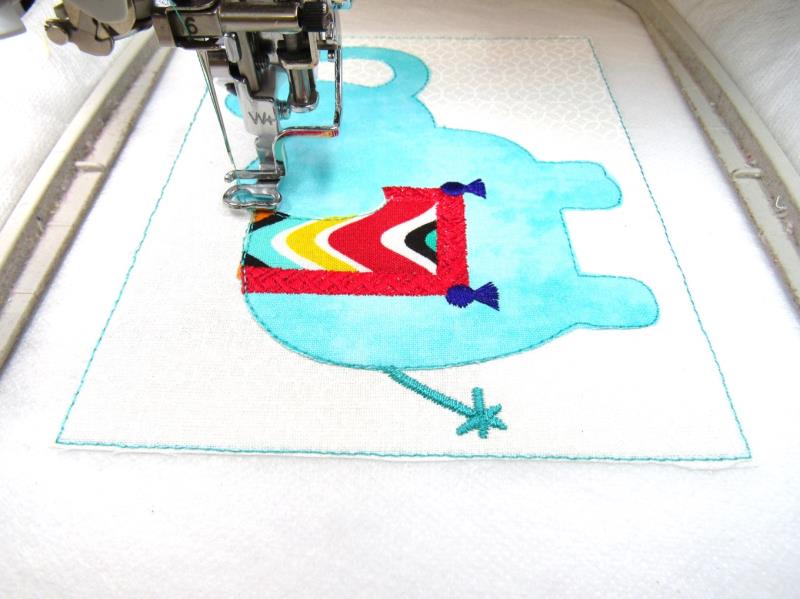
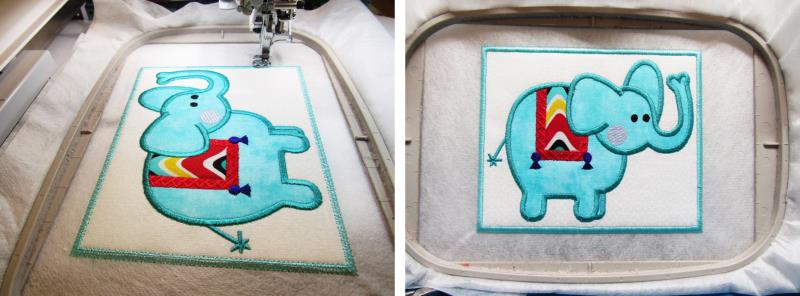
For this particular design, after the blanket fabric is tacked down, the trim and tassels stitch. Use thread colors to coordinate with the fabrics you’ve chosen. After that, the border around the elephant stitches.
(Click Image to Enlarge)
Step 11:
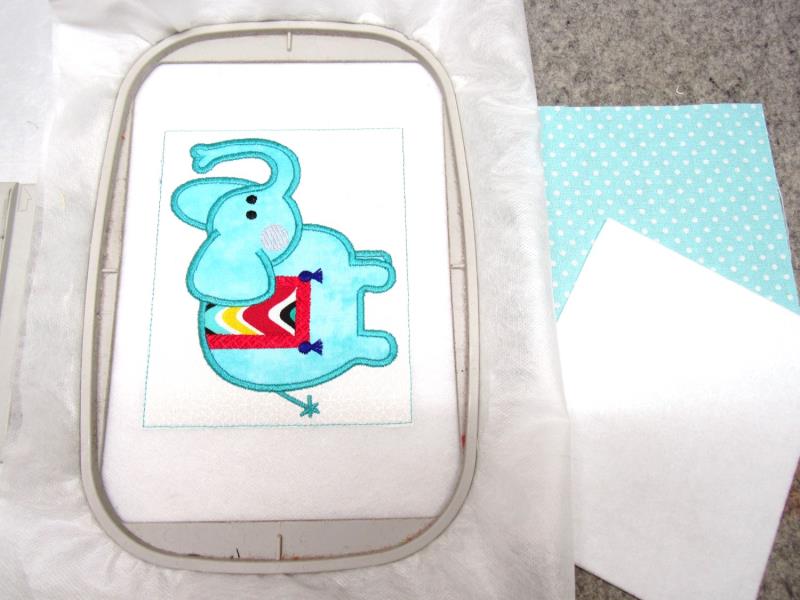
The eyes will sew and then it will be time to add the stiff stabilizer and fabric backings.
(Click Image to Enlarge)
Step 12:
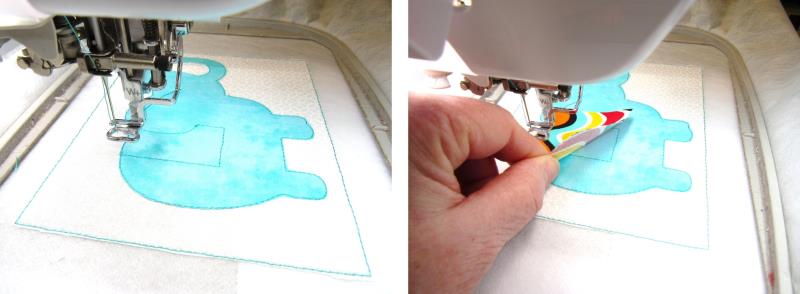
Remove the hoop from the machine and gently flip it over. Place the stiff stabilizer over the placement line, and then remove the paper from the adhesive and place the backing right side up over the stiff stabilizer. Carefully place the hoop back on the machine and make sure the fabric and stabilizer remain as placed.
(Click Image to Enlarge)
Step 13:
Stitch the tack down line and then remove the hoop from the machine and trim the fabric and stabilizer close to the stitching line. Press with the iron to fuse. Do this carefully so the stabilizer doesn’t pop out of the hoop.
(Click Image to Enlarge)
Step 14:
Place the hoop back on the machine and stitch the satin border. At this point STOP if you want the Mug Mats.
(Click Image to Enlarge)
Step 15:
For the mug mats, remove the design from the hoop and trim away the excess stabilizer about 1/8” away from the satin stitching—be careful not to cut into the embroidery threads. These designs make adorable mug mats for small children.
(Click Image to Enlarge)
Step 16:
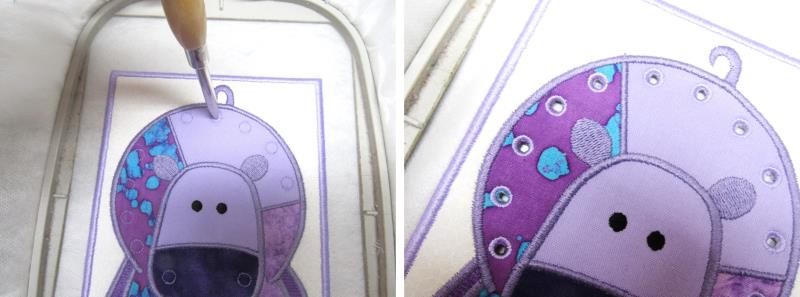
To continue on for sewing cards, after the satin border stitches, place the hoop back on the machine and stitch the eyelet placement lines. Remove the hoop from the machine. Place the wooden block or mat under the holes.
(Click Image to Enlarge)
Step 17:
Center the punch in the middle of each hole and strike it with a hammer to cleanly pierce the holes.
(Click Image to Enlarge)
Step 18:
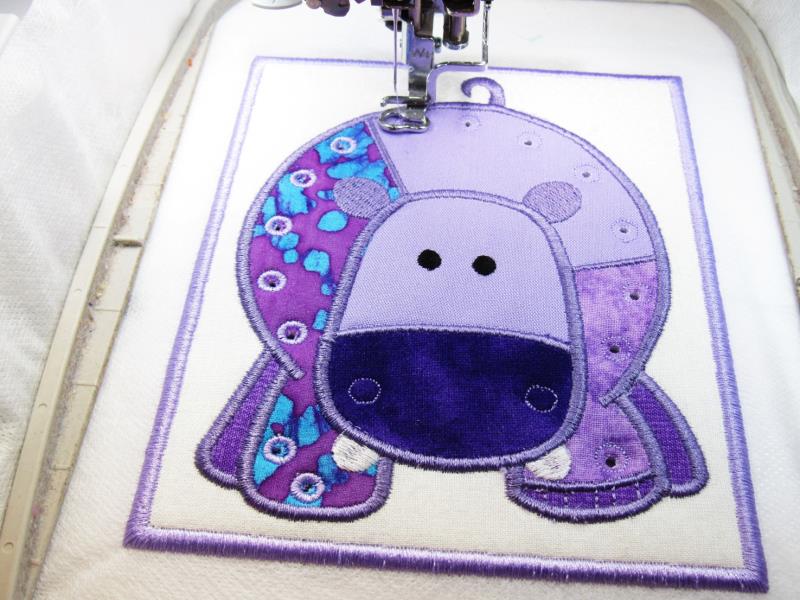
After all the holes are punched, place the hoop back on the machine and stitch the eyelets.
(Click Image to Enlarge)
Step 19:
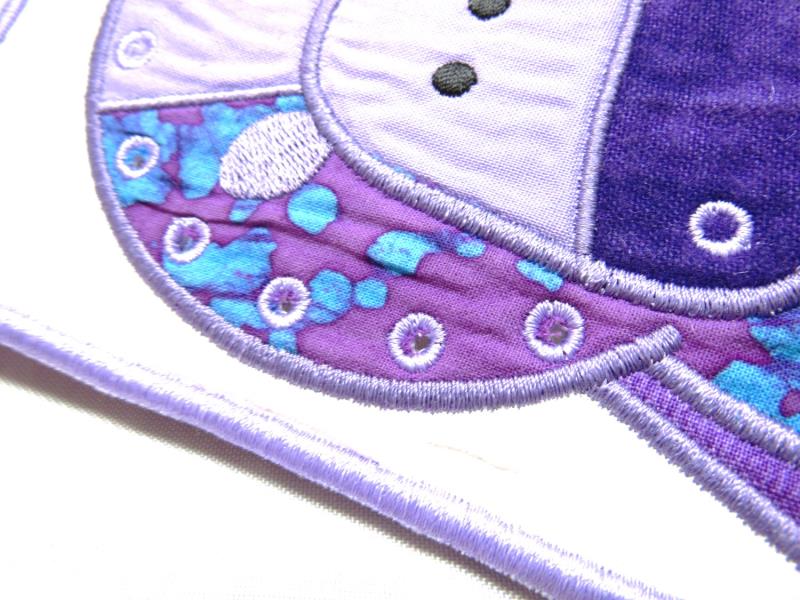
Remove the design from the hoop and trim away the excess stabilizer to within about 1/8” from the satin edge, being careful not to cut into any of the threads. Use water and a sponge to dissolve away the remaining stabilizer from the satin edge. Set aside to dry. Trim the threads on the back of the eyelets and then apply a little seam sealant to secure them; let dry.
(Click Image to Enlarge)
Step 20:
Congratulations on creating the adorable Patch Zoo Animals Mug Mats or Sewing Cards. If using yarn, cut about an 18” length of yarn and thread it through the child plastic needle. The tip is blunt, but do watch children carefully. Teach the child to go in and out of the holes “sewing”. In place of yarn and plastic needle, a shoe lace may also be used. Again, adult supervision is required. These would make a wonderful gift for sewing friends, too, to remind them of their childhood!
Ramona Baird has been in the embroidery industry for over 23 years. She and her husband owned a commercial and retail embroidery store in Arizona for many years. She is an experienced digitizer having been mentored by award-winners Pat Williams and Lindee Goodall. Ramona is a contributor to “Creative Machine Embroidery” magazine having 5 covers to her credit. Ramona has worked for Wilcom America and served many years as Education Director for the American Sewing Guild. With a degree in fashion design, she is able to design and execute patterns which Pat Williams says are “out of the box” in creativity and application. Ramona likes to challenge the boundaries of embroidery and bring new and exciting designs, ideas, and projects to EmbroideryDesigns.com. She wants embroiderers of all levels to increase their skills and enjoyment in using their embroidery machine for gift-making and personal pleasure.