| Preface: | This project allows a lot of choices for colors and creativity. Be sure to use nylon organza, not polyester. When choosing colors, lay one, two, or three colors together to get the color you need. Sometimes a layer of white or ivory under a colorful top color will mute the color; sometimes the brighter color should be placed underneath white to get the desired color. A nylon bridal illusion may also be sandwiched with the nylon organza to achieve the color—that is what was done for this project. There is no right or wrong—it is up to you to layer the fabrics to achieve the colors.
There are five parts to this project: leaves and bottom petal are free-standing lace. The remaining three petals in graduated sizes are stitched on the layered organza, cut out, and then the wood burning tool used to finish the edges.
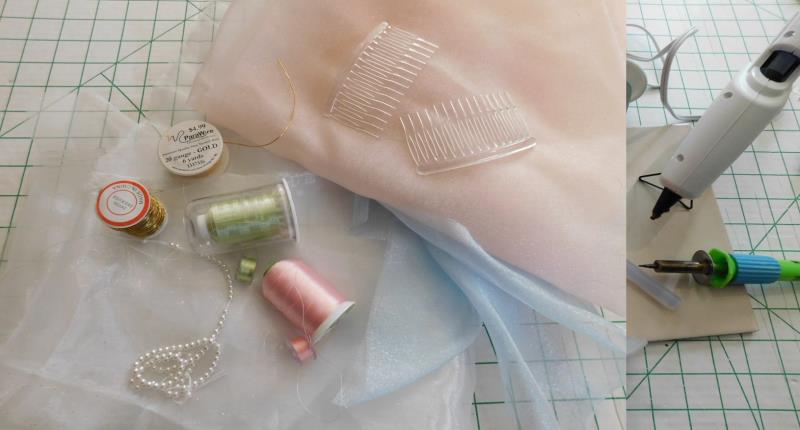
The wire and pearls are used to secure the petal layers together and attach to the combs. The hot glue is used to overlap the petals to shape them, attach the petals to the combs, and the leaves to the flowers. |
Step 1: | Read through the instructions thoroughly before beginning and assemble all the materials needed to complete the project. Be sure to test layers of organza to get the desired color. The pieces are sized to fit in a 4” x 4” hoop, but if you have a larger hoop, you’ll be able to gang up several pieces and stitch them in one hooping as you will see. For each flower there is one leaf set (201231_A), and four parts to for flower (201231_B, 201231_C, 201231_D, and 201231_E). Load the designs on the machine. |  (Click Image to Enlarge) |
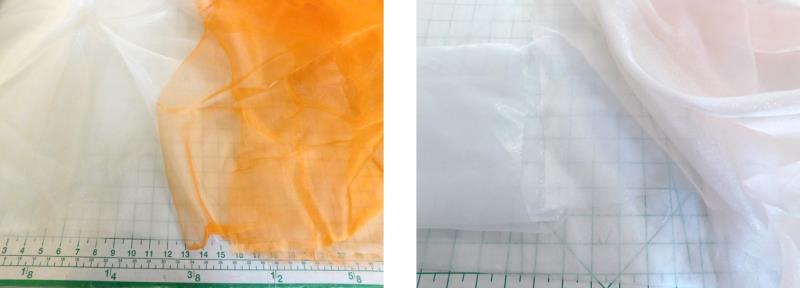
Step 2: | There are so many choices of nylon organza on the market. Layer and test organza pieces and also test thread colors. | 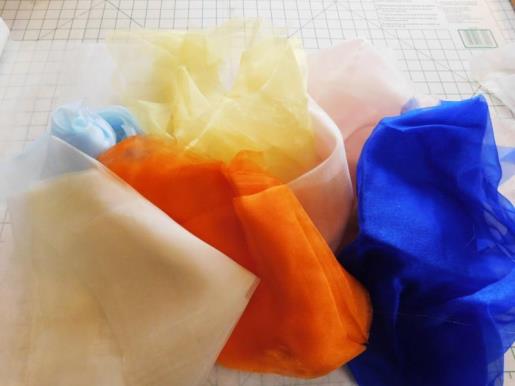 (Click Image to Enlarge) |
Step 3: | It is amazing how a layer of white under a bright color softens the brighter color or even how it mutes a color. After the nylon organza color is achieved, then choose a polyester thread color which will be for the petal edges and a green to go with the flower color for the leaves. Wind bobbins in the same thread colors. |  (Click Image to Enlarge) |
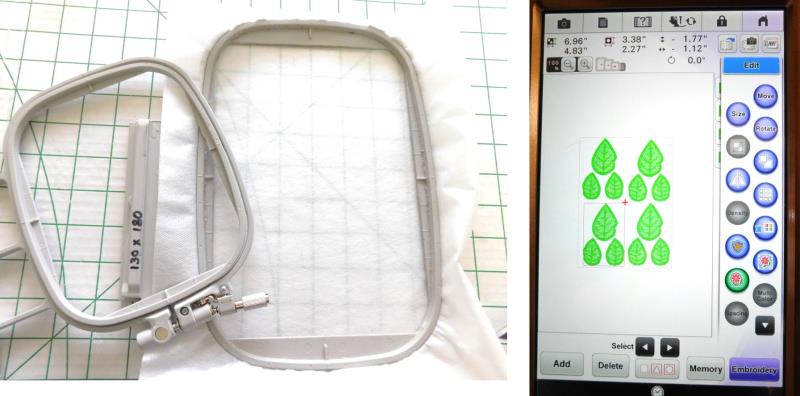
Step 4: | Begin with the FSL pieces. Start with the leaves 201231_A. Hoop two layers of water-soluble stabilizer. Load the thread and bobbin on the machine and stitch the designs. | 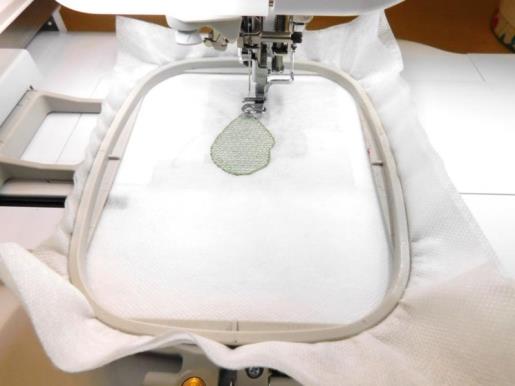 (Click Image to Enlarge) |
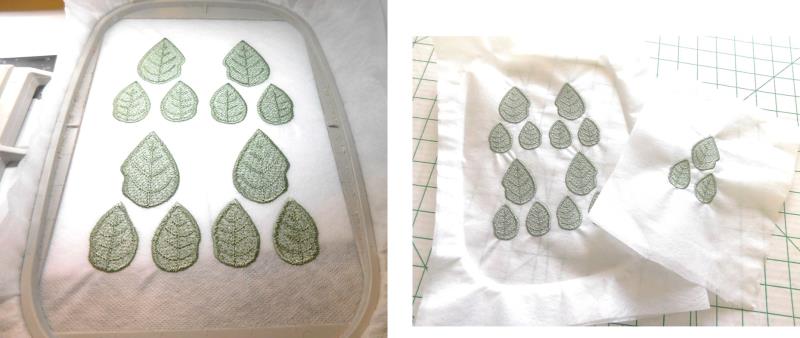
Step 5: | Depending on the hoop sizes there are for the machine, you may be able to gang up several sets of leaves in one hooping. If you do this, be sure to leave room between the leaf sets. |  (Click Image to Enlarge) |
Step 6: | For the project, two sets of leaves were done as designed and the other set was mirrored. After the leaves are stitched, remove the embroidery from the hoop. If you are only using the 4”x4” hoop, then repeat the stitching three more times, mirroring the leave design for the second leaf sets. |  (Click Image to Enlarge) |
Step 7: | Choose the thread color to match the organza. This will be used in both the bobbin and as the top thread, for all the flower parts. | 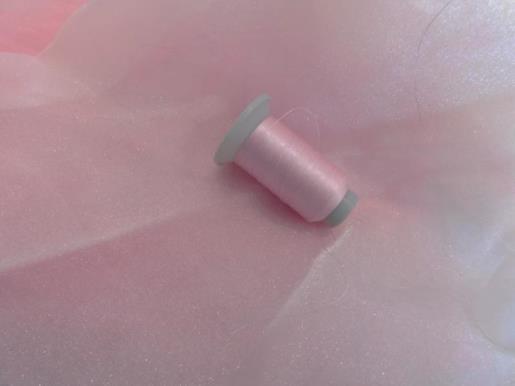 (Click Image to Enlarge) |
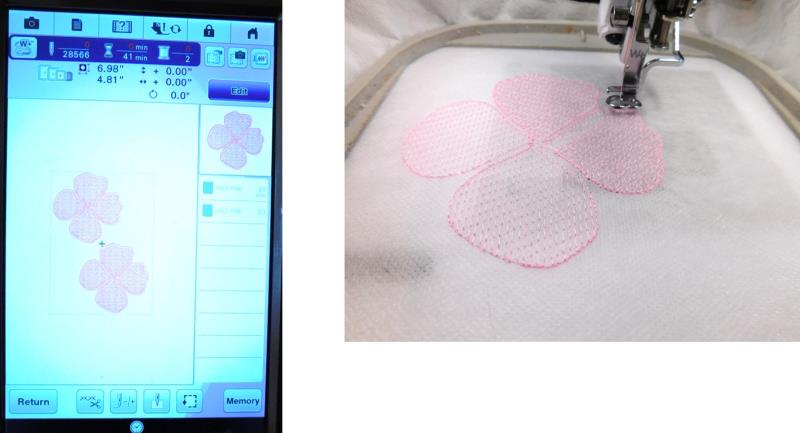
Step 8: | Next stitch the FSL flower base, design 201231_B. Hoop two layers of water-soluble stabilizer. |  (Click Image to Enlarge) |
Step 9: | If using a 4” x 4” hoop, repeat the hooping and stitch two more. If using a larger hoop, you may gang up more than one. | 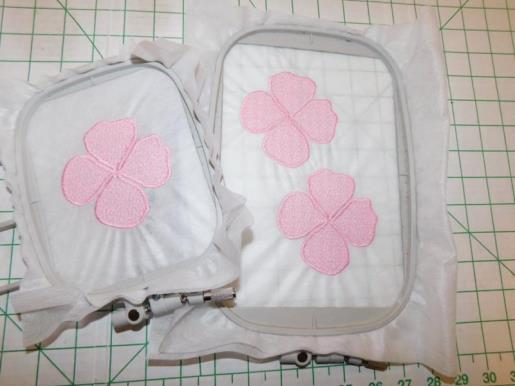 (Click Image to Enlarge) |
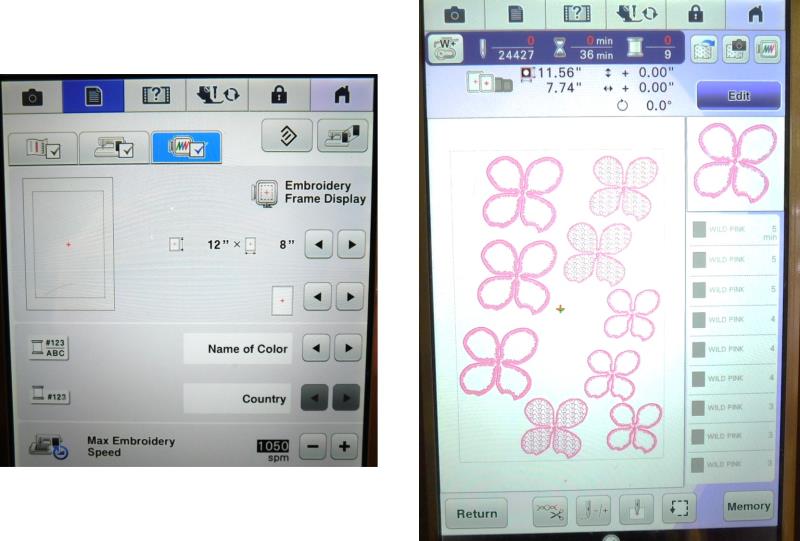
Step 10: | If you happen to have a larger hoop, such as an 8” x 12”, you may be able to gang up three of each of the remaining flower pieces 201231_C, 201231_D, and 201231_E. |  (Click Image to Enlarge) |
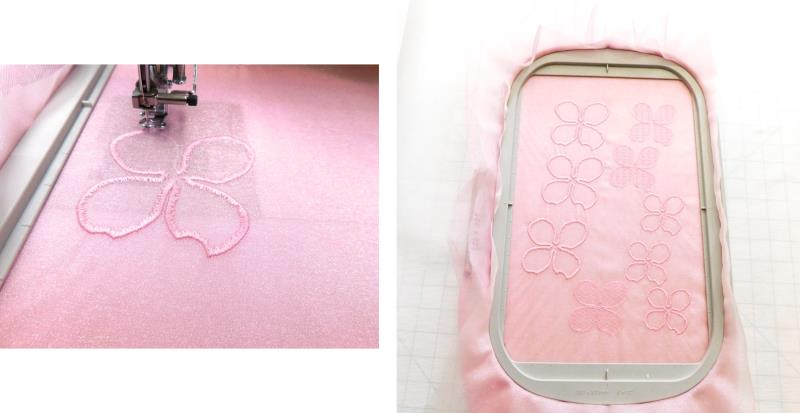
Step 11: | Hoop the organza colors to stitch the flowers (no other stabilizer is needed if at least two layers of organza are used.) Stitch the remaining designs. | 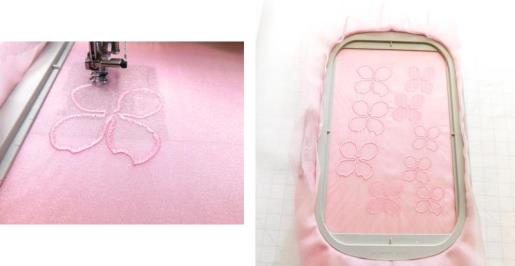 (Click Image to Enlarge) |
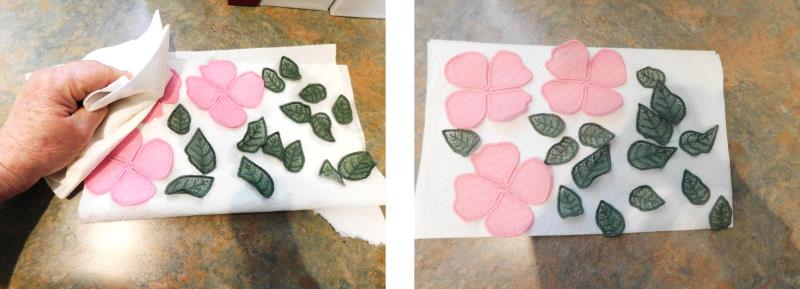
Step 12: | After everything is stitched, it is time to prep the flower parts for assembly. Loosely cut out all the FSL pieces. Follow the manufacturers’ directions for rinsing the stabilizer; most of the stabilizer should be left in the stitching. | 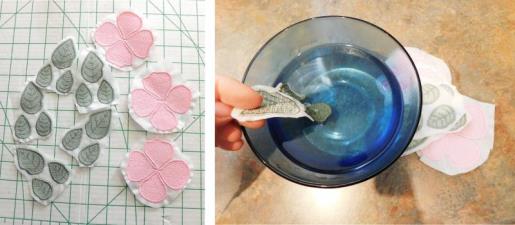 (Click Image to Enlarge) |
Step 13: | Pat out some of the water and then leave the pieces to dry, forming the leaves a bit. | 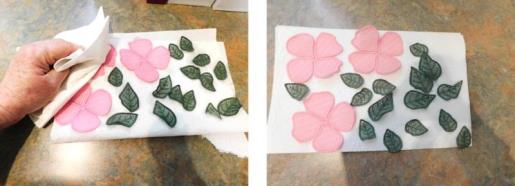 (Click Image to Enlarge) |
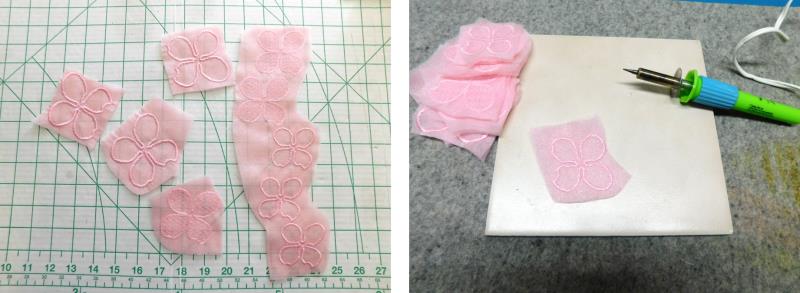
Step 14: | While the FSL pieces are drying, prep the organza pieces Heat up the woodburning tool. | 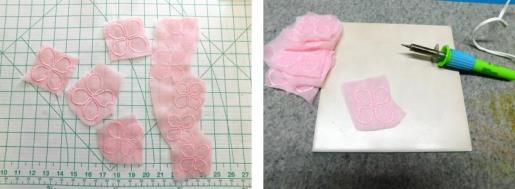 (Click Image to Enlarge) |
Step 15: | Use small sharp scissors to cut out around the organza petals. Use the wood burning tool to melt back the organza. Be sure not to touch the tool to the thread because it will melt it. Work in small increments, cleaning the tool with a wet towel as needed. | 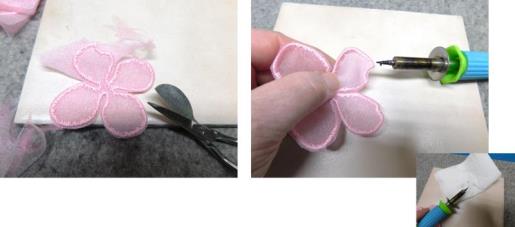 (Click Image to Enlarge) |
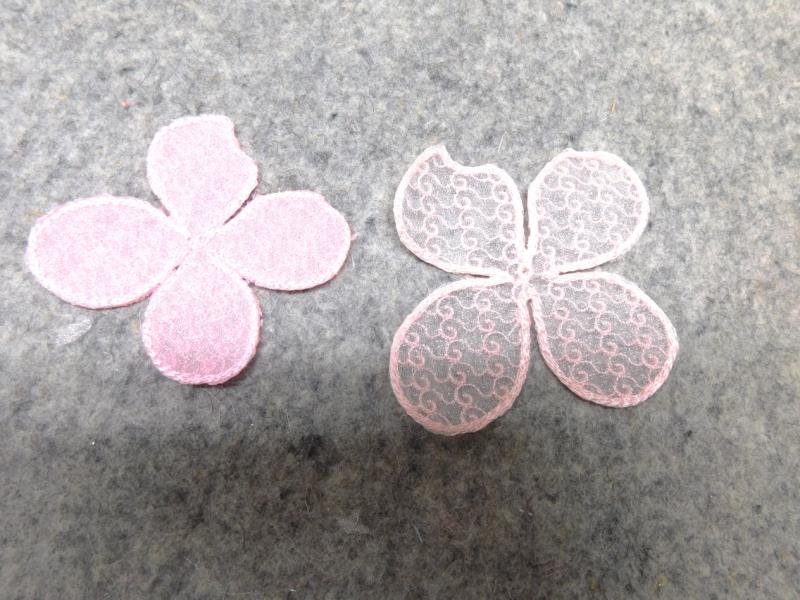
Step 16: | The petals should have nice smooth edges, with no organza outside of the stitching lines. |  (Click Image to Enlarge) |
Step 17: | Cut several 12” lengths of the thin (24 ga.) wire. Fold each wire piece in half. Place one pearl on the wire and feed it up to the folded edge; twist the wire below the pearl. Feed another pearl onto the wire, twist below the pearl and add a third pearl, and twist the wire. Add more pearls if desired. Do this for all the wire pieces. |  (Click Image to Enlarge) |
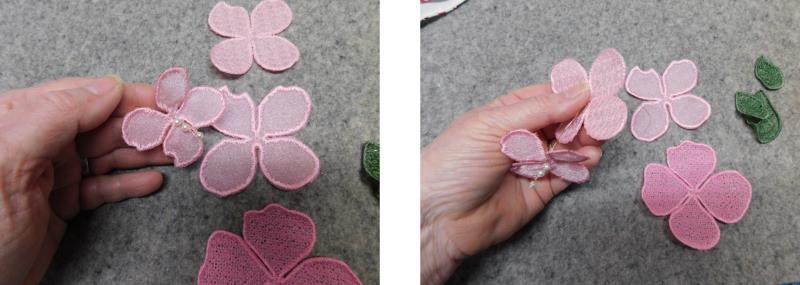
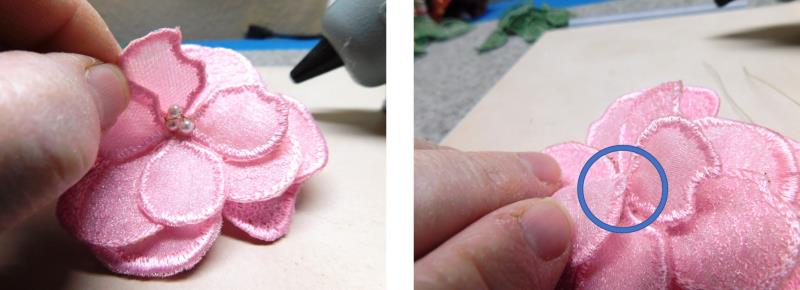
Step 18: | After the FSL pieces are dry, the flowers can be assembled. Heat up the hot glue gun. Begin with the smallest petal. Insert the end of the wire through the top, into the center. | 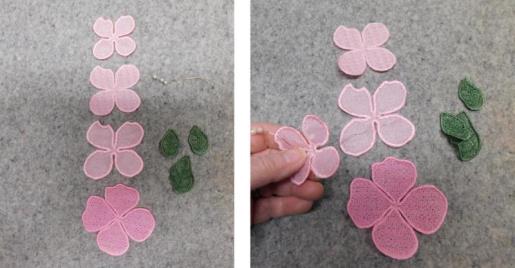 (Click Image to Enlarge) |
Step 19: | Now place the wire ends through the second largest petal at the center |  (Click Image to Enlarge) |
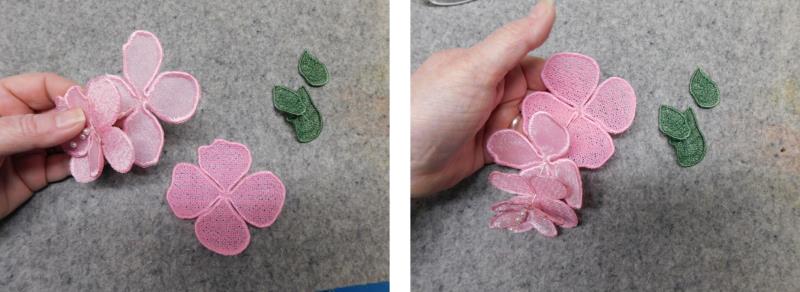
Step 20: | and then through the third, and then through the FSL petal. |  (Click Image to Enlarge) |
Step 21: | Cinch up the flower petals tightly and twist the end of the wire to hold them. Now the flower petals will be overlapped slightly to shape the flowers, with very small dabs of hot glue—just a small dot will do. |  (Click Image to Enlarge) |
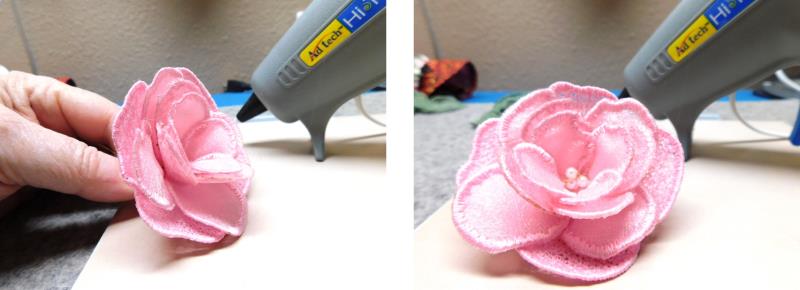
Step 22: | Place the small dot, and hold the petals together to set the glue; repeat for all the petals on the top layer as shown. | 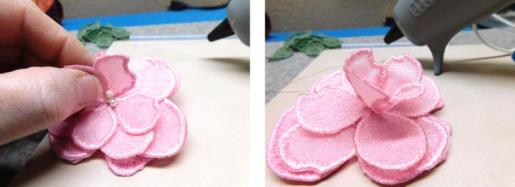 (Click Image to Enlarge) |
Step 23: | Repeat shaping the remaining layers, overlapping and gluing them to shape the flower. |  (Click Image to Enlarge) |
Step 24: | Shape the petals for all three flowers. | 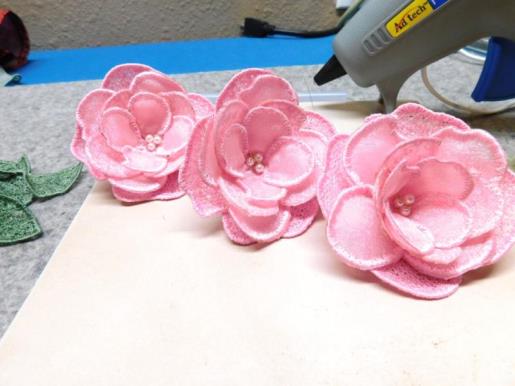 (Click Image to Enlarge) |
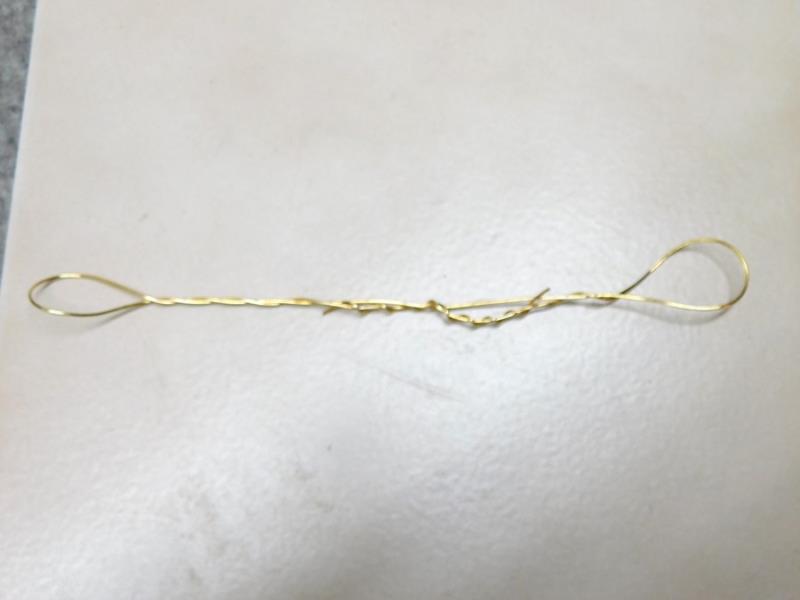
Step 25: | Cut 18” of the thicker (20 ga.) wire. Bring the ends to the center and twist them together, forming loops at the ends. | 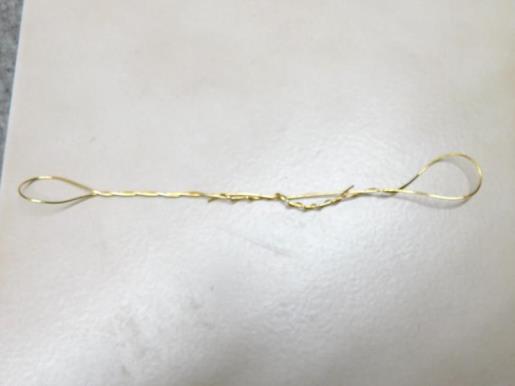 (Click Image to Enlarge) |
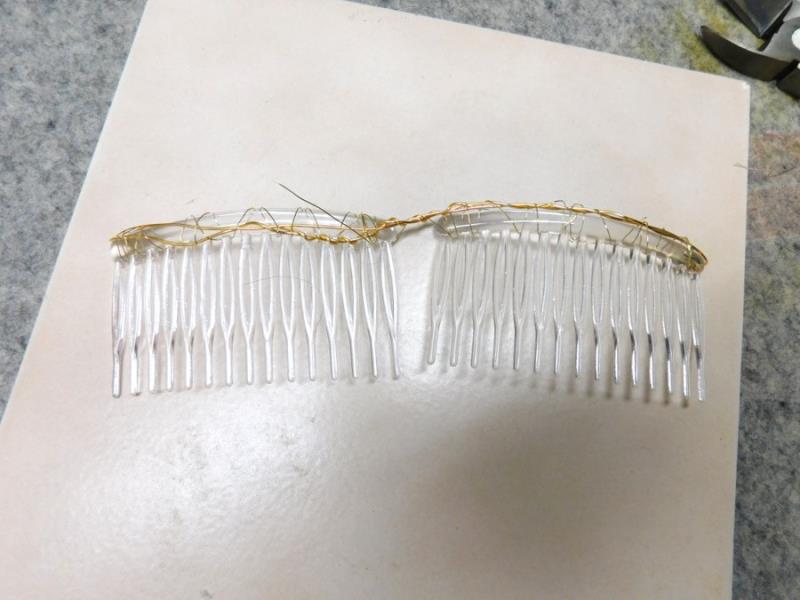
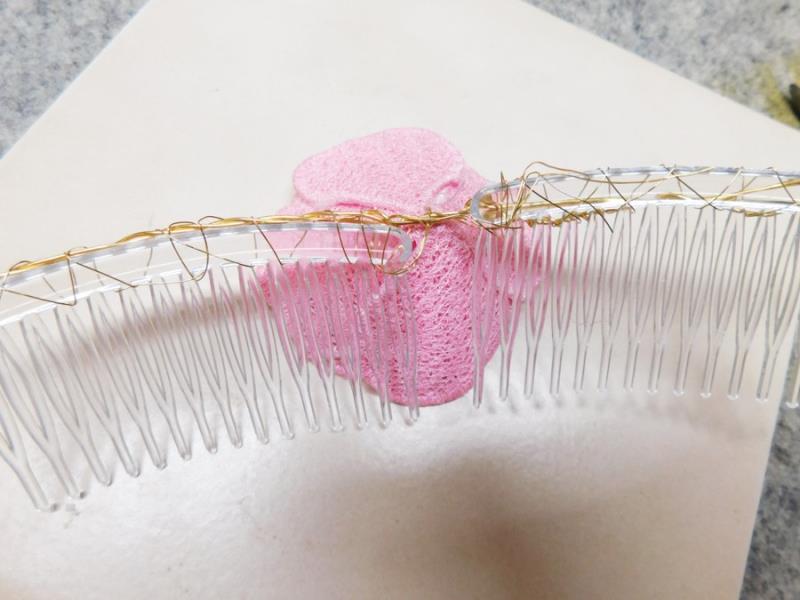
Step 26: | Cut lengths of the thinner wire to secure the combs to the thicker wire, tucking the ends of the wires so they won’t poke into the wearer’s head. | 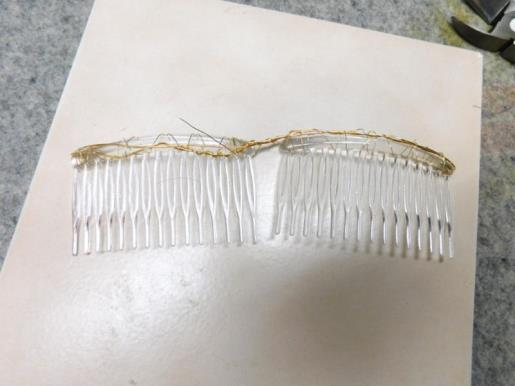 (Click Image to Enlarge) |
Step 27: | Use the ends of the wires in the flowers to twist them onto the combs, centering one flower in the center of the combs | 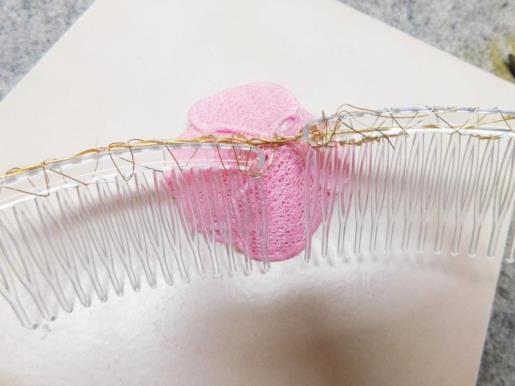 (Click Image to Enlarge) |
Step 28: | and the remaining two flowers on each end. Use hot glue to affix the leaves between the petals and behind the flowers as desired. | 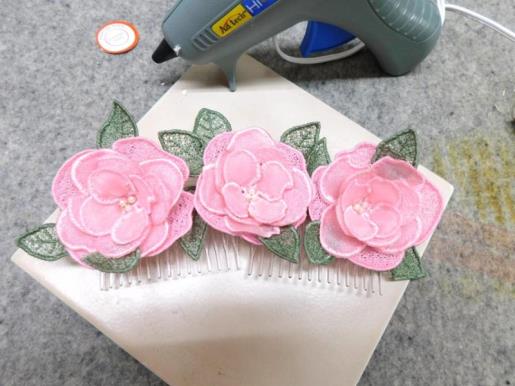 (Click Image to Enlarge) |
Step 29: | Use the pearls on the wires around the flowers, securing them to the combs/wires. | 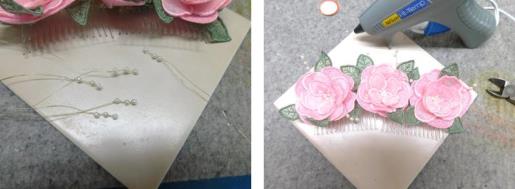 (Click Image to Enlarge) |
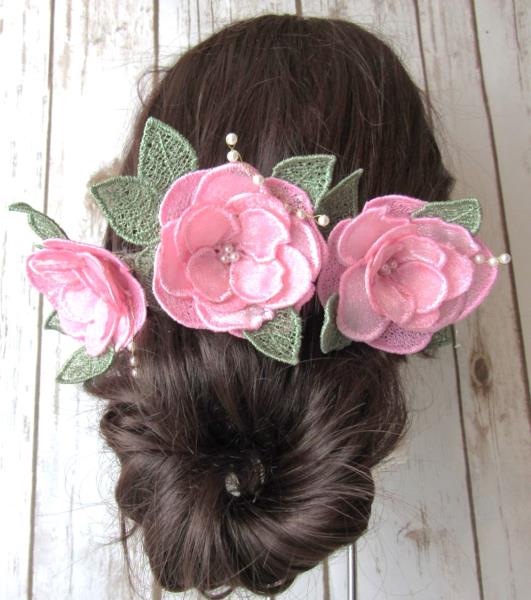
Step 30: | Congratulations on creating the ITH Floral Headpiece! Make several in different color, use one flower for a brooch or single hair accessory. Have fun creating these—they are easy to stitch and assemble. | 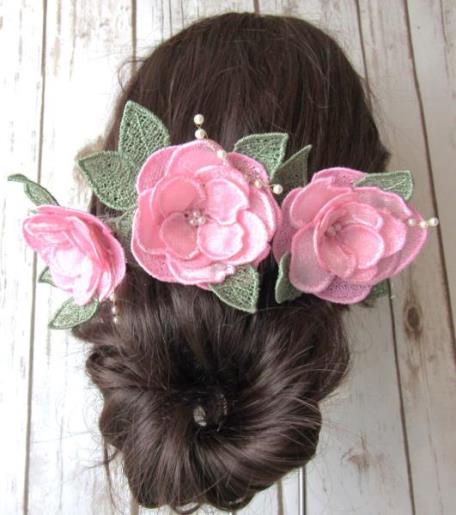 (Click Image to Enlarge) |
|