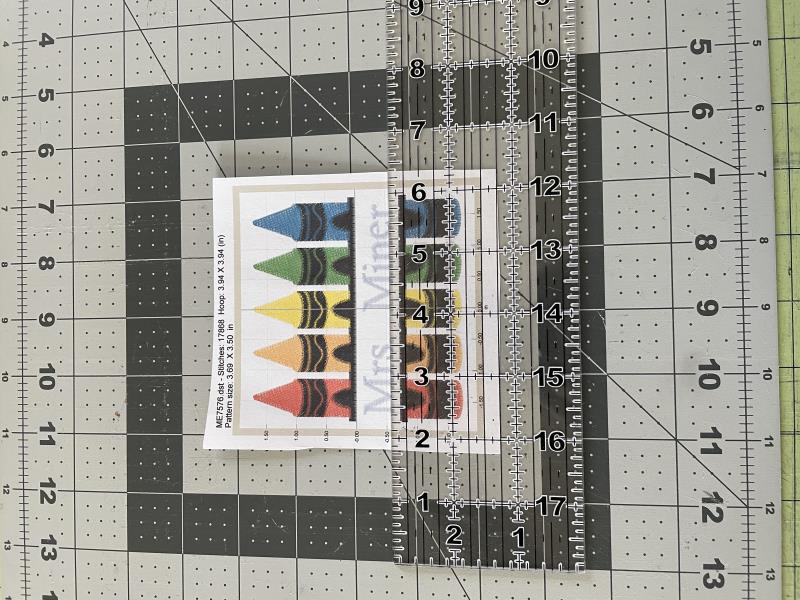
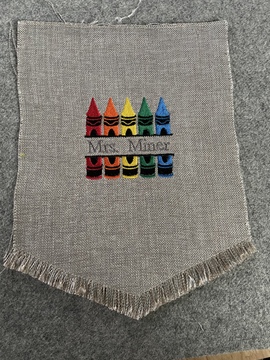
Use embroidery editing software to personalize the design with a name or monogram (optional). Then print design layout or determine size of design for banner size
(Click Image to Enlarge)
Step 2:
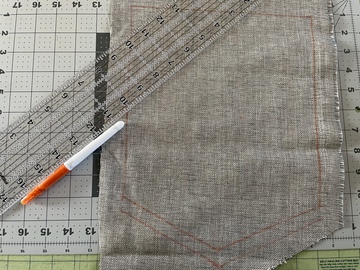
For these examples, I used the following measurements to cut out the banner: width-9” x height11.5”. Using those (or any desired) measurements, mark your fabric using fabric/Frixion pen/marker. To create the point at the bottom, determine where you want the angle to begin and mark at the sides (I placed the marks 9.5” from the top). Then mark the center of the bottom line (as shown in photo on the left). Draw an angled line from the mark on the sides to the center mark made (as shown in center photo). Photo shows what you should have a this point: upper and side cut lines, as well as, the lower seam line.
(Click Image to Enlarge)
Step 3:
(Click Image to Enlarge)
You will need to add a seam allowance to the lower angled lines. I placed the seam allowance 1/2” below the original line. (Photo on the left is a woven home decor fabric that easily frays, so I want to fringe the lower edge. Center photo is a quilting cotton that will have a hemmed lower edge.) Once the seam allowance has been added, cut out along all outer edges (as shown in photo on the right).
Step 4:
(Click Image to Enlarge)
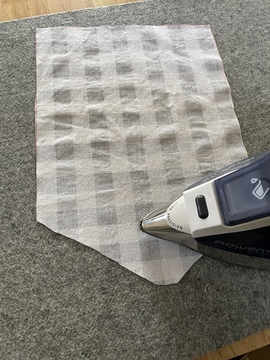
If creating a fringed lower edge, sew across the seam line (as shown in the photo on the left). This is not necessary if you are planning to hem instead. Then remove all fabric markings. (Frixion markers are easily removed using an iron as shown in center photo.)
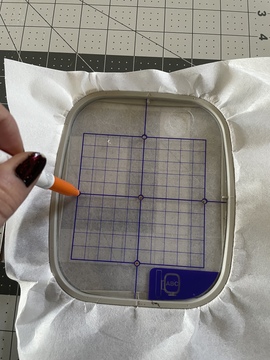
Step 5:
(Click Image to Enlarge)
Now it is time to hoop your stabilizer (I used a cut away stabilizer). And using the hoop grid, mark the center. Then determine where you would like the center of the embroidery design to be on your fabric and mark using your fabric pen of choice.
Step 6:
(Click Image to Enlarge)
Line up the center markings of fabric and hoop and prepare for stitching design. The example on the left was attached to hoop using a temporary adhesive spray. The example on the right was attached using pins. *If using pins, it is very important to make sure pins are well outside of where the design will be stitched. If not, you risk breaking a needle and/or causing your machine to jam.
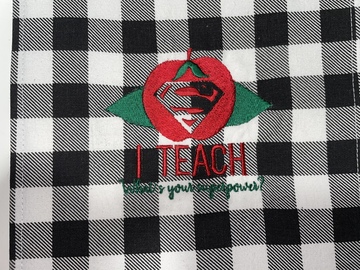
Step 7:
(Click Image to Enlarge)
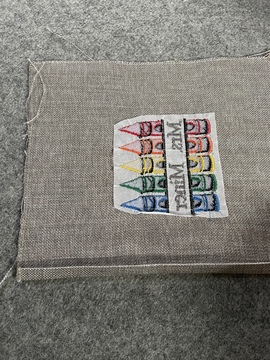
Stitch out the embroidery design of choice. Once complete, clean up the design by snipping any jump stitches. Then press the fabric.
Step 8:
Due to the weight of the quilting cotton, I chose to use an iron on stabilizer on the back. This step is completely optional and based on preference. But if you like a clean, crisp finish, I recommend it.
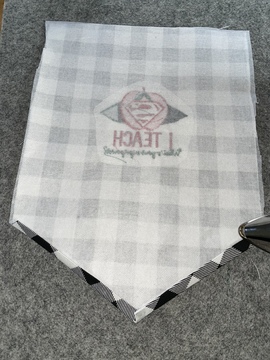
Step 9:
(Click Image to Enlarge)
For a hemmed lower edge, fold one side up ¼” and press, fold again ¼” and press. Repeat on other lower edge. Stitch at ¼” seam allowance making sure to pivot at lower point.
Step 10:
(Click Image to Enlarge)
For a fringed lower edge, gently pull down horizontal threads to stitched line and finger comb to fall alongside vertical threads. (Any horizontal threads that do not pass through the stitched line wil be completely removed.) Trim to same length
Step 11:
(Click Image to Enlarge)
Fold side edge up ¼”and press, fold again ¼” and press. Repeat on other side edge. Stitch at ¼” seam allowance.
Step 12:
(Click Image to Enlarge)
On top edge, fold 1/8” and press, fold again 5/8” and press. Stitch using a 5/8” seam allowance creating the casing for dowel rod.
Step 13:
(Click Image to Enlarge)
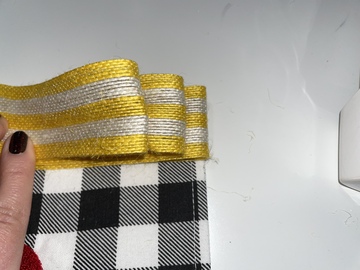
To create the bow I used: fold ribbon back and forth until reaching desired amount of folds.
Step 14:
(Click Image to Enlarge)
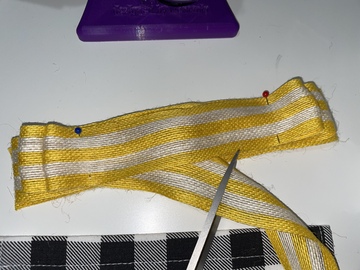
Fold last ribbon fold under instead of over and pin in place. (As shown in photo on the left.) Cut excess ribbon just past the center of bow and tuck into place.
Step 15:
(Click Image to Enlarge)
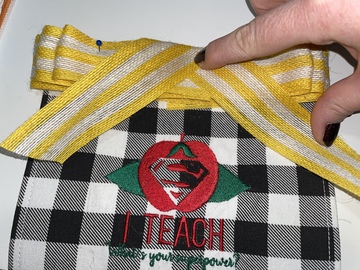
Next, determine if your bow will have tails and how long they will be. Trim appropriate length of tail ribbon and pin into place behind the bow as shown in photos below.
Step 16:
(Click Image to Enlarge)
Few More pictures of the bow
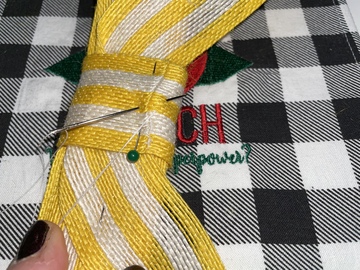
Step 17:
(Click Image to Enlarge)
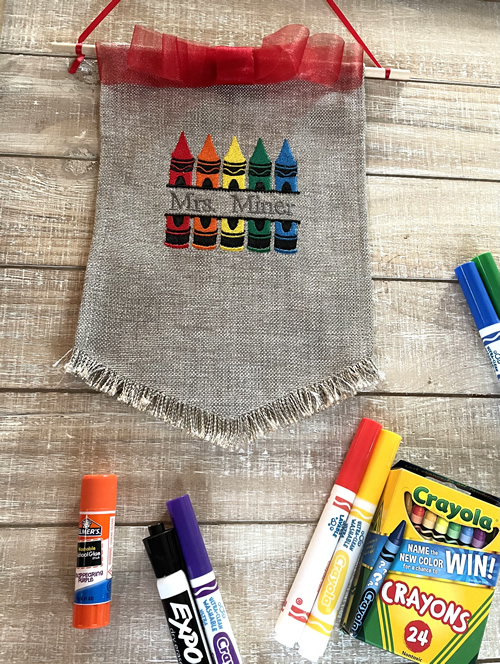
Secure bow to fabric by either stitching with needle and thread or using fabric glue. Insert dowel through casing and tie your choice of jute cord, ribbon or twine to create the hanger. Voila! Now your wall hanging is complete.