


PROJECT INSTRUCTIONS


PROJECT INSTRUCTIONS

Quick Bread Liner Embroidery Project
By
Marisa Littleton
on
December 28, 2020
PROJECT DETAILS
SKILL LEVEL
Some Experience
TIME REQUIRED
01:30
FINISHED SIZE
17 x 17 inches
Description
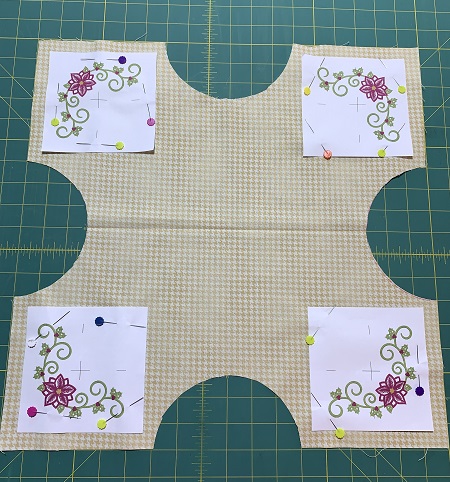
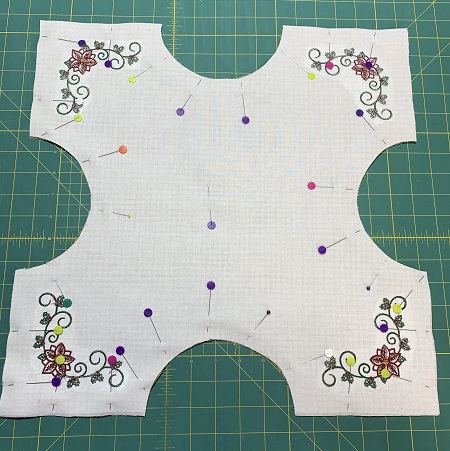
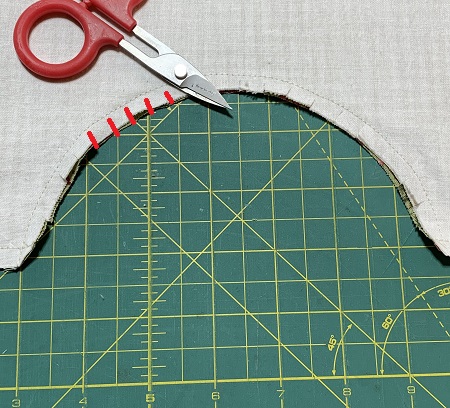
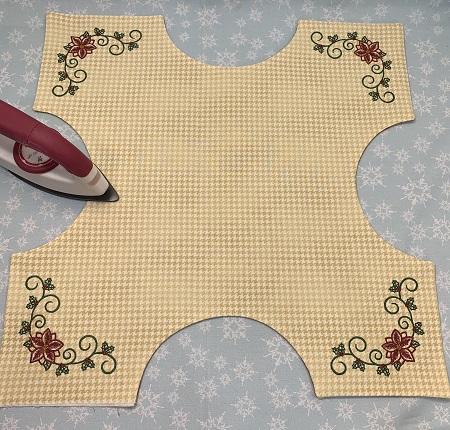
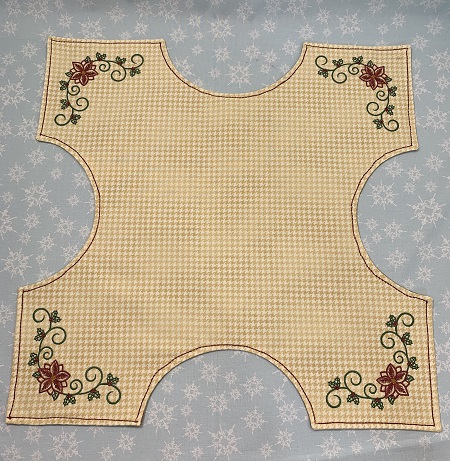
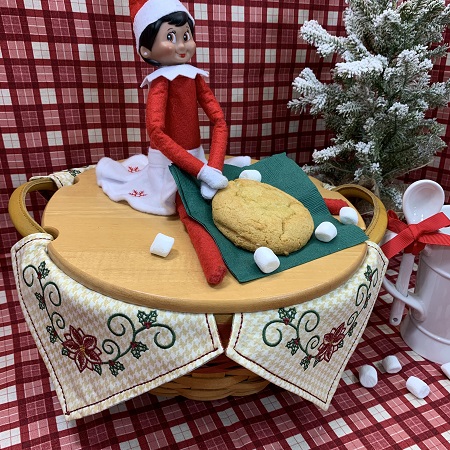
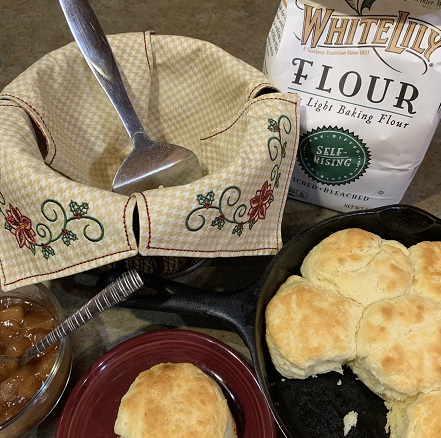
A versatile seasonal liner to use with your holiday goodies! The liner fits in different containers like baskets or bowls. Basic sewing skills are needed to finish the liner.
Project Preview Video

Embrilliance Essentials - Software Download
$139.00
Circle Price: $134.10

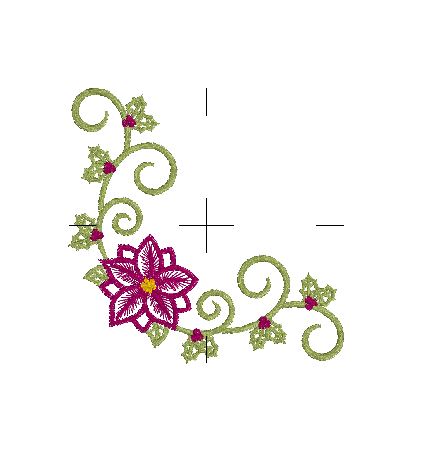
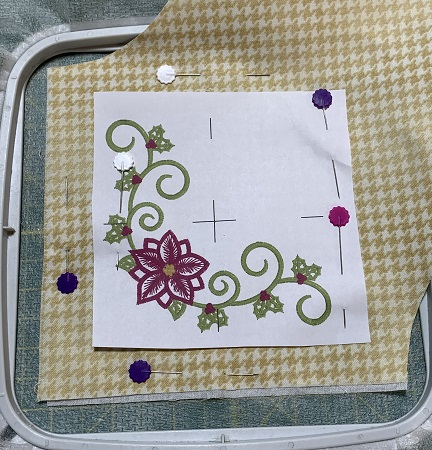
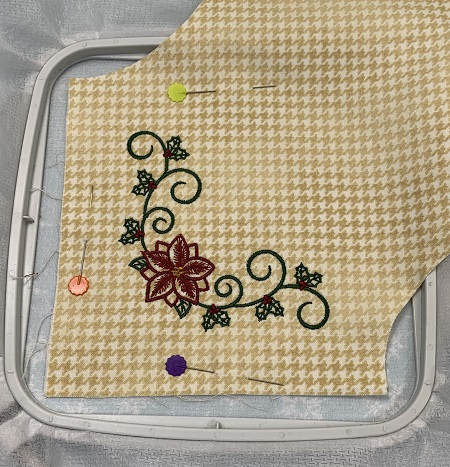
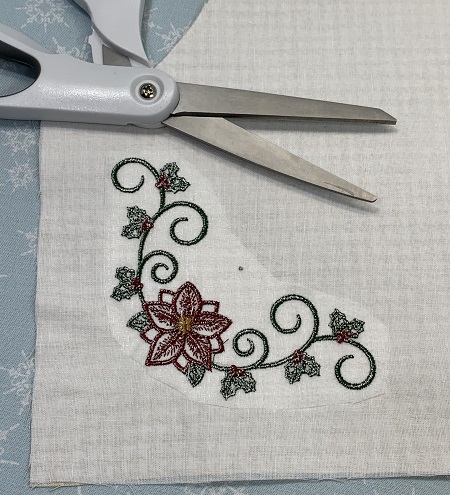
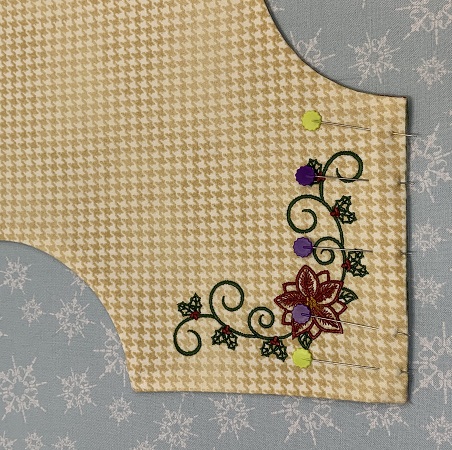
Corner Poinsettia
$6.00
$3.00
Circle Price: $3.00


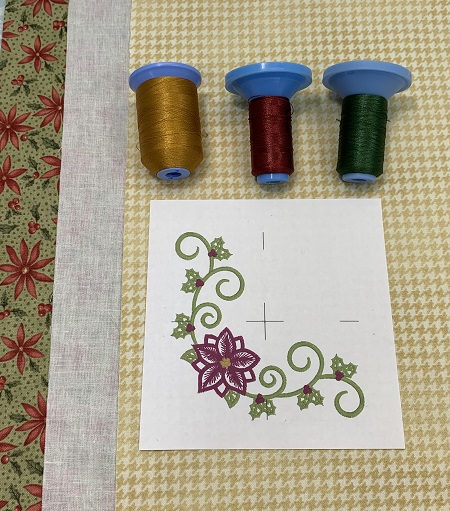
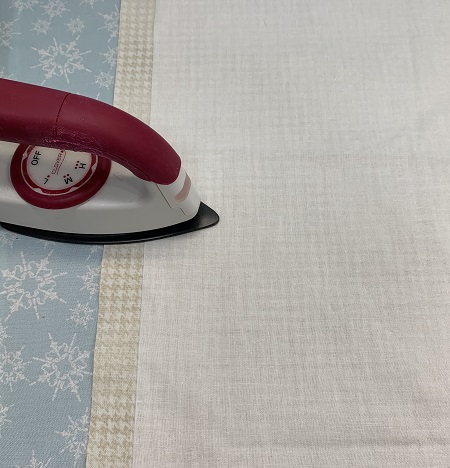
| Materials Design Template 4"x4" hoop No show poly mesh stabilizer 2 pieces coordinating fabrics 18"x18" (100% quilter's cotton) 1 piece 18"x18" Pellon SF101 super flex interfacing Embroidery needle size 75/11 or 80/12 Embroidery thread 40 wt. (Robison-Anton super brite poly) Sewing machine, needle, thread & bobbin |
| Designs used in this project |
| Final Product: What You Will Create |
 |
|

Beautiful things are made one stitch at a time... Marisa Littleton |
Projects You May Like
Meet the Author:
Marisa Littleton

Marisa Littleton is a retired educator with a love for teaching and learning. Interests include machine embroidery, hand embroidery, quilting, cooking, and antiques.
Feedback
Characters Remaining
Please Login to Submit a Feedback
Invalid Characters, Please enter a valid Comment
Please enter a valid Comment
Reviewed On
Link is Broken, Please check the URL