


PROJECT INSTRUCTIONS


PROJECT INSTRUCTIONS

Holiday Mop Gnome Embroidery Project
By
Linda Mills
on
December 15, 2020
PROJECT DETAILS
SKILL LEVEL
Intermediate
TIME REQUIRED
01:00
Description
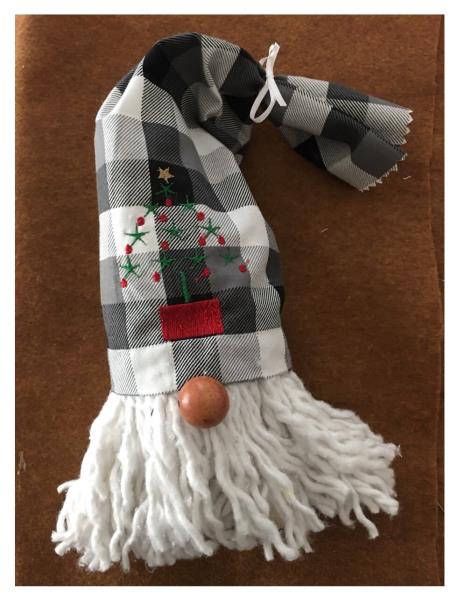
A mop gnome is so adorable not just for the holidays but for a home décor staple year round.
Project Preview Video

QUICK VIEW
Tear Away Stabilizer
$7.98
Circle Price: $7.18

505 Spray Temporary Spray Adhesive
$15.99
Circle Price: $15.99

Small Christmas Tree
$3.89
$1.95
Circle Price: $1.95


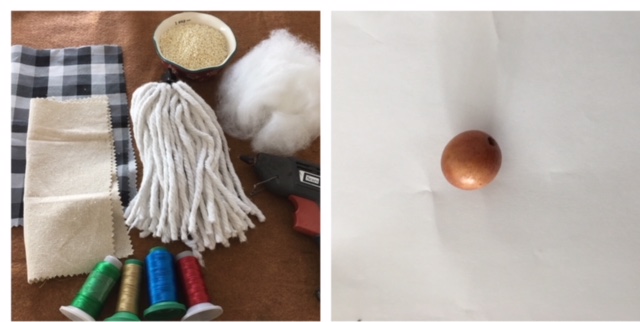
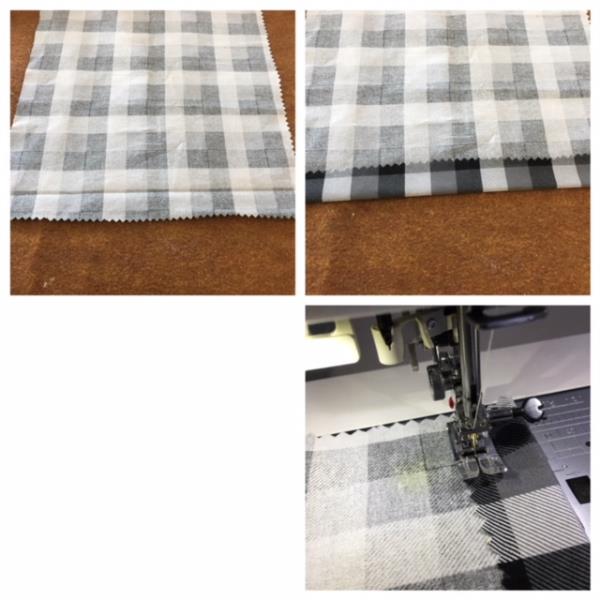
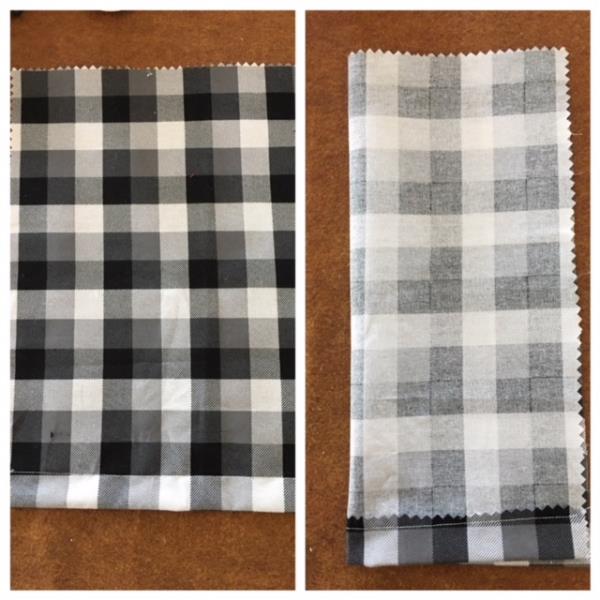
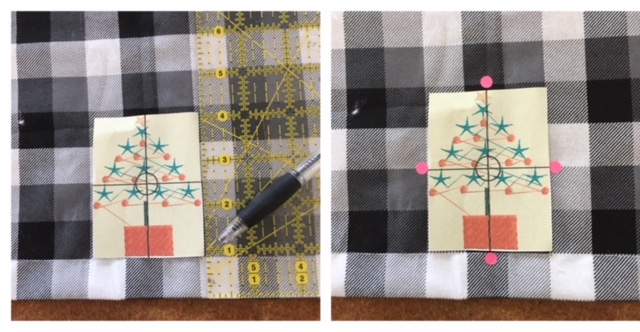
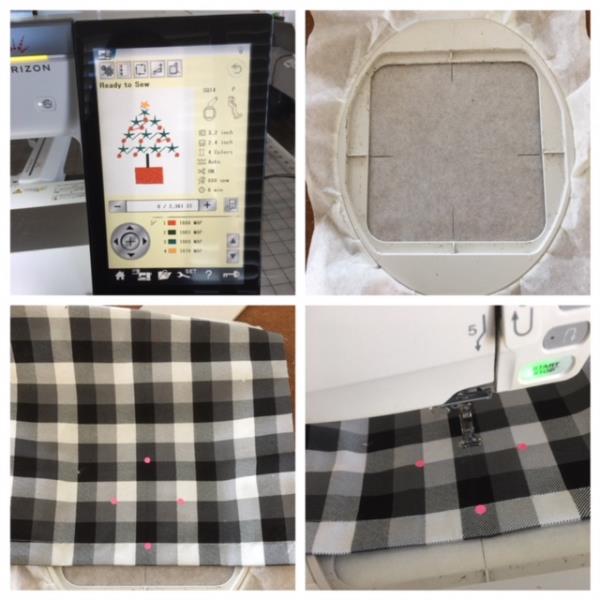
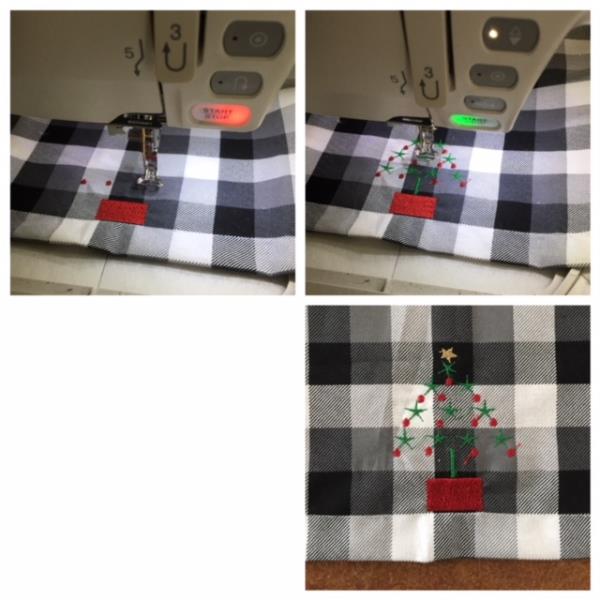
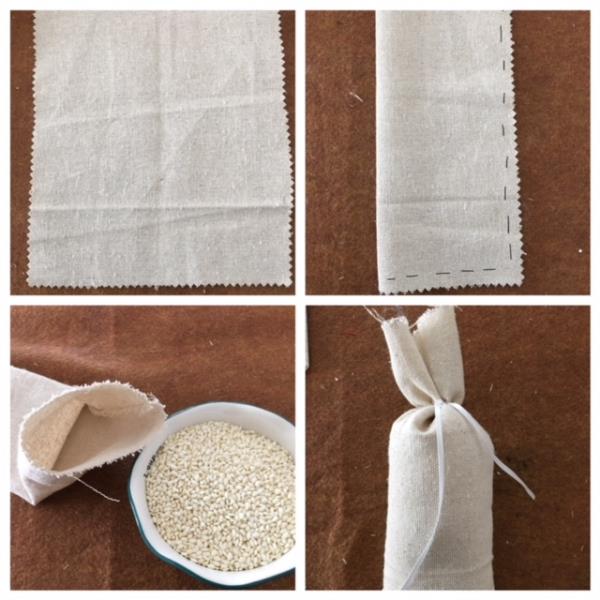
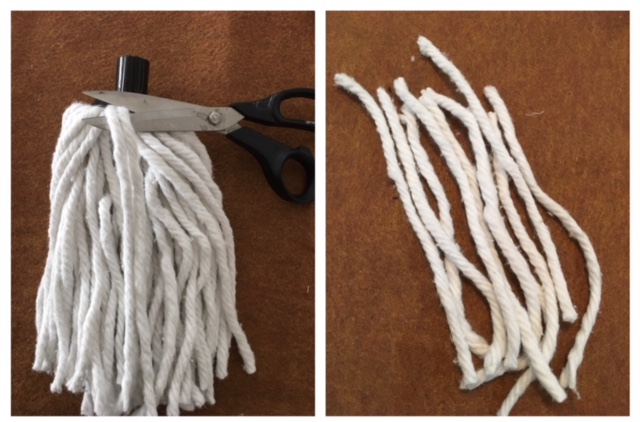
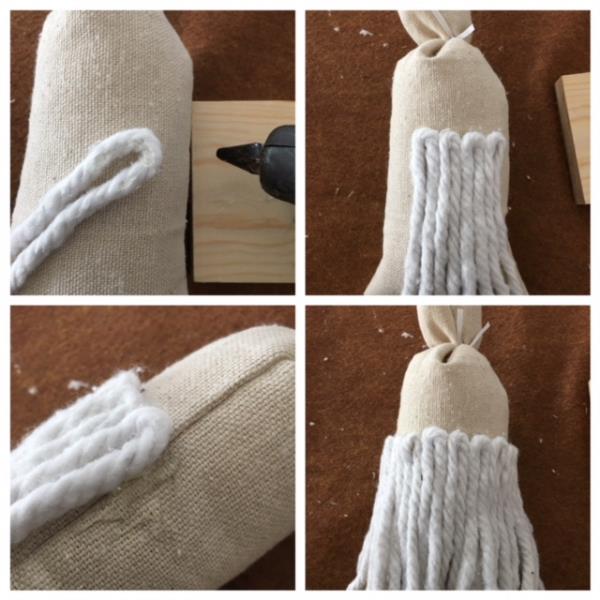
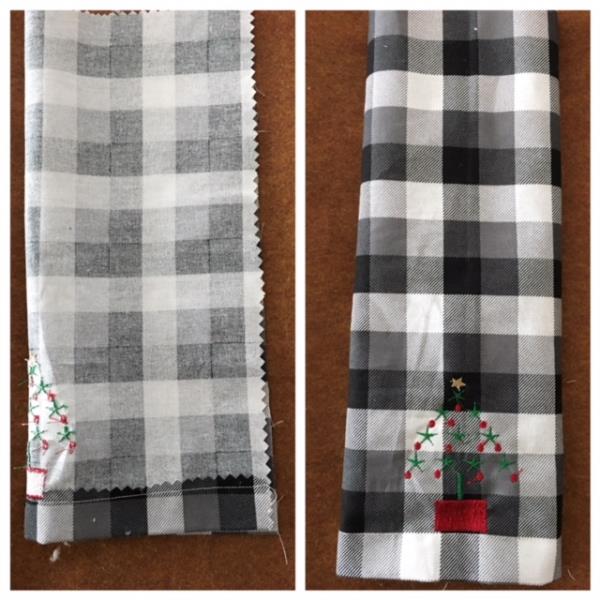
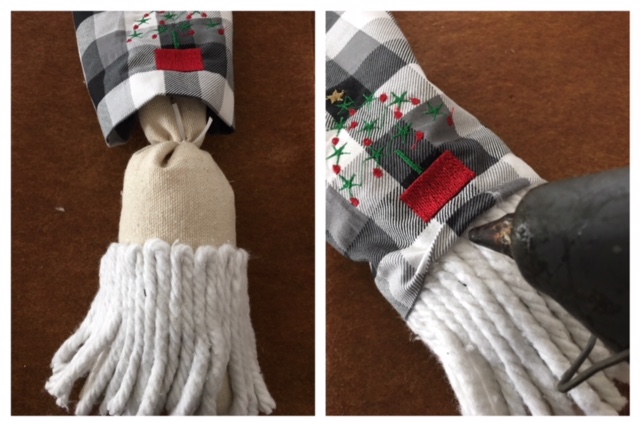
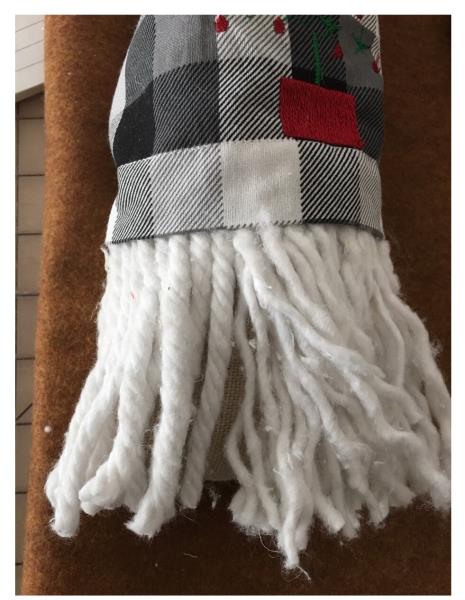
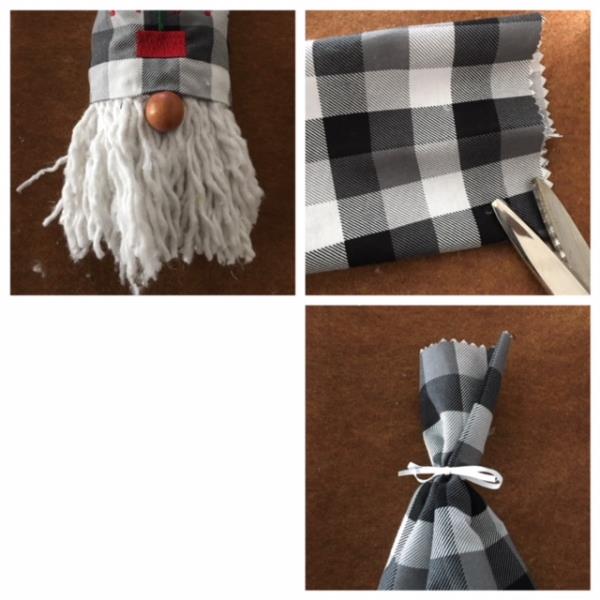
| Materials 1 CUP UNCOOKED RICE HANDFUL OF POLYESTER FIBERFIL (1) MOP HEAD ( FOR THIS TUTORIAL MOP HEAD WAS PURCHASED AT A DOLLAR STORE) (1) HEAVYWEIGHT COTTON FABRIC CUT 9” X 10” ( GNOME BODY) (1) HOLIDAY or SOLID COTTON FABRIC CUT 12” X 14” ( THIS WILL BE USED FOR THE HAT) HOT GLUE GUN/STICK WOODEN BEAD 1” ( PURCHASE ANY CRAFT STORE OR DOLLAR STORE) TEAR AWAY STABILIZER TEMPORARY ADHESIVE SPRAY ¼” WIDTH RIBBON PINKING SHEARS CHALK OR FABRIC AIR ERASE PEN EMBROIDERY THREAD SEWING THREAD |
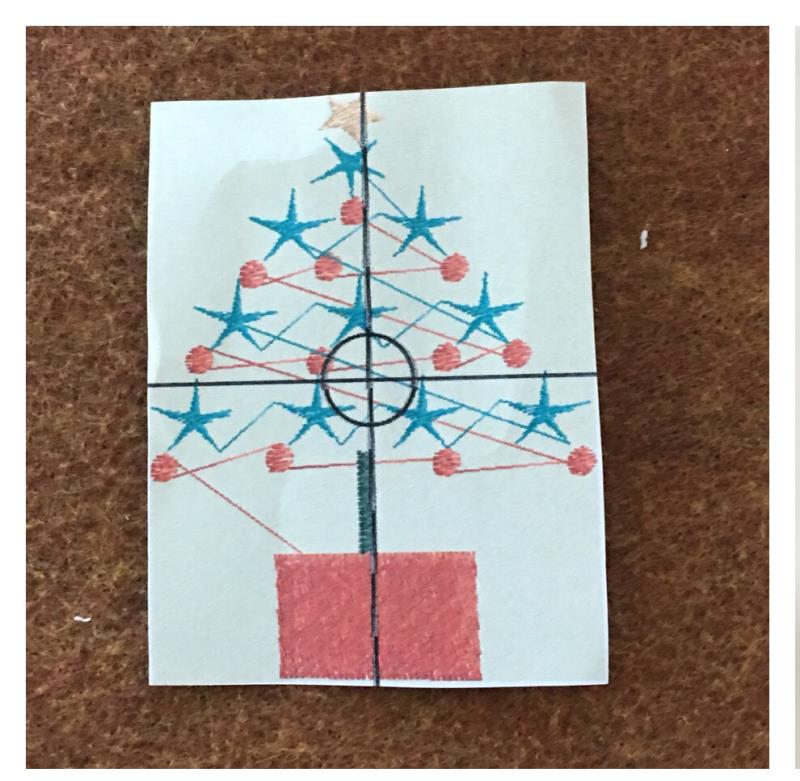
| Designs used in this project |
| Final Product: What You Will Create |
 |
|
Projects You May Like
Meet the Author:
Linda Mills

Linda loves to create by sharing her different sewing and machine embroidery techniques so others can utilize their machines to the fullest
Feedback
Characters Remaining
Please Login to Submit a Feedback
Invalid Characters, Please enter a valid Comment
Please enter a valid Comment
Reviewed On
Link is Broken, Please check the URL