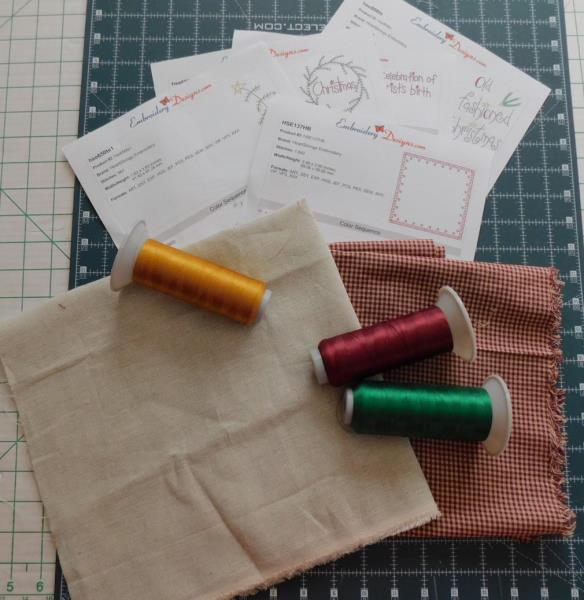
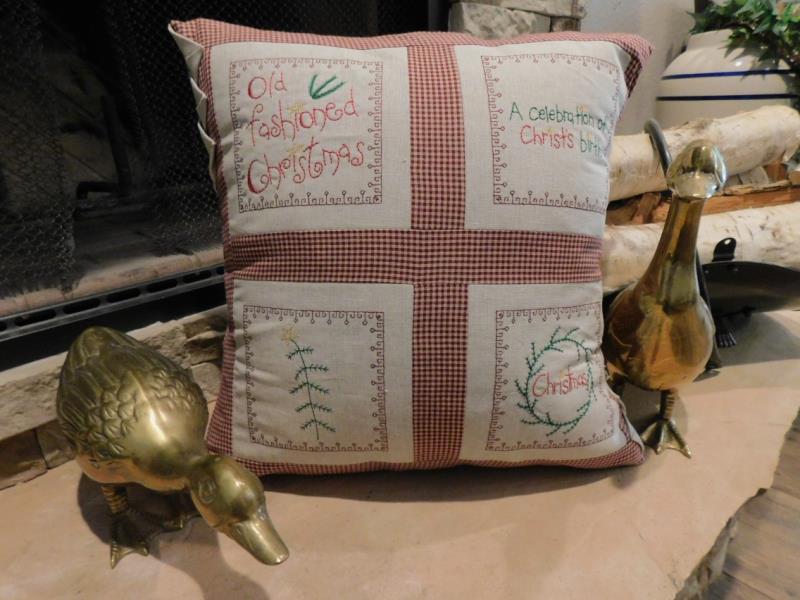
4 pieces of natural linen to fit hoop, plus 6- 4” x 4” squares for prairie points
4 pieces of poly mesh stabilizer to fit hoop
Embroidery thread as stated in color sequence and to coordinate with checked fabric
¾ yard Checked fabric for sashing, borders, and pillow back cut as follows: 2- 1 ¾” x 9” for sashing between blocks, 3- 1 ¾” x 17” for middle sashing between block sets and left and right side sashing, 2- 1 ¾” x 20” for top and bottom sashing, 2- 17 ½” x 17 ½” pieces for pillow back.
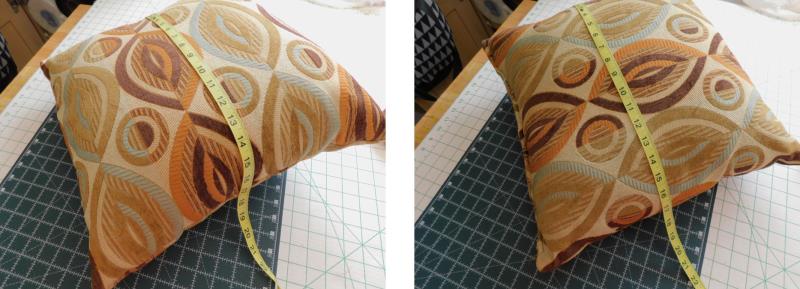
Begin by measuring the pillow to cover. Adjust the measurements and fabrics required to fit the pillow you will be covering. This project combines linen fabric for stitching with checked homespun for the sashing, borders, and pillow cover back pieces.
Step 1:
Read through the instructions thoroughly before beginning and assemble all the materials needed to complete the project. Note: if you are covering a pillow or using a pillow form, adjust the measurements to fit the pillow you are using. Coordinate the thread colors for the designs with the fabric color being used. All seams are 1/4”. All the strip lengths are longer than needed and then cut down to size after sewing.
(Click Image to Enlarge)
Step 2:
Measure the length and width of the pillow. Figure out the size for the four squares, sashing, borders, and backing pieces.
(Click Image to Enlarge)
Step 3:
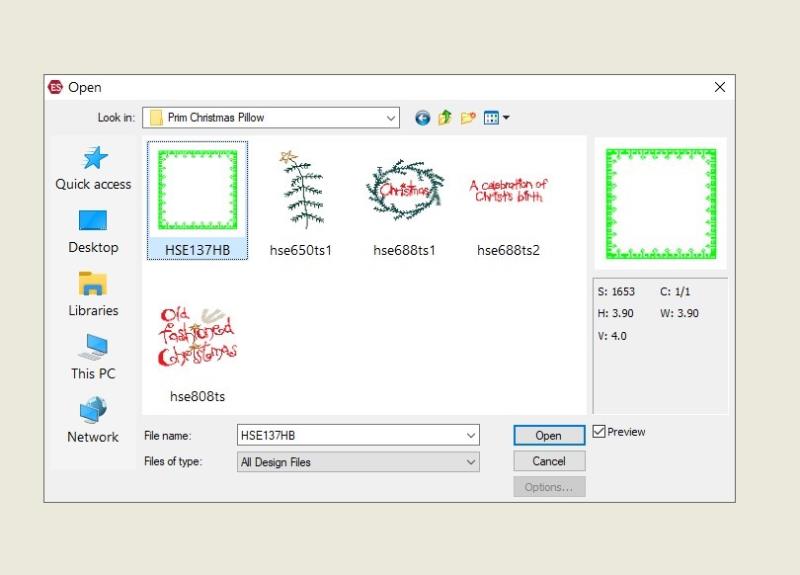
In software (or at the machine) import the border frame HSE137HB design.
(Click Image to Enlarge)
Step 4:
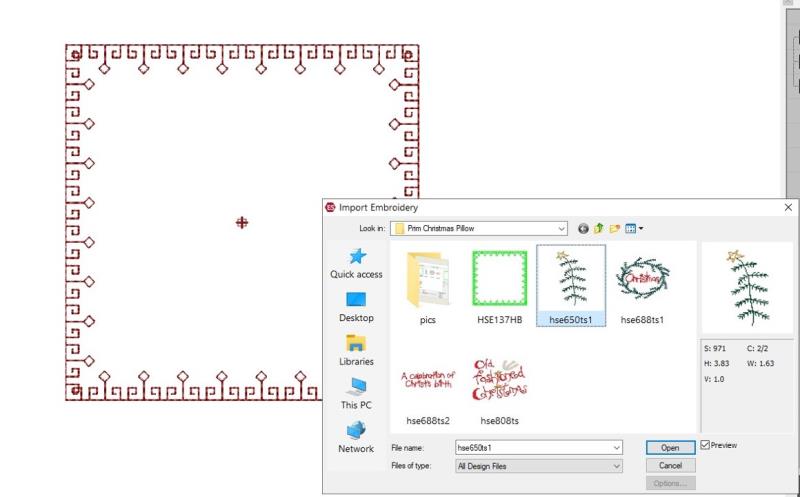
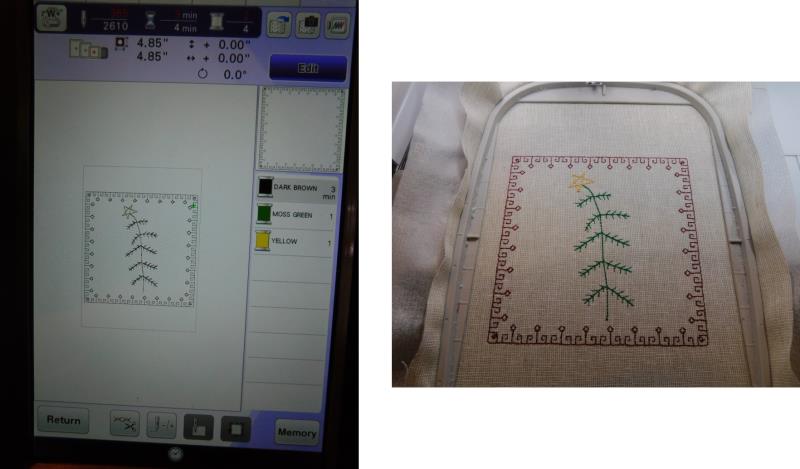
Next load the tree (hse650ts1) design, centering it in the frame. Save as a new design and then export for stitching.
(Click Image to Enlarge)
Step 5:
Repeat steps 2 and 3 for the remaining three designs. Save and export all the designs for stitching.
(Click Image to Enlarge)
Step 6:
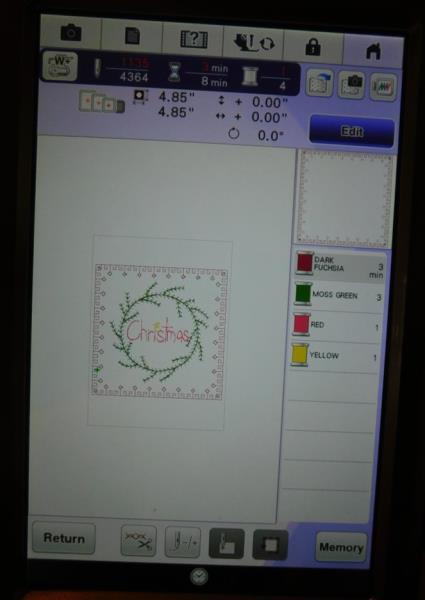
Load the Christmas Wreath design on the machine.
(Click Image to Enlarge)
Step 7:
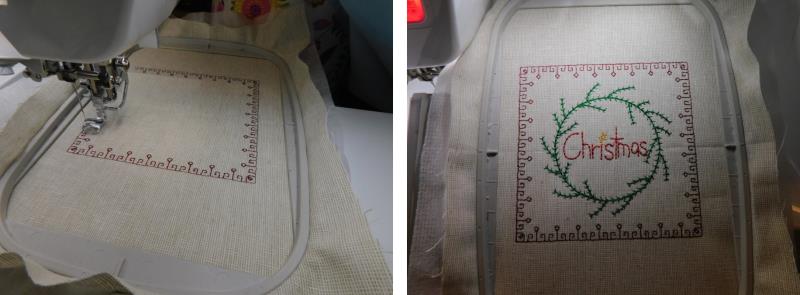
Hoop one layer of linen with one layer of poly mesh stabilizer. Stitch the design following the color sequence. Remove the fabric from the hoop but do not trim yet.
(Click Image to Enlarge)
Step 8:
Hoop one layer of linen with one layer of poly mesh stabilizer. Load and stitch the Tree design following the color sequence. Remove the fabric from the hoop but do not trim yet.
(Click Image to Enlarge)
Step 9:
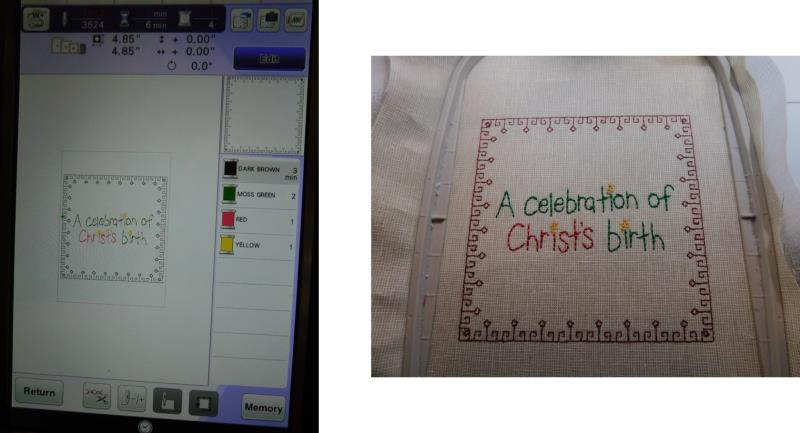
Hoop one layer of linen with one layer of poly mesh stabilizer. Load and stitch the Celebration design following the color sequence. Remove the fabric from the hoop but do not trim yet.
(Click Image to Enlarge)
Step 10:
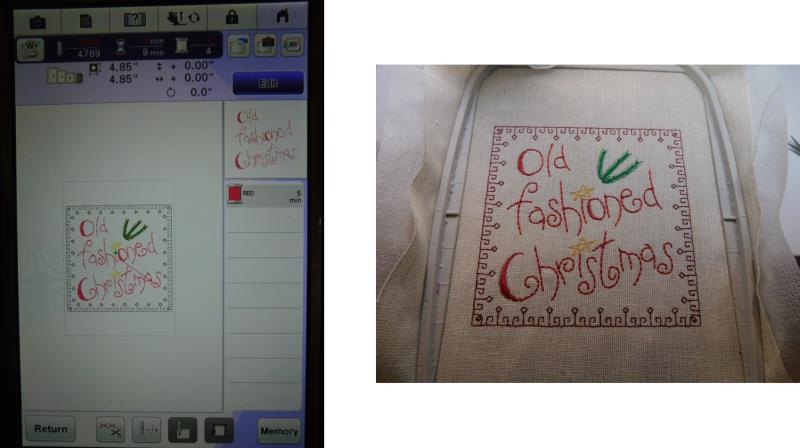
Hoop one layer of linen with one layer of poly mesh stabilizer. Load and stitch the Old Fashioned Christmas design following the color sequence. Remove the fabric from the hoop but do not trim yet.
(Click Image to Enlarge)
Step 11:
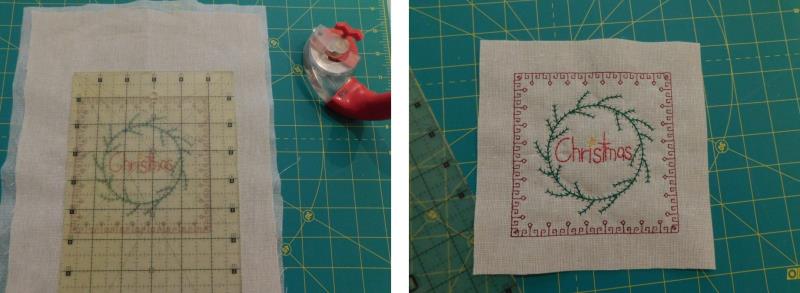
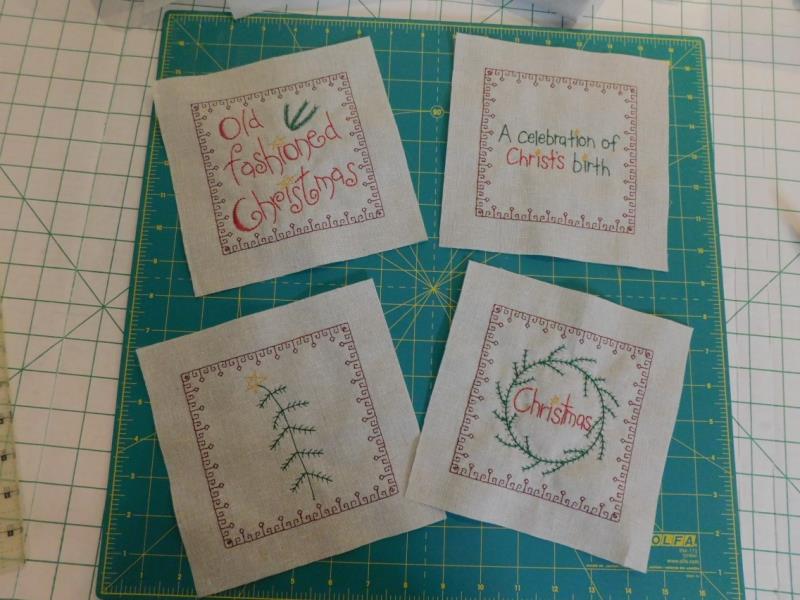
After all the designs have stitched trim to 7 ½” square, cutting through the fabric and stabilizer; the stabilizer will remain in the project squares.
(Click Image to Enlarge)
Step 12:
Trim the all the designs to the same size.
(Click Image to Enlarge)
Step 13:
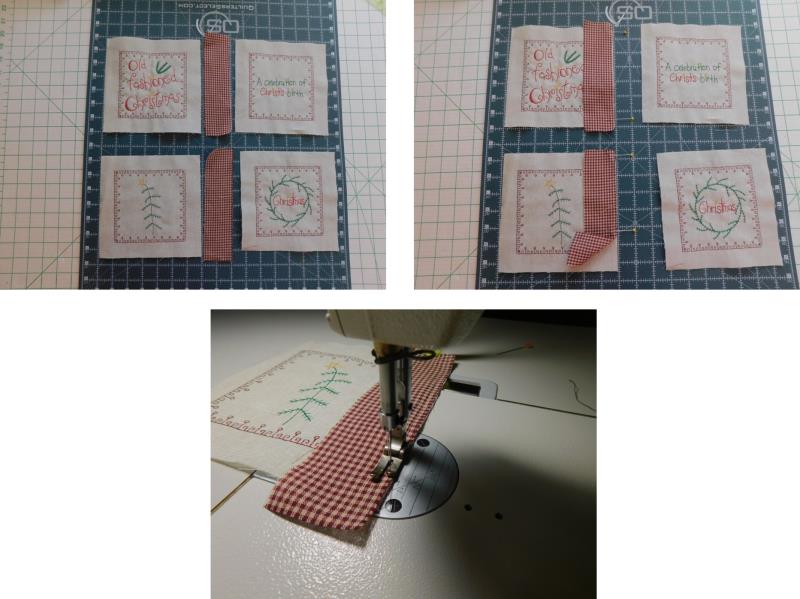
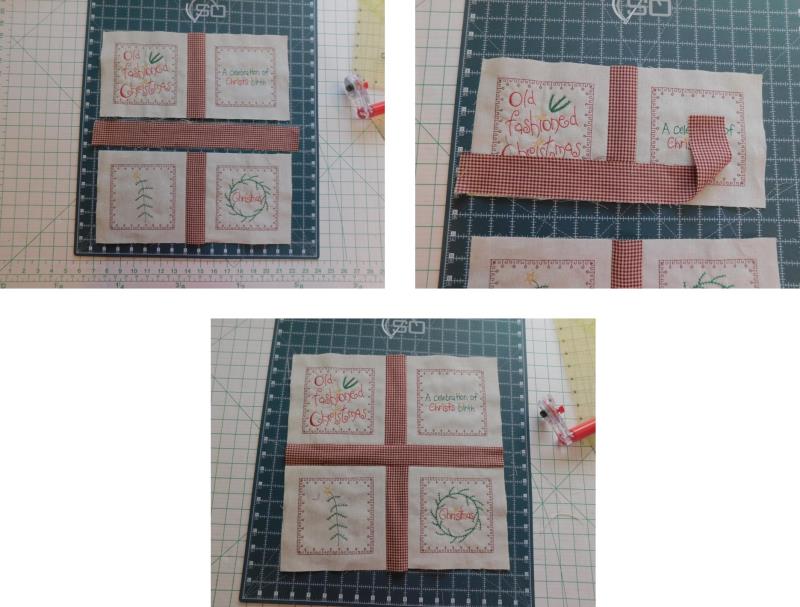
Place the 2- 1 ¾” x 8” strips between the blocks as shown. Place the strips right side down on the left blocks. Sew the strips to the blocks.
(Click Image to Enlarge)
Step 14:
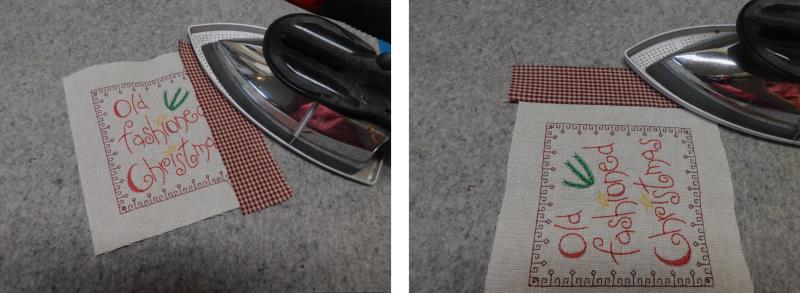
Press the seam to set the stitches and then press the seam allowance toward the strip.
(Click Image to Enlarge)
Step 15:
Now sew the right block to the strip, right sides together. Sew the seam, press and then trim the strip even with the blocks at the top and bottom.
(Click Image to Enlarge)
Step 16:
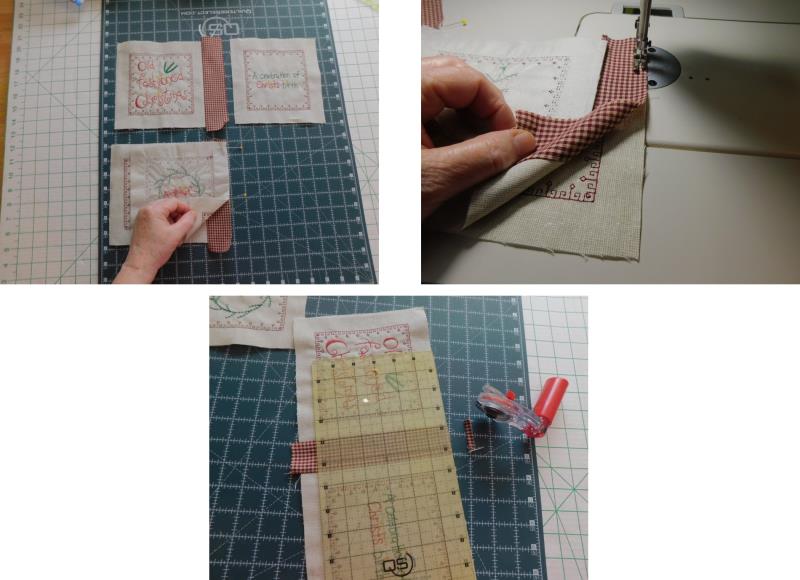
Next, sew on the center strip using one of the 1 ¾” x 18” strips. Place the strip right side down at the bottom of the top block set. Sew, press, and then sew the top of the bottom blocks to the bottom of the strip, press, and trim.
(Click Image to Enlarge)
Step 17:
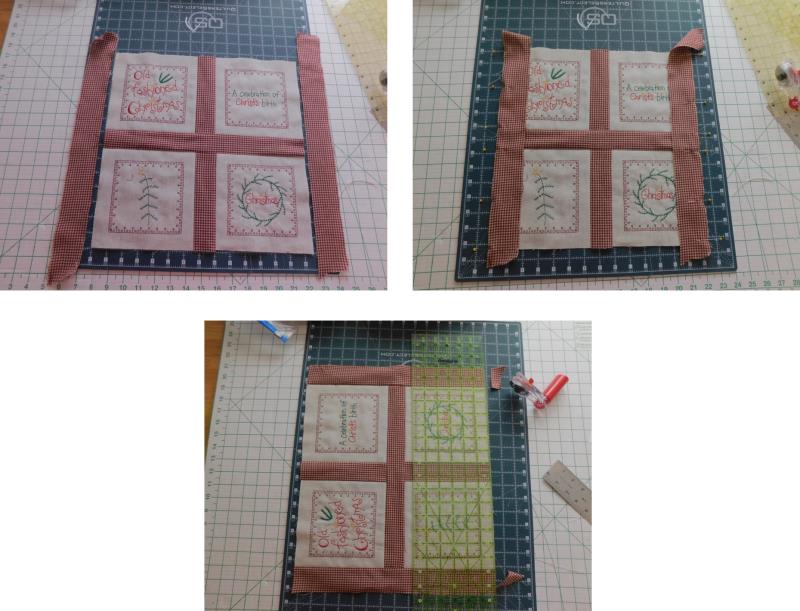
Now add the remaining two 1 ¾” x 18” strips the left and right sides of the block set, sew, press and trim.
(Click Image to Enlarge)
Step 18:
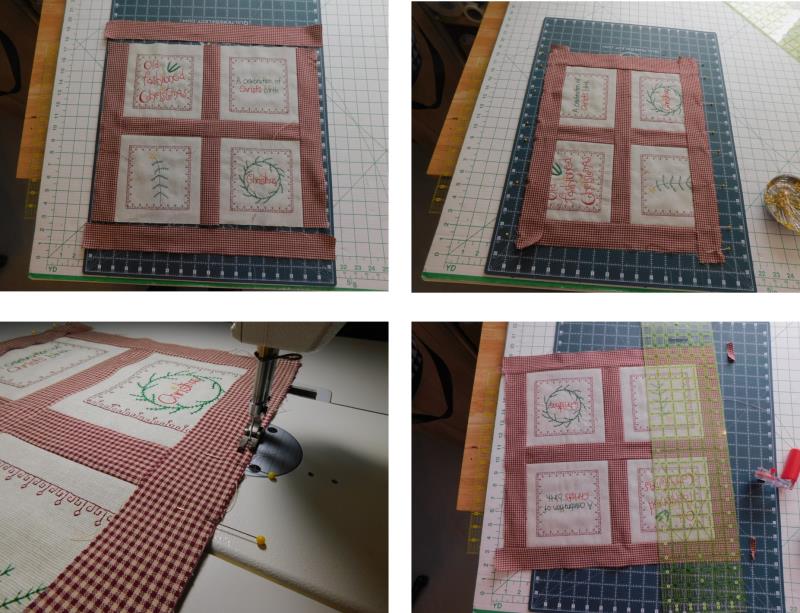
To finish the strip sets sewing, sew, press, and trim the two 1 ¾” x 20” strips to the top and bottom of the pillow front.
(Click Image to Enlarge)
Step 19:
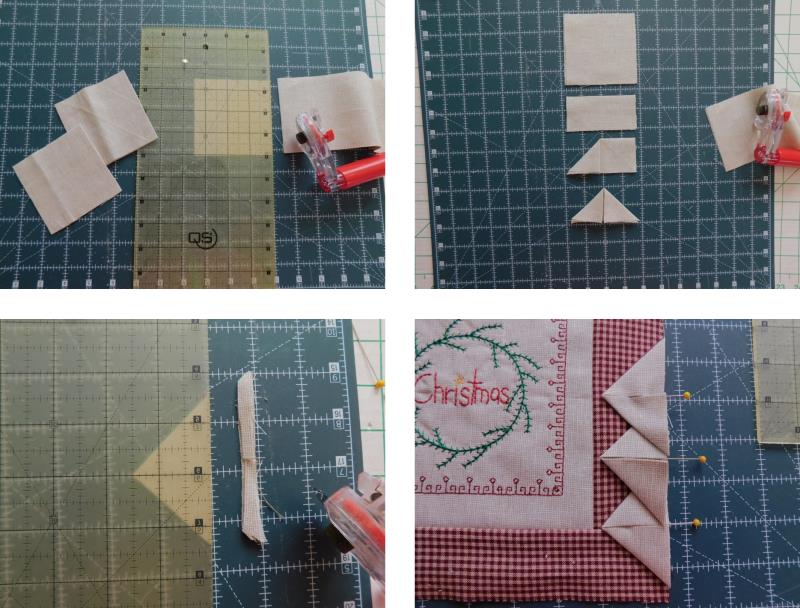
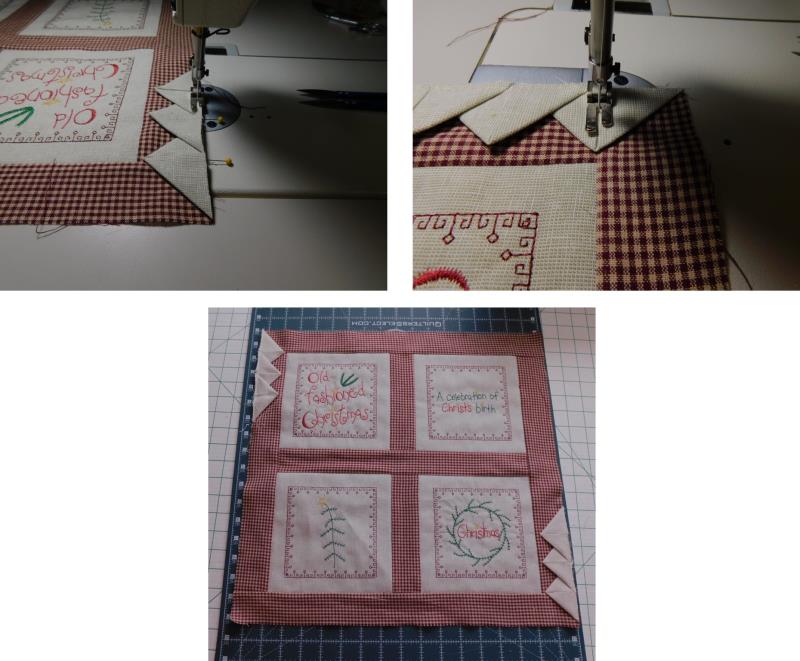
Prepare the Prairie Points. Cut the squares, press in half, then bring the upper corners to the middle bottom of the rectangle and press. Trim the Prairie Points, aligning the ruler to the middle of the piece and the tip at the 1 ½” mark; trim. Pin three pieces to the top left and three to the bottom right, overlapping as shown.
(Click Image to Enlarge)
Step 20:
Baste the Prairie points in place and then stitch down the middle of each; this keeps the points flat against the pillow so they won’t flip out when the pillow is inserted.
(Click Image to Enlarge)
Step 21:
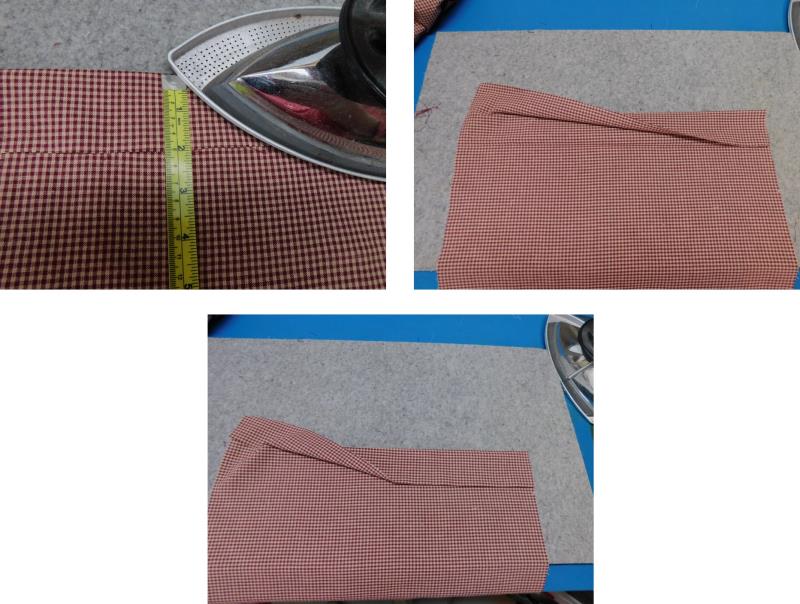
Prepare the back-pillow pieces. Cut the fabric. Press down 2” on one edge, turn under and press again to create a double fold. Repeat for the other pillow back piece. Stitch down each piece along the fold to secure it in place.
(Click Image to Enlarge)
Step 22:
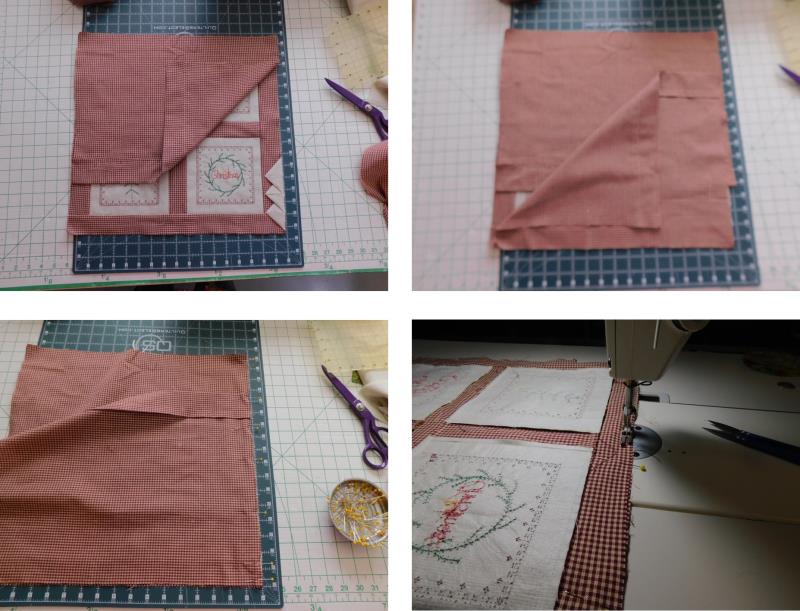
With right sides together, pin one back piece to the top and sides of the pillow front (folded edge will be toward the middle). Pin the remaining back piece, right side down over the pillow top and first back, matching the cut edges at the bottom and sides with the folded edge overlapping the first pillow back. Stitch around the pillow cover around all sides.
(Click Image to Enlarge)
Step 23:
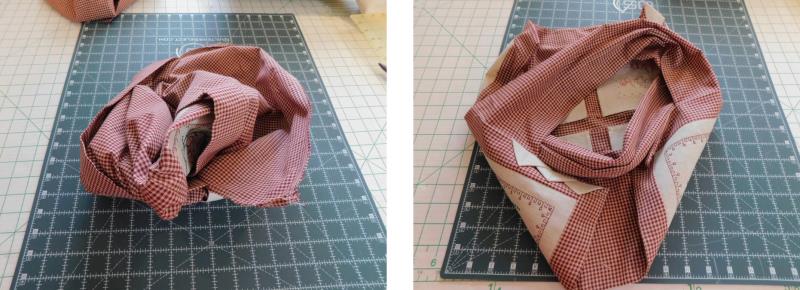
Turn the pillow cover right side out, forming the corners well. Insert the pillow into the opening, smoothing the cover and filling out the corners with the inserted pillow.
(Click Image to Enlarge)
Step 24:
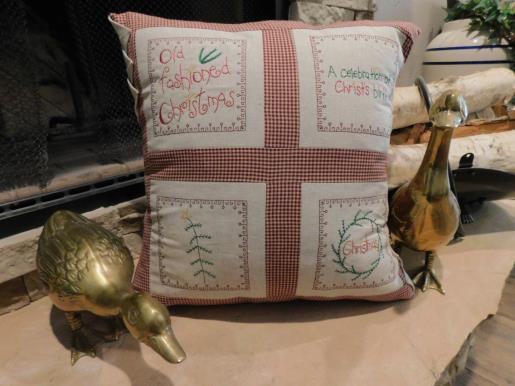
Congratulations on creating a beautiful Prim pillow cover that will be easy to store year after year. Just remove the original pillow, fold the cover and store for the next season.
Ramona Baird has been in the embroidery industry for over 23 years. She and her husband owned a commercial and retail embroidery store in Arizona for many years. She is an experienced digitizer having been mentored by award-winners Pat Williams and Lindee Goodall. Ramona is a contributor to “Creative Machine Embroidery” magazine having 5 covers to her credit. Ramona has worked for Wilcom America and served many years as Education Director for the American Sewing Guild. With a degree in fashion design, she is able to design and execute patterns which Pat Williams says are “out of the box” in creativity and application. Ramona likes to challenge the boundaries of embroidery and bring new and exciting designs, ideas, and projects to EmbroideryDesigns.com. She wants embroiderers of all levels to increase their skills and enjoyment in using their embroidery machine for gift-making and personal pleasure.