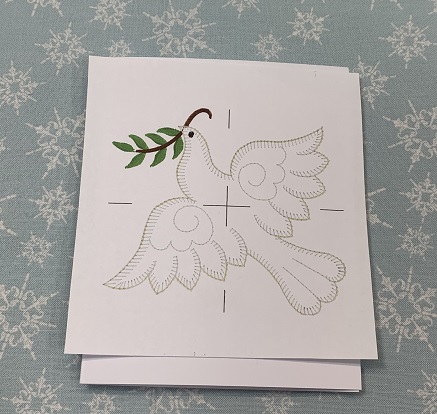
Add an extra special touch to your Christmas cards this year by embroidering blank cardstock greeting cards. A great way to say 'Merry Christmas' to friends & family!
The designs are stitched on blank greeting cards. Design style and stitch count need to be considered when making greeting cards. Simple designs with low stitch counts work best. Cardstock can be used to make a blank greeting card. Design techniques are a modified Redwork and applique. Redwork is traditionally done in one color. This card uses two colors. Needle size is very important when stitching on cardstock. A smaller needle will make smaller holes on the card. It takes approximately 30 minutes to make one card.
Step 1:
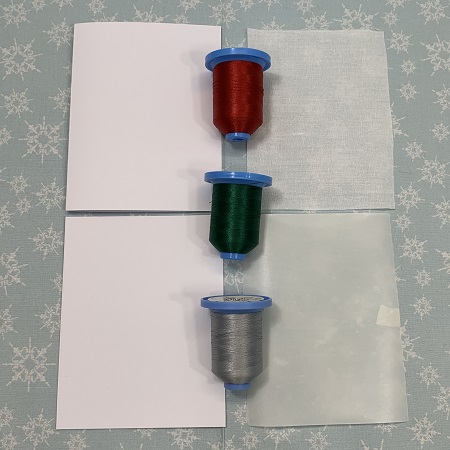
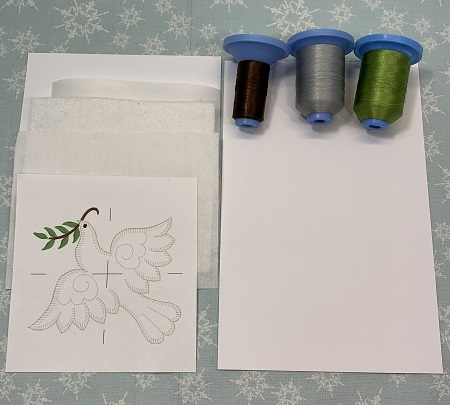
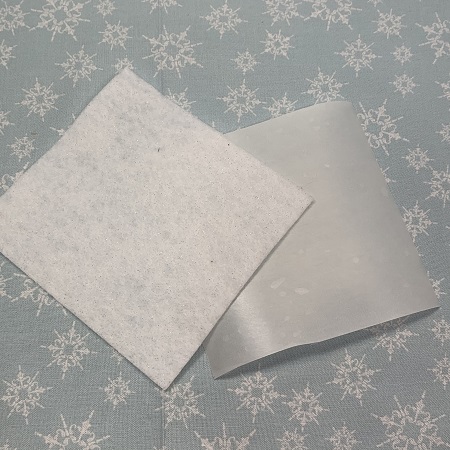
Read all the directions carefully before beginning. Gather the materials needed for the cards. Basic materials are the same for each card: a blank card, Pellon SF101 super flex interfacing, 40 wt. embroidery thread, Hotfix adhesive, and the inside cover. Thread colors vary per design. Glitter felt was appliqued onto the dove card.
Step 2:
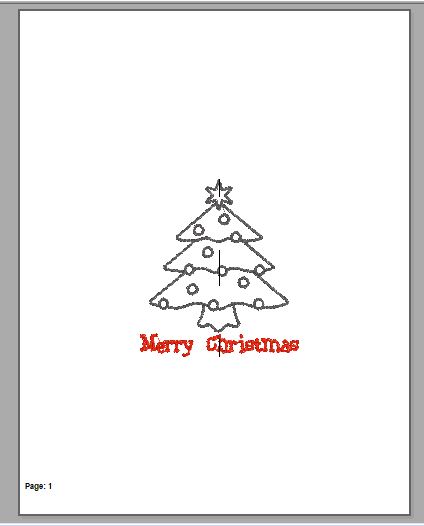
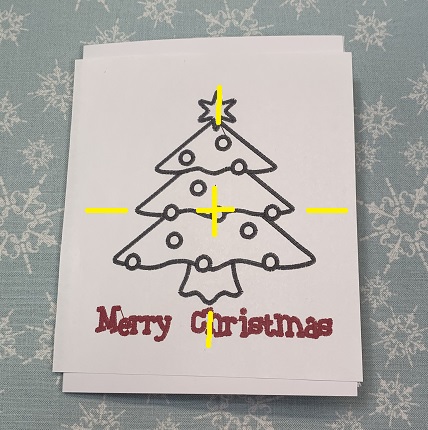
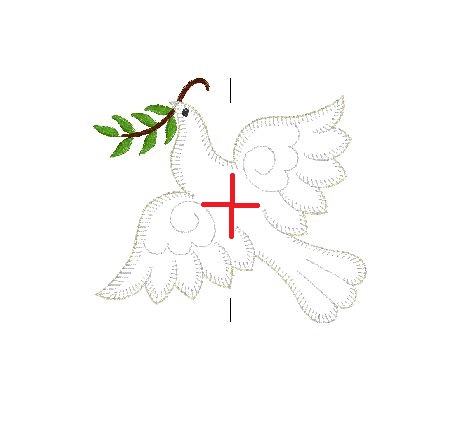
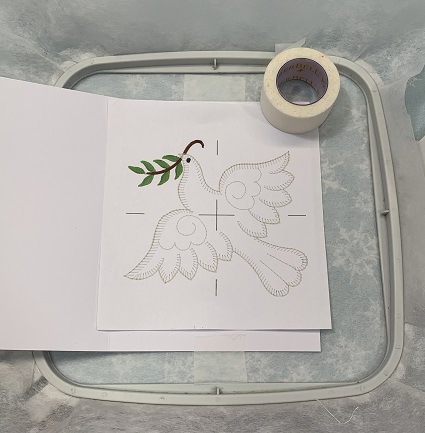
A template is a printout of the design from an embroidery software program. The template is the actual size of the design which makes a great visualization tool. The vertical and horizontal axis on the template provides perfect placement of the embroidery designs.
An embroidery software program was used (Embrilliance Essentials) to print a design template. Print a design template.
(Click Image to Enlarge)
Step 3:
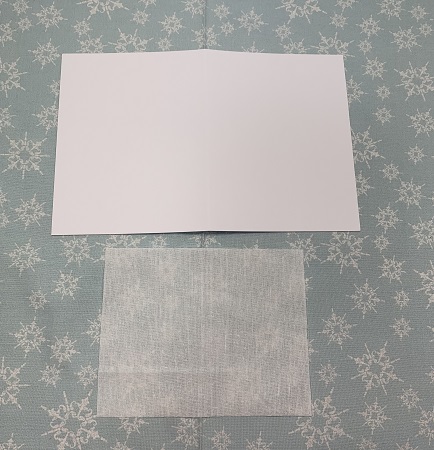
Cut one 4.25”x4.5” (size of one side of card) piece of Pellon SF101 fusible super flex interfacing for each card you make.
Step 4:
Open the card. Bond one piece of SF101 to the left side of the card.
Step 5:
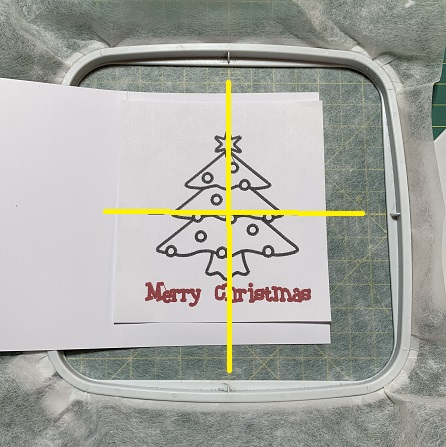
Use the design template as a placement guide on the card.
Step 6:
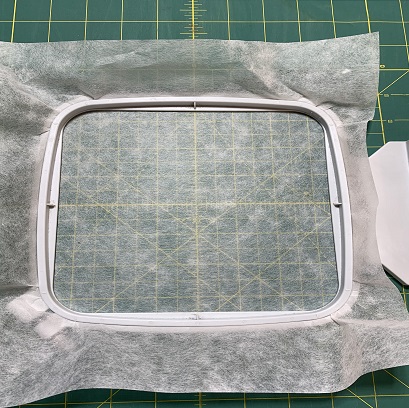
Hoop one piece of easy tear away stabilizer.
Step 7:
Loop 4 small pieces of painter’s tape into circles. Put one piece of tape on each corner of the card. Center the card on the stabilizer. Gently press the card onto the stabilizer.
NOTE: Do not put tape on the front of the card. The tape can tear the card when you try to remove it. Loops work much better!
Step 8:
Load the design onto the machine. Attach the hoop. Check your needle size. Reduce the stitches per minute on your machine for better stitch quality on the cardstock. Embroider the card.
Step 9:
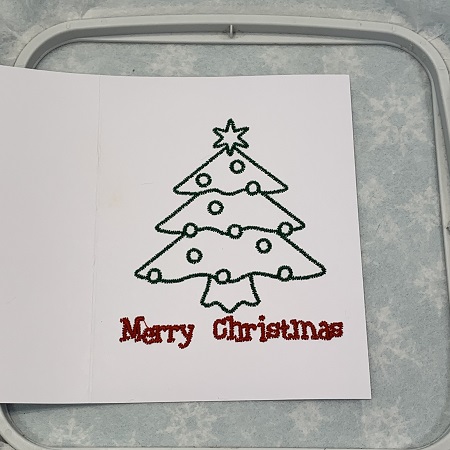
Remove the card from the hoop. Carefully tear away the stabilizer from around the design. Trim long threads if needed.
Step 10:
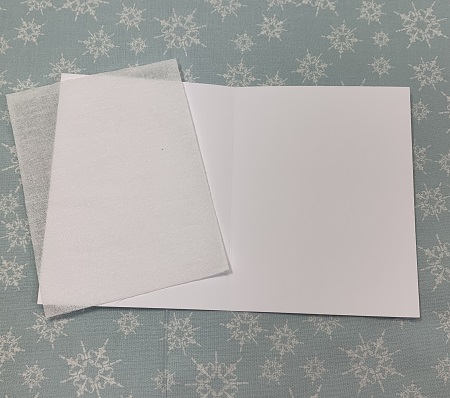
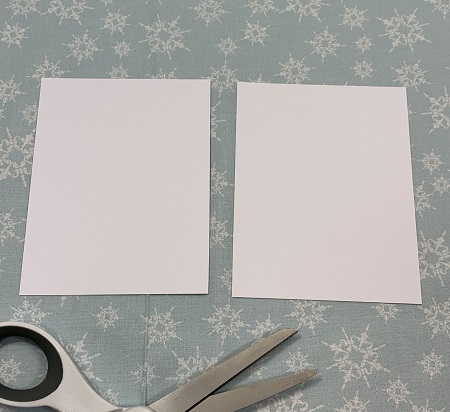
Cut a 4.25”x4.5” piece of cardstock to cover the stitches inside the card. Cut one piece of Hotfix adhesive or Heat n Bond lite 4.25"x4.5". Bond the adhesive to one side of the cardstock.
Step 11:
(Click Image to Enlarge)
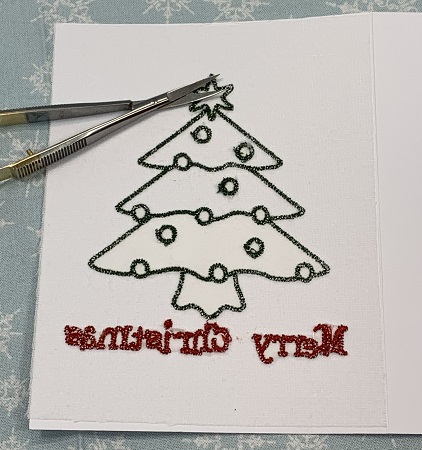
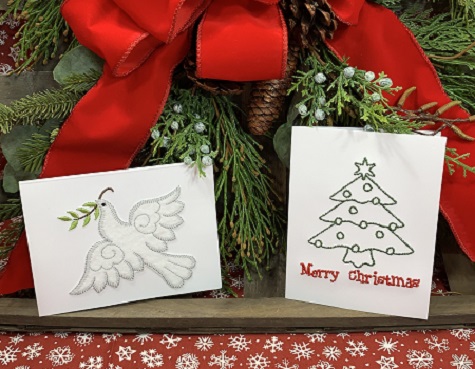
Open the Christmas Tree card. Cover the stitching with the 4.25"x4.5" piece of blank cardstock. Bond the cardstock to the card.
NOTE: A multi-purpose spray adhesive would work also as a bonding agent. However, be careful about getting too much spray on the cardstock.
Congrats! You have completed a modified Redwork Christmas card.
Step 12:
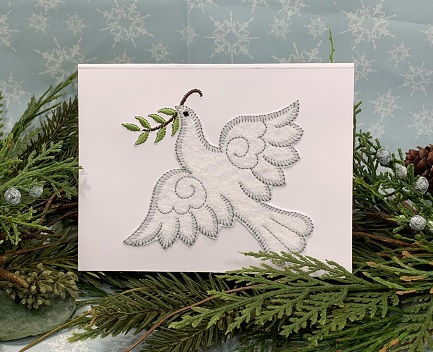
Gather the materials for the dove Christmas card.
Step 13:
Print the design template for the dove.
Step 14:
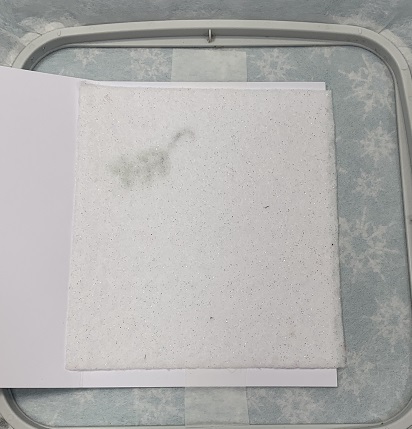
Open a blank card. Bond one piece of SF101 super flex interfacing to the left side of the card.
Step 15:
Use the design template as a placement guide on the card.
Step 16:
Hoop one piece of tear away stabilizer. Loop 4 small pieces of painter’s tape into circles. Put one piece of tape on each corner of the card. Center the card on the stabilizer. Gently press the card onto the stabilizer.
NOTE: The picture shows tape on the front of the card. It's much easier & less worry to use loops on the back. The tape can tear the card when you try to remove it. Loops are better!
Step 17:
Cut one piece of Hotfix adhesive or Heat n Bond lite 4.5"x4.5". Bond the Hotfix adhesive to the white glitter felt.
Step 18:
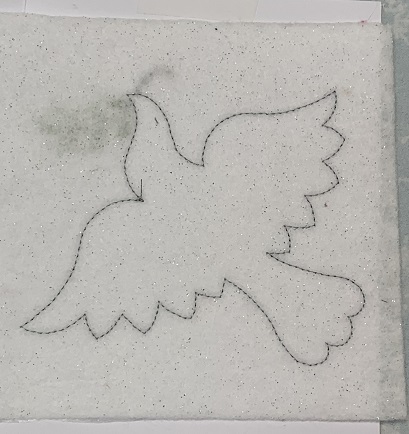
Load the design onto the machine. Attach the hoop. Check your needle size. Reduce the stitches per minute on your machine for better stitch quality on the cardstock. The JEF file was used for this project. Check the stitching sequence of the dove before you begin embroidering. The sequence showed embroidering the eye first instead of last.
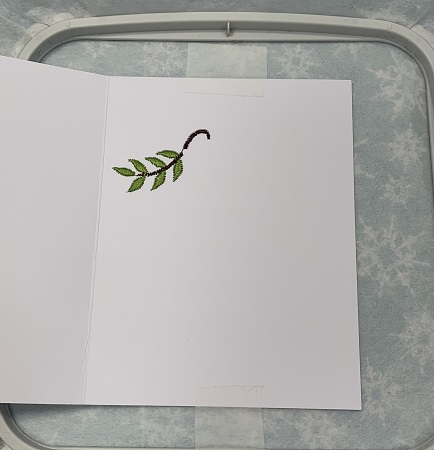
SKIP color stop 1. Start with Color Stop (CS) 2. CS2 should be green leaves. Stitch CS2. Next, stitch CS3. CS3 is the brown stem.
Step 19:
Remove the hoop from the machine. Do not remove the project from the hoop. Cover the card with the white glitter felt.
Step 20:
Stitch CS4. CS4 is the tack down stitches for the dove.
Step 21:
Remove the hoop from the machine. Do not remove the project from the hoop. Carefully trim excess felt from around the stitching. Re-attach the hoop.
Step 22:
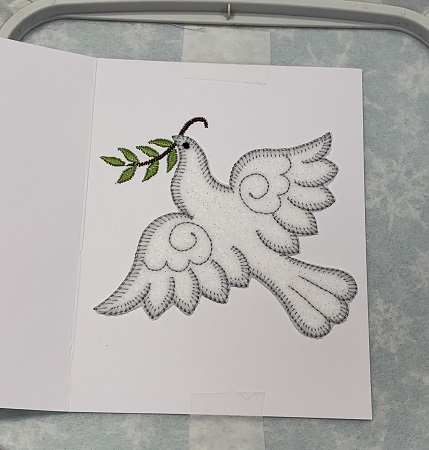
Stitch CS5. CS5 is a blanket stitch around the dove. Next, go back to CS1 (the first stitch color) and stitch it. CS1 should be the eye of the dove.
Step 23:
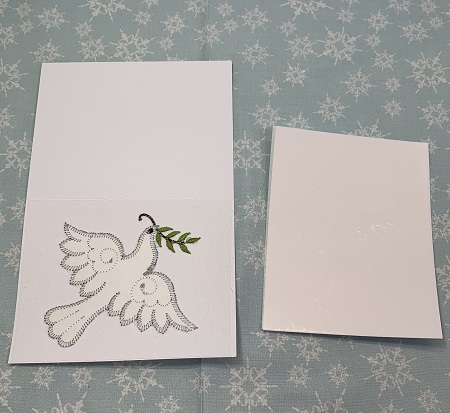
Remove the project from the hoop. Carefully remove the tear away stabilizer. Bond the appliqued felt to the front of the card. Next, bond a 4.25"x4.5" piece of cardstock to cover the stitches on the inside of the card.
Step 24:
Congrats! You have completed an appliqued dove Christmas card. Great job!
Marisa Littleton is a retired educator with a love for teaching and learning. Interests include machine embroidery, hand embroidery, quilting, cooking, and antiques.