{{superHeaderAds.title}}
Live Chat
Embroidery Designs
Welcome, Embroiderer
Login
Embroidered Holiday Cards
{{mainImageAlt || (productInfo._source && productInfo._source.name) || ''}}

Embroidered Holiday Cards Embroidery Project

By   Ramona Baird   on   November 09, 2020

PROJECT DETAILS

SKILL LEVEL
Beginner
TIME REQUIRED
00:30
Description

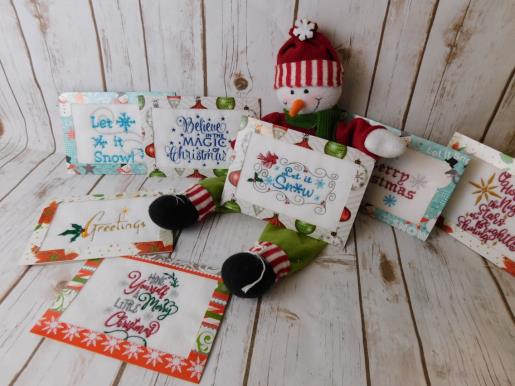
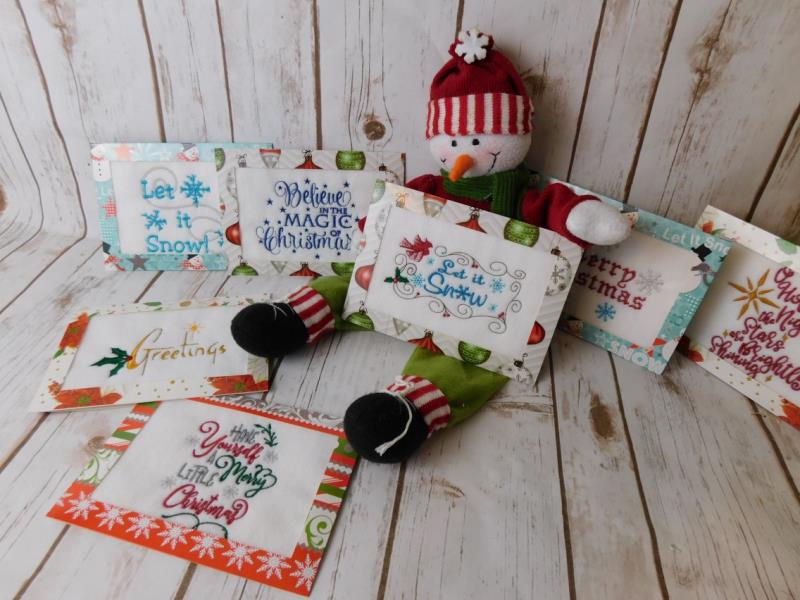
Stitch beautiful designs on felt, insert them into themed photo frames for special holiday greetings this year.

Project Preview Video

Materials
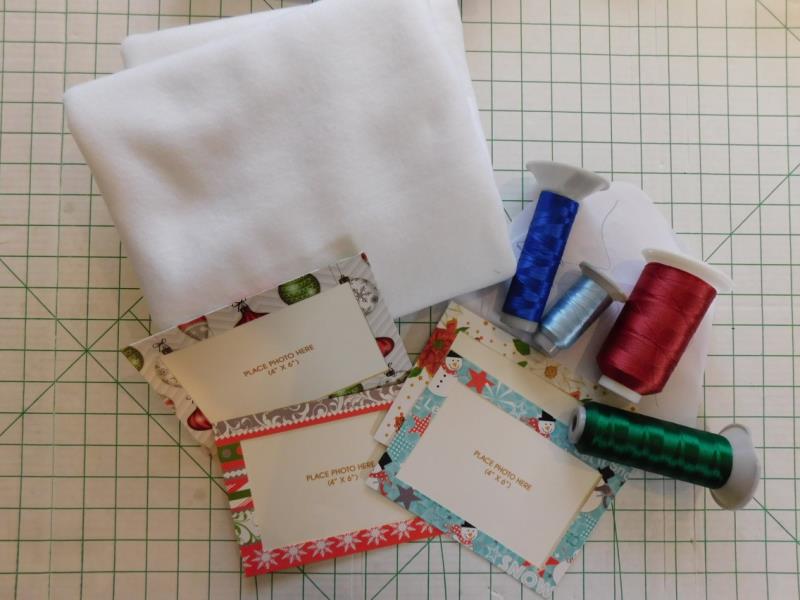
  • Holiday themed 4” x 6” photo insert card
  • Quality white craft 7” x 5”, one piece for each card
  • Poly mesh stabilizer
  • Embroidery thread as stated in color sequence, and to coordinate with card

  • Designs used in this project

    Final Product: What You Will Create

    Preface:
    Each card takes approximately 30 minutes to set up and stitch. Several cards can easily be done in an afternoon. A placement line is set up using the machine files, it is duplicated, and then the chosen design centered and stitched. Be sure to use good quality felt so the stitching comes out well. Note: additional postage may be required for mailing.


    Step 1:
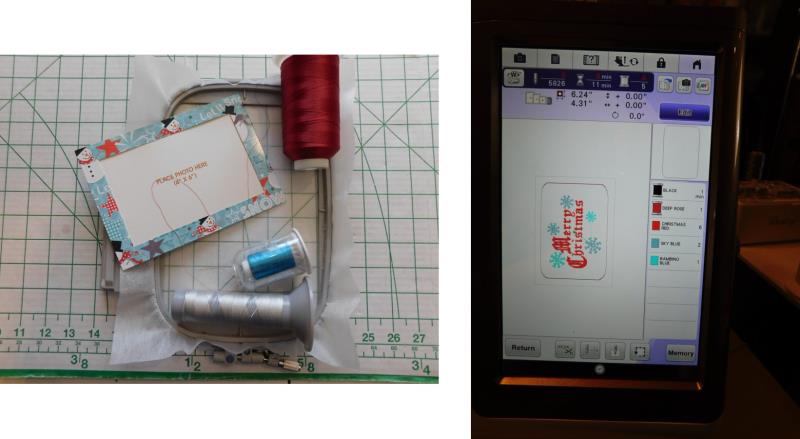
    Read through the instructions thoroughly before beginning and assemble all the materials needed to complete the project. The cards were ordered on Amazon but can probably be found at an office supply store. The opening in the design is sized to fit a 4” x 6” photo, so the designs fit perfectly into the opening once stitched. Coordinate the thread colors to the colors in the cards.

    (Click Image to Enlarge)


    Step 2:
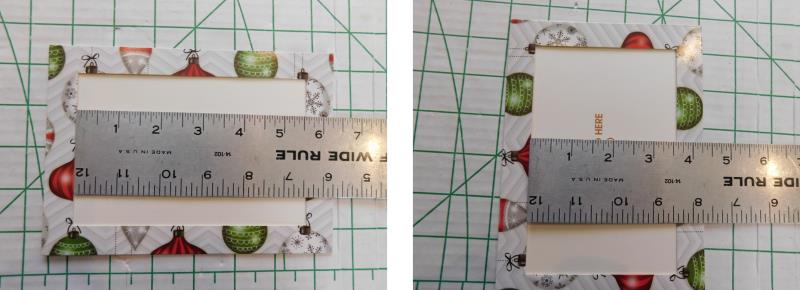
    Measure the opening of the card.

    (Click Image to Enlarge)


    Step 3:
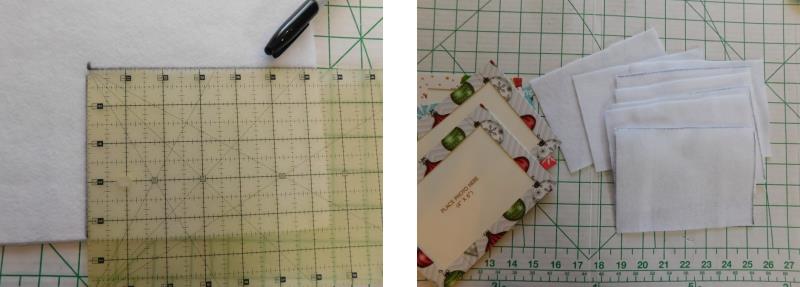
    Cut a piece of felt for each card about 1” larger than the opening all around. Cut as many pieces as is needed for the number of cards being done.

    (Click Image to Enlarge)


    Step 4:
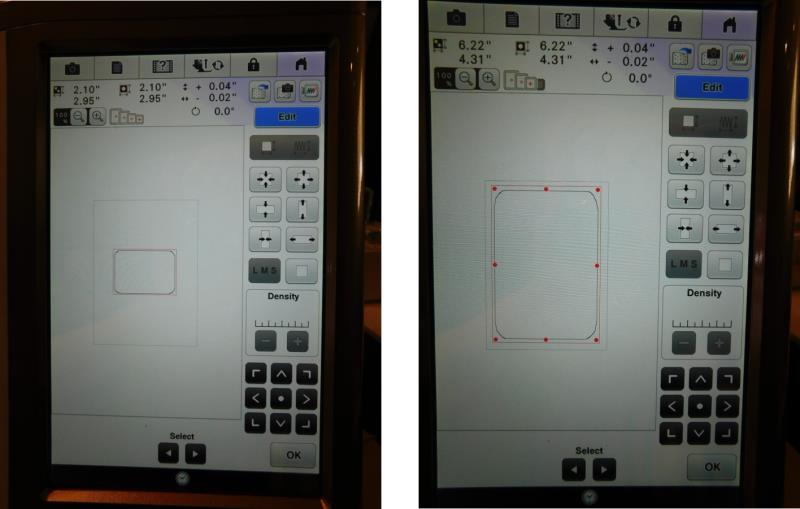
    At the machine, first open a rectangular file. Use the tools in the machine to size the rectangle to ½” larger all the way around than the opening. This will be the placement line. Now duplicate the rectangle and place it exactly on top of the placement line. This will be the tack down line for the felt.

    (Click Image to Enlarge)


    Step 5:
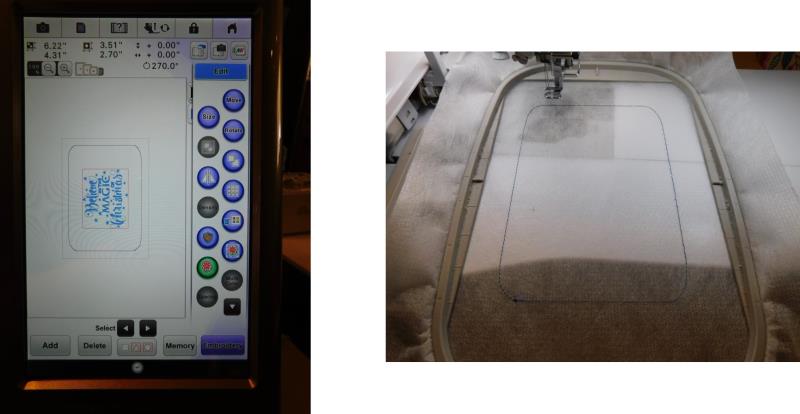
    Now insert the chosen design. Rotate it as shown. Note the size of the design. If desired, increase the design to fill out the opening better. Hoop one layer of poly mesh stabilizer. Place the hoop on the machine. Stitch the placement line. 

    (Click Image to Enlarge)


    Step 6:
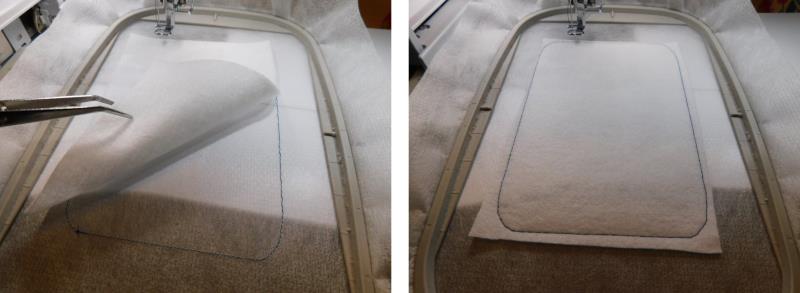
    Place one piece of felt over the placement line. Stitch color 2, the tackdown line; this will hold the felt in place.

    (Click Image to Enlarge)


    Step 7:
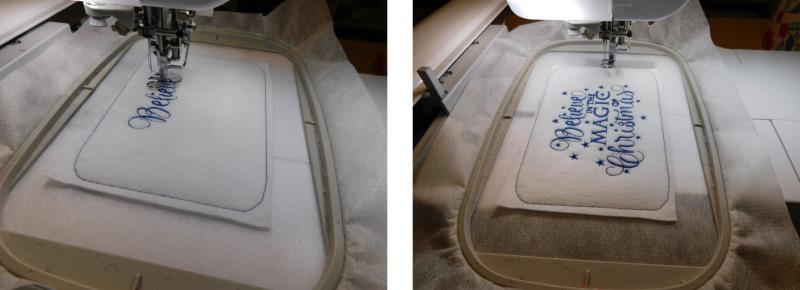
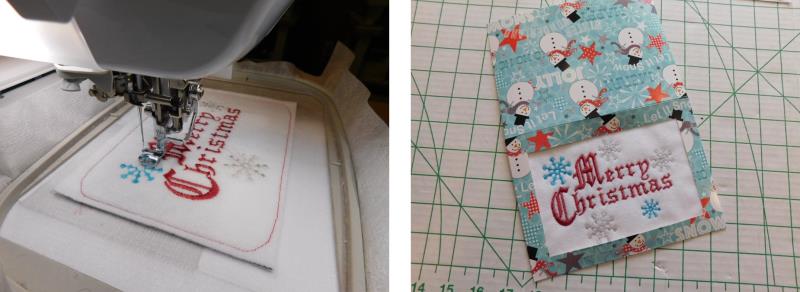
    Stitch the remaining colors as stated in the color sequence.

    (Click Image to Enlarge)


    Step 8:
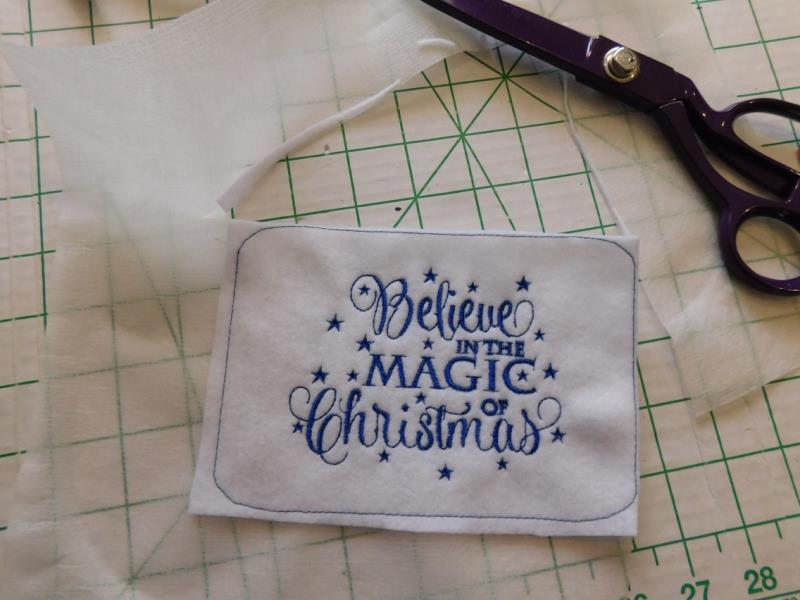
    Remove the embroidery from the hoop and trim the piece close to the outer stitching.

    (Click Image to Enlarge)


    Step 9:
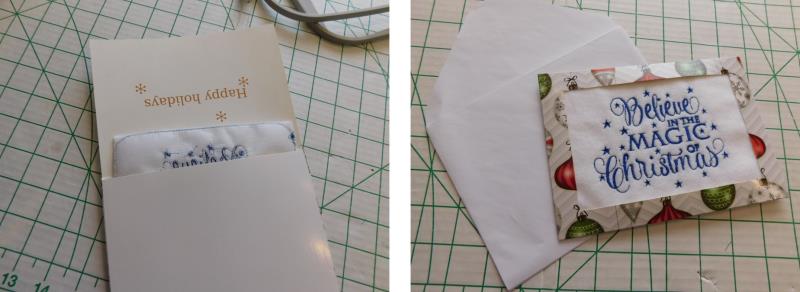
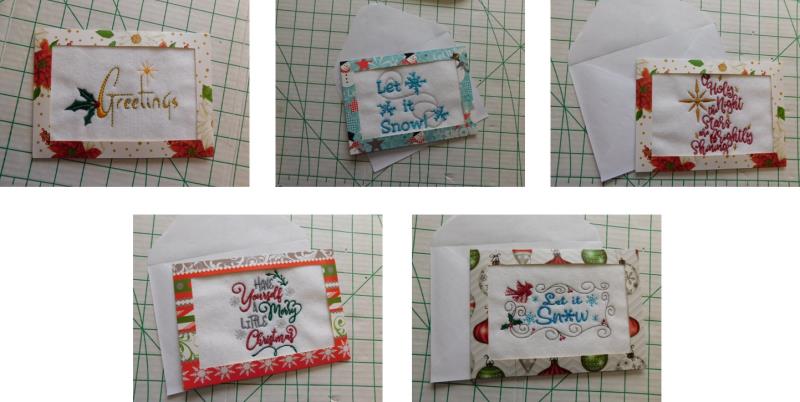
    Insert the embroidered piece facing out, into the opening. From the front, position the embroidery in the center of the card. The card is finished.

    (Click Image to Enlarge)


    Step 10:
    Repeat the steps for all the remaining cards to be done using the designs you’d like. 

    (Click Image to Enlarge)


    Step 11:
    These cards stitch in just a few minutes and are easy to trim and insert into the cards.

    (Click Image to Enlarge)


    Step 12:
    Do several of each card while the design is in the machine. In an afternoon of stitching, you’ll have several cards ready to mail when the time comes.

    (Click Image to Enlarge)


    Step 13:
    Congratulations on creating wonderful cards that will be a welcome surprise for family, co-workers, and friends to receive this holiday season.

    (Click Image to Enlarge)

    Meet the Author: Ramona Baird
    Ramona Baird
    Ramona Baird has been in the embroidery industry for over 23 years. She and her husband owned a commercial and retail embroidery store in Arizona for many years. She is an experienced digitizer having been mentored by award-winners Pat Williams and Lindee Goodall. Ramona is a contributor to “Creative Machine Embroidery” magazine having 5 covers to her credit. Ramona has worked for Wilcom America and served many years as Education Director for the American Sewing Guild. With a degree in fashion design, she is able to design and execute patterns which Pat Williams says are “out of the box” in creativity and application. Ramona likes to challenge the boundaries of embroidery and bring new and exciting designs, ideas, and projects to EmbroideryDesigns.com. She wants embroiderers of all levels to increase their skills and enjoyment in using their embroidery machine for gift-making and personal pleasure.
    More From This Author
    Link is Broken, Please check the URL
    Exclusive Embroidery Offers!
    Copyright © {{ currentDate | date:'yyyy'}} - EmbroideryDesigns.com
    GET 50% OFF! ×