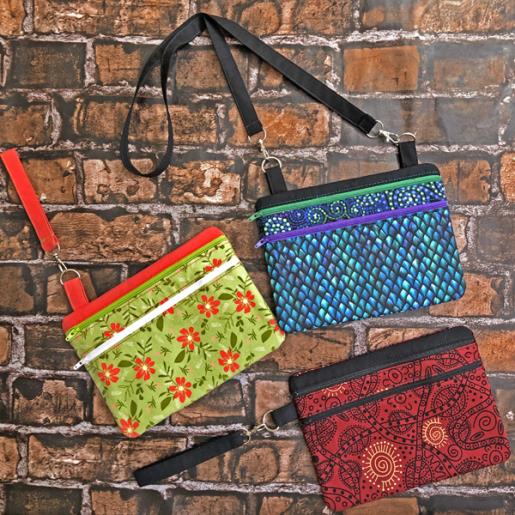
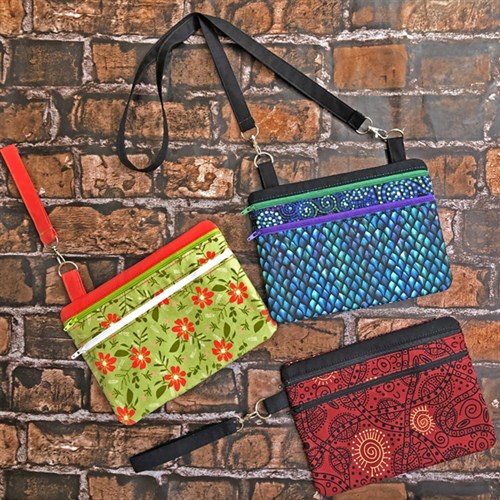
Two fully lined pockets in this two-zipper pouch combined with its larger size make this bag suitable as a wristlet or as a over the shoulder bag. It requires two hoopings in your 12” x 8” embroidery hoop.
This bag is made in two hoopings. The design file contains all the steps for both hoopings, so follow the instructions to know when to rehoop the stabilizer. At one point in the construction of this bag there are 4 layers of fabric, two layers of stabilizer and the zipper tape all being stitched together at one time. Therefore, I suggest that you use a size 12 sewing machine needle in your embroidery machine. It will really make a difference. Half of your time in making this bag is in cutting and keeping the pieces organized, please read through the instructions to simplify the process. One color of embroidery thread can be used for all steps of the design. Use a tape measure over your shoulder to determine what length you will want to cut your strap (an extra 1/8th yard of fabric may be required for a longer strap).
Step 1:
(Click Image to Enlarge)
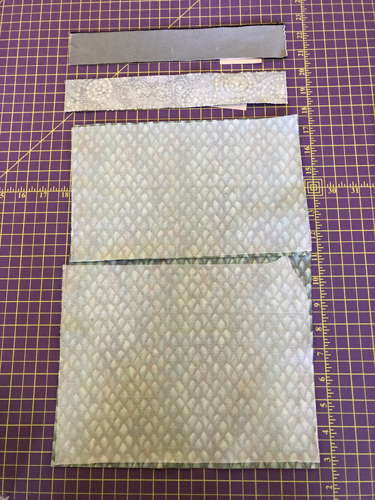
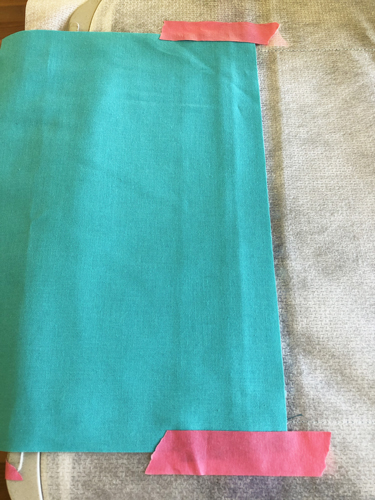
1. First cut the pieces for the outside of the bag:
a. 10 ½” x 8 ½” for the back of bag b. 10 ½” x 6 ½” for the lower pocket c. 10 ½” x 1 ¾” for the front mid-section which can be a contrasting fabric d. 10 ½” x 1 ¾” for the top of the bag which can be another contrasting fabric
Label each section with a small sticky note.
Step 2:
(Click Image to Enlarge)
Cut a piece of lightweight or knit interfacing the same sizes as listed in Step 1. Fuse the interfacing to the wrong side of each of the corresponding pieces following the manufacturer’s instructions.
Step 3:
(Click Image to Enlarge)
Cut lining:
a. Bag back lining 10 ½” x 8 ½” b. Front lower pocket lining 10 ½” x 6 ½” c. Cut 2 inner pocket linings 10 ½” x 7” d. Bag middle lining 10 ½” x 1 ¾” e. Bag top lining 10 ½” x 1 ¾”
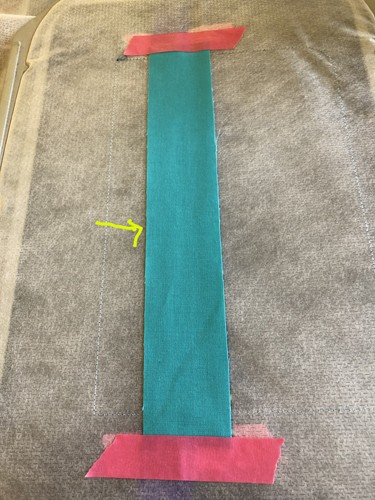
Step 4:
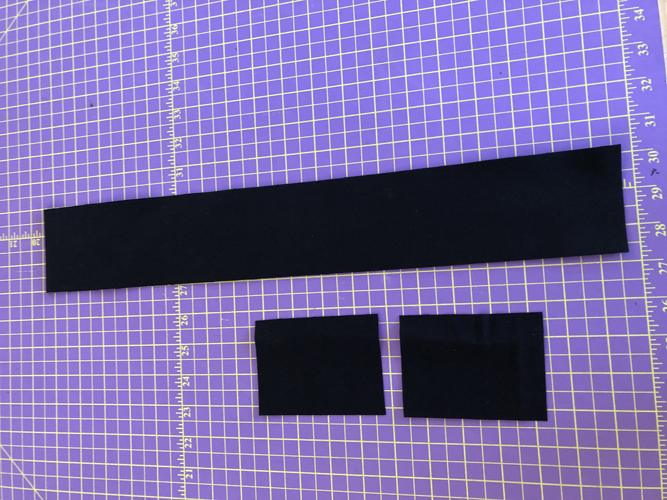
Cut straps: For shoulder bag:
a. 2 3” x 4” b. 1 3” x 40” (may cut 3” x 50”) depending on length desired for strap. Join fabric as you would for quilting binding if a longer strap is desired.
For wristlet bag:
a. 1 3” x 4” b. 1 3” x 12”
(Click Image to Enlarge)
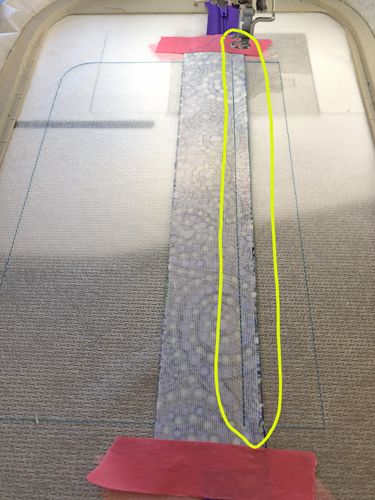
Step 5:
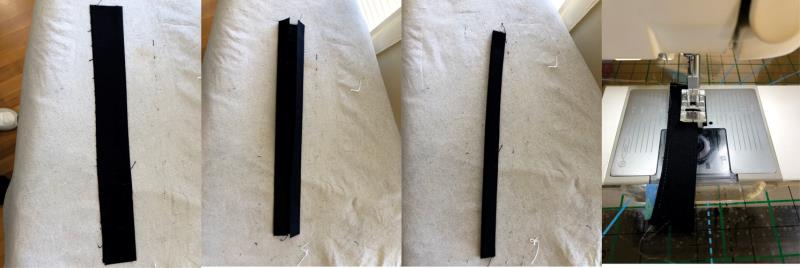
Press all the strap pieces by first folding them in half lengthwise and pressing; fold the two outer edges to the center and press; then fold in half lengthwise and press. Stitch down both sides of the folded straps 1/8th of an inch from the lengthwise edges.
(Click Image to Enlarge)
Step 6:
(Click Image to Enlarge)
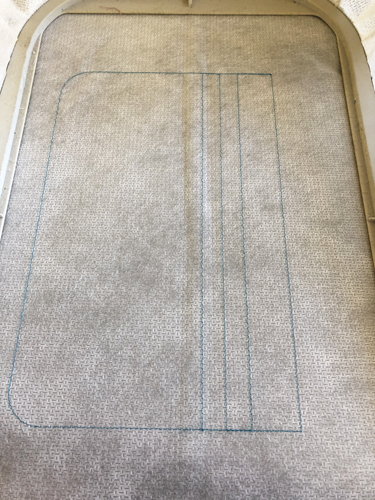
Tautly hoop one layer of the no-show stabilizer in your hoop. Run the 1st color stop as a placement line for the lower pocket.
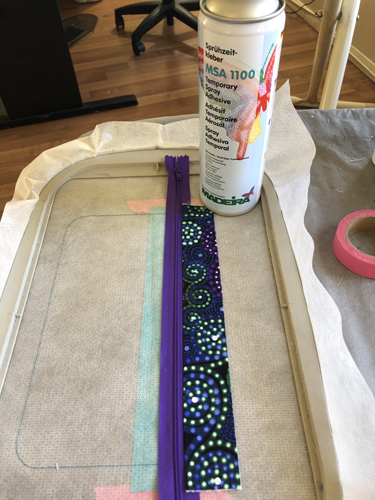
Step 7:
(Click Image to Enlarge)
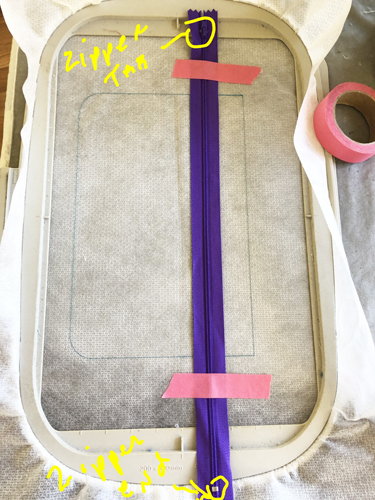
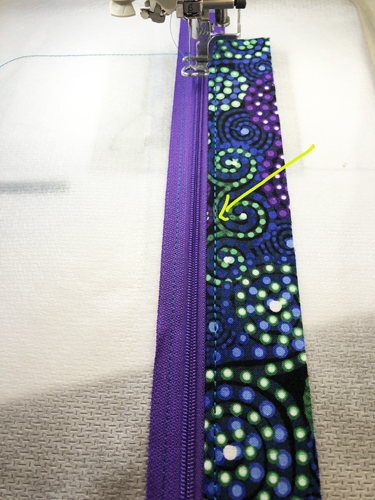
Place a nylon zipper right side up over the placement lines so that the top and end stops of the zipper are well beyond the placement lines. Not all zippers are the same width. Make sure the teeth of your zipper follow along the center placement line. Secure the zipper ends outside of the placement lines with embroidery tape.
Step 8:
(Click Image to Enlarge)
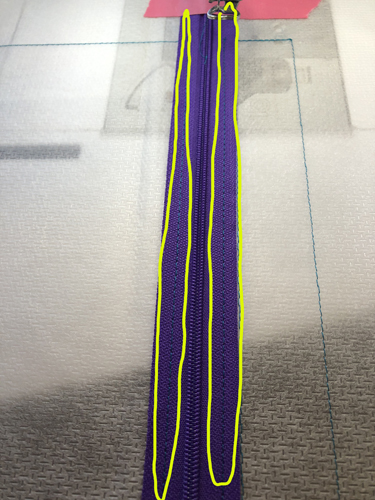
Run CS 2 to tack down the zipper.
Step 9:
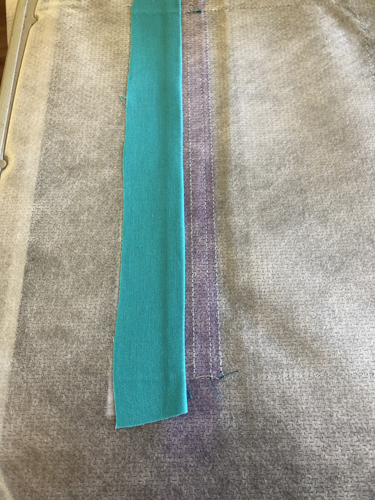
(Click Image to Enlarge)
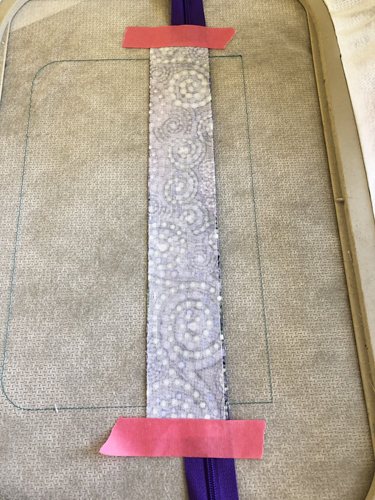
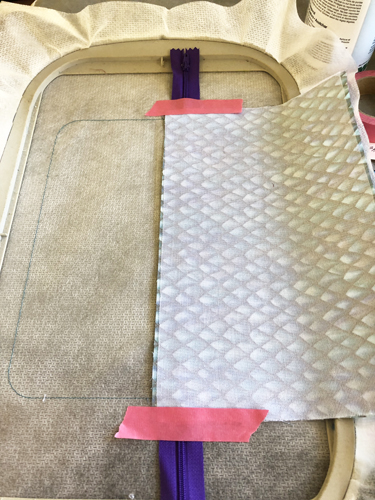
Remove the hoop from the machine, do not unhoop. Place the middle fabric strip face down aligning the edge of the fabric with the right-hand side of the zipper. Tape it along the sides outside the placement lines.
Step 10:
(Click Image to Enlarge)
Turn the hoop face down. Align the top edge of the middle lining with the top edge of the zipper and tape down outside of the placement lines.
Step 11:
(Click Image to Enlarge)
Run CS 3 to stitch the fabrics to the zipper.
Step 12:
(Click Image to Enlarge)
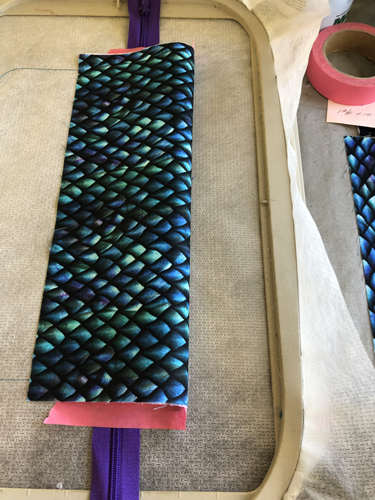
Remove the hoop from the machine, do not unhoop. Spray adhesive on the back of the middle fabric strip and smooth the fabric to over the outside placement line. Pull the fabric as tautly as possible away from the zipper teeth.
Step 13:
(Click Image to Enlarge)
Turn the hoop face down. Spray the lining fabric with adhesive and smooth it towards the side of the hoop.
Step 14:
(Click Image to Enlarge)
Return the hoop to the machine and run CS 4 to topstitch the middle section of the bag.
Step 15:
(Click Image to Enlarge)
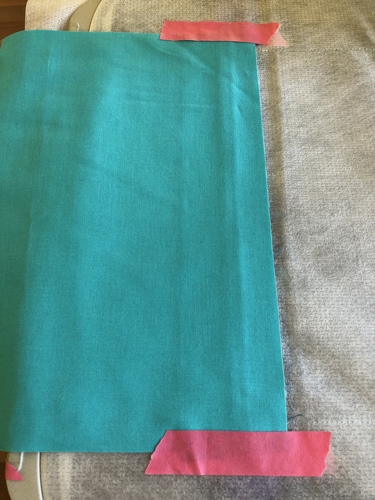
Remove the hoop from the machine, do not unhoop. Align the top of the 10 ½” x 6 ½” lower pocket fabric with the bottom (left-hand side) of the zipper and tape in place outside of the placement lines.
Step 16:
(Click Image to Enlarge)
If your outer fabric is a directional print flip back the fabric for a second to make sure you have it placed so that it will appear in the proper direction when it is folded down. Smooth it back up over the zipper for now.
Step 17:
(Click Image to Enlarge)
Turn your hoop face down and align the 10 ½” x 6 ½” lining fabric with the lower edge of the zipper tape. Tape it down outside of the placement lines.
Step 18:
(Click Image to Enlarge)
Return the hoop to the machine and run CS 5 to seam the fabrics to the zipper tape.
Step 19:
(Click Image to Enlarge)
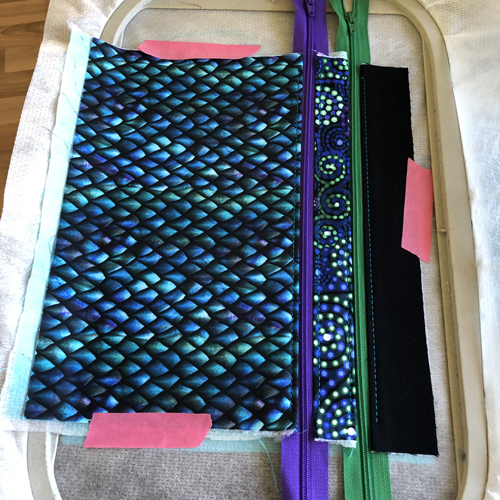
Remove the hoop from the machine, do not unhoop. Spray adhesive on the back of the front fabric and the lining and smooth the fabrics over the placement lines. Return the hoop to the machine and run CS 6 to topstitch the fabrics at the zipper.
Step 20:
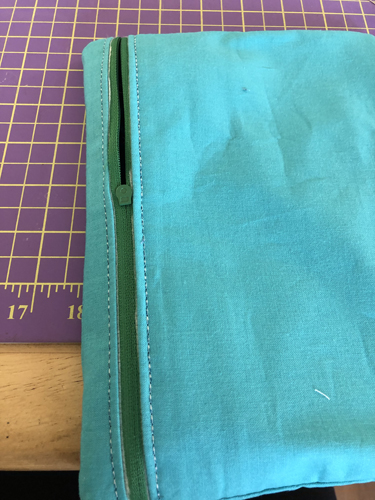
Remove the project from the hoop; trim away the excess stabilizer from around the project leaving the zippers intact.
(Click Image to Enlarge)
Step 21:
(Click Image to Enlarge)
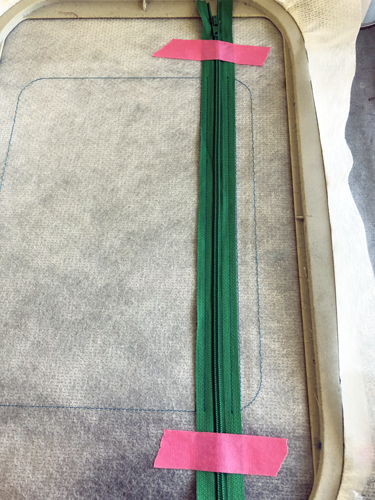
Tautly hoop a new sheet of no-show stabilizer in the hoop. Run CS 7 as a placement line for the bag and top zipper.
Step 22:
(Click Image to Enlarge)
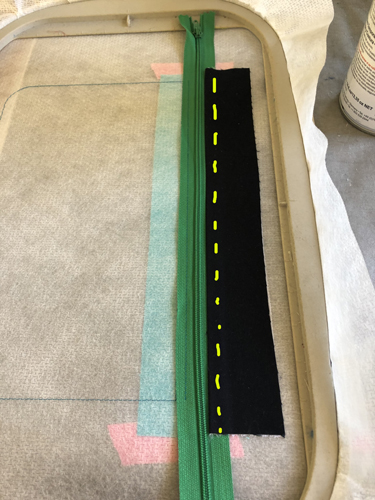
Tape the zipper in place as in Step 7, run CS 8 to tack the zipper down.
Step 23:
(Click Image to Enlarge)
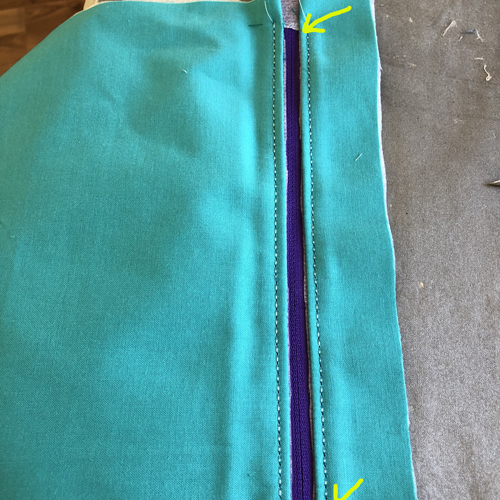
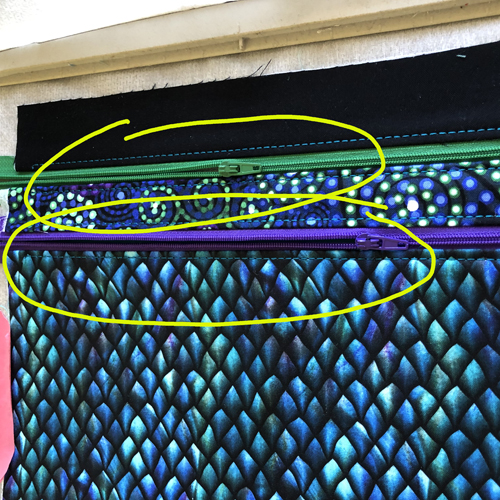
Repeat Steps 9 through 14 to join the top outer fabric piece and lining to the zipper using CS 9 to seam the fabrics to the zipper and CS 10 to topstitch the top of the bag. Note: In this photo the lining and has not been sprayed and pushed the top of the hoop yet. You will do that before the top stitching is stitched with CS 10.
Step 24:
(Click Image to Enlarge)
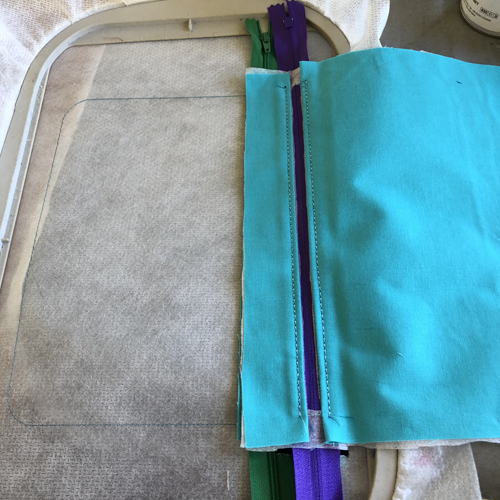
Remove the hoop from the machine, do not unhoop. Turn the hoop face down. Align the top edge of a 10 ½” x 7” lining piece with the bottom edge of the zipper. Tape it in place outside the placement lines.
Step 25:
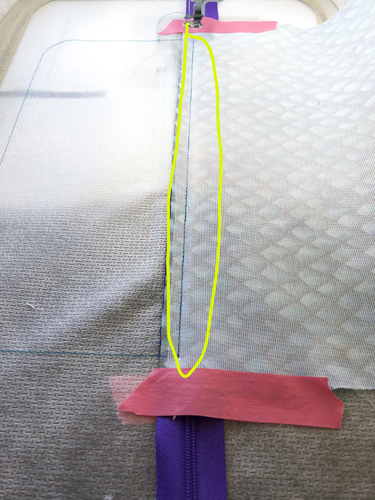
To prepare the lower portion of the bag for attachment to top of the bag remove the stabilizer from the back of the lower pocket just between the topstitching lines leaving a small area of stabilizer at each end of the zipper. Use small scissors or a seam ripper to remove the stabilizer being careful not to cut your zipper or the fabrics.
Step 26:
Turn the hoop right side up. Align the top edge of prepared lower portion of the bag with the left-hand side of the zipper.
Step 27:
(Click Image to Enlarge)
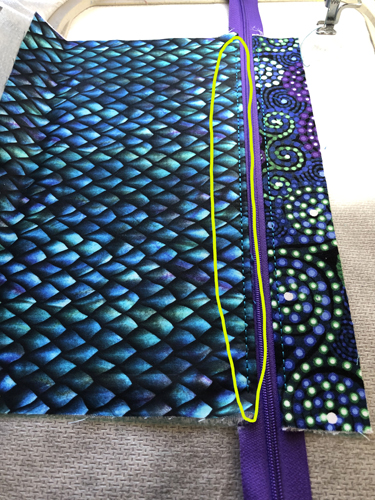
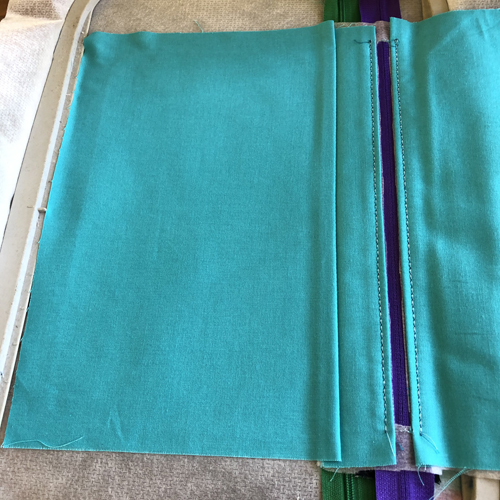
Lay the 2nd 10 ½“ x 7” lining over the prepared lower portion of the bag. Tape all layers to the stabilizer at one time outside of the placement lines. Return the hoop to the machine and run CS 11 to seam the fabrics and 1st pocket to the project.
Step 28:
Remove the hoop from the machine, do not unhoop. Turn the hoop face down. Remove the tape from the back lining, spray it with adhesive and smooth it down. Turn the hoop face up, remove the tape. Spray adhesive on the stabilizer within the placement lines and smooth down the top lining fabric.
Step 29:
Fold down the lower pocket section pulling it tautly away from the zipper. We cannot use spray adhesive to hold it in place so tape the sides down. Run CS 12 to topstitch the lower section at the zipper.
Step 30:
IMPORTANT – IMPORTANT Open up both zippers about halfway across the bag. If you do not open them now you will not be able to open the pockets later.
Step 31:
(Click Image to Enlarge)
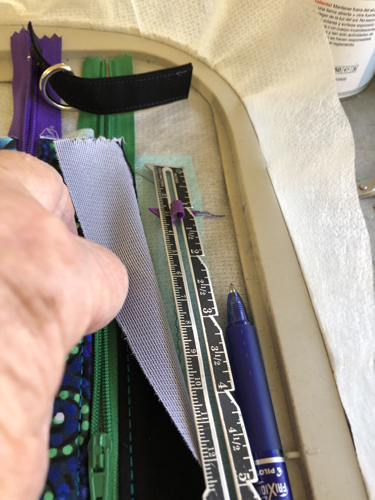
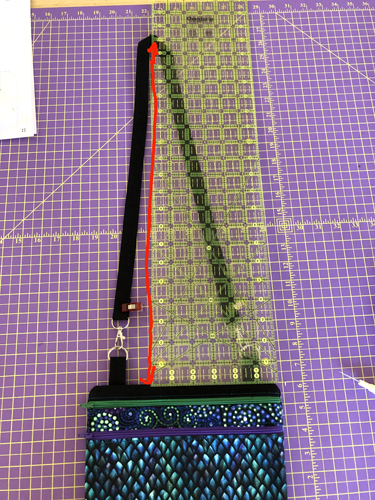
You may place the D-rings on the top or on the sides of the bag. For the shoulder bag you want to make sure that the two D-rings are equal distance from the sides of the bag. Lift the top fabric up in each corner, measure in 1” from the side placement line and make a mark that extends into the stabilizer. You will place the outside edge of each D-ring strap on these marks.
Step 32:
(Click Image to Enlarge)
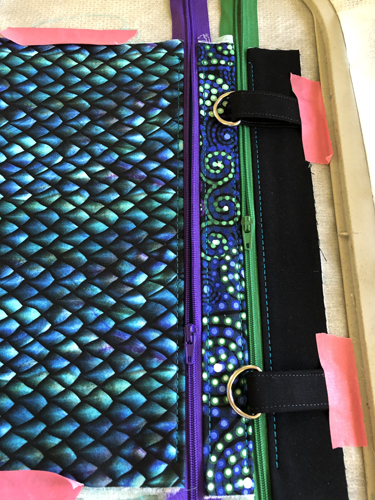
Slide the D-rings onto the two short straps. Fold the fabric strap in half aligning the raw edges. Align the raw edges of the straps with the top edge of the top fabric and tape in place.
Step 33:
(Click Image to Enlarge)
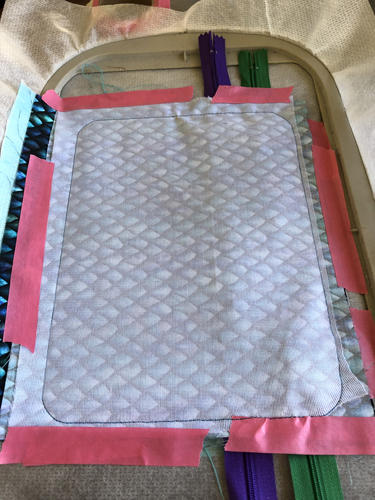
Make sure your zippers are open. Place the fabric back right side down over the bag front aligning the raw edges at the top of the bag. Tape the fabric in place on all four sides. Run CS 13 to seam the back fabric to the bag.
Step 34:
(Click Image to Enlarge)
Remove the hoop from the machine, do not unhoop. Place the hoop face down and tape the back lining fabric over the project and tape into place. If you are using a printed fabric the fabric would be right side down. Return the hoop to the machine and run the final CS to complete the bag.
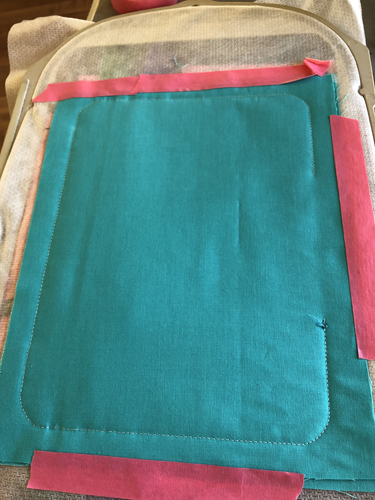
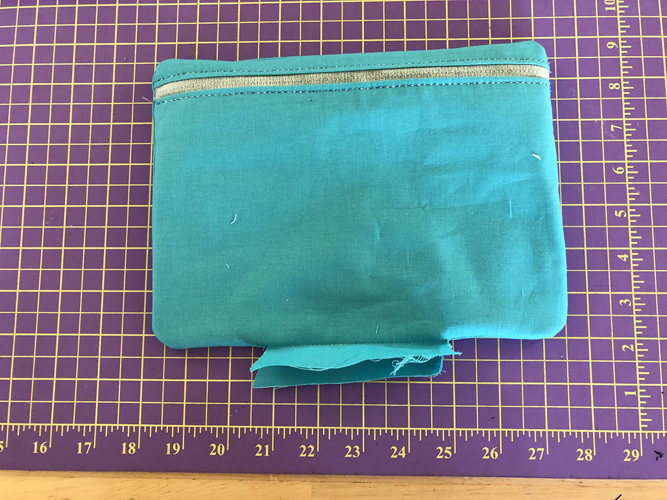
Step 35:
Remove the project from the hoop. Where the final stitching left an opening at the bottom of the bag cut an angle in to each side of the opening. Cut around the bag with a ¼” seam allowance leaving the excess fabric and stabilizer at the opening.
(Click Image to Enlarge)
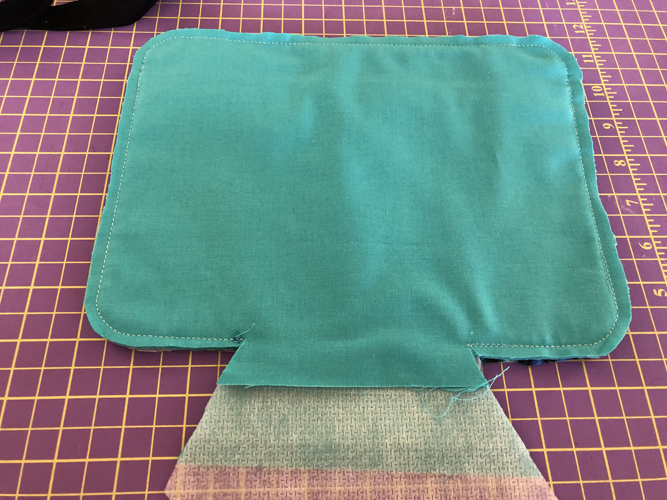
Step 36:
(Click Image to Enlarge)
We really only need the top two layers of the lining to have to turn in to close the lining so lift those top two layers and trim the fabric and stabilizer underneath them to ¼” seam allowance. Trim the top two layers of lining to a ½” seam allowance. Clip all the corners of the bag.
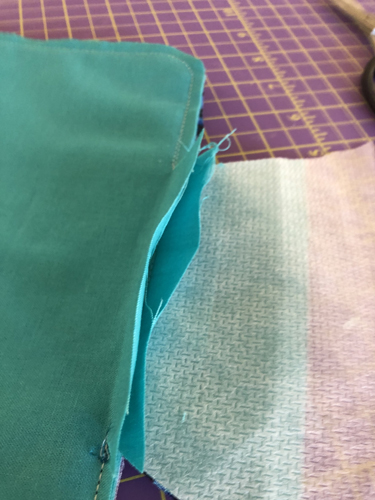
Step 37:
(Click Image to Enlarge)
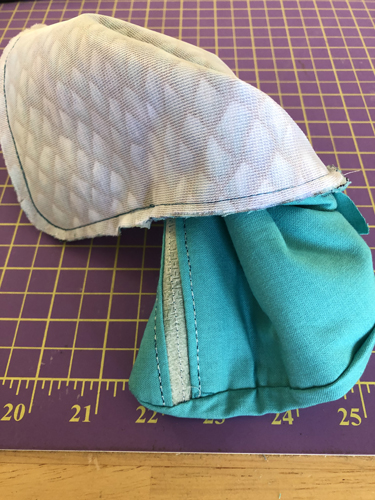
Turn the bag lining side out through the opening.
Step 38:
Use a point turner or other implement to turn out the corners. Your bag should now look like this.
(Click Image to Enlarge)
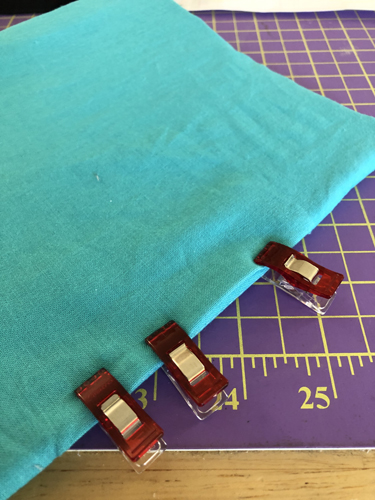
Step 39:
(Click Image to Enlarge)
Fold in the seam allowances at the bottom, hand stitch, glue with fabric glue or use a fusible double-sided tape to close them. I chose to stitch them together.
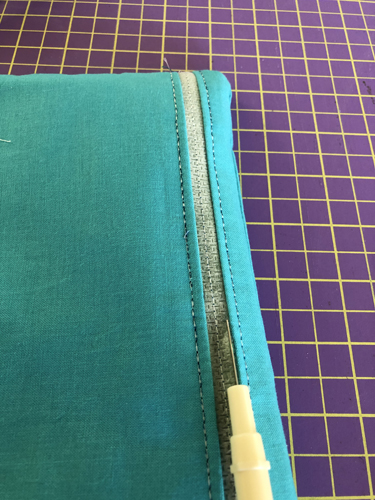
Step 40:
(Click Image to Enlarge)
Remove the stabilizer from the back of the zipper with small scissors or a seam ripper. Be careful not to cut the underlying zipper.
Step 41:
(Click Image to Enlarge)
Fully open the zipper and turn the bag right side out though the zipper. Press the bag to flatten the seams.
Step 42:
(Click Image to Enlarge)
Slip the ends of the long strap through the lobster clasps and hold them with a craft clip. Clip the lobster clasp to the bag. Determine the drop length you want for your bag. General guidelines are:
a. 18” for someone 5’ to 5’2” b. 20” for someone 5’2” to 5’8” c. 23” for someone 5’5” to 6’
Step 43:
(Click Image to Enlarge)
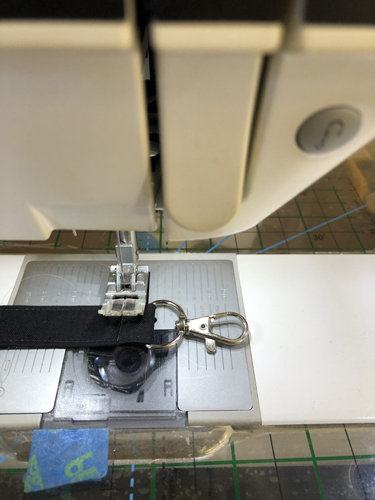
Adjust the strap length as necessary leaving an extra inch on each end. Fold the ends end ¼” and then fold the strap around the lobster clasp. Stitch the ends across the strap and reverse all the way across the strap for strength.
Step 44:
Congratulations your ITH Two Zipper Pouch is complete!
Award winning Digitizer, Embroidery Educator, Author and a Consultant to the Industry, Pat Williams has 30 years of experience in the embroidery industry. Pat has won multiple awards for her digitizing expertise including the 2007 Impressions Awards Grand Championship, Best of Show as well as the 1st and 2nd Place Awards. Pat’s love of digitizing has afforded her the opportunity to write numerous articles for Impressions magazine in the United States and Images Magazine in Europe. In 2001 Pat was named “Embroidery Educator of the Year.” For many years Pat taught digitizing seminars at the ISS Shows in Long Beach, CA and for Compucon software. She now resides in Tucson, AZ.