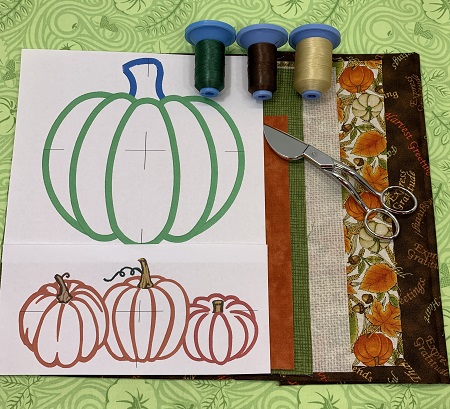
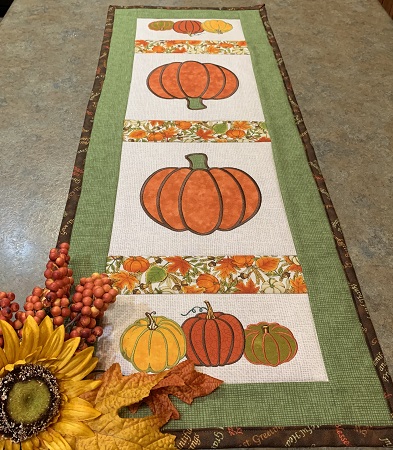
Pumpkin picking time! Two appliqued pumpkin designs are paired to create the pattern for this 'Pumpkin Table Runner'. Basic sewing skills are needed to make this project.
Pumpkin picking time! Two appliqued pumpkin designs are paired to create the pattern for this 'Pumpkin Table Runner'. Basic sewing skills are needed to make this project. The large pumpkin design is available in three sizes. The embroidery technique for this project is applique. A single needle embroidery machine was used to stitch the designs.
Step 1:
Read the directions before beginning the project. Gather the materials needed for the project. Print a design template for each design. Check your needle size on your embroidery machine. Embroidery needle size 80/12 is suggested.
Step 2:
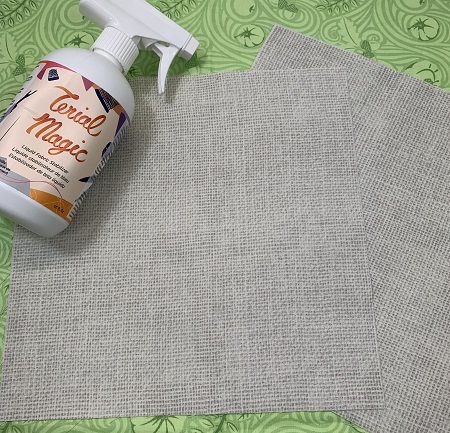
Prepare your fabrics. Begin by ironing the fabric. Cut three 11"x11" pieces of beige or neutral fabric for the background for the pumpkins.
Spray the front and back of each fabric piece with Terial Magic. Fabric will be damp. Place a piece of cutaway stabilizer on your iron surface. (The stabilizer or old sheet must be larger than the fabric pieces.) Iron the fabric pieces dry. The fabric will be very stiff and paper thin.
NOTE: Terial Magic is a spray on fabric stabilizer that makes the fabric more paper-like, stable, but not too stiff to cut or sew. Great for low to no fray on fabrics with more precision for cutting and stitching.
Step 3:
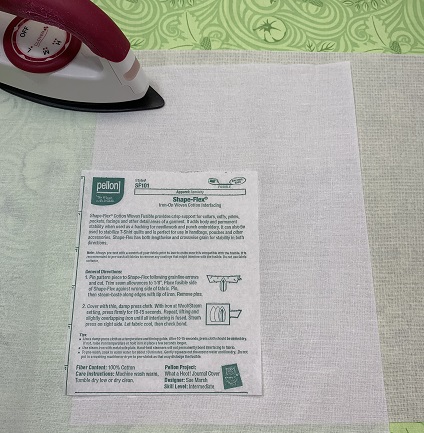
Follow manufacturers directions to bond the Pellon SF101 Super Flex to the back of each 11"x11" piece of beige fabric.
Step 4:
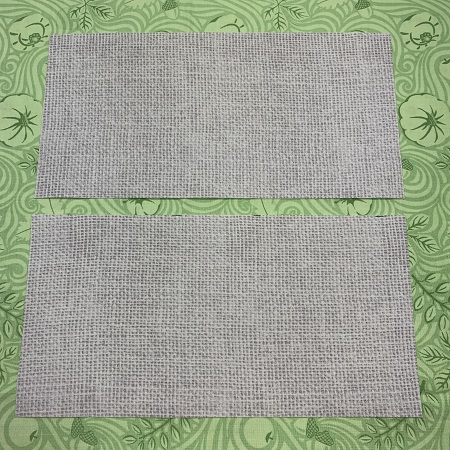
Cut one of the 11"x11" pieces of beige fabric in half. The halves should measure 11"x5.5".
Step 5:
Cut two 8"x6" pieces of orange fabric. Cut two 2"x3" pieces of green fabric.
Spray the front and back of each fabric piece with Terial Magic. Fabric will be damp. Place a piece of cutaway stabilizer on your iron surface. (The stabilizer must be larger than the fabric pieces.) Iron the fabric pieces dry. The fabric will be very stiff and paper-like.
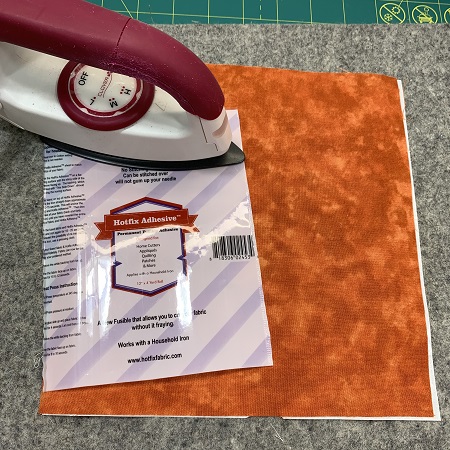
Cut two 8"x6" pieces and two 2"x3" pieces of Hot fix Adhesive or Heat n Bond lite. Follow package directions to bond the Hot Fix to the back of the fabric.
Step 6:
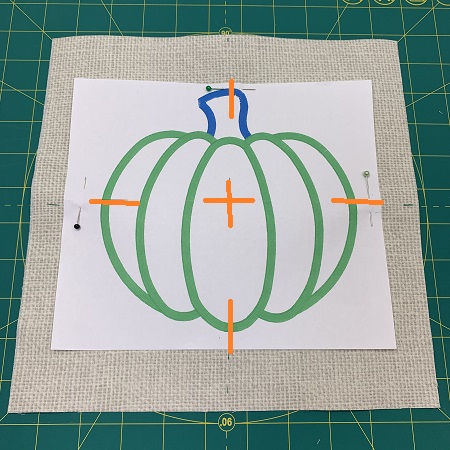
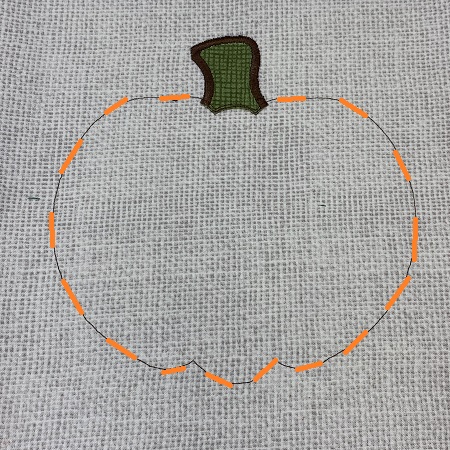
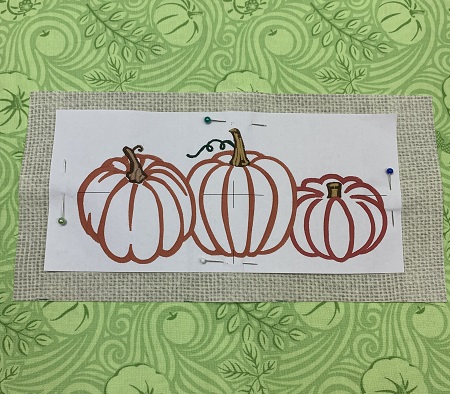
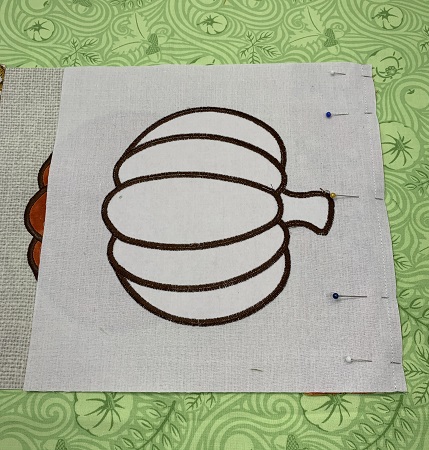
Center the large pumpkin design template on one piece of the 11"x11" fabric. The design template is the exact size of the stitched design. Use the template as a placement tool and guide for precision placement.
NOTE: If you do not have a design template, find the center point of the fabric. Mark the center point with a fabric pen. Mark the center point of the sides of the fabric also.
Step 7:
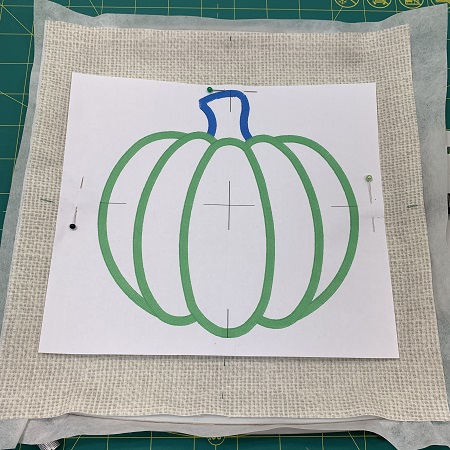
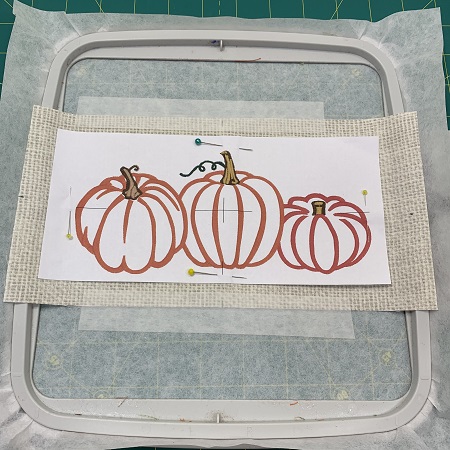
Hoop one piece of medium weight tear away stabilizer. Match the hoop center with the center of the design template. Lightly mist the stabilizer with 505 Temporary Adhesive spray. Match the axis points on the hoop with the axis points on the design template. Gently press the fabric onto the stabilizer. Pins may be used for added stability.
Step 8:
Load the large pumpkin design onto the embroidery machine. Attach the hoop. Follow the color stops to stitch this design. Applique has three steps: placement stitches, tack down stitches, and finishing stitches.
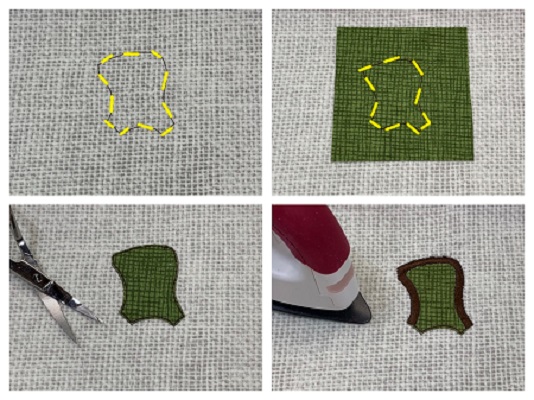
Stitch the placement stitch for the stem.
Place one (2"x3") piece of green fabric over the placement stitches.
Sew the tack down stitches.
Remove the hoop from the machine, but DO NOT un-hoop the stabilizer.
Trim excess fabric from around the stem. Attach the hoop.
Sew the finishing stitching around the stem.
Remove the hoop from the machine. DO NOT un-hoop the stabilizer.
Bond the green fabric to the background fabric with a small craft iron while still in the hoop.
(Click Image to Enlarge)
Step 9:
Sew the placement stitch for the pumpkin.
Step 10:
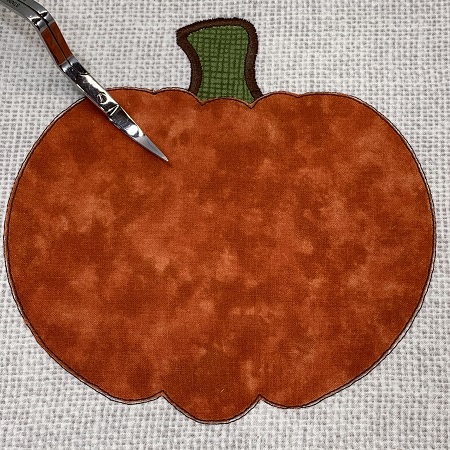
Place the orange fabric over the placement stitches. Sew the tack down stitches. Remove the hoop from the machine. Trim excess fabric from around the pumpkin. Attach the hoop.
Step 11:
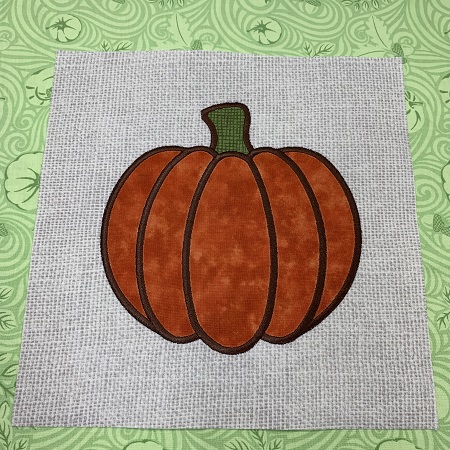
Sew the finishing stitches on the pumpkin. Remove the fabric from the hoop. Carefully remove the tear away stabilizer from the back of the fabric. Trim excess thread on the back if needed.
Step 12:
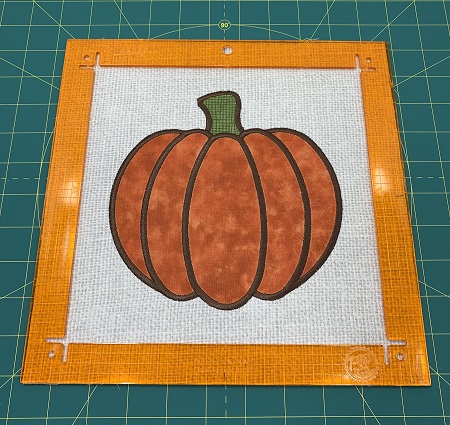
Square the fabric pieces to 10.5"x10.5".
Step 13:
Repeat Steps 6-10 to make another large appliqued pumpkin block.
Step 14:
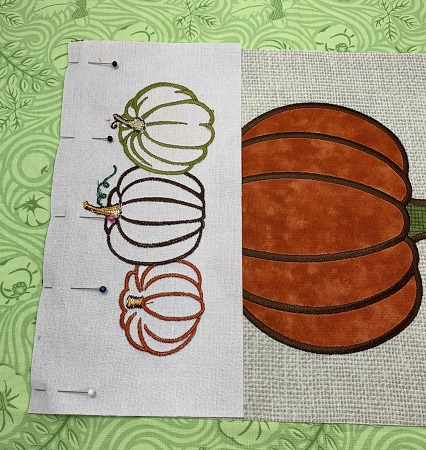
Center the second design template on one piece of 11"x5.5" beige fabric.
Step 15:
Hoop one piece of medium weight tear away stabilizer. Center the design on the stabilizer. Use a light mist of 505 Temporary Adhesive spray to secure the fabric to the stabilizer.
Step 16:
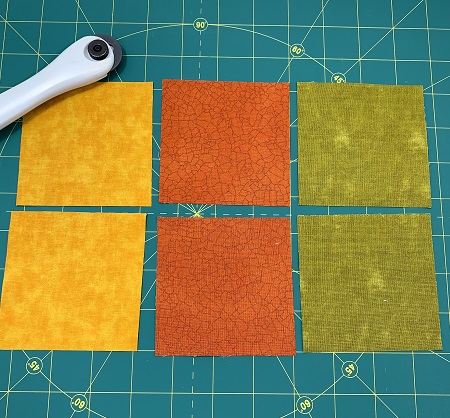
Cut two 3"x3" fabric pieces each in orange, green, and yellow.
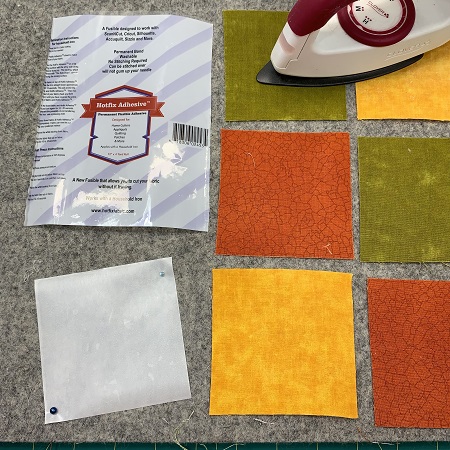
Spray the front and back of each fabric piece with Terial Magic. Fabric will be damp. Place a piece of cutaway stabilizer on your iron surface. (The stabilizer or old sheet must be larger than the fabric pieces.) Iron the fabric pieces dry. The fabric will be very stiff and paper-like.
Step 17:
Cut six pieces of 3"x3" Hotfix Adhesive. Follow package instructions to bond the Hotfix Adhesive to the 3"x3" fabric pieces.
Step 18:
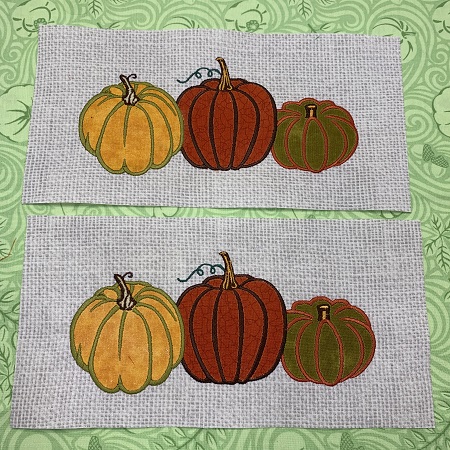
Embroider two blocks with the three smaller pumpkins in a row using the applique technique.
Step 19:
Cut three strips 3"x11" in coordinating 100% cotton fabric.
Step 20:
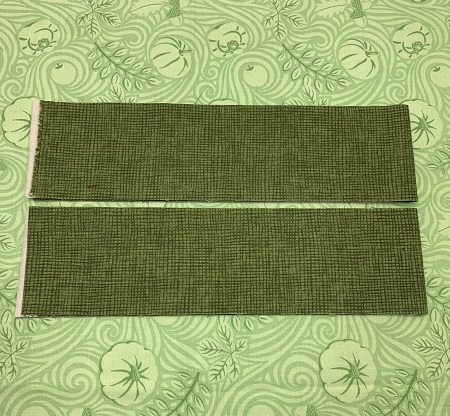
Cut two 3"x11" strips in the border fabric.
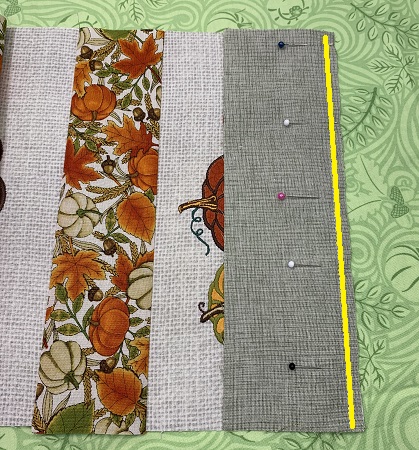
Step 21:
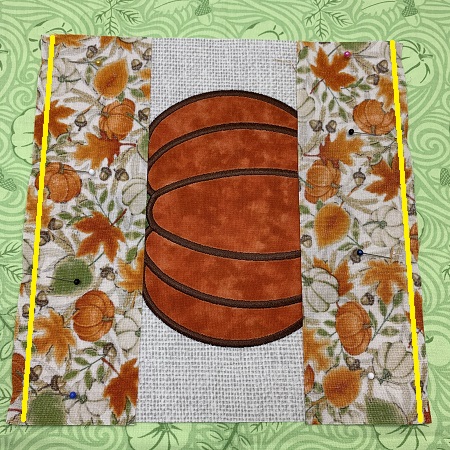
Pin a 3"x11" coordinating fabric strip on each side of one of the larger pumpkin blocks. Sew a 1/4" seam along the edges.
Step 22:
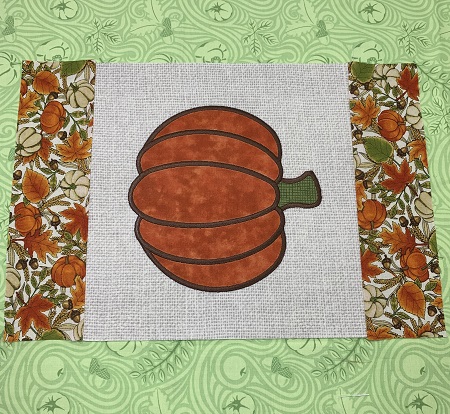
Press along the seam line with an iron or pressing tool.
Step 23:
Pin a 11"x5.5" pumpkins in a row block to the side of the strip. Sew a 1/4" seam along the side.
Step 24:
Press the seam open with an iron or pressing tool.
Step 25:
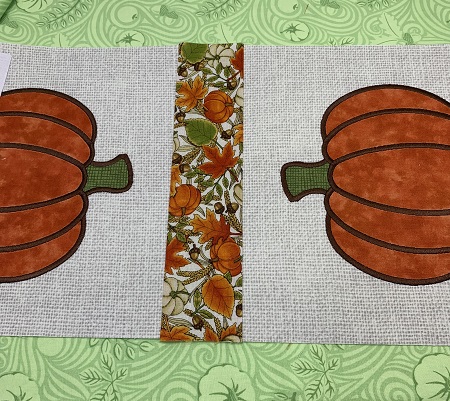
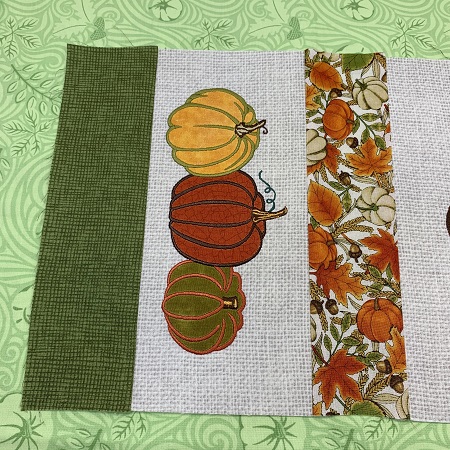
Pin the large pumpkin block to the sashing so that the pumpkin stems are pointed toward each other.
Step 26:
Press the seam open with an iron or pressing tool.
Step 27:
Add a 3"x11" piece coordinating sashing to the end of the other large pumpkin. Press open the seam.
Pin a 3"x11" piece of green border fabric to the end of the 3 pumpkins in a row block. Sew a 1/4" seam along the side.
Step 28:
Press the seam open with an iron or pressing tool. Sew a 3"x11" piece of green sashing to the other end of the runner. Press open the seam.
Step 29:
Trim or square the runner if needed. Measure the length of the runner.
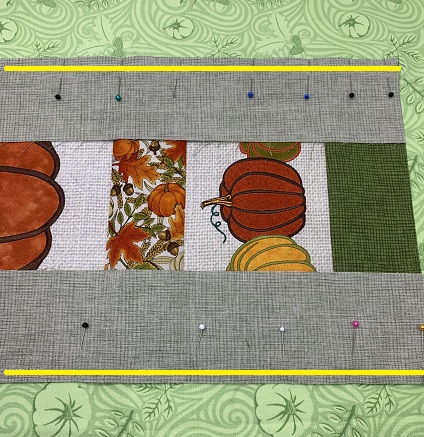
Cut two 3"x Length of Runner (approx. 40") strips of border fabric. Pin the strips to the sides of the runner. Sew a 1/4" seam along the sides.
Step 30:
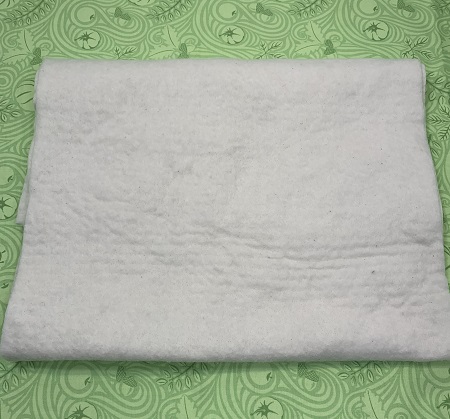
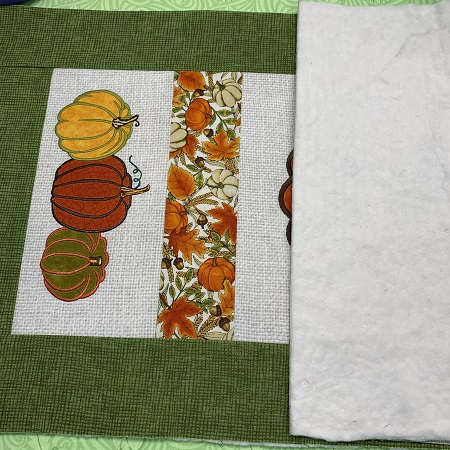
Cut one piece of Low nap quilt batting the size of the runner (approximately 14.5"x40").
Step 31:
Lay the batting on a flat surface. Place the runner on top of the batting with right side up. Fold back about 1/2 of the runner. Lightly mist the batting with 505 Temporary Adhesive spray. Press the runner to the batting. Surface should be smooth and wrinkle free. Repeat for the other side of the runner.
Step 32:
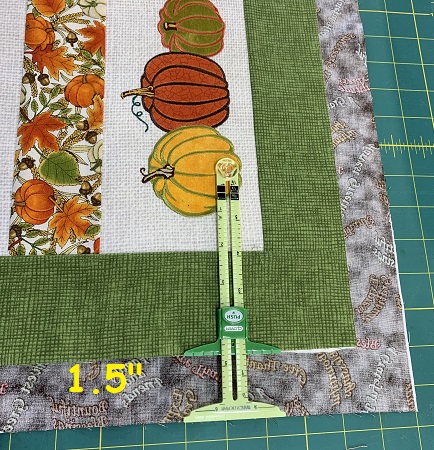
Add 3" to the width and length of the runner dimensions or size. Cut one piece of backing fabric this size.
Center the table runner with batting on the backing fabric. You should have a 1.5" overlap on all sides of the runner.
Step 33:
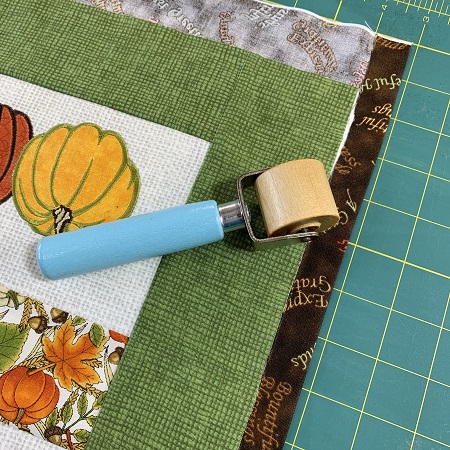
Fold the overlap in half. Use a pressing tool to press a crease on the fold line.
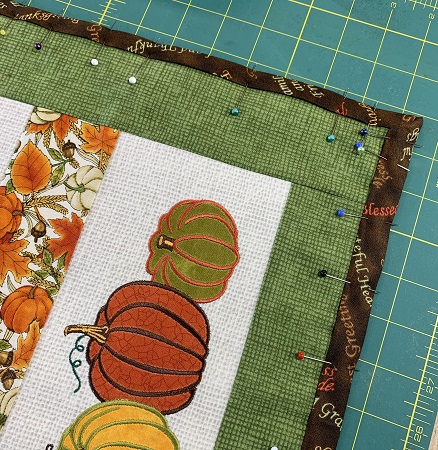
Step 34:
Fold the fabric again. Pin in place to make a trim from the runner. Sew a 1/8" seam around the trim.
Step 35:
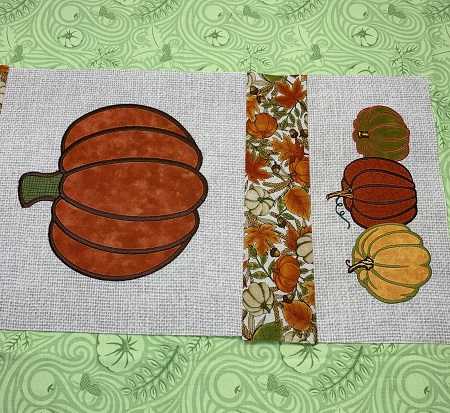
(Click Image to Enlarge)
You finished the Pumpkin Table Runner. Great job! Beautiful!!
Beautiful things come together one stitch at a time...
Marisa Littleton is a retired educator with a love for teaching and learning. Interests include machine embroidery, hand embroidery, quilting, cooking, and antiques.