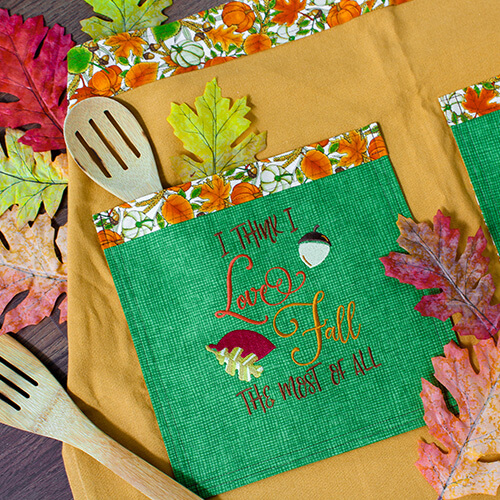
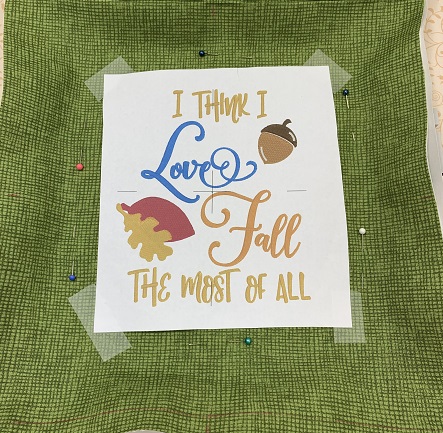
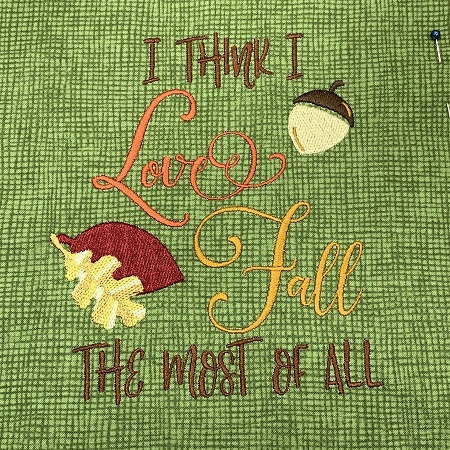
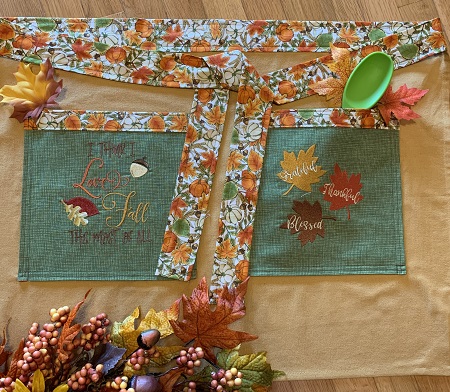
I think I love FALL most of ALL! Grateful, Thankful, & Blessed! Use a tea towel to make a cafe style apron for the fall season. Basic sewing skills are needed to complete this project.
I think I love FALL the most of ALL! Grateful, Thankful, & Blessed! Use a tea towel to create a cafe style apron for the fall season. The design is available in three different sizes. The largest design size (5"x6") was used on the apron. You may want to adjust the pocket size if you use a smaller sized design. Basic sewing skills are needed to finish the apron. The apron is very simple and easy to sew. A single needle embroidery machine was used to stitch the designs.
Step 1:
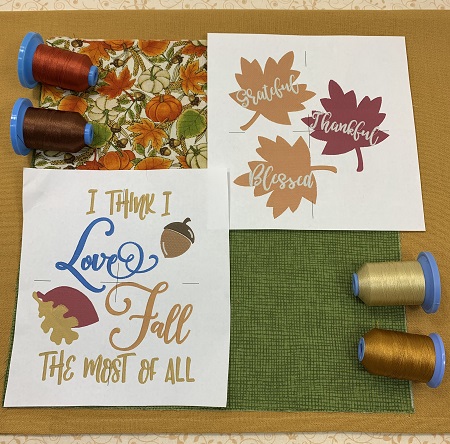
Read the directions carefully. Gather the materials needed for this project. Lightly starch and iron the fabrics and tea towel. Cut the fabric pieces for the waistband and pockets. Use a 75/11 embroidery needle. Check the bobbin area for debris. Check your bobbin thread to see if you have enough for your project.
Step 2:
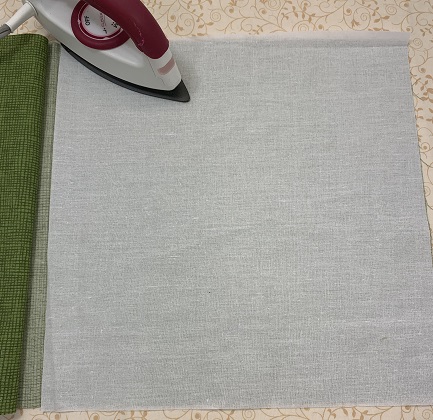
Cut two pieces 9"x10" of SF 101 Shape Flex.
Step 3:
Fuse the SF 101 Shape Flex to the back of the 9"x10" fabric pieces. Follow the package directions on the SF 101 Shape Flex. The SF 101 Shape Flex will help stabilize the fabric.
Step 4:
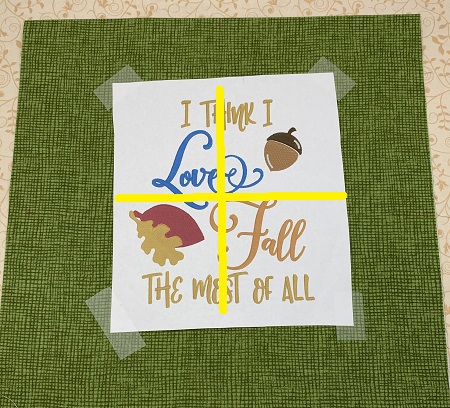
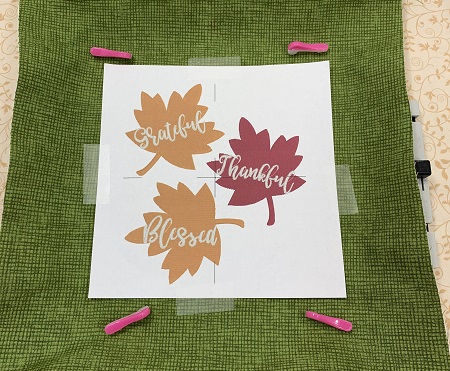
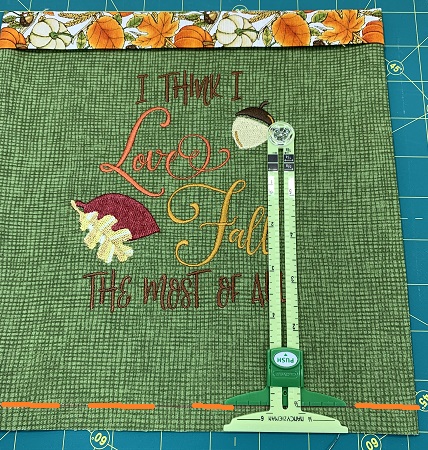
Center the design template on the 9"x10" piece of fabric. The design template is the actual size of the embroidery design and makes a great placement guide.
Step 5:
Center the design template on the 9"x10" piece of fabric. The design template is the actual size of the embroidery design and makes a great placement guide.
Step 6:
Hoop one piece of cut-away stabilizer. Float the fabric on top of the hooped stabilizer. Use the grid line as guides to center the fabric in the hoop.
After you have centered the fabric in the hoop, lightly mist 505 Temporary Adhesive spray on the stabilizer. The temporary adhesive spray will help secure the fabric to the stabilizer.
Step 7:
Load the embroidery design. Attach the hoop. Follow the color guide to stitch the design.
Step 8:
(Click Image to Enlarge)
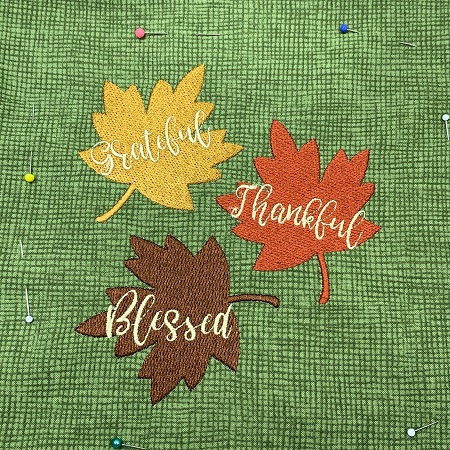
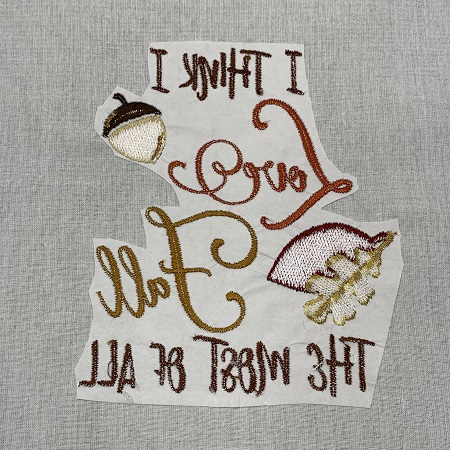
Remove the project from the hoop. Trim excess stabilizer from around the design leaving about 1/4" margin. Trim long threads if needed.
Step 9:
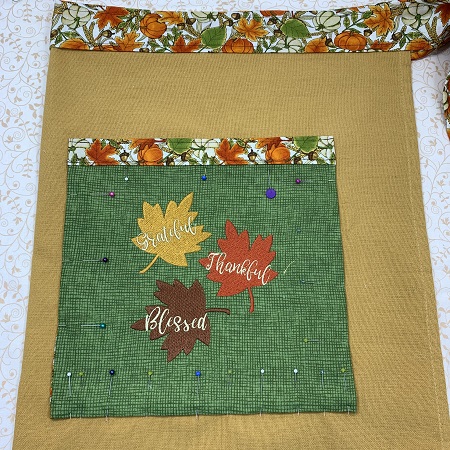
Use the same process to embroider the second design. Hoop one piece of cut-away stabilizer. Float the fabric on top of the hooped stabilizer. Use the grid line as guides to center the fabric in the hoop.
After you have centered the fabric in the hoop, lightly mist 505 Temporary Adhesive spray on the stabilizer. The temporary adhesive spray will help secure the fabric to the stabilizer.
Step 10:
Load the embroidery design. Attach the hoop. Follow the color guide to stitch the design.
Step 11:
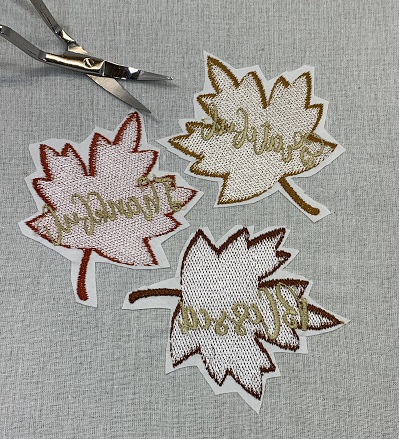
Remove the project from the hoop. Trim excess stabilizer from around the design leaving about 1/4" margin. Trim long threads if needed.
Step 12:
Place two 6" ends of the 6"x WOF pieces with right sides together. Sew the pieces together with a 1/4" seam. The fabric will measure approximately 6"x84". This piece will be the waistband and ties for the apron.
Adjust the length of the apron ties now if needed. Add more fabric if the ties are too short, or cut some fabric off if the ties are too long.
Step 13:
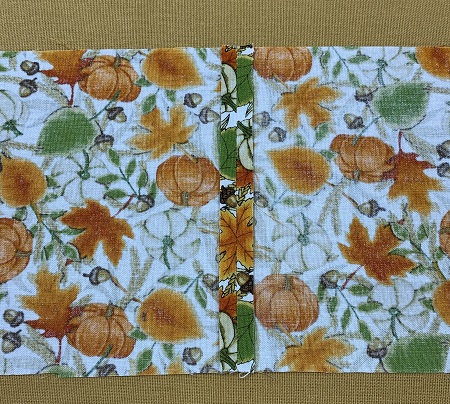
Press the seam open with an iron.
Step 14:
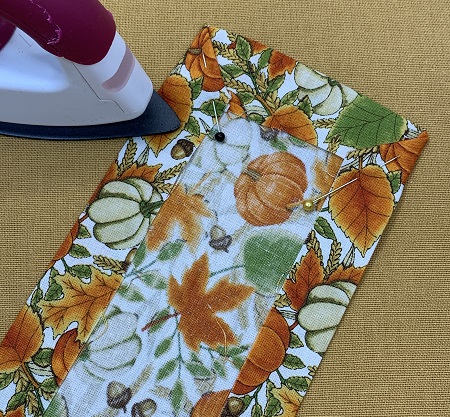
Press with an iron 1/2" around the 6"x84" strip of fabric. Next, fold the strip in half long side to long side. Press with an iron along the fold line.
Step 15:
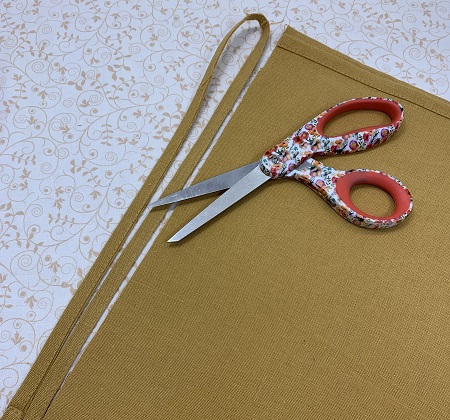
Cut off the hem line of one of the 28" sides on the towel. An option would be to remove the stitches with a seam ripper instead of cutting the fabric.
Step 16:
Fold the tea towel in half so that it measures 14"x20". Press a light crease along the fold line.
Match the center (seamline) on the waistline with the center of the tea towel. Place the top of the tea towel 1/2" inside the folded waistband fabric. Pin the waistband in place.
Step 17:
Topstitch all the way around the waistband fabric. This step attaches the waistband to the towel and creates the string ties for the apron.
Step 18:
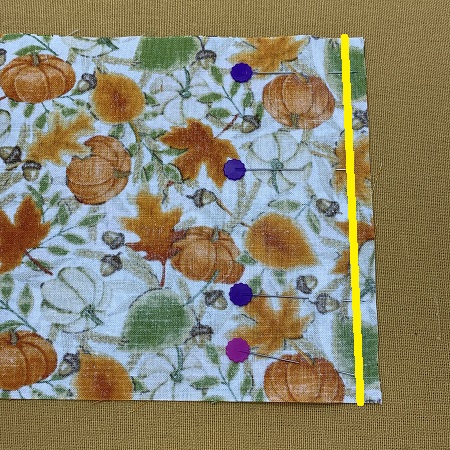
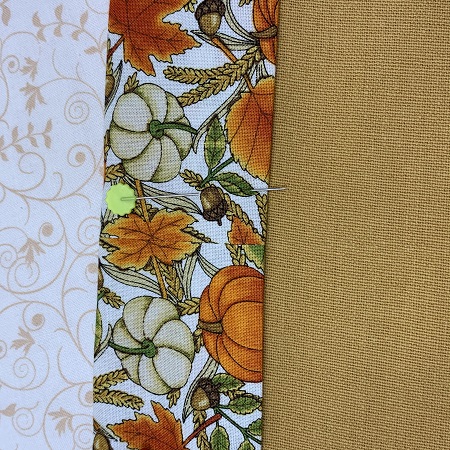
Pin the 10"x12" piece of fabric to a 9"x10" embroidered piece. Sew the pieces together along the top edge ONLY with a 1/4" seam.
Step 19:
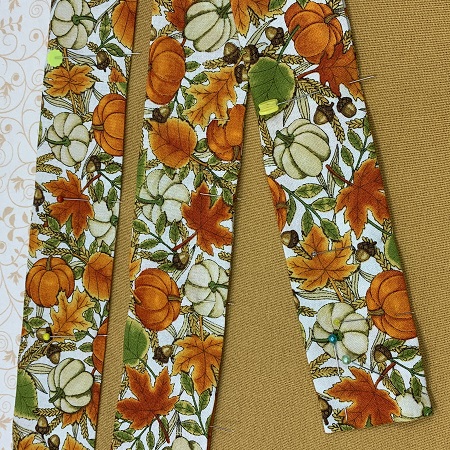
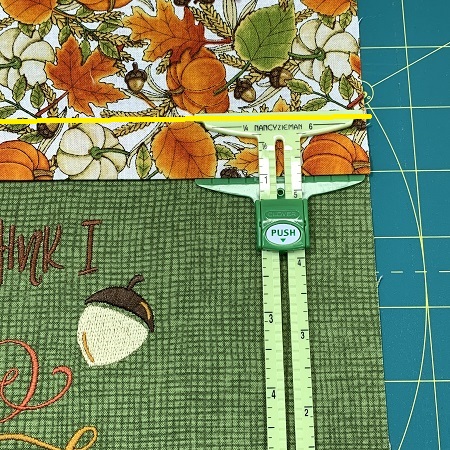
Mark the fabric 1" from the seamline. Fold the fabric down with right sides together using the mark as the fold line. This overlap will be the cuff on the pocket. You may need to square the end of the block after you fold the fabric down.
Step 20:
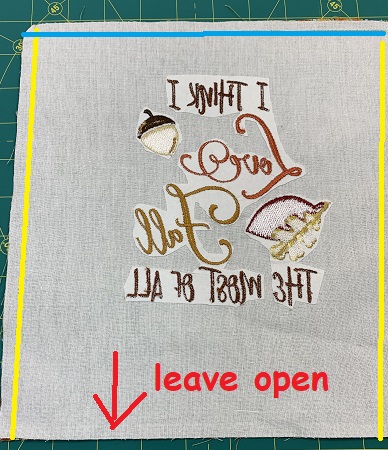
(Click Image to Enlarge)
Sew a 1/4" seam on each side of the pocket. Leave the bottom of the pocket open.
Step 21:
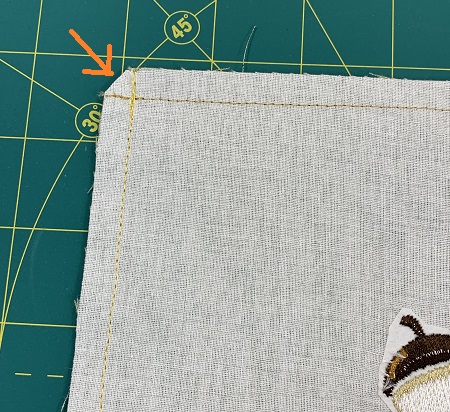
Trim the tip off of each corner. Be careful not to clip the stitches. Clipping the corners removes bulk and makes a sharper corner.
Step 22:
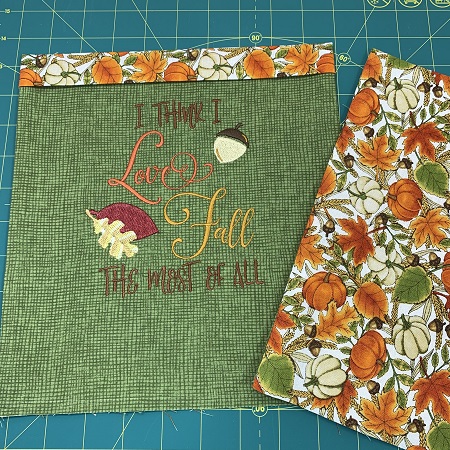
Turn the pockets right side out. Press the pockets with an iron.
Step 23:
Mark 1/2" on the bottom of each pocket. Fold the fabric on the line toward the inside of the pocket. Press along the fold with an iron.
Step 24:
Decide where to place the pockets. Pin the pockets in place. Topstitch around the pockets. Reinforce the stitches at the beginning and ending of the seam.
Marisa Littleton is a retired educator with a love for teaching and learning. Interests include machine embroidery, hand embroidery, quilting, cooking, and antiques.