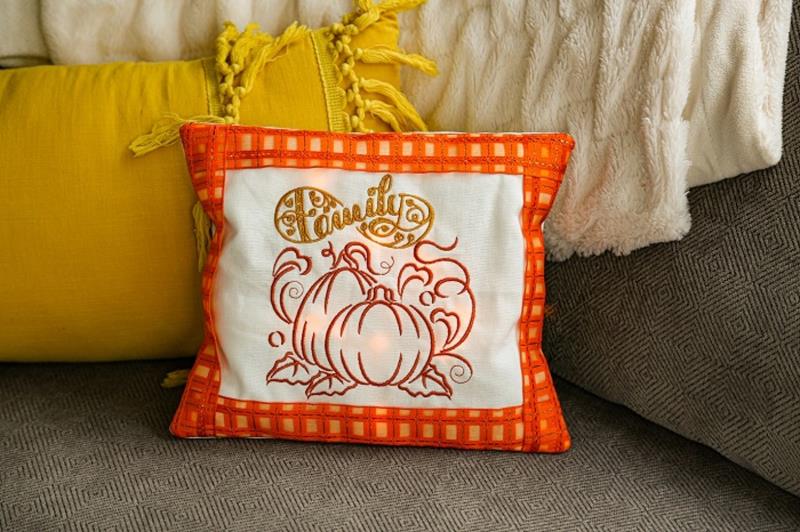
This pillow is fun to create and even more fun to display. Stitch the designs, add lights and ribbon along the edges, stuff and enjoy!
Step 1:
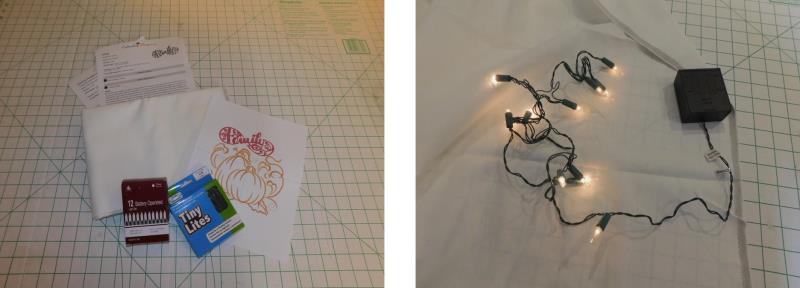
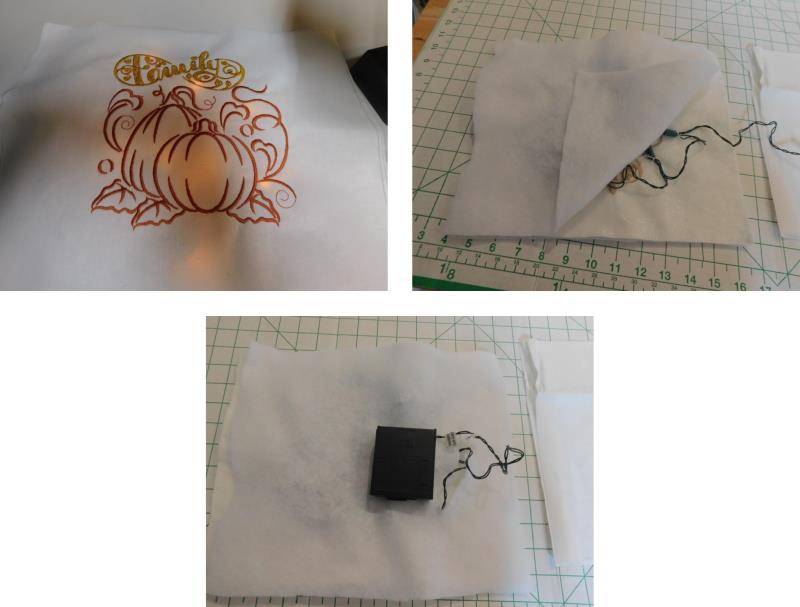
Read through the instructions thoroughly before beginning and assemble all the materials needed to complete the project. Be sure to insert the batteries and test the lights before using them. In embroidery software, Place the Family design over the top of the pumpkin as shown. Save as a new file and export for stitching. Print out a template of the design.
(Click Image to Enlarge)
Step 2:
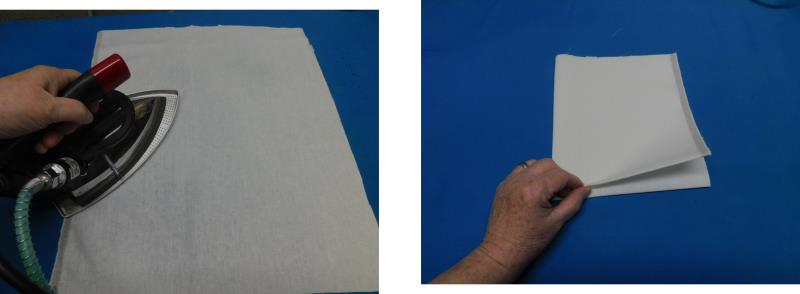
Press the fabric pieces well with starch. Quarter fold the piece to be embroidered and lightly crease.
(Click Image to Enlarge)
Step 3:
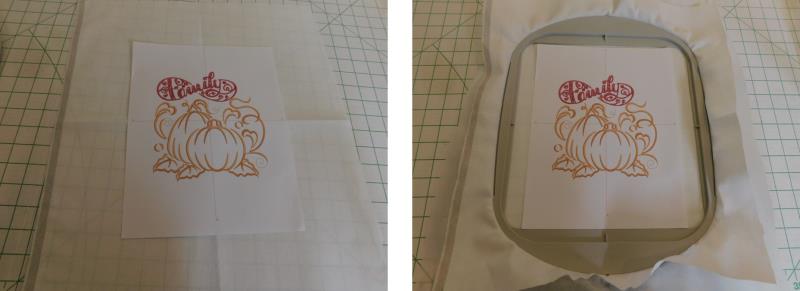
Center the printed template and then hoop the fabric with stabilizer.
(Click Image to Enlarge)
Step 4:
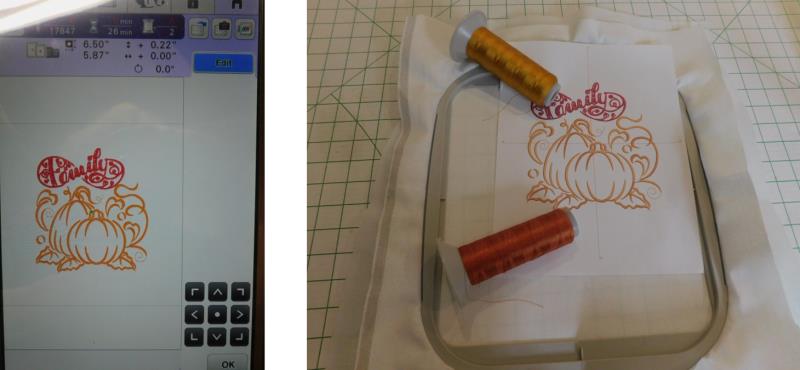
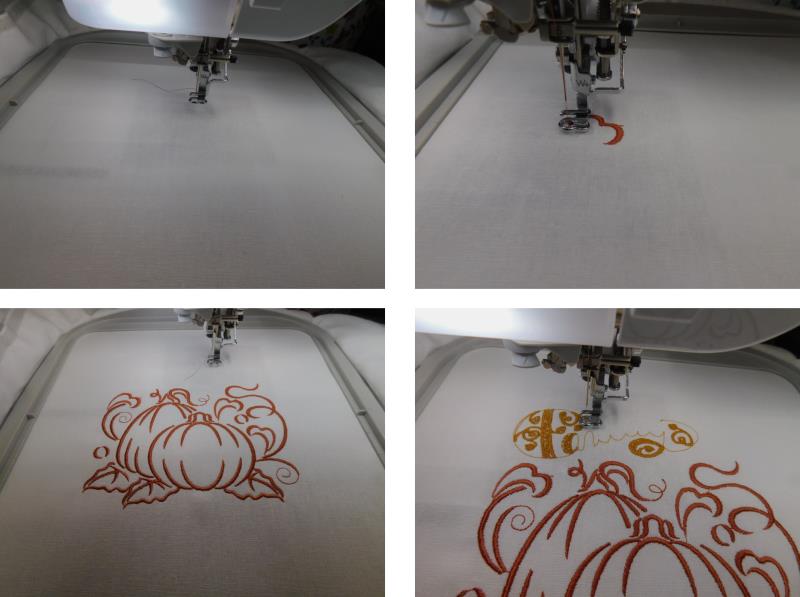
Place the design on the machine and load the first thread color on the machine.
(Click Image to Enlarge)
Step 5:
Remove the template, place the hoop on the machine, and stitch the design following the color sequence.
(Click Image to Enlarge)
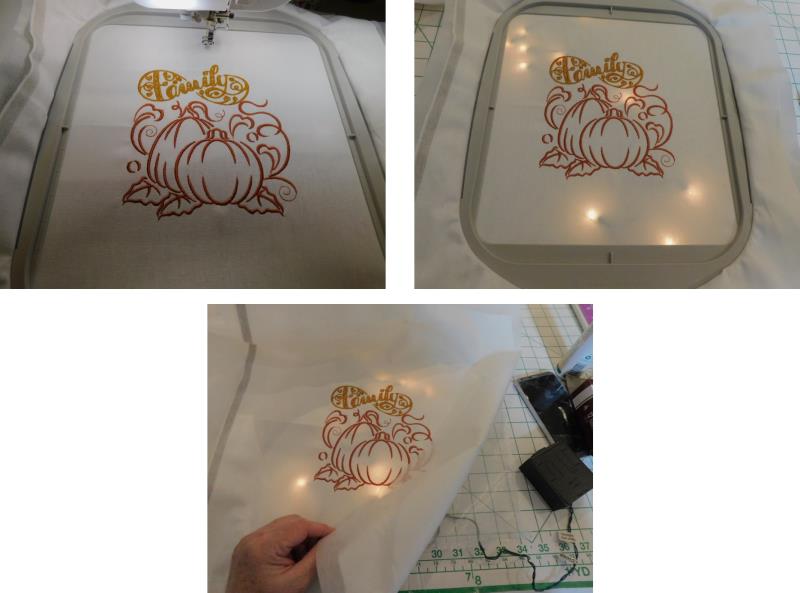
Step 6:
Test the lights again to see how they will look and generally decide where you would like them to be in the design. Do not trim the stabilizer; it will be left in the project and cut to the pillow size.
(Click Image to Enlarge)
Step 7:
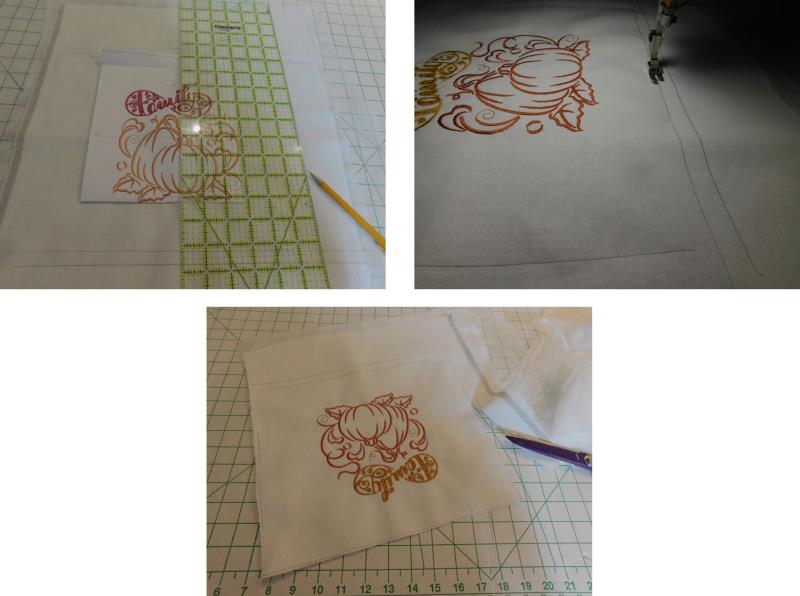
Cut the pillow top to 12” x 12”, using the ruler and template or fold lines as a guide to keep the design centered. Mark the lines for cutting. Place a piece of batting behind the embroidered piece and then stitch on the line. Trim the excess fabric outside the stitching line.
(Click Image to Enlarge)
Step 8:
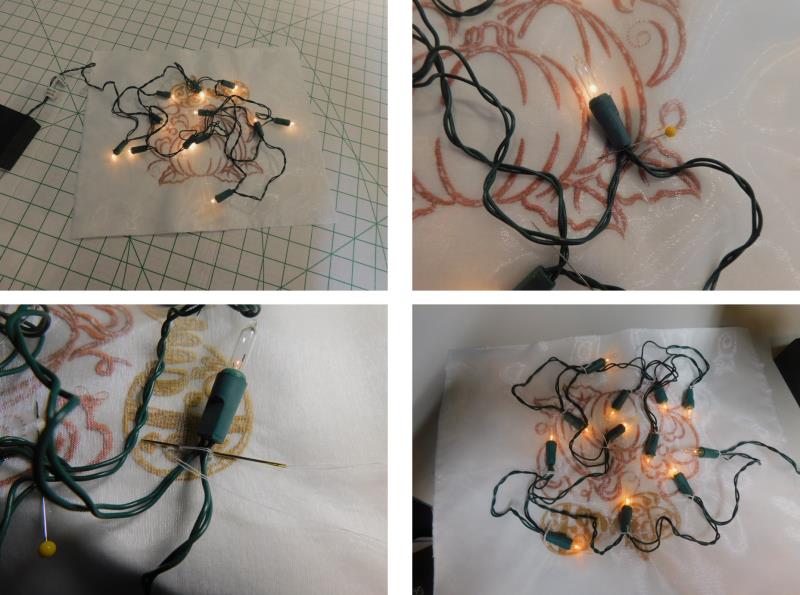
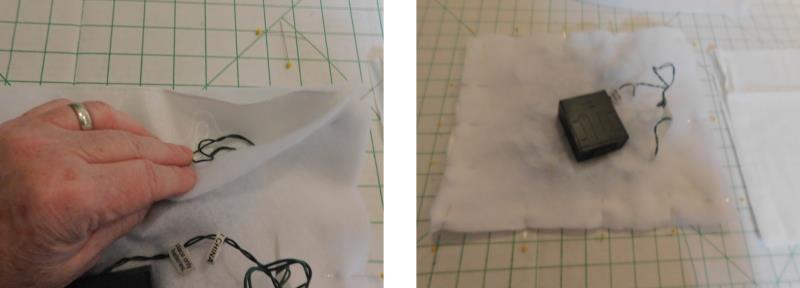
Plan the placement of the lights on the back of the embroidered piece and pin in place—be sure not to get a pin into the wires. As you are pinning, check on the front to be sure the lights are where you’d like them. Next, use a needle and thread and tack the lights in place with some stitches. Stitch through the stabilizer, not the embroidery. Repeat until all the lights are stitched in place.
(Click Image to Enlarge)
Step 9:
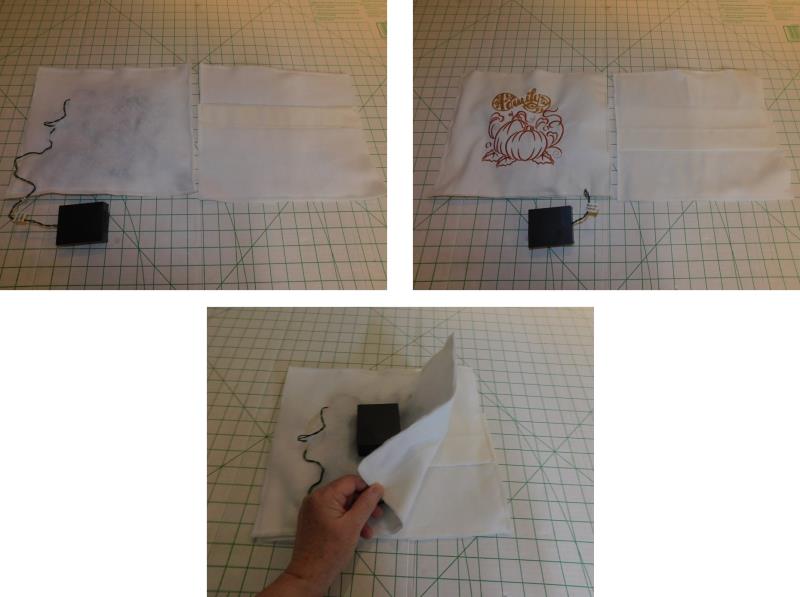
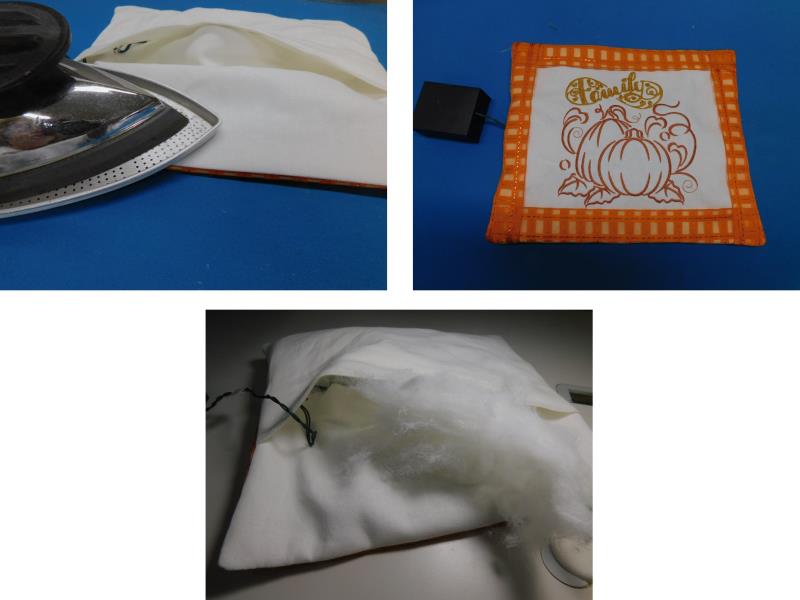
Place a piece of batting over the back of the pillow to protect the lights. Cut a slit in the batting and slide the battery pack through the slit.
(Click Image to Enlarge)
Step 10:
Pin the batting along the outer edge of the pillow top and make sure the wires are tucked well out of the way.
(Click Image to Enlarge)
Step 11:
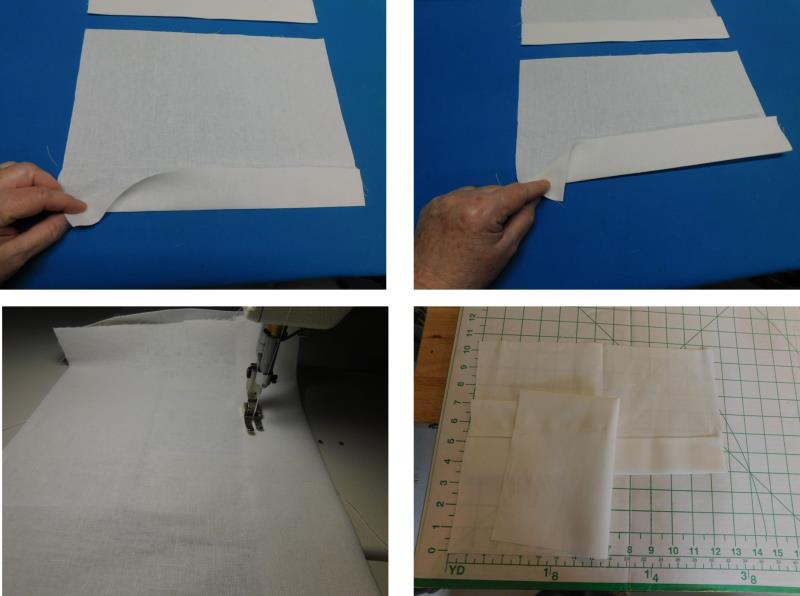
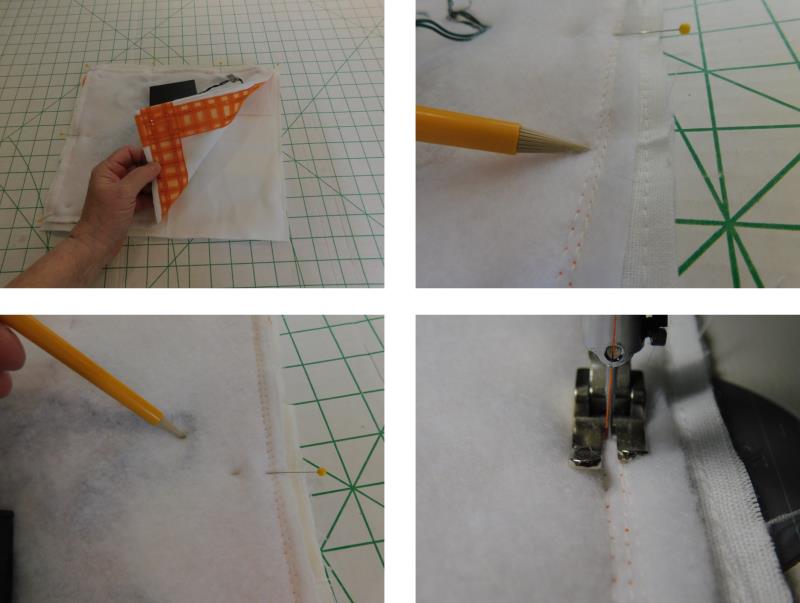
To create the pillow back pieces, along one edge fold up 1” and press, and then fold up 1” again. Repeat for the other back piece. Sew along the folded edge on each piece to hold it in place.
(Click Image to Enlarge)
Step 12:
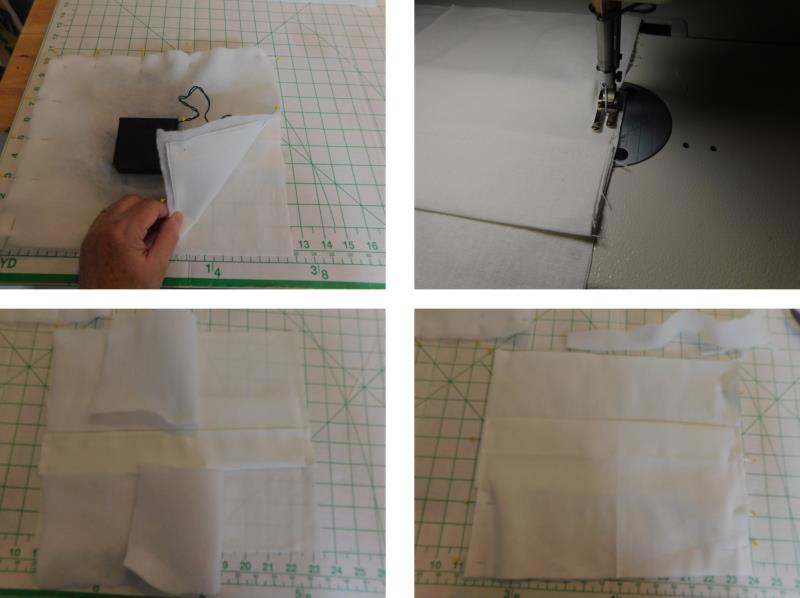
Check the size of the pillow back to make sure it fits the pillow front. Cut two pieces of batting as shown, to fit the pillow back pieces. Pin the batting in place and baste together.
(Click Image to Enlarge)
Step 13:
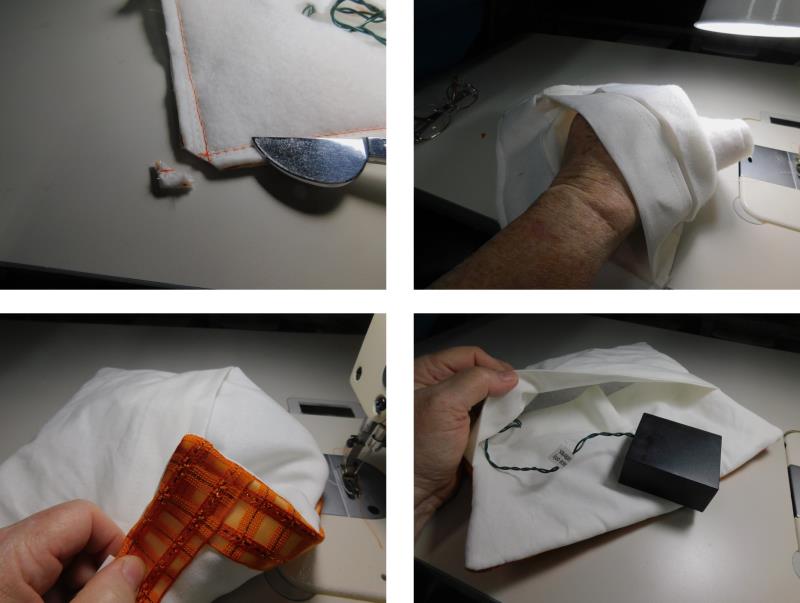
Double check to make sure the pillow front and back are the same size. Now it is time to add the ribbon trim to the front.
(Click Image to Enlarge)
Step 14:
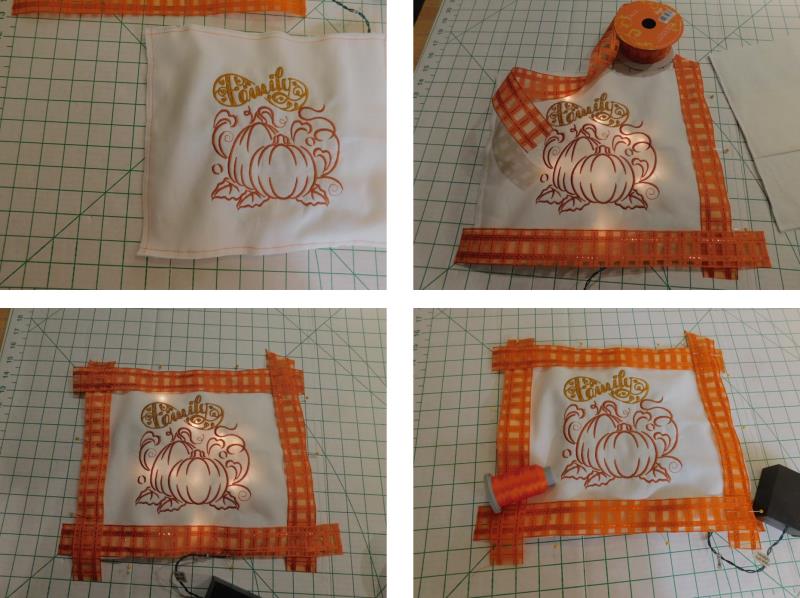
For visibility, orange thread was used to mark ¼” all the way around the pillow front to aid in placement for the pillow edges. Cut the ribbon slightly larger than the length needed. Use an embroidery thread color to match the ribbon.
(Click Image to Enlarge)
Step 15:
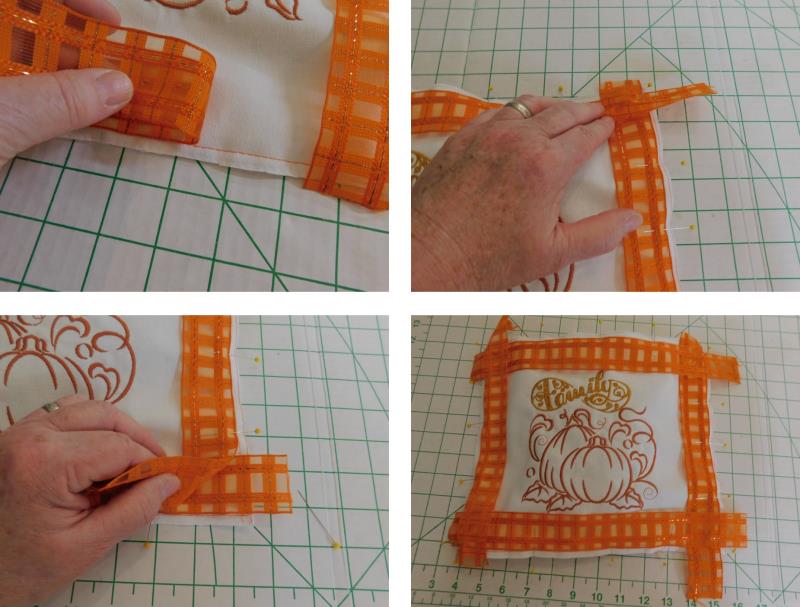
Place the outer ribbon edge along the 1/4” marked edge, Make the edges under and overlap at the corners, and pin in place—again, making sure the wires are out of the way.
(Click Image to Enlarge)
Step 16:
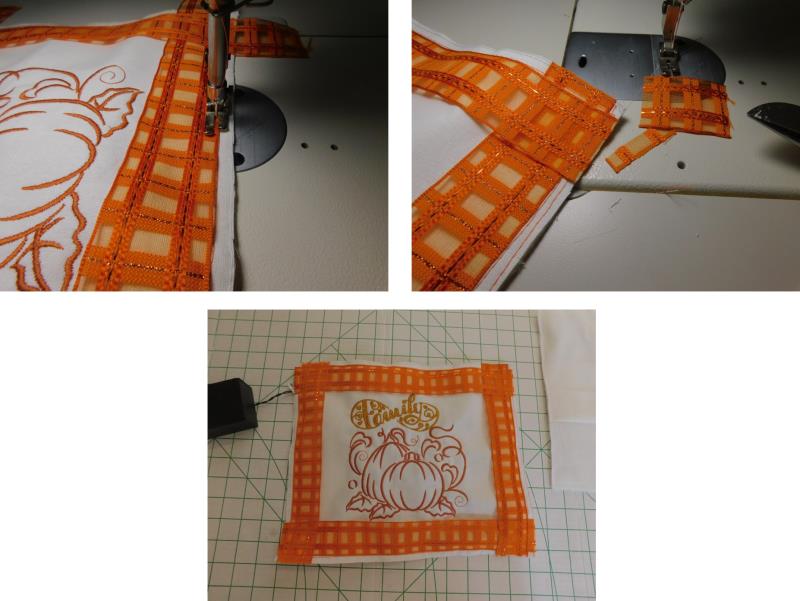
Stitch very carefully right at the ribbon edge. Trim the excess ribbon.
(Click Image to Enlarge)
Step 17:
Now the pillow will be stitched together. Place the right side of the pillow top over the right side of the overlapped pillow back. Pin the sections together, keeping the wires out of the way. Stitch the pillow along all edge just to the outside of the stitching line for the ribbon, using that as a guide.
(Click Image to Enlarge)
Step 18:
Trim the corners, turn the pillow right side out, forming the corners well. Pull the batter pack out through the back opening so it is free.
(Click Image to Enlarge)
Step 19:
Carefully press all edges of the pillow; do not press over wires. Lightly stuff the pillow with fiber-fil.
(Click Image to Enlarge)
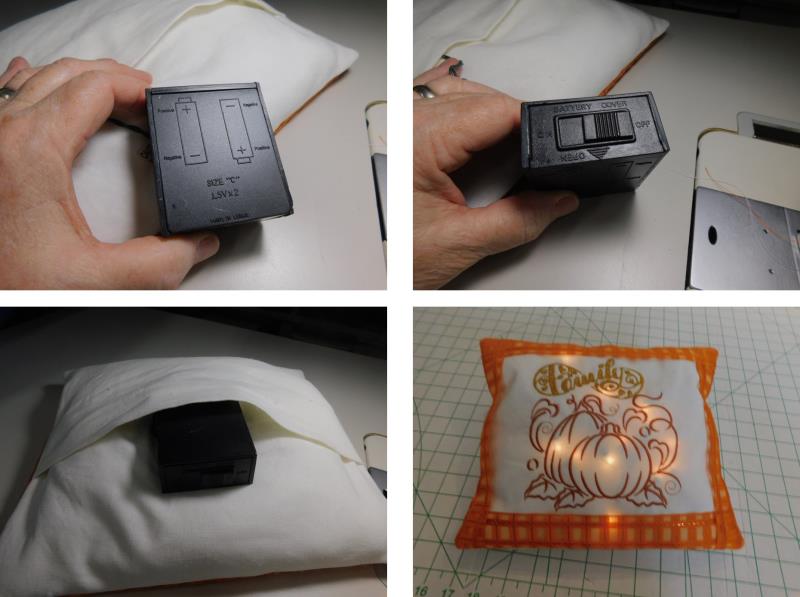
Step 20:
Be sure when the pillow is used for the season that the lights are turned off when not in use. When the pillow is packed away for the season, remove the batteries completely. To use the pillow with lights, turn on the battery pack and then tuck it carefully into the pillow back.
(Click Image to Enlarge)
Step 21:
Congratulations! Your pillow is sure to add a nice touch to your fall décor.
Ramona Baird has been in the embroidery industry for over 23 years. She and her husband owned a commercial and retail embroidery store in Arizona for many years. She is an experienced digitizer having been mentored by award-winners Pat Williams and Lindee Goodall. Ramona is a contributor to “Creative Machine Embroidery” magazine having 5 covers to her credit. Ramona has worked for Wilcom America and served many years as Education Director for the American Sewing Guild. With a degree in fashion design, she is able to design and execute patterns which Pat Williams says are “out of the box” in creativity and application. Ramona likes to challenge the boundaries of embroidery and bring new and exciting designs, ideas, and projects to EmbroideryDesigns.com. She wants embroiderers of all levels to increase their skills and enjoyment in using their embroidery machine for gift-making and personal pleasure.