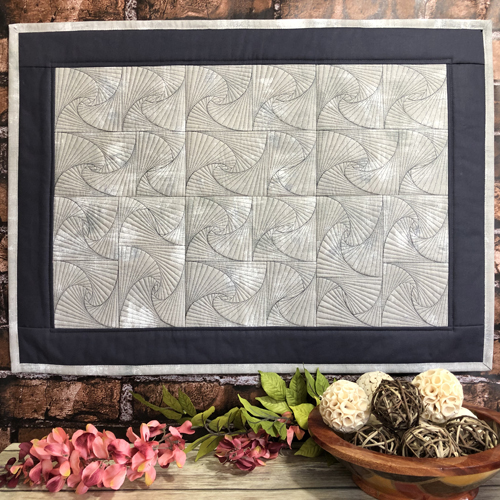
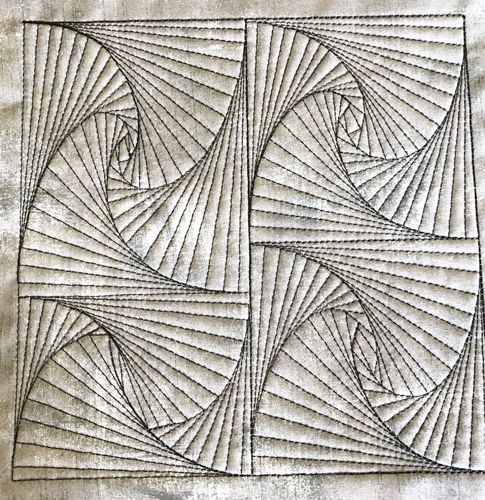
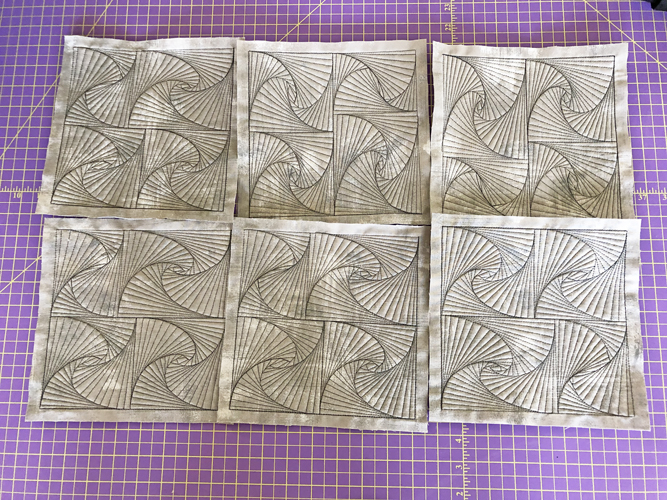
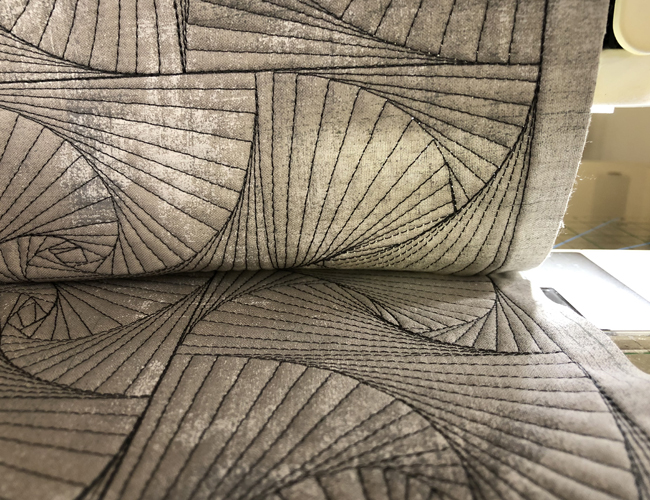
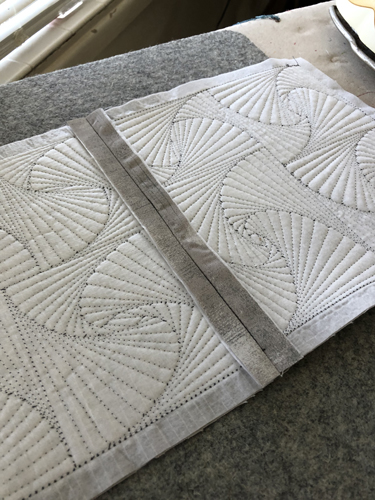
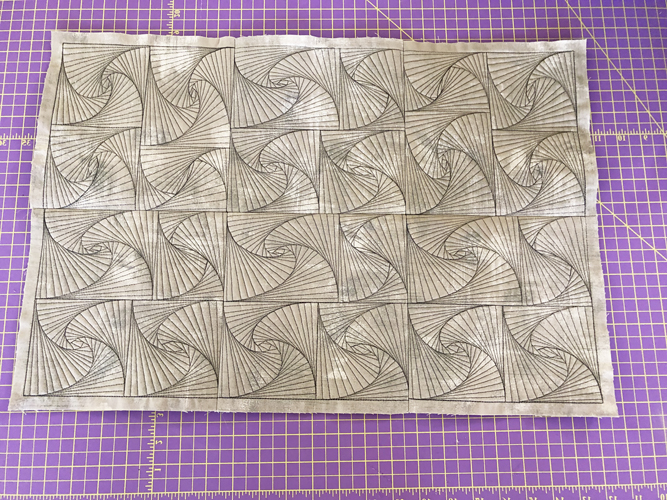
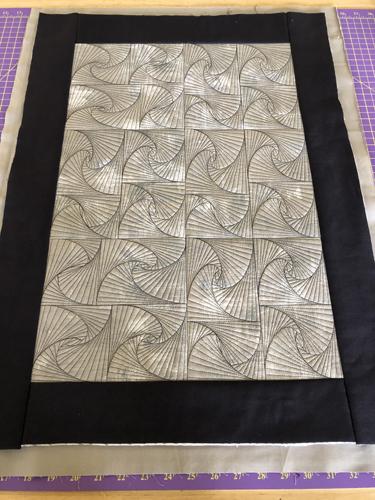
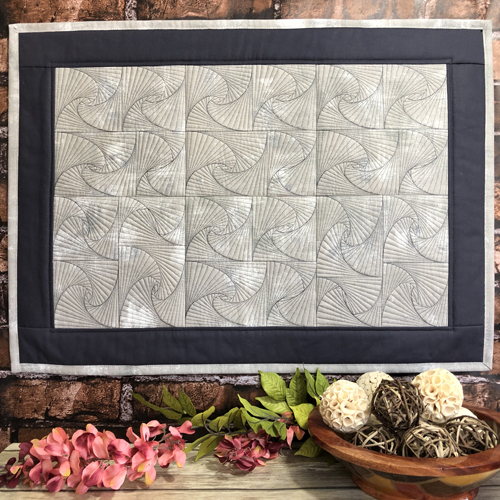
With just this one block you can create a table topper, wall hanging or a bed runner. The blocks are quilted through the top fabric and batting in the hoop; the back fabric is attached as one piece after the blocks are joined.
Step
of
ITH Twister Table Topper or Wall Hanging
By Pat Williams
As the twister blocks are joined without sashing, you will be quilting through the top fabric and batting only. The back fabric will be applied as a separate piece and quilted to the project by stitching through the ditch at your sewing machine.
Step 1:
(Click Image to Enlarge)
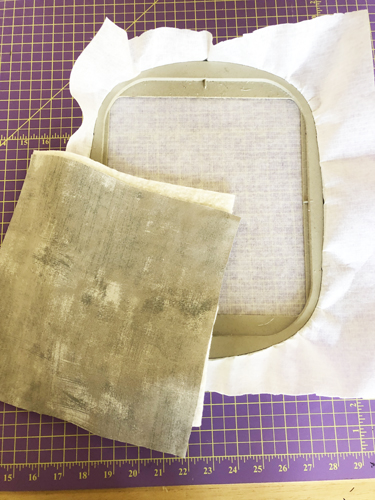
For each block cut a 10” square of the Basic Grey Grunge and low loft batting. Tautly hoop the cut away stabilizer in your embroidery hoop.
Step 2:
(Click Image to Enlarge)
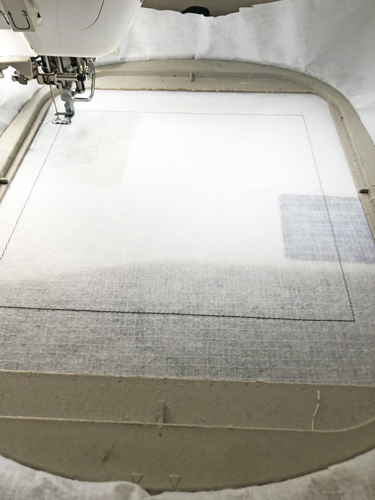
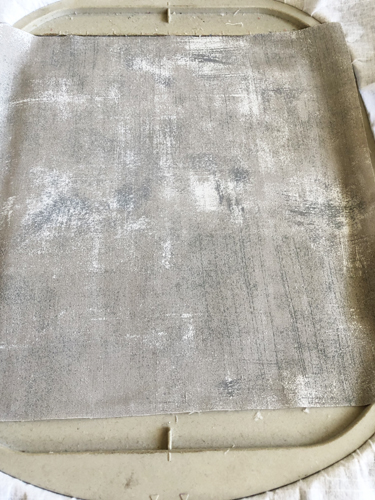
Run the first color stop (CS) as a placement line. Spray adhesive on a 10” square of batting and position over the placement lines so that the batting exceeds the placement lines by ½” on all sides. Run CS 2 to tack down the batting.
Step 3:
(Click Image to Enlarge)
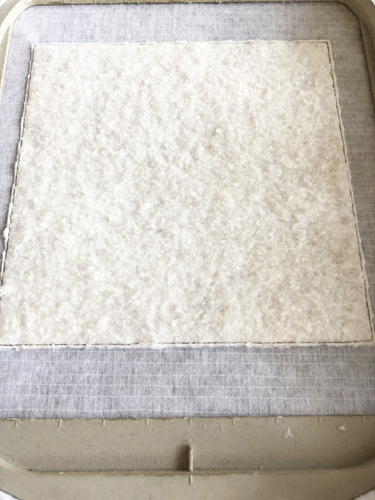
Remove the hoop from the machine, do not unhoop. Trim the batting on all sides right up next to the tack down lines.
Step 4:
(Click Image to Enlarge)
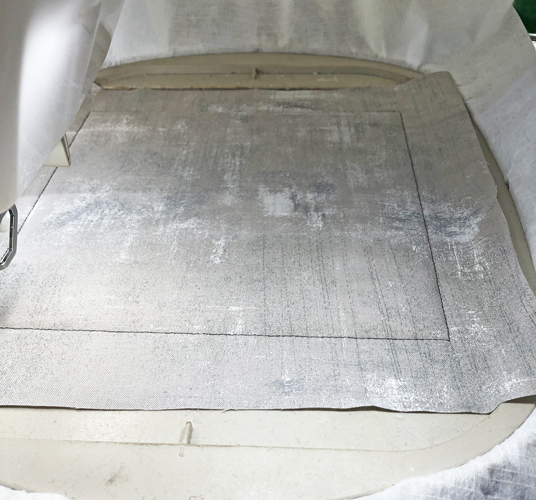
Spray adhesive on a 10” square of the Grunge fabric and place right side up over the batting so that the fabric exceeds the batting by at least ½” on all sides.
Step 5:
Run CS 3 to tack the fabric to the stabilizer.
(Click Image to Enlarge)
Step 6:
Run CS 4 to stitch the quilting.
Step 7:
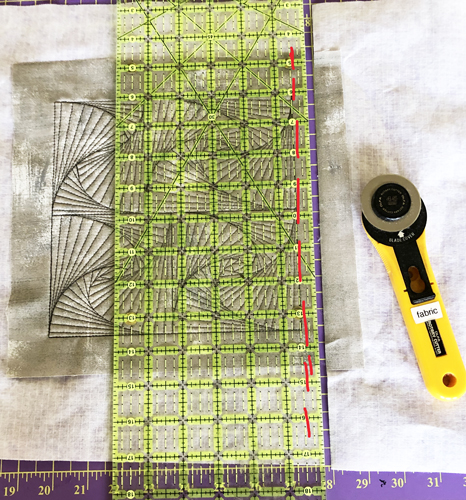
Remove the block from the hoop. Lay the ½” mark of a see-through ruler along the tack down lines and trim the block to ½” seam allowances on all sides.
Step 8:
Repeat the above seven steps five times to create a total of 6 blocks. Note: It does not matter in which direction blocks are facing when laying them out and joining them together. The different sides of the blocks joined to each other will all create interesting patterns.
(Click Image to Enlarge)
Step 9:
(Click Image to Enlarge)
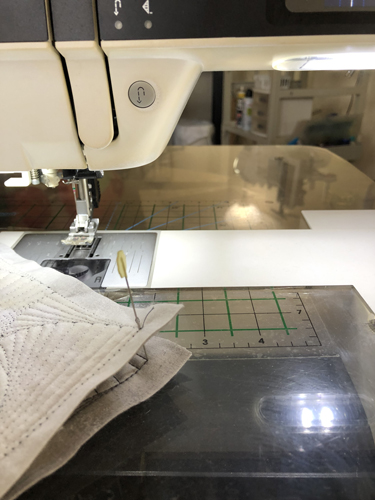
Put two blocks right sides together and place a straight pin vertically through the top corner stitches.
Step 10:
(Click Image to Enlarge)
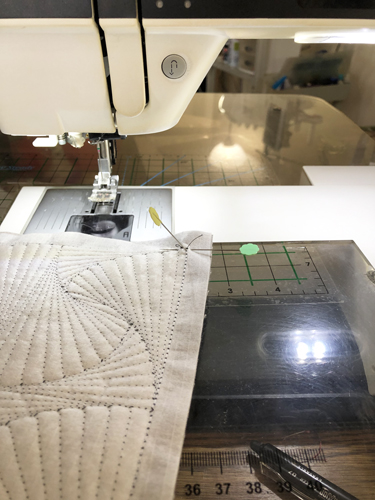
Place a pin horizontally where the two blocks are aligned by the vertical pin. Remove the vertical pin.
Step 11:
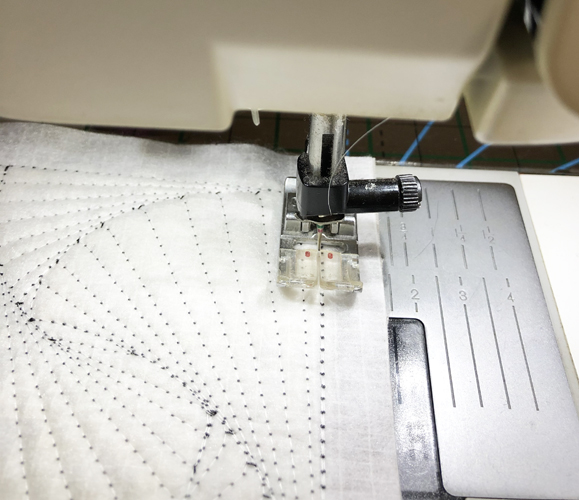
With invisible thread in the top and bobbin of your sewing machine. Stitch just to the left side of the tack down stitches.
(Click Image to Enlarge)
Step 12:
As you stitch down the sides of the blocks, lift the top block up after every inch or so of stitching to ensure that the tack down lines of both blocks are aligned.
(Click Image to Enlarge)
Step 13:
(Click Image to Enlarge)
Press the seams open on the back and then on the top of the blocks.
Step 14:
Join two rows of three blocks each. Then join the two rows together using the instructions in steps 12 and 13.
(Click Image to Enlarge)
Step 15:
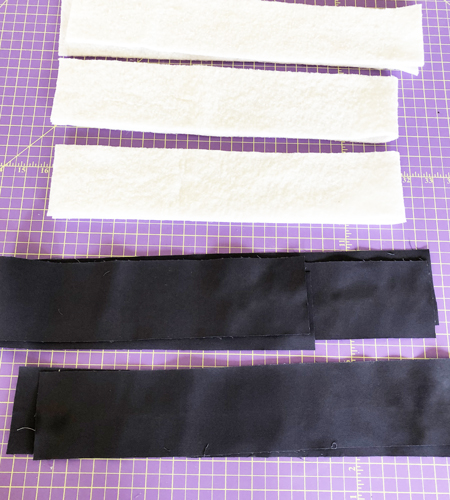
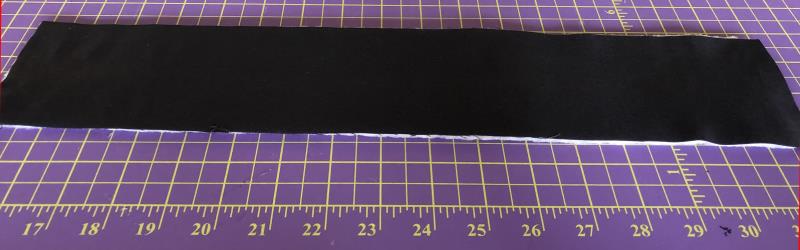
Cut 2 strips of the charcoal fabric and batting 17”x 3 ¼”. Cut 2 strips of the charcoal fabric and batting 31” x 3 ¼”.
Step 16:
Spray the batting strips and align a corresponding fabric strip on top.
(Click Image to Enlarge)
Step 17:
(Click Image to Enlarge)
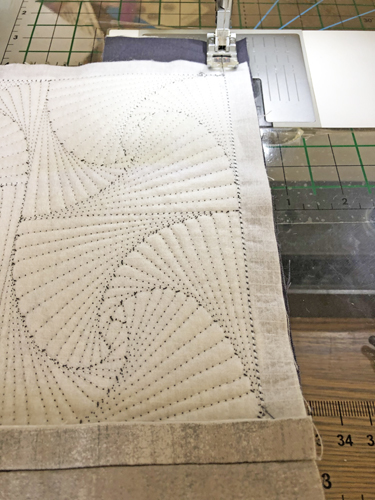
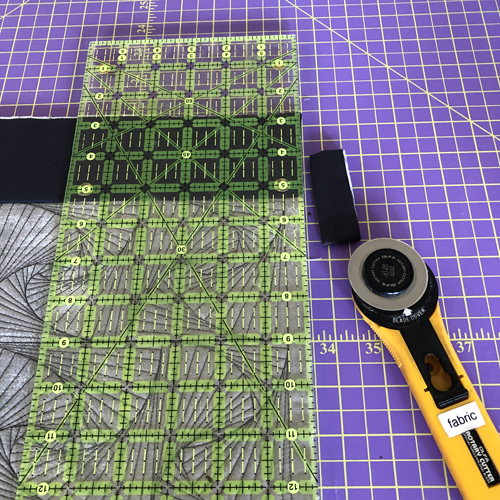
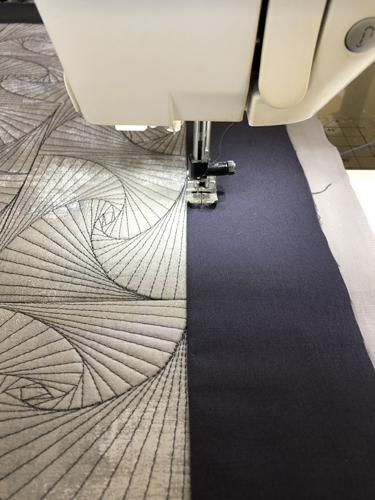
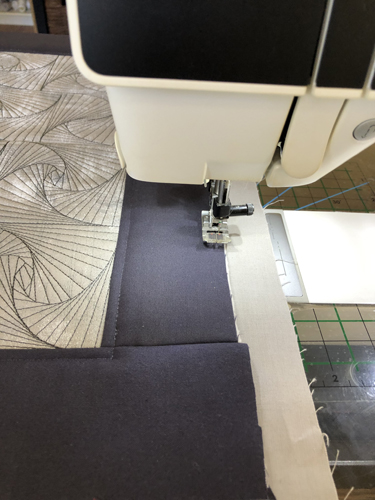
To attach the two shorter border strips to the short sides of the table topper, lay the side border strip and center panel right sides together. Have the border extend about ½” over the top of the center panel. Put into your machine with the back of the center panel up so that you can stitch the border to the panel just a thread width inside the tack down stitches. Repeat to attach the second side border strip.
Step 18:
(Click Image to Enlarge)
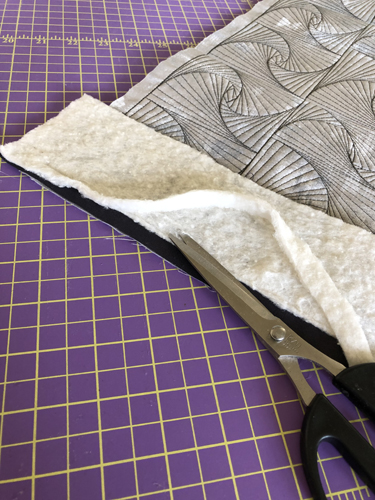
Trim the batting from the seam allowance on both sides.
Step 19:
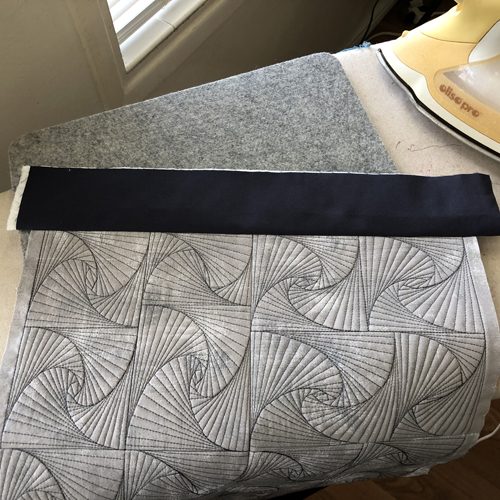
Press the seam allowance towards the borders.
Step 20:
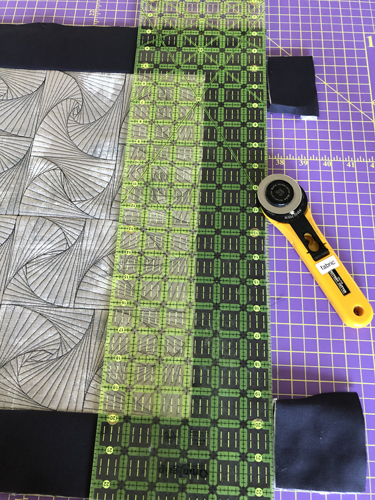
Trim off the excess border strips.
Step 21:
(Click Image to Enlarge)
Attach the top and bottom border strips in the same manner.
Step 22:
(Click Image to Enlarge)
Cut a rectangle of backing fabric 2” to 3” wider and longer than the table topper. Place the back-fabric face down on a flat surface. Spray the back of the table topper with adhesive and center it over the back fabric. Make sure both the back-fabric and topper front are smooth.
Step 23:
(Click Image to Enlarge)
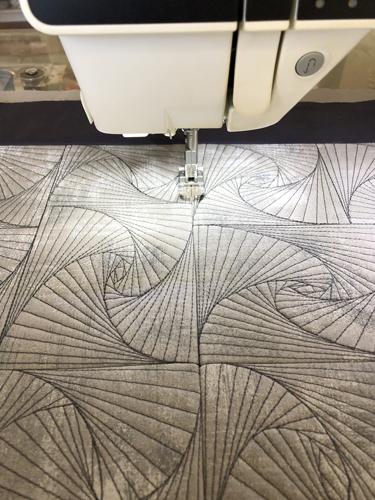
With invisible thread in the top and bobbin of your machine stitch in the ditch, with a straight stitch length of about 3mm, through all the seams that join the inner blocks together.
Step 24:
(Click Image to Enlarge)
Topstitch ¼” around the inside of the border.
Step 25:
(Click Image to Enlarge)
Baste around the outside edges of the border with a scant ¼” seam. Trim away the excess back fabric while squaring up your table topper.
Step 26:
Cut 3 strips of 2 ¼” binding across the width of the fabric and bind the quilt using your preferred method. If you wish to use this project as a wall hanging see our article on Attaching a Hanging Sleeve. Congratulations your Twister Table Topper or Wall Hanging is complete!
Award winning Digitizer, Embroidery Educator, Author and a Consultant to the Industry, Pat Williams has 30 years of experience in the embroidery industry. Pat has won multiple awards for her digitizing expertise including the 2007 Impressions Awards Grand Championship, Best of Show as well as the 1st and 2nd Place Awards. Pat’s love of digitizing has afforded her the opportunity to write numerous articles for Impressions magazine in the United States and Images Magazine in Europe. In 2001 Pat was named “Embroidery Educator of the Year.” For many years Pat taught digitizing seminars at the ISS Shows in Long Beach, CA and for Compucon software. She now resides in Tucson, AZ.