


PROJECT INSTRUCTIONS


PROJECT INSTRUCTIONS

Fall Placemats Embroidery Project
By
Marisa Littleton
on
September 01, 2020
PROJECT DETAILS
SKILL LEVEL
Some Experience
TIME REQUIRED
02:00
FINISHED SIZE
16 x 14 inches
Description
Fall themed placemats in autumn tones. The seasonal designs blend well with Thanksgiving decorations.
Project Preview Video

QUICK VIEW
Applique Leaf
$4.14
$2.07
Circle Price: $2.07

QUICK VIEW
PUMPKIN APPLIQUE
$4.64
$1.99
Circle Price: $1.99

QUICK VIEW
Applique Orange Leaf
$8.00
$4.00
Circle Price: $4.00


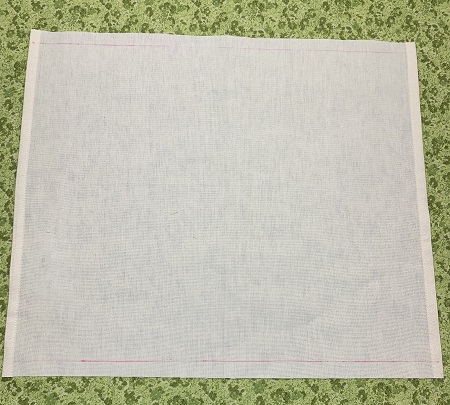
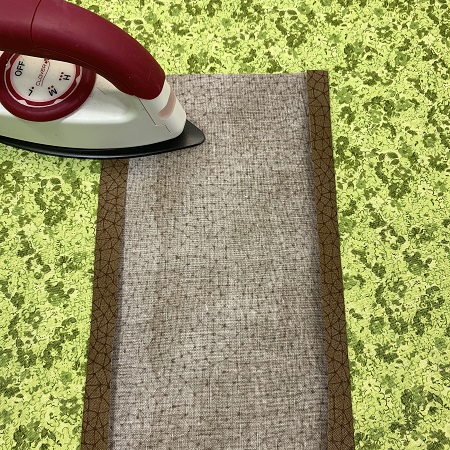
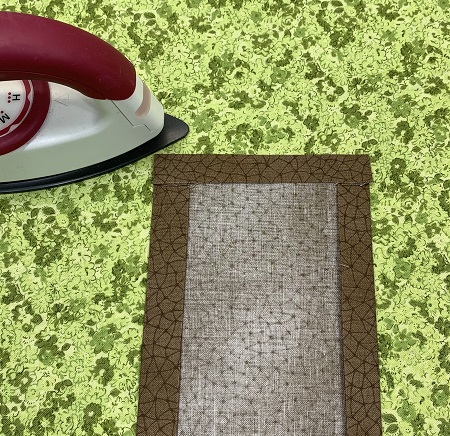
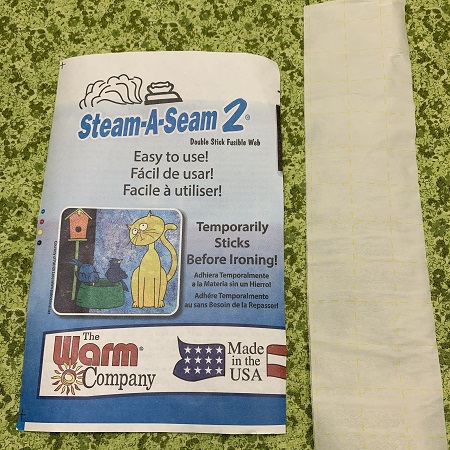
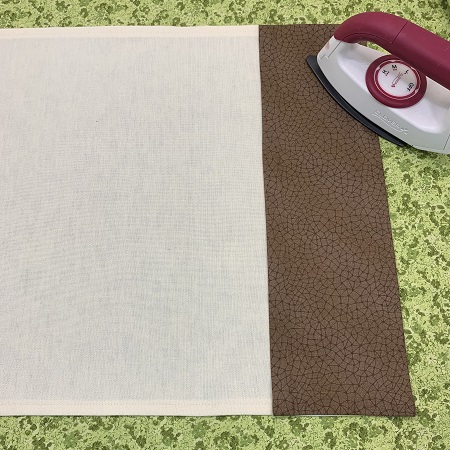
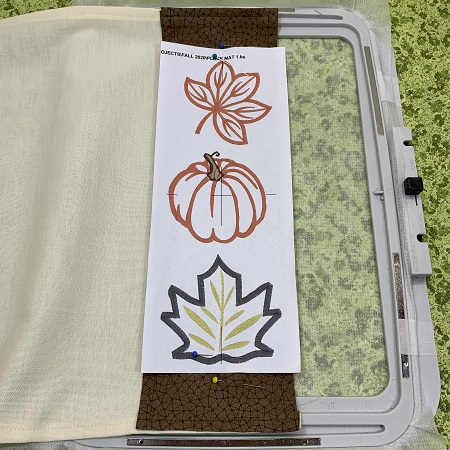
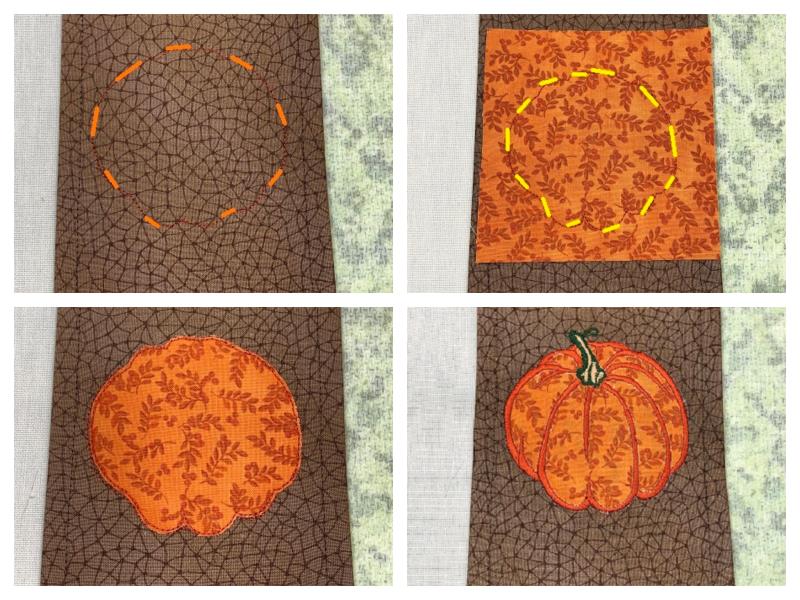
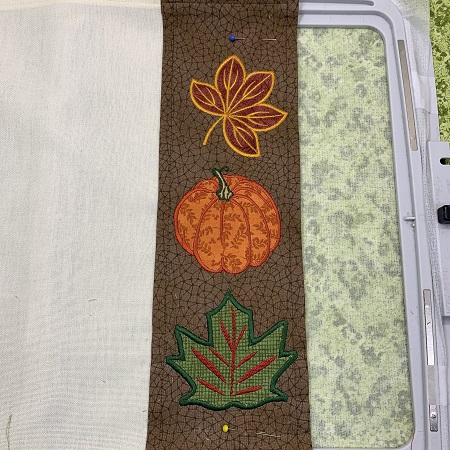
| Materials Design template 4"x4" or 8"x12" hoop Embroidery needle size 80/12 Embroidery thread 40 wt. (Robison-Anton Super Brite poly) No show mesh stabilizer Heat n Bond lite or Steam a Seam 2 16.5" hemmed toweling or 18" x 16" piece cotton fabric One 6.5"x 18" strip brown/earth tone cotton fabric One 5"x5" piece orange cotton fabric (pumpkin) One 5"x5" piece green cotton fabric (leaf) One 5"x5" piece red cotton fabric (leaf) Applique scissors Sewing machine, thread & matching bobbin Optional: Commercial made placemat 14"x18" |
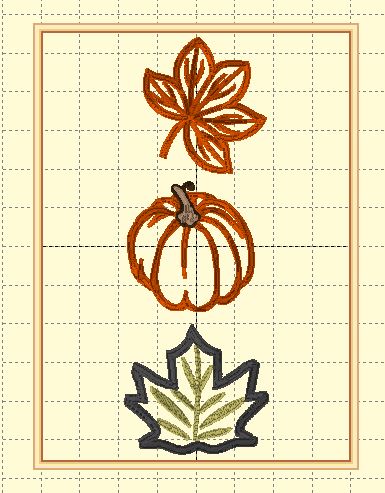
| Designs used in this project |
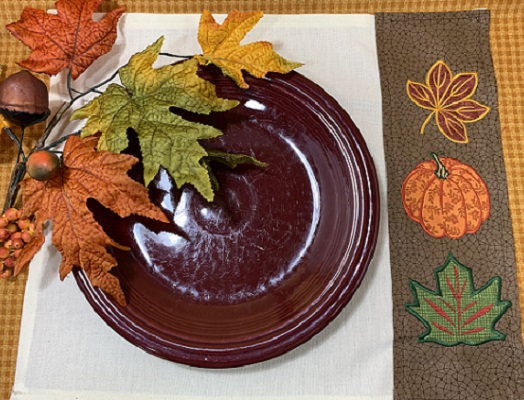
| Final Product: What You Will Create |
 |
|

Sewing mends the soul... Marisa Littleton |
Projects You May Like
Meet the Author:
Marisa Littleton

Marisa Littleton is a retired educator with a love for teaching and learning. Interests include machine embroidery, hand embroidery, quilting, cooking, and antiques.
Feedback
Characters Remaining
Please Login to Submit a Feedback
Invalid Characters, Please enter a valid Comment
Please enter a valid Comment
Reviewed On
Link is Broken, Please check the URL