


PROJECT INSTRUCTIONS


PROJECT INSTRUCTIONS

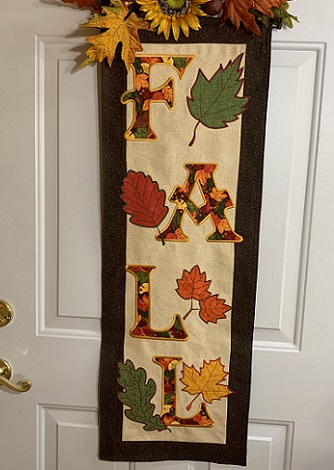
Fall Banner Embroidery Project
By
Marisa Littleton
on
August 15, 2022
PROJECT DETAILS
SKILL LEVEL
Intermediate
TIME REQUIRED
03:00
FINISHED SIZE
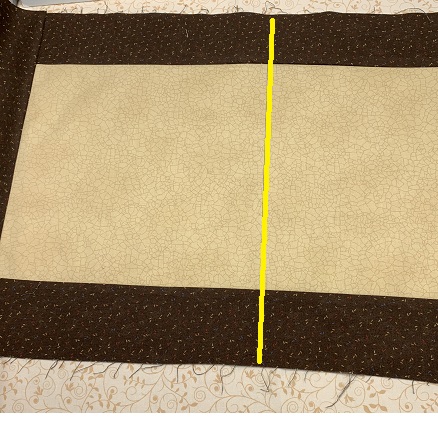
12 x 38 inches
Description
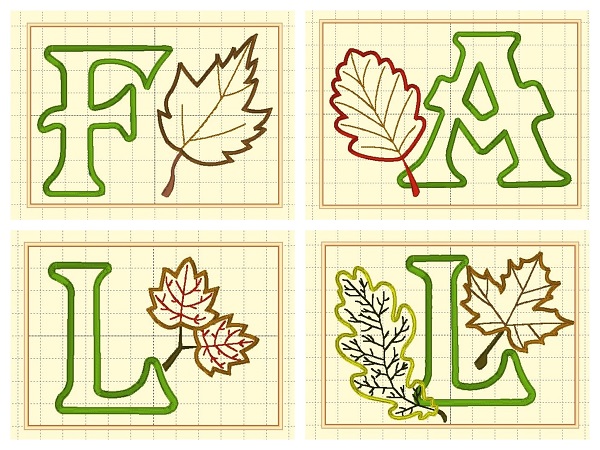
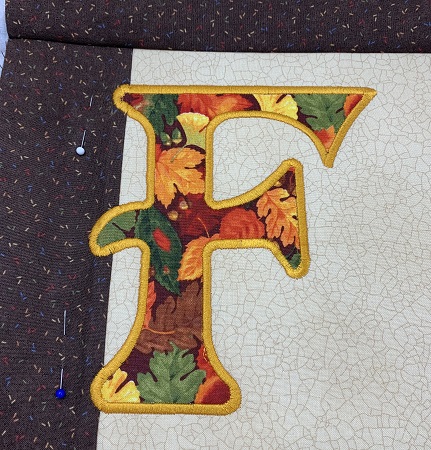
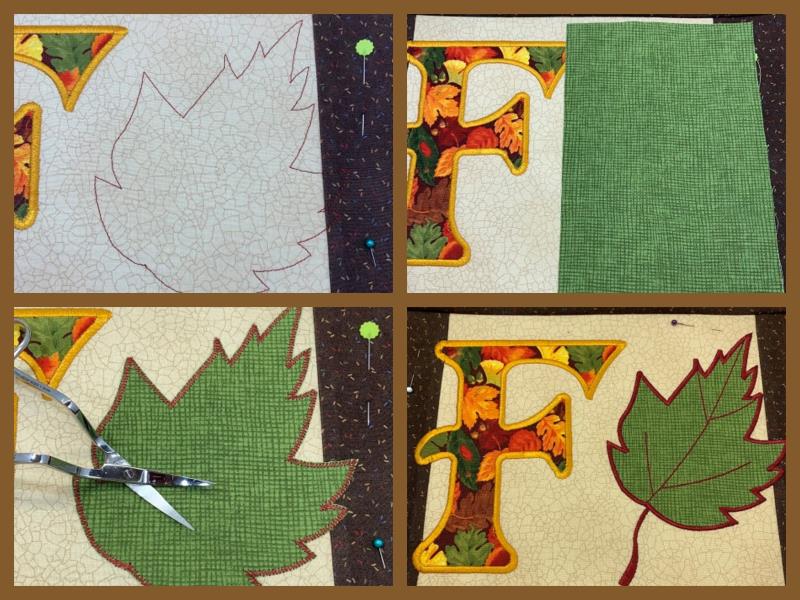
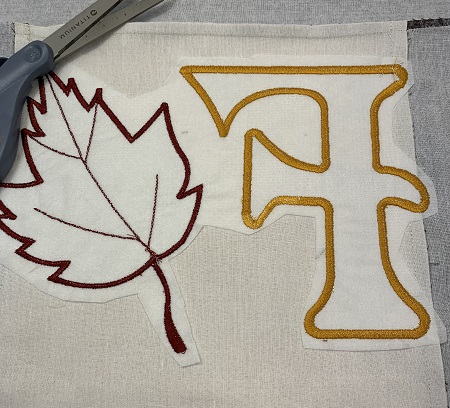
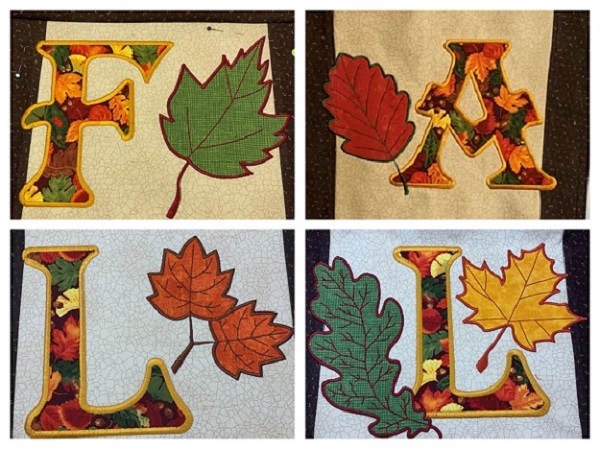
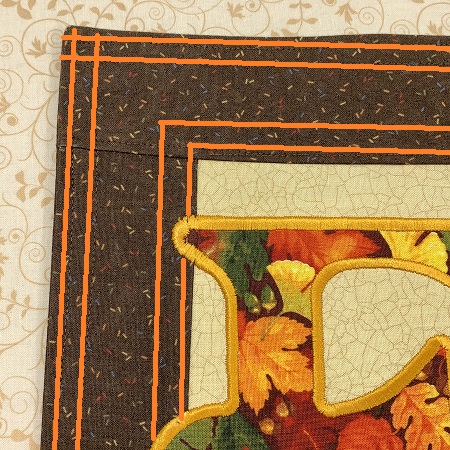
Leaves are floating everywhere. FALL is in the air! Falling Leaves Banner. Combine jumbo size letter and leaf applique designs to create a banner. Basic sewing skills are required to make this project.
Project Preview Video

QUICK VIEW
Applique Autumn Leaf
$4.14
$2.48
Circle Price: $2.48

QUICK VIEW
Applique Autumn Maple Leaf
$4.89
$2.93
Circle Price: $2.93

QUICK VIEW
Applique Autumn Leaf
$4.89
$2.93
Circle Price: $2.93

QUICK VIEW
Applique Autumn Leaf
$4.14
$2.48
Circle Price: $2.48

QUICK VIEW
Autumn Applique Leaf
$4.39
$2.63
Circle Price: $2.63

Applique Leaves
$19.90
Circle Price: $14.93

Applique Font
$14.95
Circle Price: $13.45


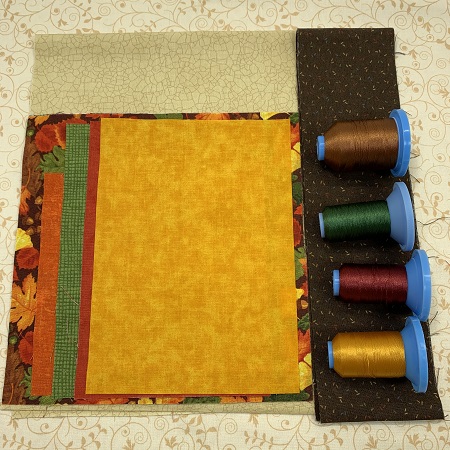
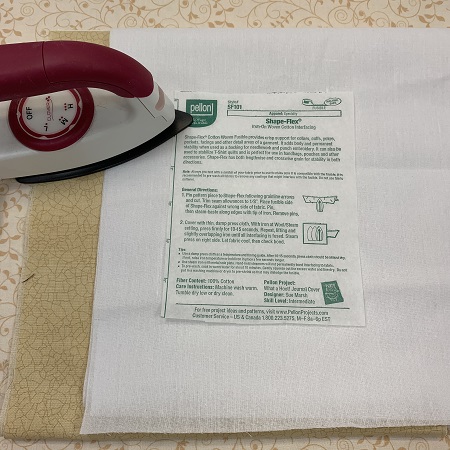
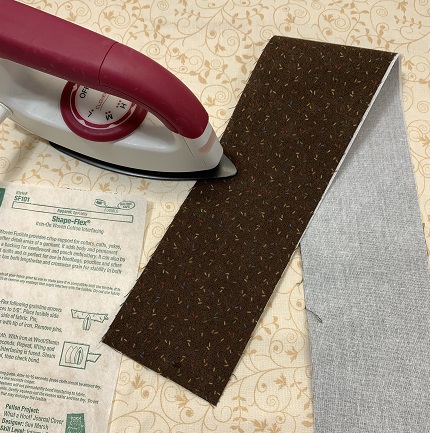
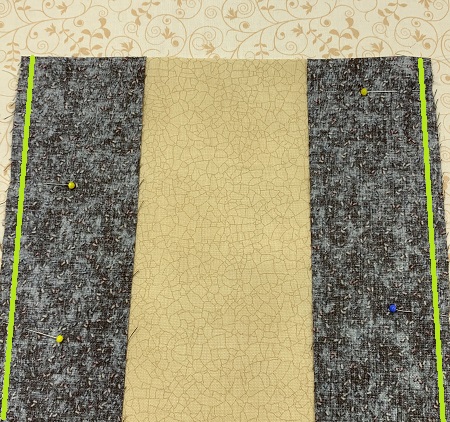
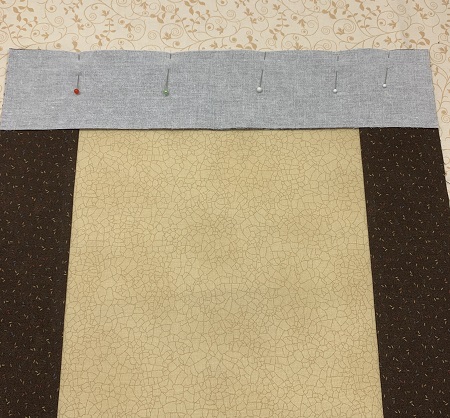
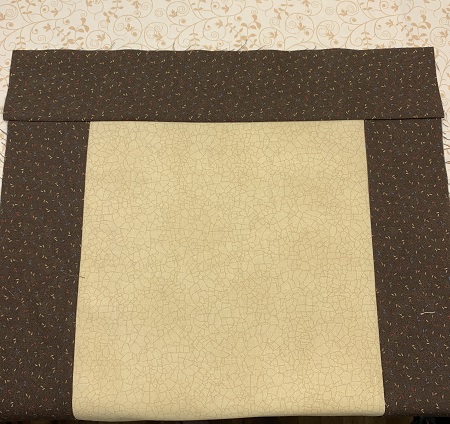
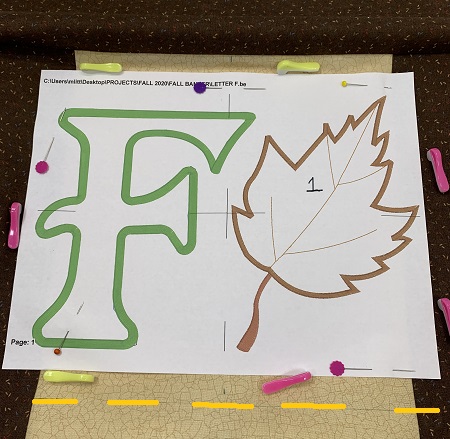
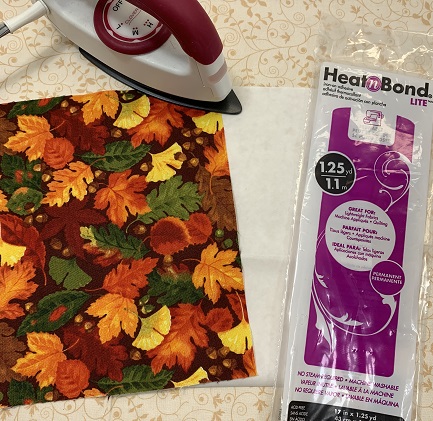
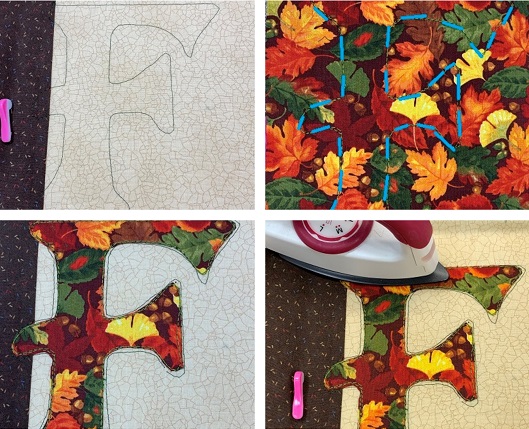
| Materials 8"x8" or 8"x12" hoop Design Templates Embroidery Needle size 80/12 Embroidery thread (40 wt., Robison-Anton Super Brite poly) Cutaway Stabilizer (2.0) 505 Temporary Adhesive Spray Pellon SF101 Shape Flex One 10"x34" piece beige/cream 100% quilter's cotton fabric Two 3"x34" pieces brown blender, 100% quilter's cotton fabric Two 3"x16" pieces brown blender, 100% quilter's cotton fabric One 16"x40" piece 100% quilter's cotton fabric (backing) One 3"x12" piece 100% quilter's cotton fabric (sleeve) Four 8"x8" pieces fall themed cotton fabric (letters FALL) Five 8"x8" pieces fall themed cotton fabric (leaves) Heat n Bond lite Applique scissors Sewing machine, thread & matching bobbin Optional: 14"x38" commerical table runner, neutral color Optional: Embroidery Software program |
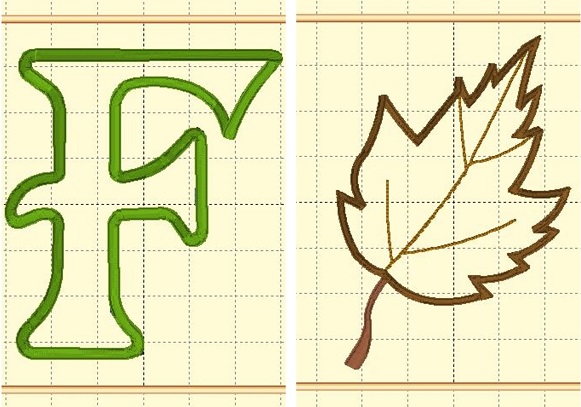
| Designs used in this project |
|
Blessed are the piecemakers for they work willingly with their hands... Marisa Littleton |
Projects You May Like
Meet the Author:
Marisa Littleton

Marisa Littleton is a retired educator with a love for teaching and learning. Interests include machine embroidery, hand embroidery, quilting, cooking, and antiques.
Feedback
Characters Remaining
Please Login to Submit a Feedback
Invalid Characters, Please enter a valid Comment
Please enter a valid Comment
Reviewed On
Link is Broken, Please check the URL