


PROJECT INSTRUCTIONS


PROJECT INSTRUCTIONS

Sweater Pot Cover Embroidery Project
By
Kylie Burke
on
August 27, 2020
PROJECT DETAILS
SKILL LEVEL
Some Experience
TIME REQUIRED
01:00
Description
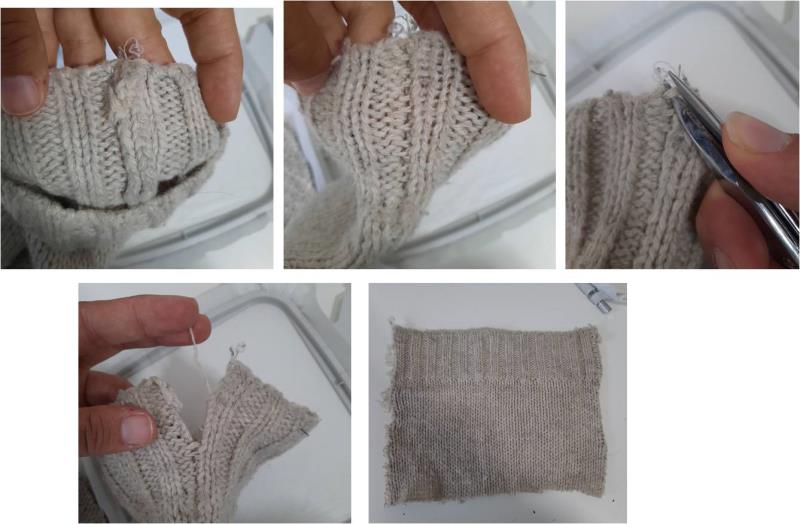
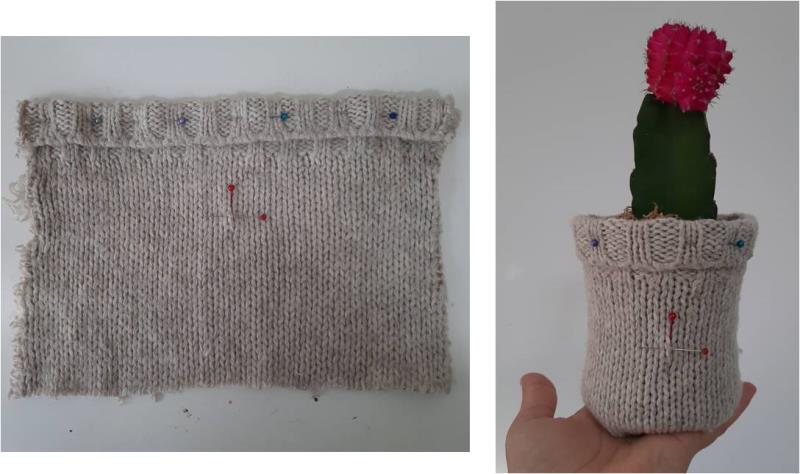
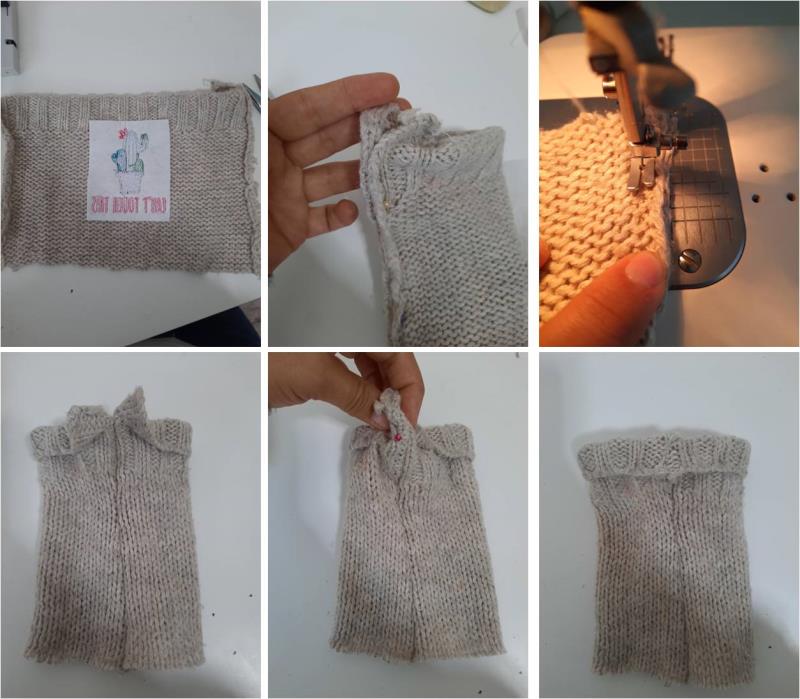
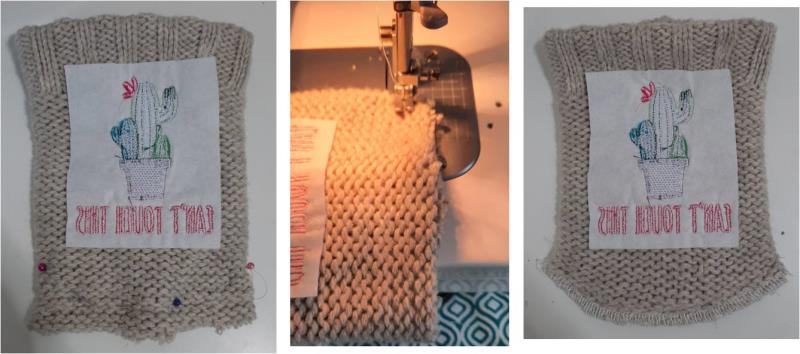
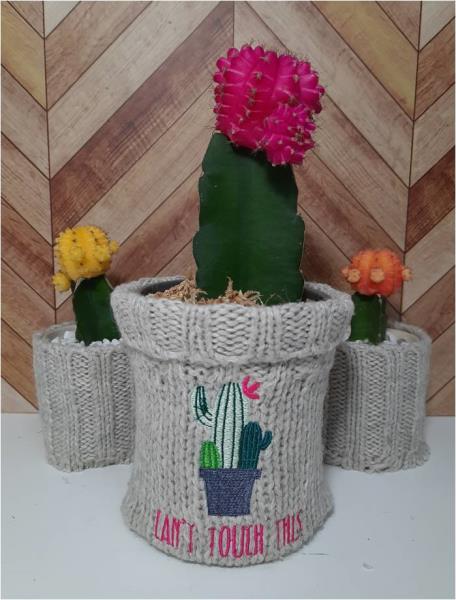
Up cycle an old sweater into this funky pot cover
Project Preview Video

QUICK VIEW
Cut Away Stabilizer - 2.5 Oz wt.
$8.94
Circle Price: $8.05

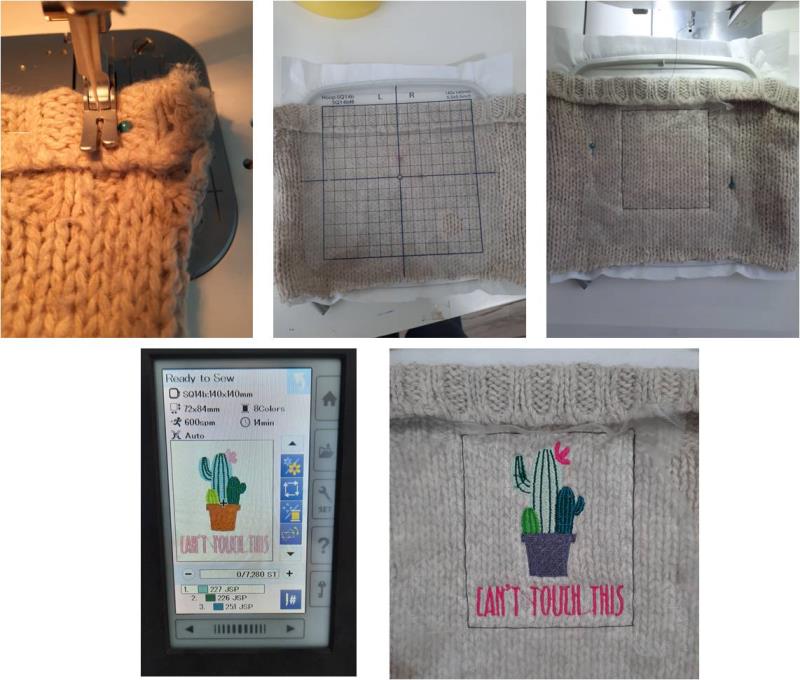
Cant Touch This
$4.99
Circle Price: $3.74


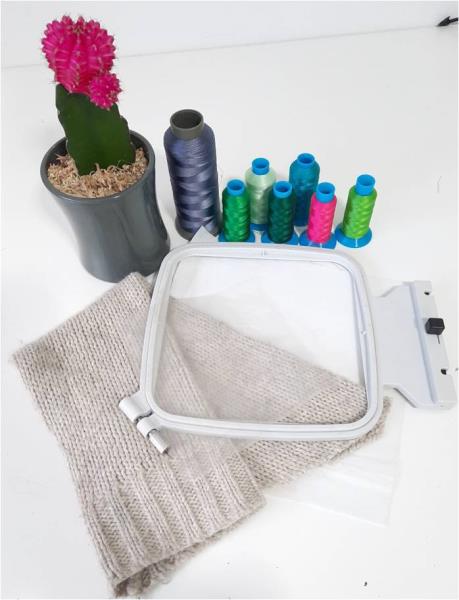
| Materials Old sweater/knitted jumper Ceramic pot Cutaway stabilizer Water Soluble topping film Thread colors Pot plant 3 ¾” diameter x 4 ½” high (or a size which will work with your sweater sleeve) Sewing machine with matching thread color |
| Designs used in this project |
|
Projects You May Like
Meet the Author:
Kylie Burke

Kylie is based in Australia and loves creating and sharing her unique pieces.
Feedback
Characters Remaining
Please Login to Submit a Feedback
Invalid Characters, Please enter a valid Comment
Please enter a valid Comment
Reviewed On
Link is Broken, Please check the URL