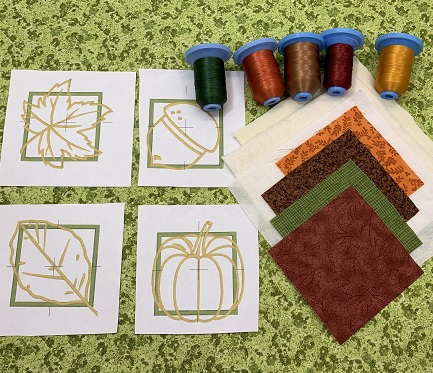
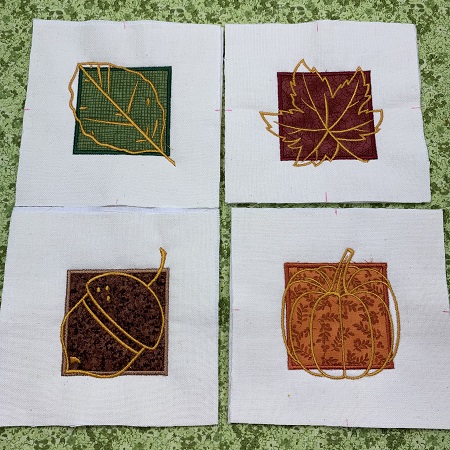
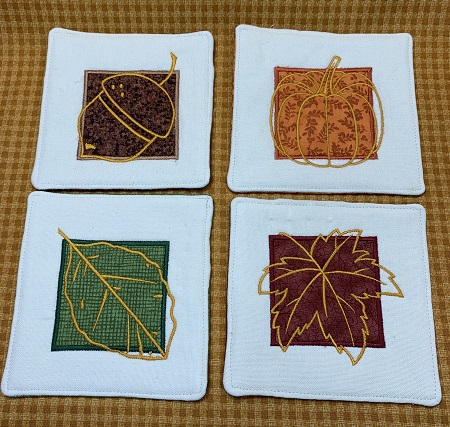
Capture some autumn splendor with fall themed coasters. A splash of color with a touch of gold casts a harvest tone to the display. An assortment of designs are available in two sizes. The smallest size was used for the coasters. Embroidery technique is applique. Fabric is floated on the stabilizer. Basic sewing machine skills are used to finish the coasters. A single needle embroidery machine was used for this project.
Step 1:
Read the directions before beginning the coasters. Collect and prepare the materials. Lightly starch and iron the fabric.
Step 2:
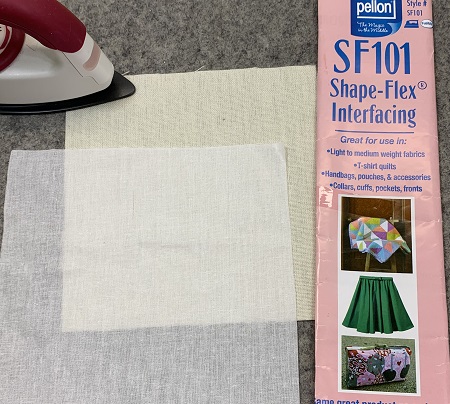
Follow package directions to fuse one piece of SF101 to each piece of the neutral fabric.
Step 3:
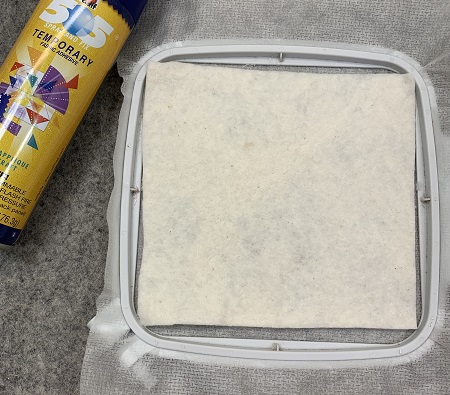
Hoop one piece of No Show mesh stabilizer in your hoop. Lightly mist the surface of the stabilizer with a temporary adhesive spray. Press one piece of low nap batting onto the stabilizer.
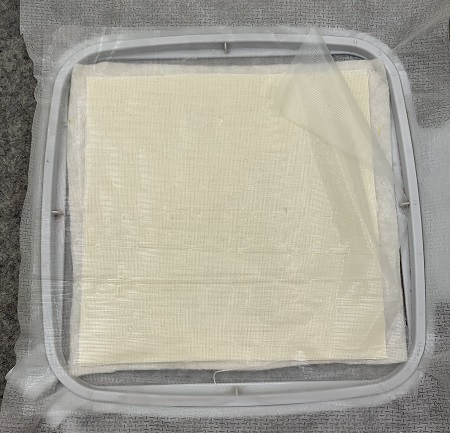
Step 4:
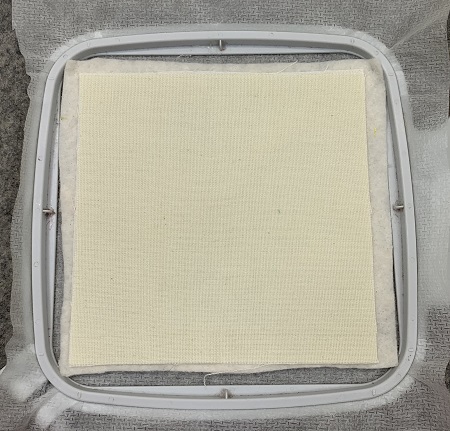
Lightly mist the batting with temporary adhesive spray. Center one piece of neutral fabric into the hoop. Press the fabric gently onto the batting. Surface should be smooth and wrinkle free.
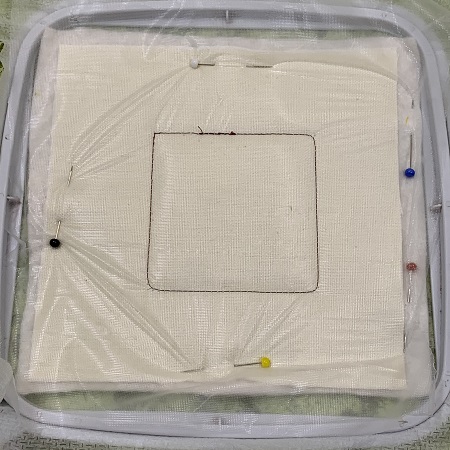
Step 5:
Place one piece of Water Soluble topping on the fabric. Use pins to hold the Water Soluble topping in place.
Step 6:
Load the embroidery design. A 90/14 size embroidery needle is recommended because of the batting & fabric layers being stitched. Stitch the first color stop. The first color is the placement stitch for the appliqued fabric square.
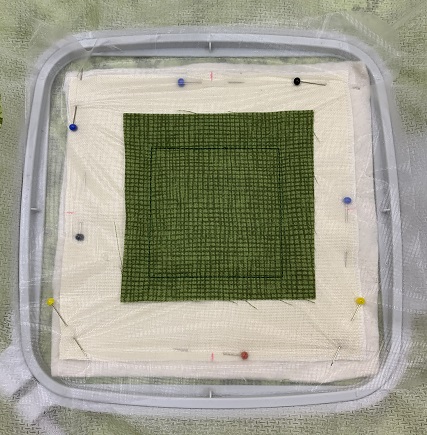
Step 7:
Remove the hoop from the machine. Place one piece of fall fabric over the square. Attach the hoop. Stitch color stop 2. Color stop 2 is the tack down stitch for the square.
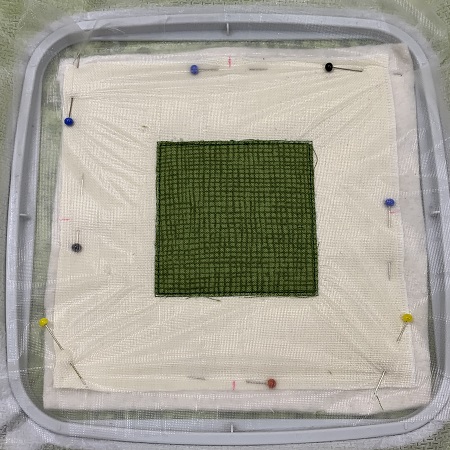
Step 8:
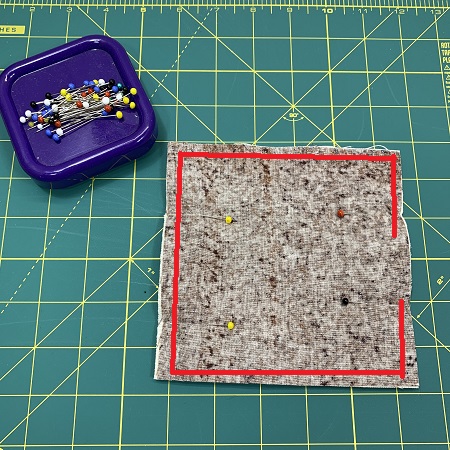
Remove the hoop from the machine. DO NOT un-hoop the coaster. Trim the extra fabric from around the fabric square. Attach the hoop.
Step 9:
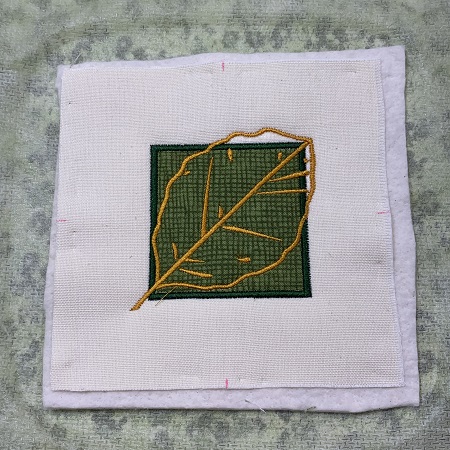
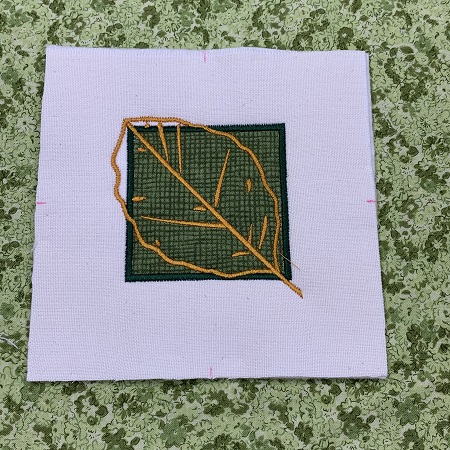
Stitch color stop 3. Color stop 3 will be a satin stitch around the square.
Stitch color stop 4. Color stop 4 is the fall design in gold. Remove the hoop from the machine.
Step 10:
Remove the fabric from the hoop. Trim excess stabilizer from around the coaster. Square or even the sides of the coaster. Coaster size will be approximately 5"x5". You have finished the top of a coaster.
Step 11:
Repeat steps 2 through 10 for each coaster top for your set.
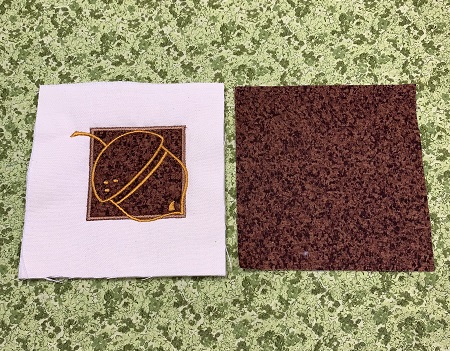
Step 12:
Match one coaster top with one piece of backing fabric. Trim backing fabric to match the coaster size. Coaster size will be approximately 5"x5".
Step 13:
Pin the two coaster pieces together with wrong sides out. Stitch a 1/4" seam around the edges of the coaster. Leave a 3" opening for turning the coaster.
Step 14:
Trim the tip off of each corner. Be careful not to clip the stitches. Turn the coasters right side out. Press with an iron. Pin opening closed.
Step 15:
Topstitch around the edges of the coasters. You have completed fall coasters!
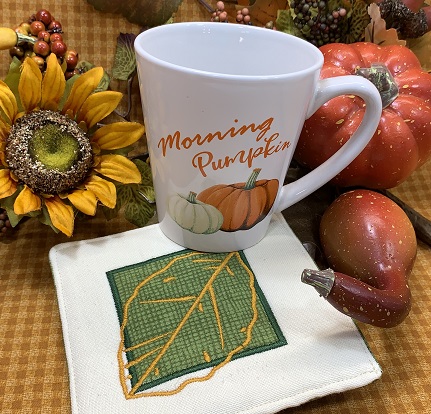
Step 16:
Congrats! Use your coasters during the fall and Thanksgiving season. Great job!
Beautiful things come together one stitch at a time...
Marisa Littleton is a retired educator with a love for teaching and learning. Interests include machine embroidery, hand embroidery, quilting, cooking, and antiques.