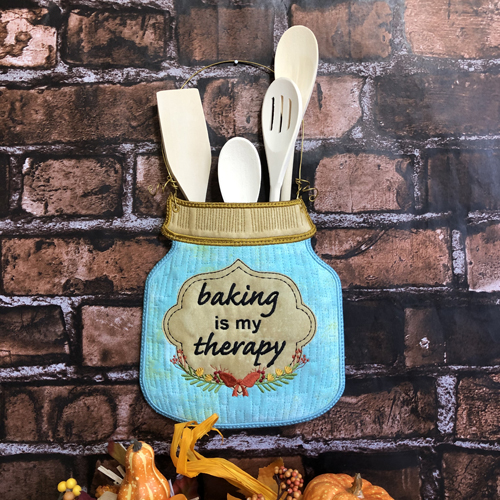
Stitch up this cute spoon holder to add some fun to your kitchen décor or as a gift for your baking friends. It stitches up entirely in the hoop with only the wire bale added by hand.
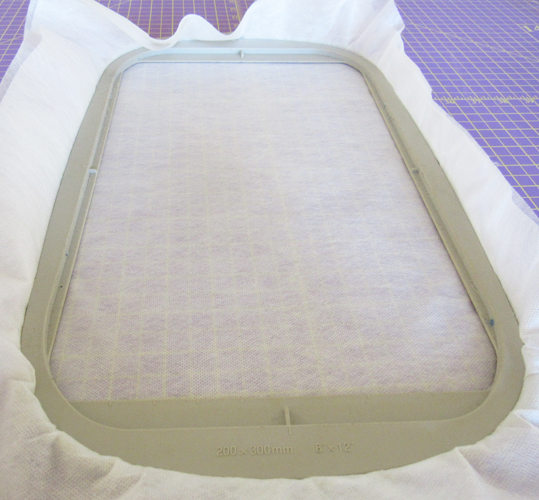
Tautly hoop two layers of fibrous water-soluble stabilizer in your hoop.
(Click Image to Enlarge)
Step 2:
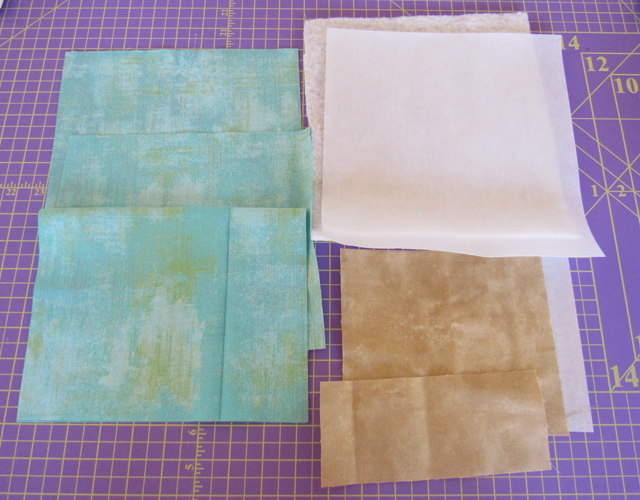
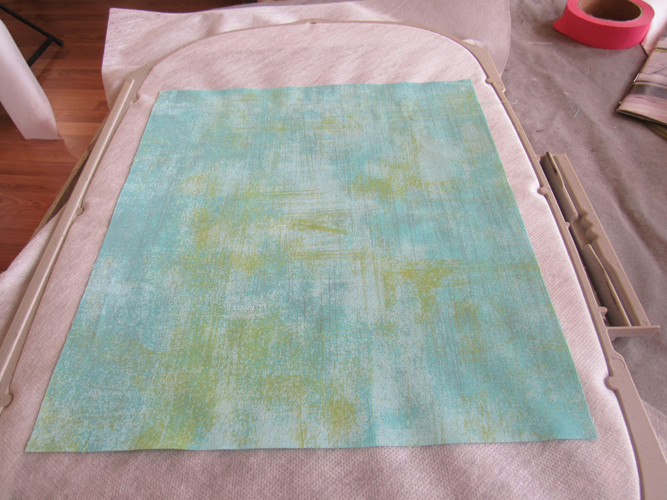
Cut from the aqua fabric:
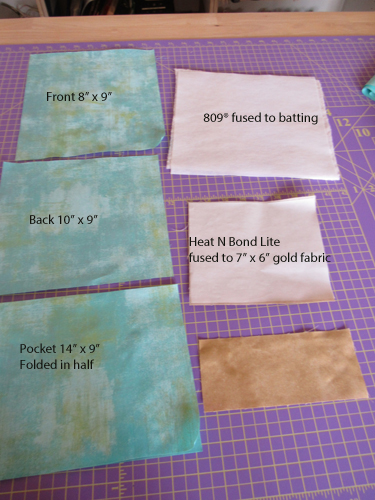
a. 14” x 9” rectangle for the back pocket
b. 10” x 9” rectangle for the jar back
c. 8” x 9” rectangle for the jar front
Cut from the old gold fabric:
a. 7” x 6” rectangle for the label
b. 3” x 5” rectangle for the jar lid
Cut 10” by 9” rectangles from the 809® stabilizer and batting Cut 7” x 6” rectangle from the Heat N Bond Lite
(Click Image to Enlarge)
Step 3:
(Click Image to Enlarge)
Press all fabrics. Press the 14” x 9” fabric in half to make the 7” x 8” pocket. Fuse the 809® stabilizer to the batting and fuse the Heat N Bond Lite to the corresponding label fabric.
Step 4:
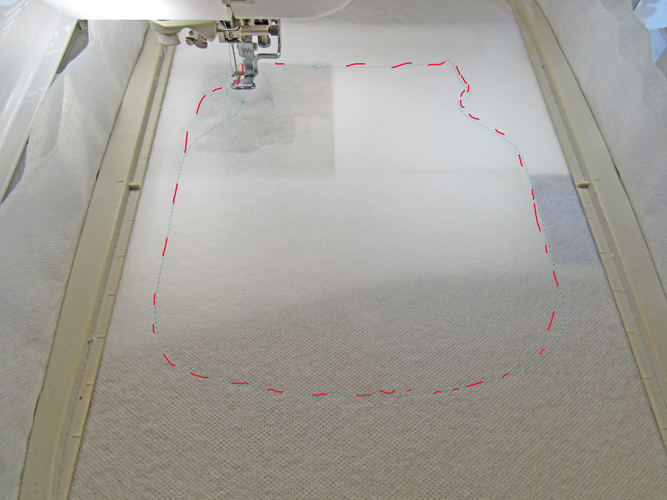
Run color stop (CS) 1 as a placement line.
(Click Image to Enlarge)
Step 5:
Spray adhesive on the stabilizer side of the batting/stabilizer rectangle and position over the placement line batting side up. Run CS 2 to tack down the batting.
(Click Image to Enlarge)
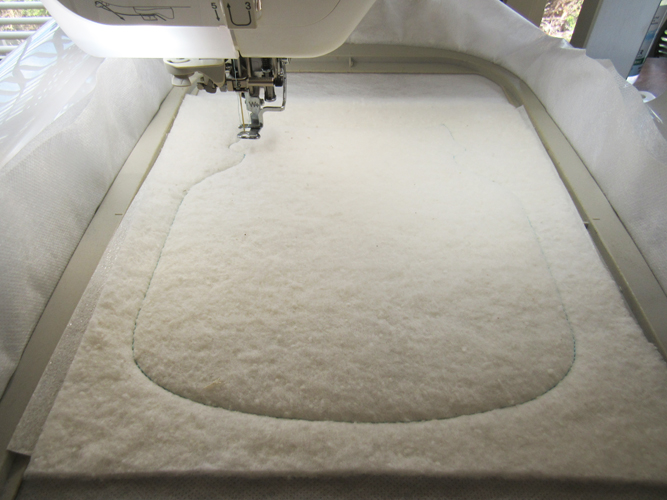
Step 6:
Trim the batting/stabilizer combination right up next to the tack down stitches.
(Click Image to Enlarge)
Step 7:
Run CS 3 as a placement line for the front fabric.
(Click Image to Enlarge)
Step 8:
Spray adhesive on the 8” x 9” aqua fabric and position over the placement lines. Run CS 4 to tack down the fabric.
(Click Image to Enlarge)
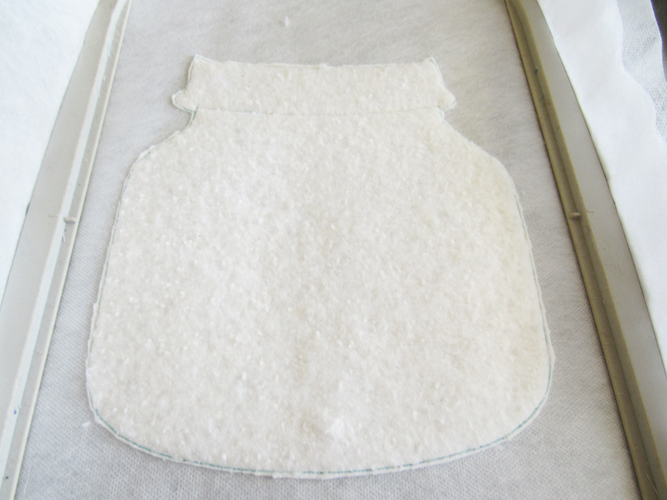
Step 9:
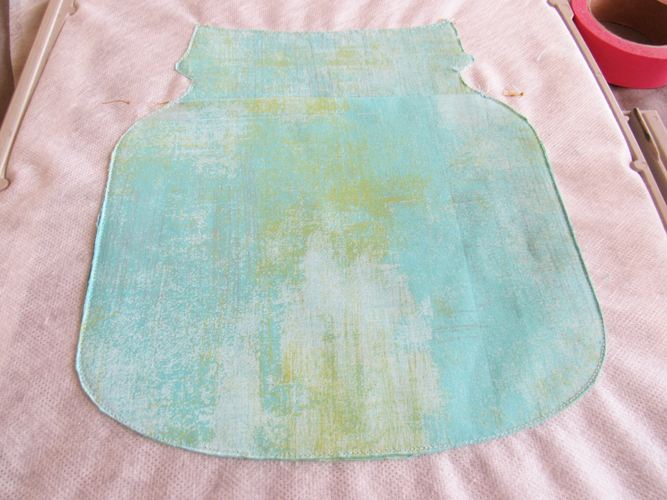
Trim the fabric right up next to the tack down lines.
(Click Image to Enlarge)
Step 10:
Repeat the steps 8 and 9 using the 3” x 7” piece of gold fabric and CS 5 and 6 to add the lid to the jar.
(Click Image to Enlarge)
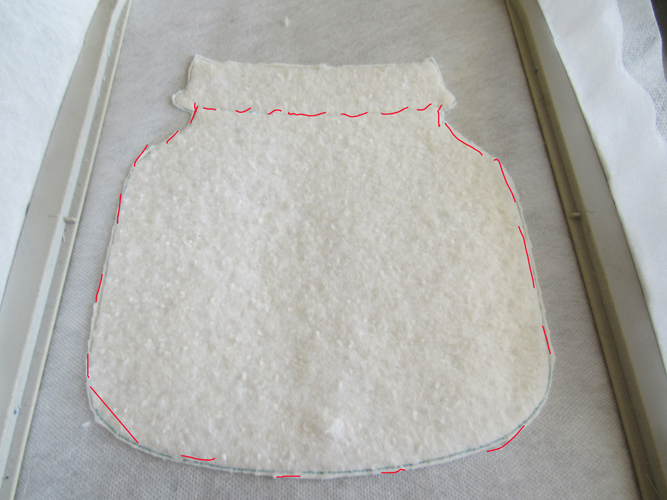
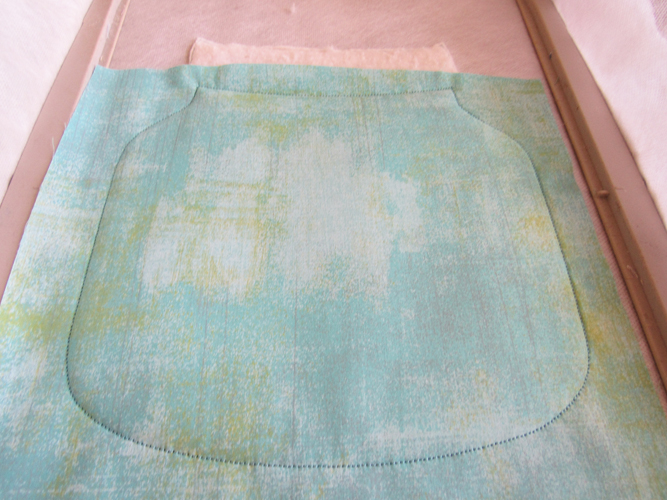
Step 11:
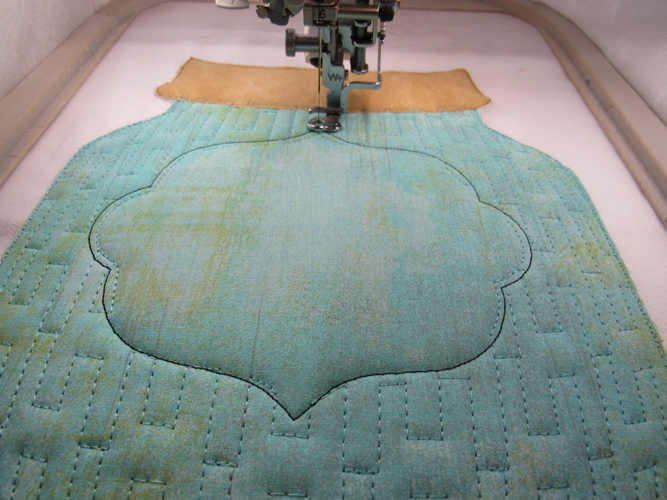
Run CS 7 in Robin’s Egg Blue to quilt the jar.
(Click Image to Enlarge)
Step 12:
Run CS 8 in Black as a placement line for the label.
(Click Image to Enlarge)
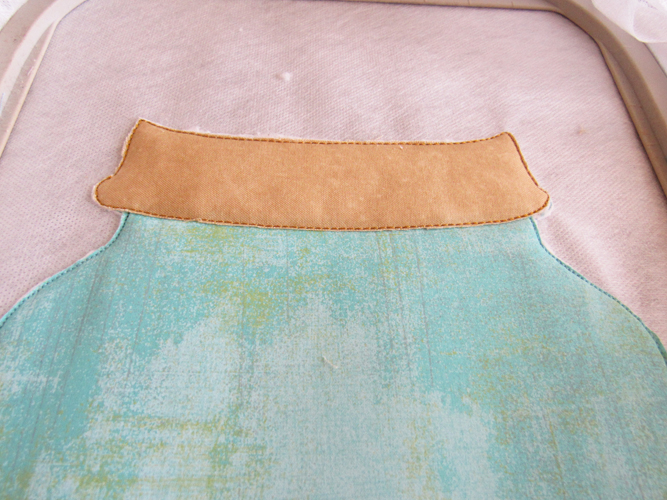
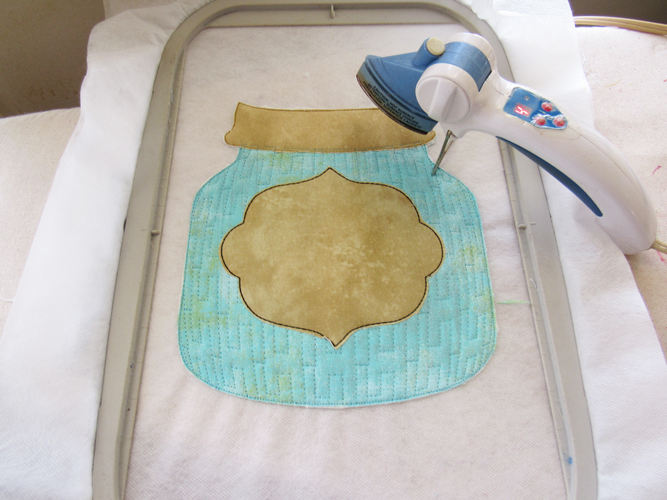
Step 13:
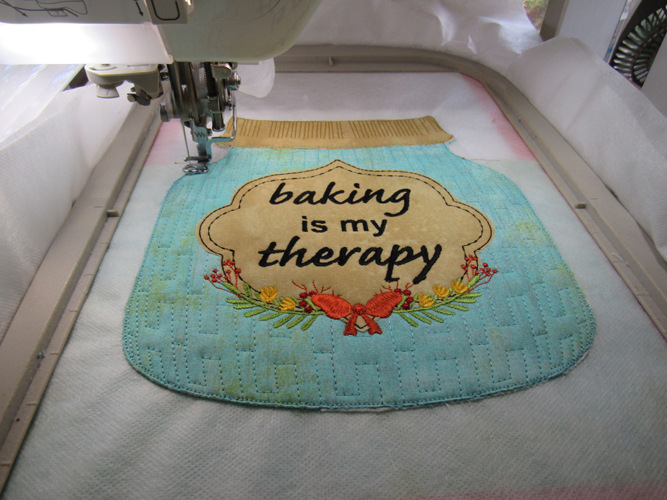
Remove the paper from the 7” x 6” Heat N Bond on the gold fabric. Spray the fabric with adhesive and position over the placement line. Run CS 9 to tack down the label. Trim the label right up next to the tack down lines. Then press the label with an applique iron to adhere it to the jar.
(Click Image to Enlarge)
Step 14:
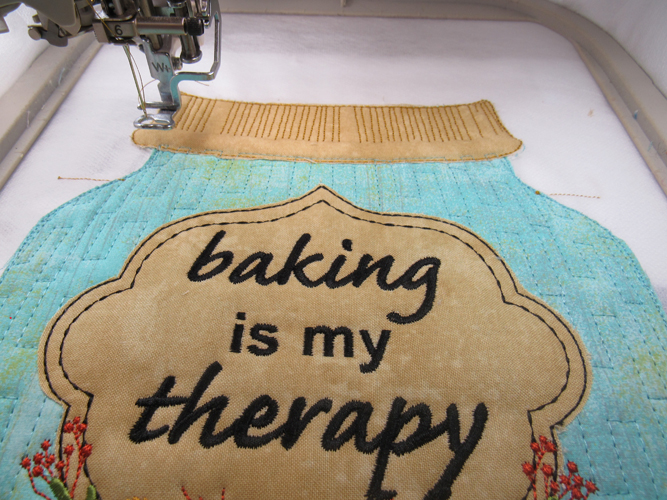
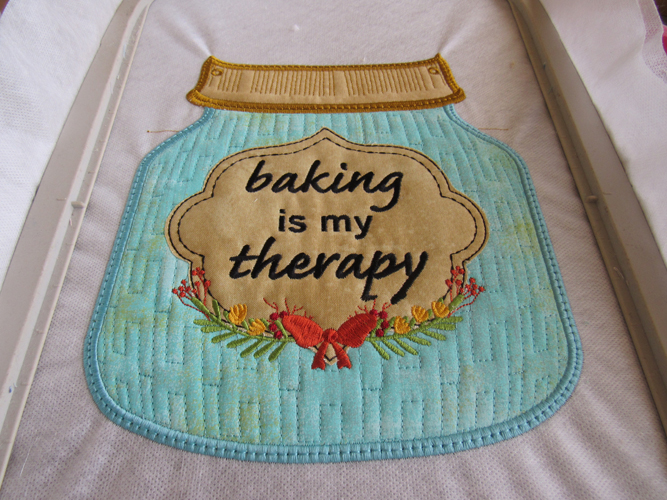
Follow the color chart for CS 10 through 17 to stitch the detail on the label.
(Click Image to Enlarge)
Step 15:
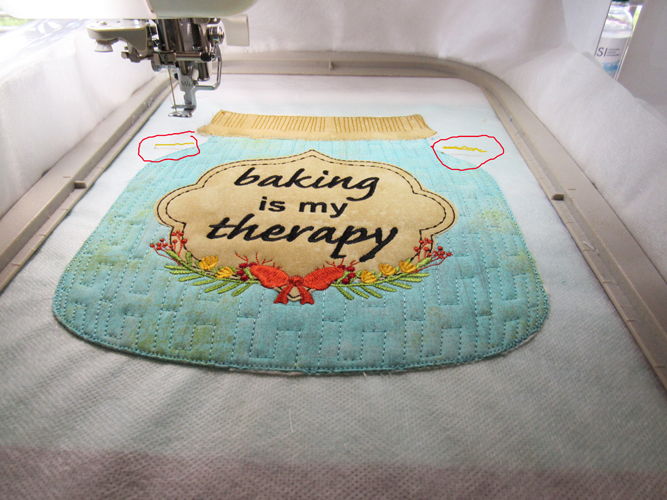
Run CS 18 for little placement lines that will later assist you in placing the pocket fabric.
(Click Image to Enlarge)
Step 16:
Remove the hoop from the machine, do not unhoop. Lay the hoop face down on a flat surface. Spray the wrong side of the 10” x 9” back fabric and position over the placement lines on the back of the hoop. Return the hoop to the machine and run CS 19 to tack the back fabric down.
(Click Image to Enlarge)
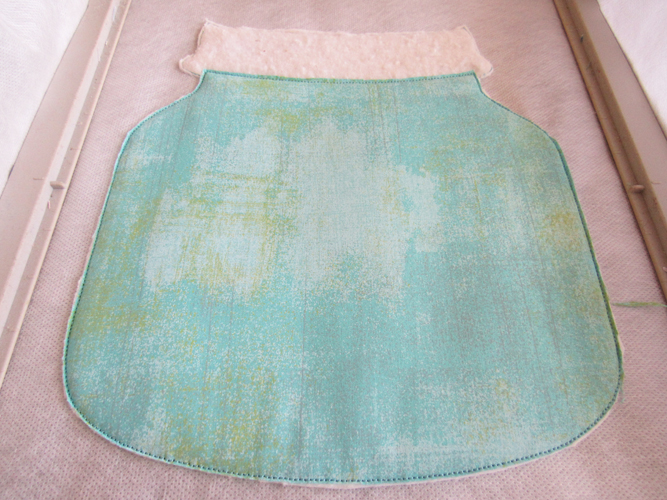
Step 17:
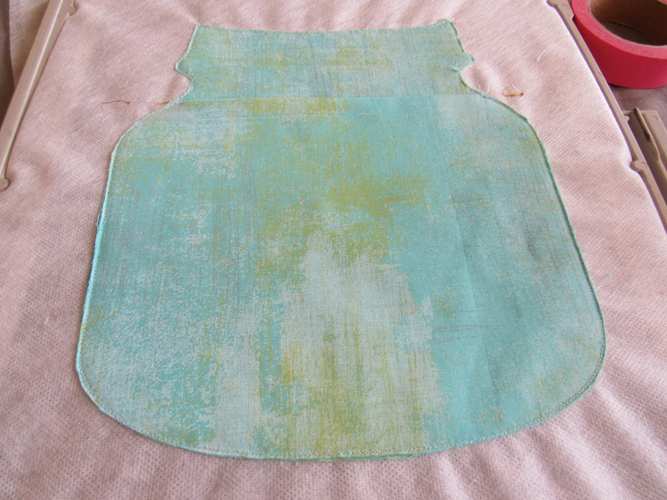
Remove the hoop from the machine, do not unhoop. Trim the jar back fabric right up next to the tack down lines.
(Click Image to Enlarge)
Step 18:
(Click Image to Enlarge)
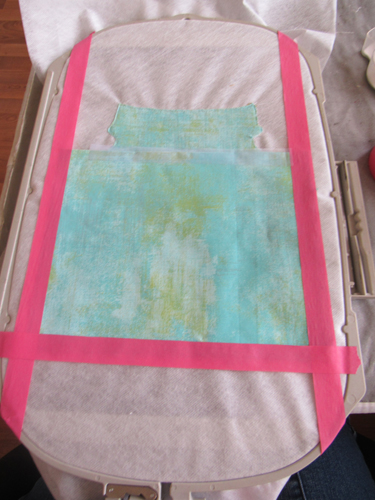
Take the folded pocket fabric and align the folded edge with the two placement lines stitched in Step 15. Tape down the fabric extending your tape to the top and bottom and the sides of your hoop so that the tape does not become loose during stitching.
Step 19:
Run CS 20 to tack down the pocket.
(Click Image to Enlarge)
Step 20:
Remove the hoop from the machine, do not unhoop. Trim the sides and bottom of the pocket fabric next to the tack down lines.
(Click Image to Enlarge)
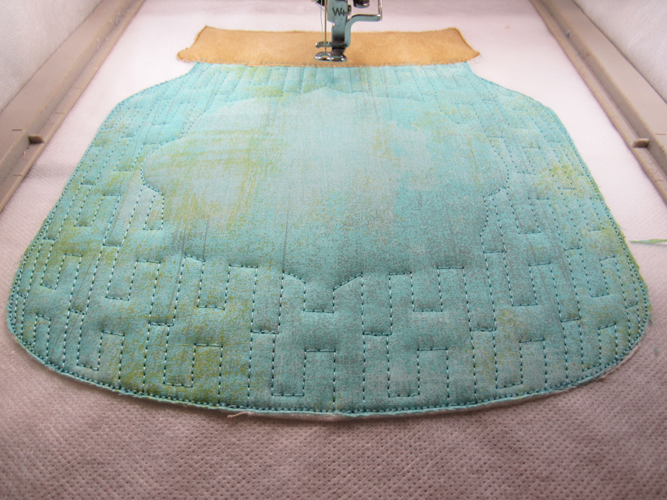
Step 21:
Run CS 21 in Robin’s Egg Blue and CS 22 in Old Gold to complete the stitching.
(Click Image to Enlarge)
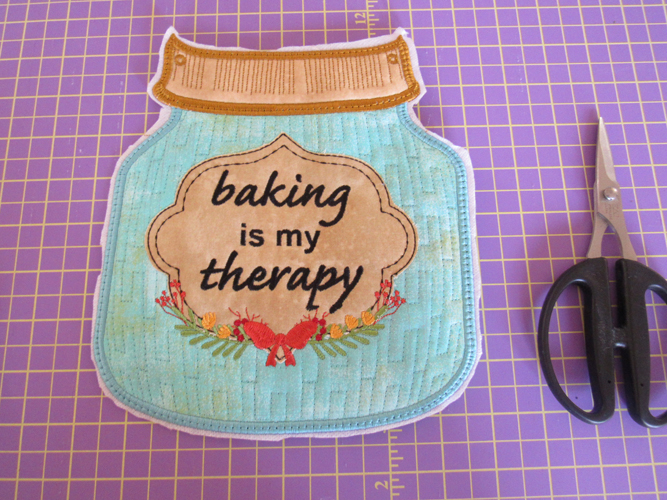
Step 22:
Cut away the water-soluble stabilizer about ¼” around the jar.
(Click Image to Enlarge)
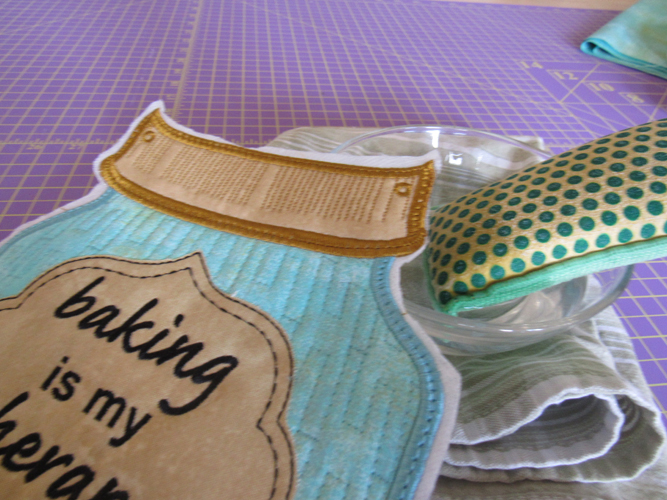
Step 23:
Fill a small bowel with hot water. Dip the corner of a sponge or cloth into the hot water and rub around the perimeter of the jar to remove the excess stabilizer.
(Click Image to Enlarge)
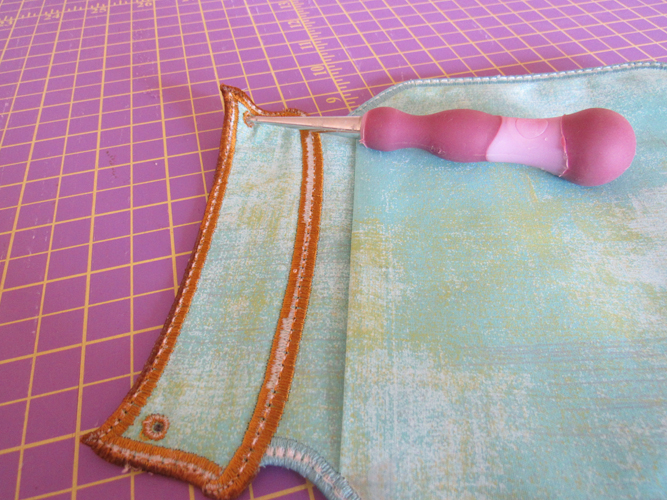
Step 24:
From the back of the jar, being careful of the placement of your fingers, insert an awl through the two eyelets embroidered at the top of the jar.
(Click Image to Enlarge)
Step 25:
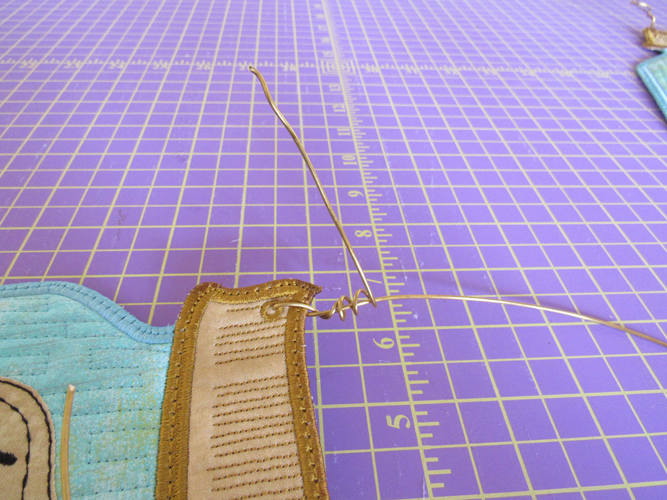
Cut a 25” length of the 16-gauge wire. Insert the wire through the eyelets in the back of the jar, extend the wire about 5” to the front of the jar. Pull the end of the wire up to the wire bale and wrap the end around the wire two to three times.
(Click Image to Enlarge)
Step 26:
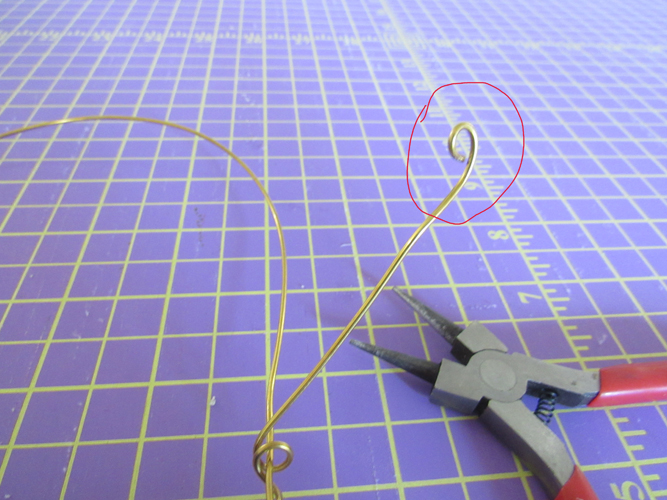
With the round pliers form a small loop at each end of the wire having the end of the loop touch the wire itself to prevent the ends from being sharp.
(Click Image to Enlarge)
Step 27:
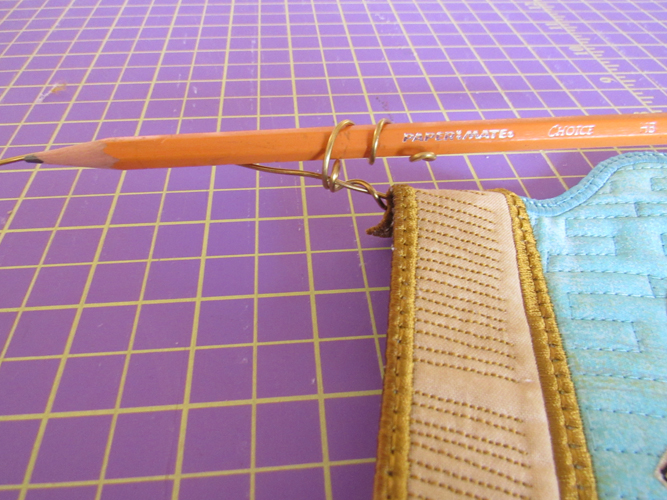
Wrap the balance of the extending wire around a pencil a few times and remove the pencil to form the curly-ques.
(Click Image to Enlarge)
Step 28:
Insert the wooden spoons into the back pocket. Congratulations your ITH Hanging Spoon Holder is complete!
Award winning Digitizer, Embroidery Educator, Author and a Consultant to the Industry, Pat Williams has 30 years of experience in the embroidery industry. Pat has won multiple awards for her digitizing expertise including the 2007 Impressions Awards Grand Championship, Best of Show as well as the 1st and 2nd Place Awards. Pat’s love of digitizing has afforded her the opportunity to write numerous articles for Impressions magazine in the United States and Images Magazine in Europe. In 2001 Pat was named “Embroidery Educator of the Year.” For many years Pat taught digitizing seminars at the ISS Shows in Long Beach, CA and for Compucon software. She now resides in Tucson, AZ.