


PROJECT INSTRUCTIONS


PROJECT INSTRUCTIONS

Toothbrush Towel Wrap Embroidery Project
By
Kylie Burke
on
July 30, 2020
PROJECT DETAILS
SKILL LEVEL
Some Experience
TIME REQUIRED
01:00
Description
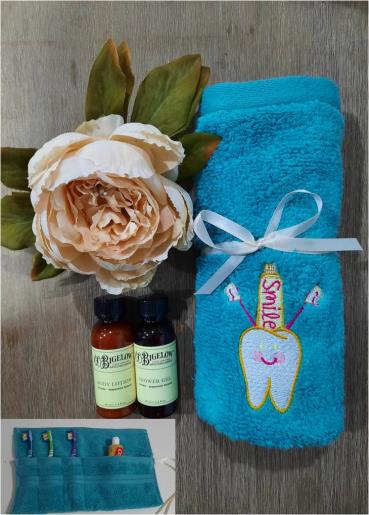
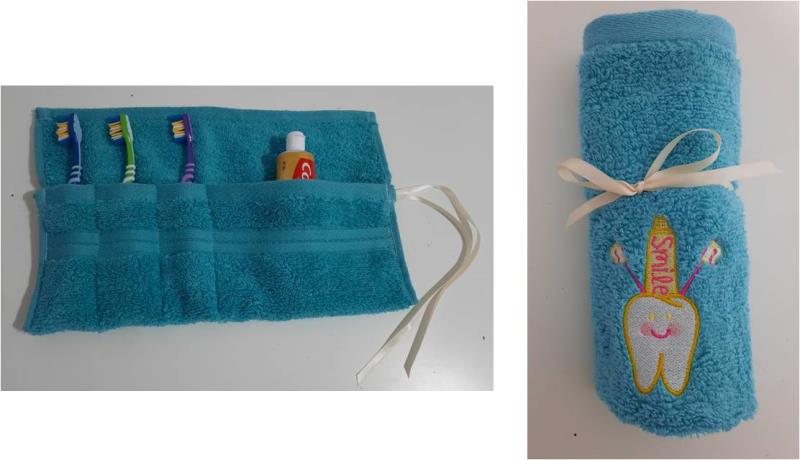
A handy towel wrap for your toothbrushes and paste!
Project Preview Video

QUICK VIEW
Tear Away Stabilizer
$7.98
Circle Price: $7.18

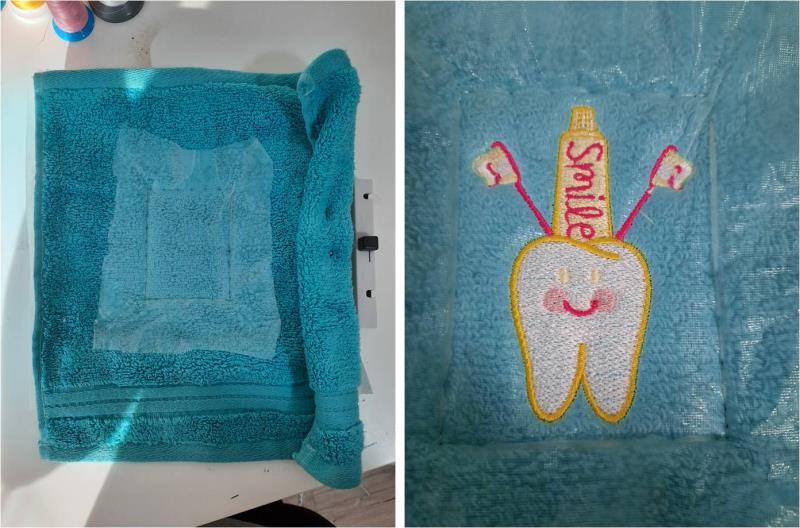
Smile Tooth
$4.14
$2.07
Circle Price: $2.07


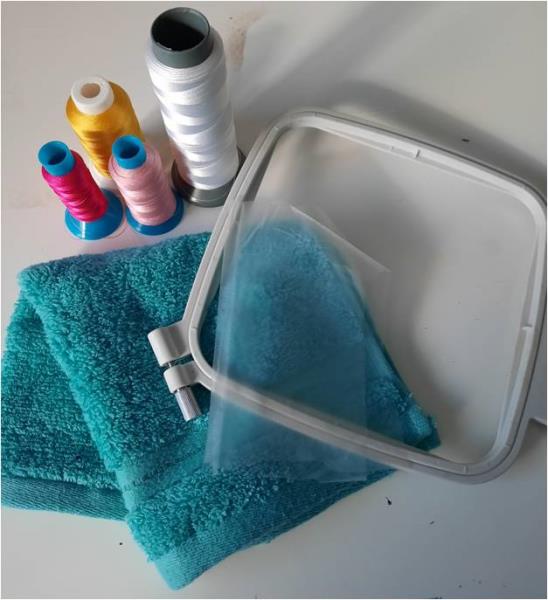
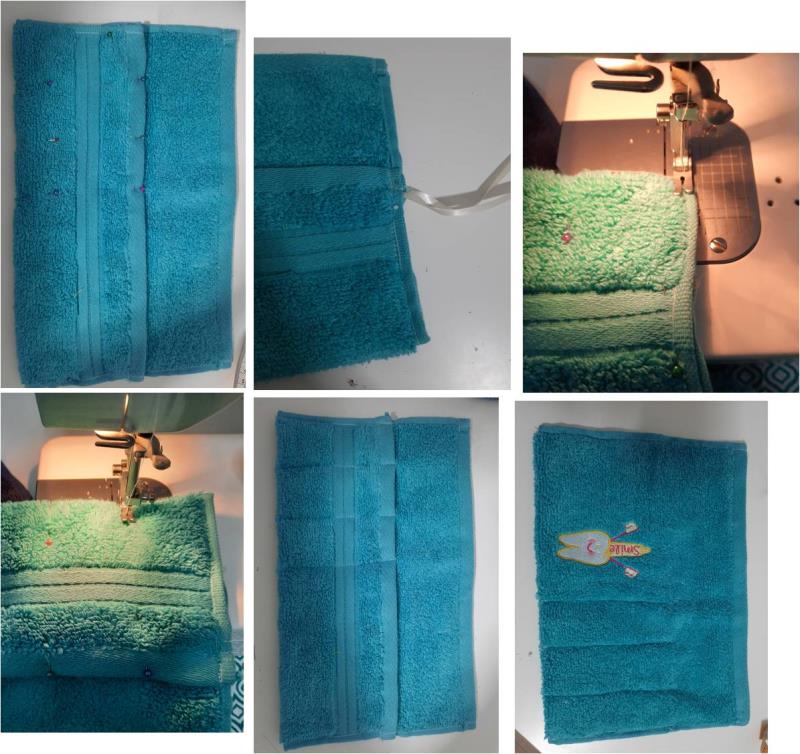
| Materials 1 hand towel (size of my hand towel is 13” square) 2 x 12” pieces of ¼” wide satin ribbon Embroidery threads Tearaway stabilizer Exquisite Water Soluble Topping Film |
| Designs used in this project |
| Final Product: What You Will Create |
 |
|
Projects You May Like
Meet the Author:
Kylie Burke

Kylie is based in Australia and loves creating and sharing her unique pieces.
Feedback
Characters Remaining
Please Login to Submit a Feedback
Invalid Characters, Please enter a valid Comment
Please enter a valid Comment
Reviewed On
Link is Broken, Please check the URL