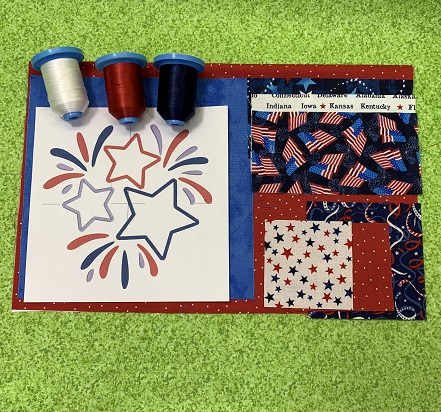
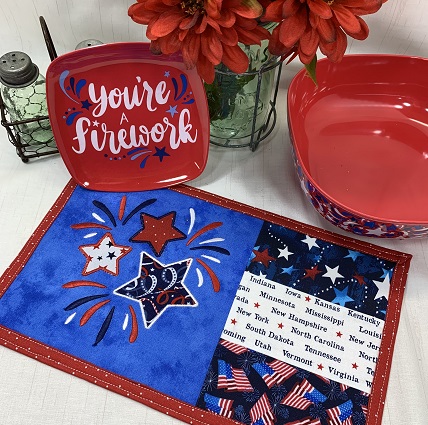
A 'Snack Mat' with appliqued stars in patriotic colors of red, white, and blue. Basic sewing skills are needed to complete the project. A single needle embroidery machine was used to make this project. The design is available in 3 sizes, and the largest size was used for this project.
Step 1:
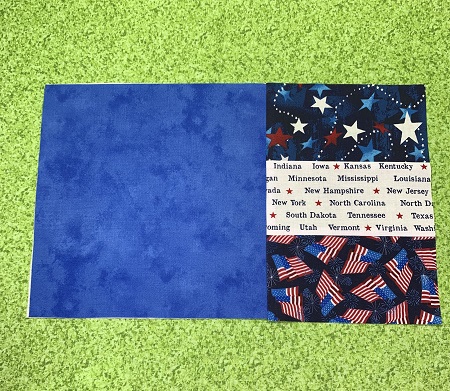
Read the directions before beginning. Gather materials and supplies.
Step 2:
Terial Magic is a liquid fabric stabilizer that binds the fibers of fabric together into a stable and paper-like material that won’t fray when cut.
The 8"x8", 4"x4", 3"x3" & 2.5"X2.5" pieces of fabric needs to be saturated with the Terial Magic. Spray some Terial Magic into the zip lock bag. Place the fabric pieces into the zip lock bag. Rub the Terial Magic into the fabric until the fabric is completely wet.
(Click Image to Enlarge)
Step 3:
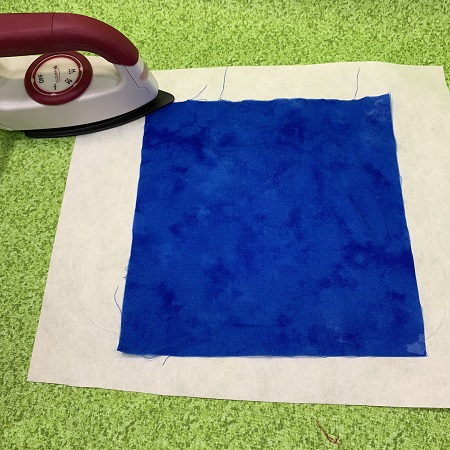
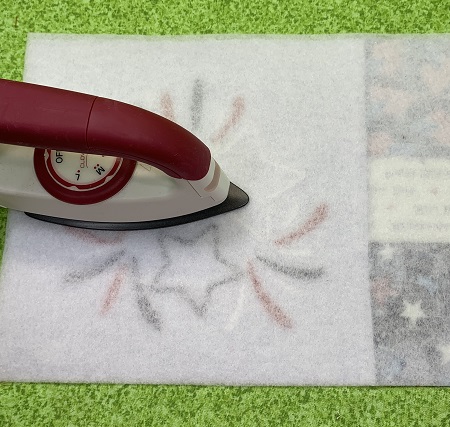
Place the saturated fabric on a paper towel. Cover the fabric with a paper towel. Use a hot iron to dry the fabric. The fabric will be very stiff and paper like. Terial Magic makes a noticeable difference in the quality of the finished embroidered design.
Step 4:
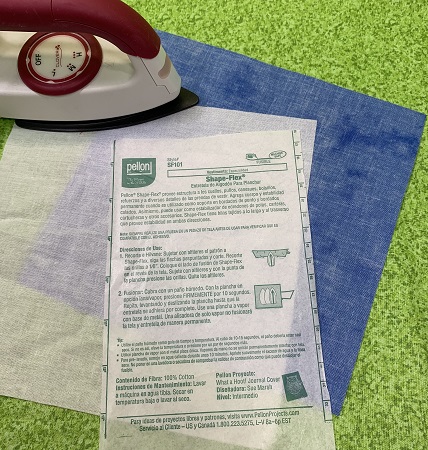
Fuse the Pellon SF101 fusible shape flex interfacing to the back of the 8"x8" fabric. The interfacing will help stabilize the fabric.
Step 5:
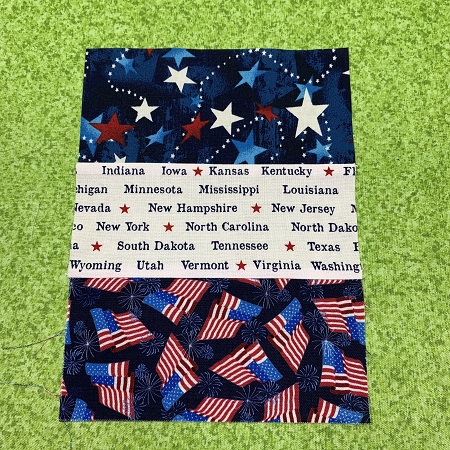
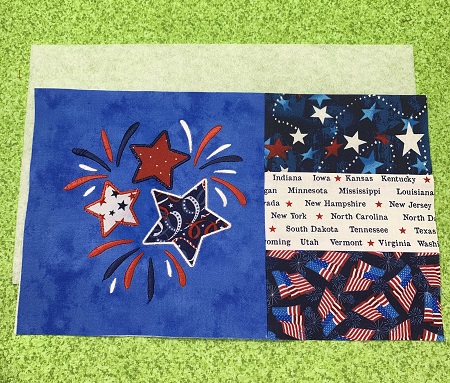
Sew the 2 7/8 x 4.5" strips together using a 1/4" seam. Press seams with an iron when finished. Square the sewn strips to measure 8"x4.5".
Step 6:
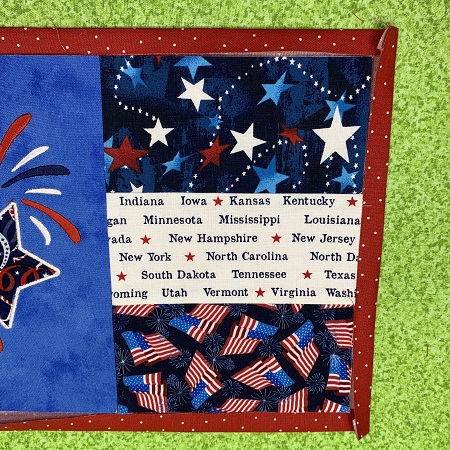
Sew the 8"x8" main fabric piece to the 8"x4.5" piece. Press the seam with an iron. Square the finished piece to measure 8"x 12".
Step 7:
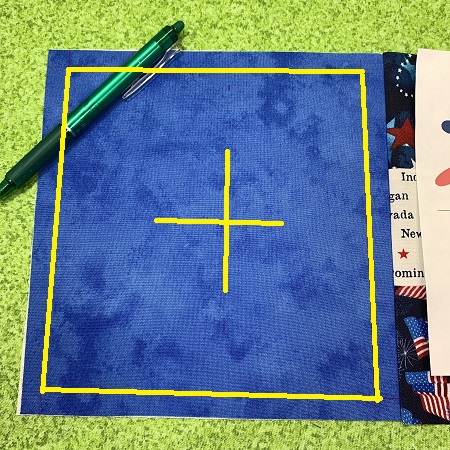
Design Placement: Mark 1/2" around the outer edges of the blue fabric to allow for the self-binding border. Find the center point on the blue fabric. Mark with a fabric marker.
Step 8:
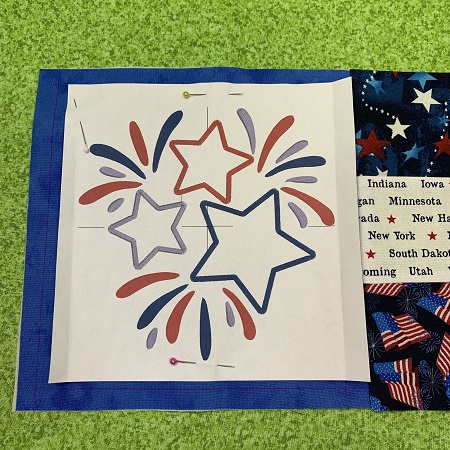
The design template is the actual size of the design and a great placement tool. A copy of the design template is included in the instruction packet. Embrilliance Essentials software program was used to print out the design template. Center the design template on the blue fabric. Secure on the fabric with pins.
Step 9:
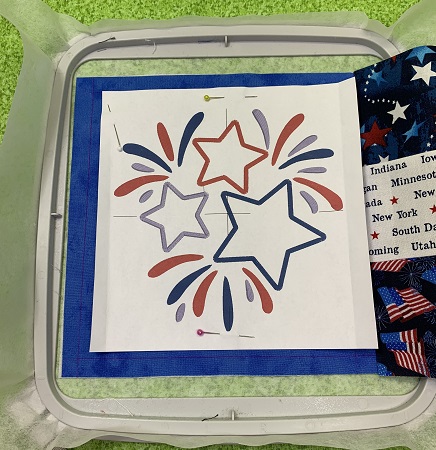
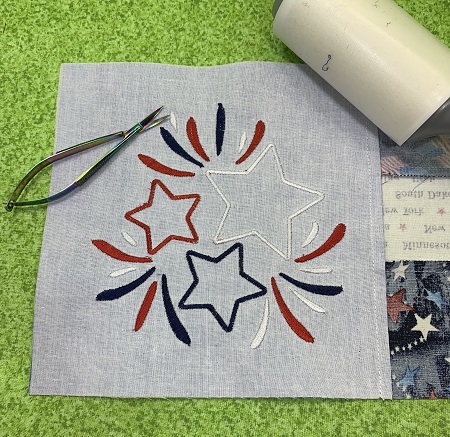
Floating Hooping Method: Hoop on piece of tear away stabilizer. Mark the center point on the stabilizer in the hoop. Place the snack mat on top of the stabilizer. Match the center points on the design template and the stabilizer. Lightly mist the stabilizer with 505 Temporary Adhesive spray. Gently press the fabric onto the stabilizer.
Step 10:
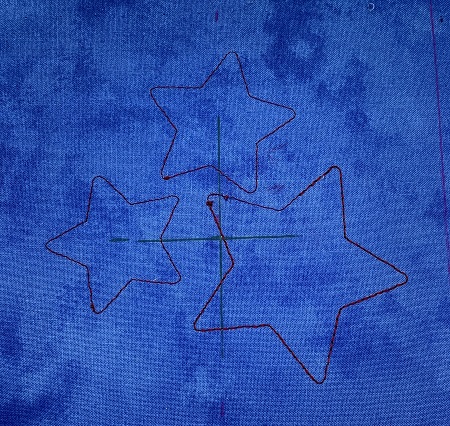
Load the design. Attach the hoop. Color Stop 1 (CS1) is the placement stitches for the stars. Stitch CS1.
Step 11:
IMPORTANT NOTE!! The sample uses different fabrics for the stars. However, the design does not have a tack down step to allow for the different fabric colors. It's simple to do. You will repeat CS1 which will give the tack down stitches that are needed. You will need to stop the machine after each star stitches during CS1.
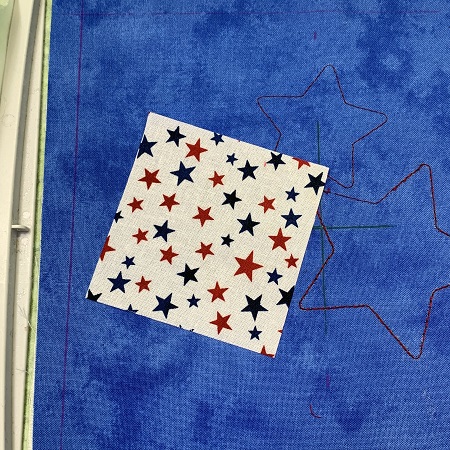
After you stitch Color Stop 1,your machine automatically advances to Color Stop 2. Put your embroidery machine back on Color Stop 1. Place the 2.5"x2.5" piece of fabric over the smallest star.
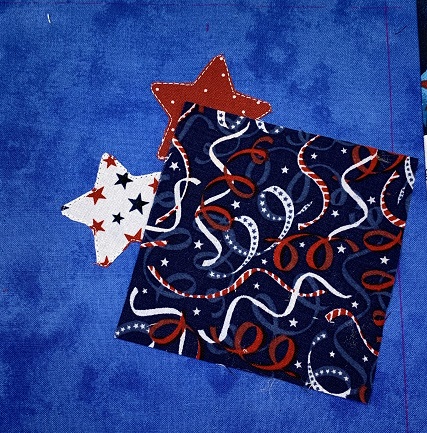
Step 12:
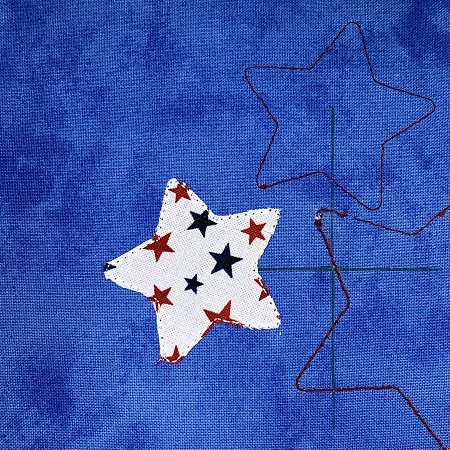
You will have to stop the machine after each star stitches during Color Stop 1. Stitch the first star and stop the machine. Remove the hoop from the machine. Trim away the extra fabric from around the star.
Step 13:
Place the 3"x3" piece of fabric over the medium size star. Attach the hoop. Stop the machine after the second star is stitched.
Step 14:
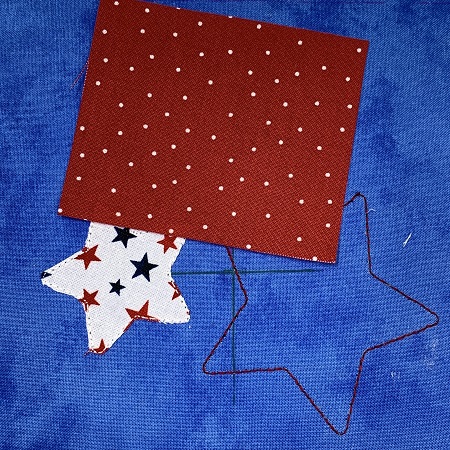
Remove the hoop from the machine. Trim excess fabric from around the star. Place the 4"x4" piece of fabric over the last placement stitches.
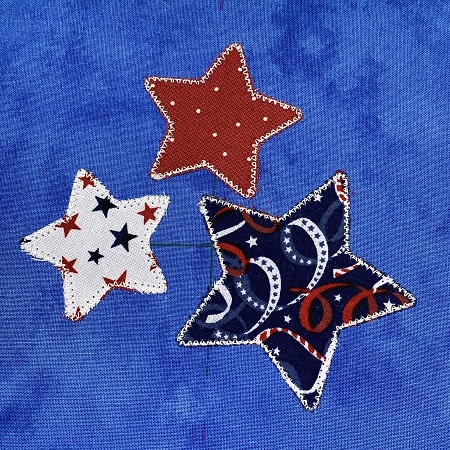
Step 15:
Start the machine and stitch the third star. Remove the hoop. Trim excess fabric from the star.
Step 16:
SECOND OPTION:You can make the stars the same color. Use terial magic on an 8"x8" piece of accent fabric following steps 2 & 3. Before you start stitching in Step 10, place the 8"x8" piece of fabric over the sewing field. Secure the fabric to the stabilizer with pins or temporary adhesive spray. Stitch CS1. Remove the hoop from the machine. Trim away excess fabric from around the stars. Finish stitching the design.
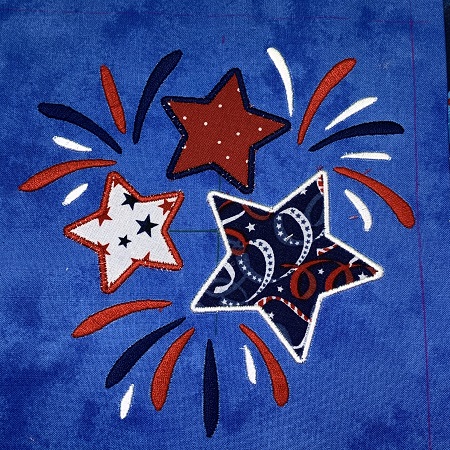
Step 17:
Finish stitching the design.
Step 18:
Remove the hoop from the machine. Gently tear away the stabilizer. Clip threads if needed. Tidy the area with a lint roller.
Step 19:
Cut the fusible fleece to match the size of the snack mat.
Step 20:
Follow the package directions to fuse the fleece to the back of the snack mat.
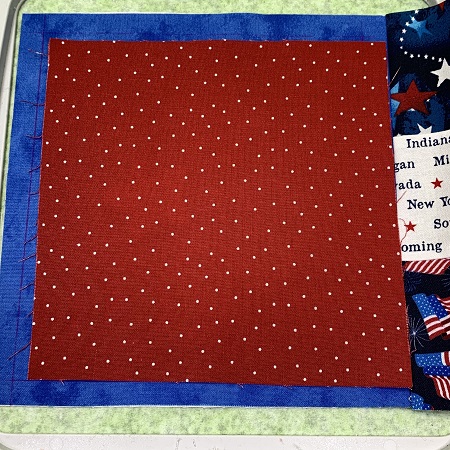
Step 21:
Cut the self-binding backing fabric 1" larger than the snack mat.
(Click Image to Enlarge)
Step 22:
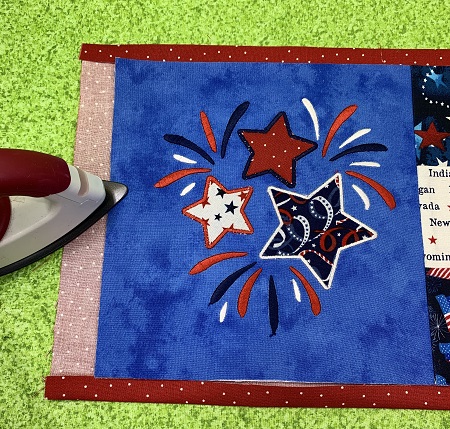
Fold the binding edge down 1/2". Press with an iron.
Step 23:
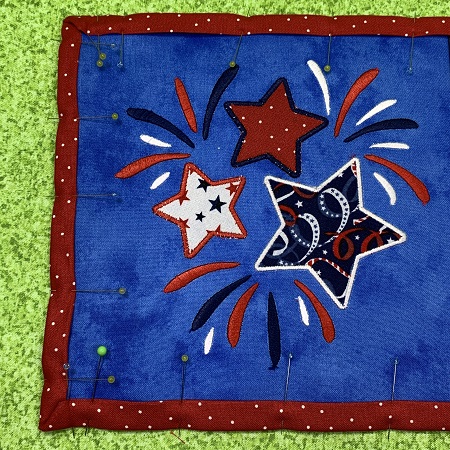
Fold the binding over 1/2" again. Pin in place.
Step 24:
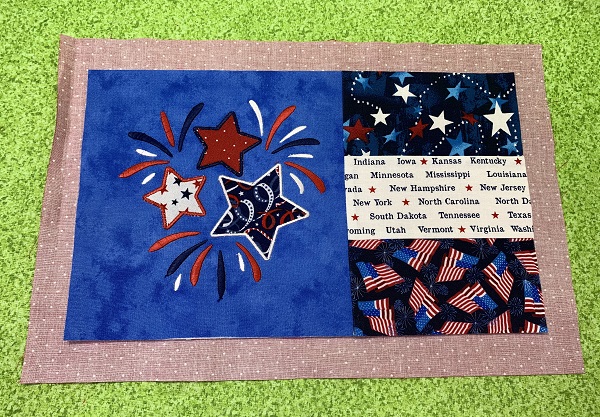
Topstitch around the edges of the snack mat.
Step 25:
A nice addition to any patriotic themed occasion or decor. Congrats!
Marisa Littleton is a retired educator with a love for teaching and learning. Interests include machine embroidery, hand embroidery, quilting, cooking, and antiques.