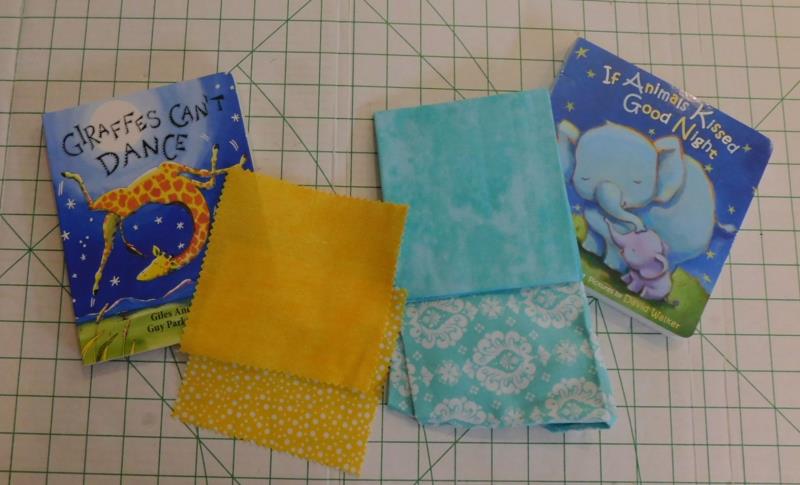
These bookmarks are not very large and would fit in a 4x4 hoop; however, to make the trimming easier the project was done using a 5x7 hoop. Fabric colors were coordinated with the book colors—they were scraps from fat quarters. The elephant had only two fabrics that were needed but the giraffe had placement lines for three fabrics: the base, the head, and the nose. For the project the entire head was placed as one color.
The steps are very easy: placement line, place fabric, tackdown, trim, and then the final details and satin stitching. Just follow the color sequence and notice the parts that are being sewn.
There are letters on the bottom of each bookmark. If desired, the letters may be removed and names placed on the bookmark instead either in embroidery software or at the machine.
Step 1:
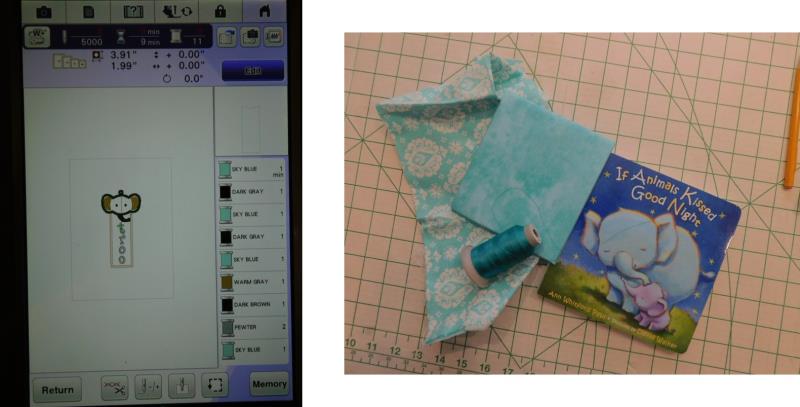
Read through the instructions thoroughly before beginning and assemble all the materials needed to complete the project.
(Click Image to Enlarge)
Step 2:
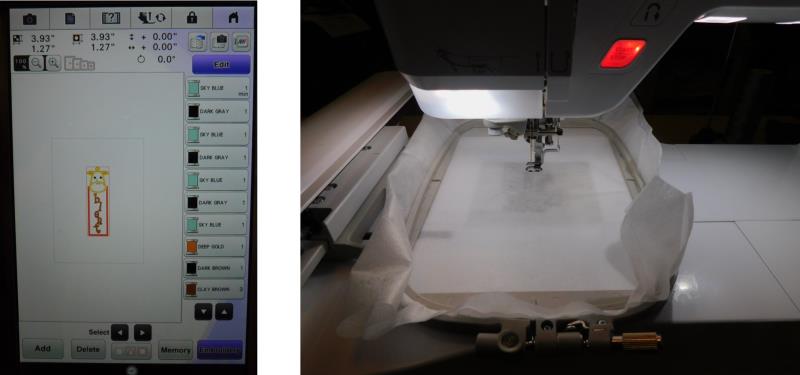
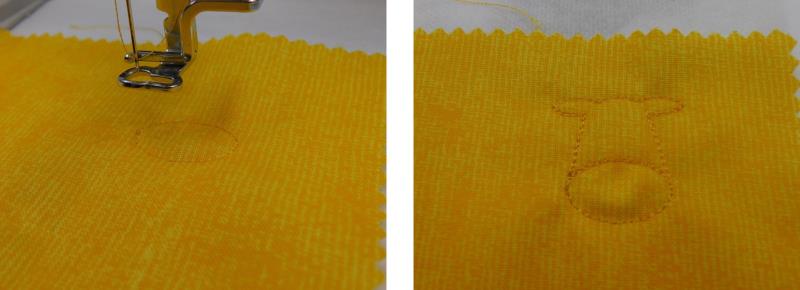
Hoop two layers of water soluble fibrous stabilizer. Load the Giraffe design on the machine. Pay close attention to the color sequence (stitching order).
(Click Image to Enlarge)
Step 3:
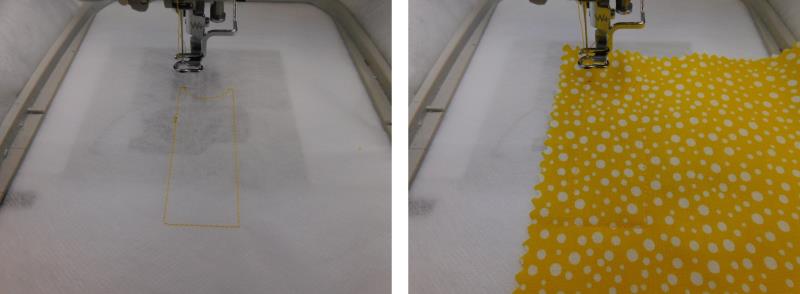
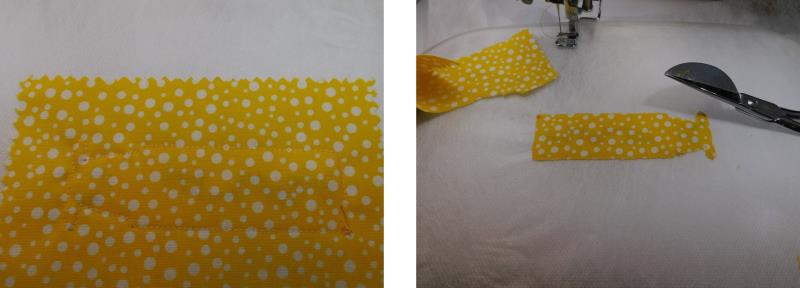
Color 1: placement line is stitched. Place down the bottom fabric over the placement line and stitch Color 2: the tackdown.
(Click Image to Enlarge)
Step 4:
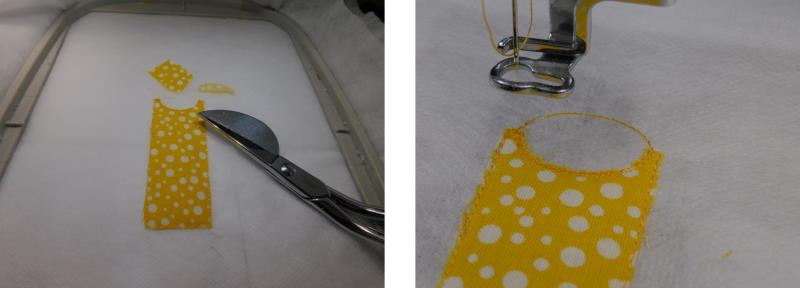
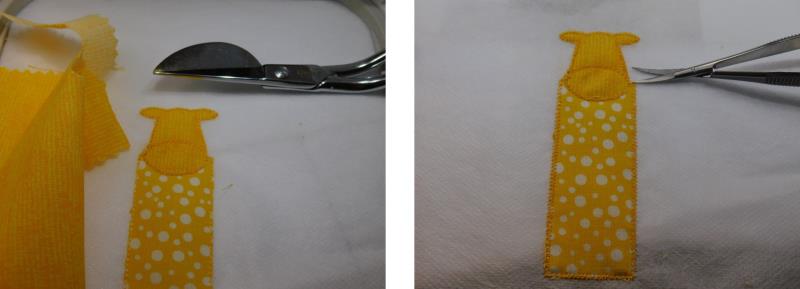
Remove the hoop from the machine and use the applique scissors to trim just to the outside of the tackdown line. Color 3: nose placement line. If you would like this to be a different fabric, then place it down next.
(Click Image to Enlarge)
Step 5:
Because the piece is so small, I chose to just place down the yellow fabric for both the head and nose. Color 4: tackdown for the nose fabric. Color 5: placement for the head fabric. Color 6: stitches head tackdown. Because I chose a solid fabric, colors 5 and 6 were just stitched.
(Click Image to Enlarge)
Step 6:
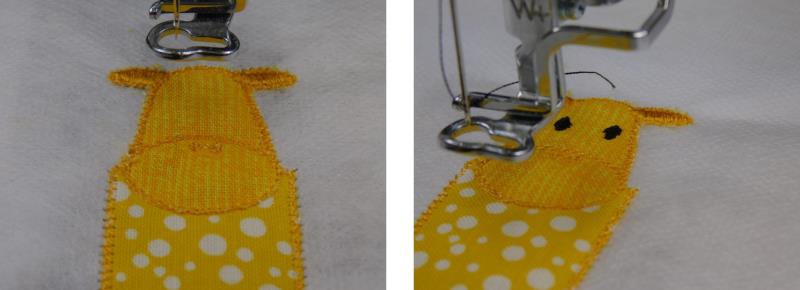
Remove the hoop from the machine and carefully trim away the excess fabric. Place the hoop back on the machine and stitch Color 7: zig-zag. Use small embroidery nippers to trim away any stray threads that may appear after color 7 stitches.
(Click Image to Enlarge)
Step 7:
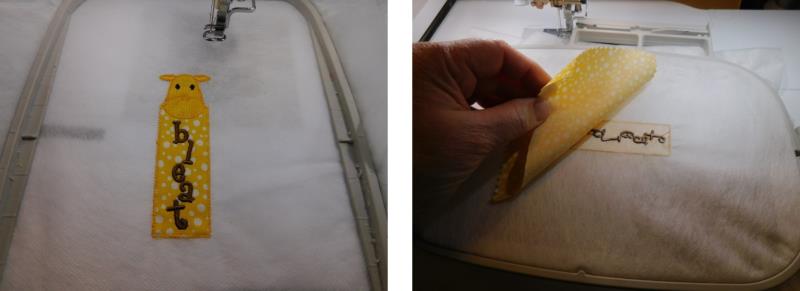
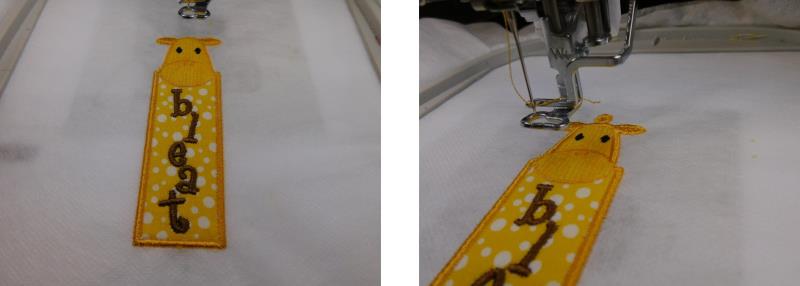
Colors 8 and 9 stitch the ear, nose, and eye details. Stitch the text and then remove the hoop from the machine and spray the stitched area with a little spray adhesive to hold the back fabric in place. Place the back fabric, wrong side down, over the stitched area.
(Click Image to Enlarge)
Step 8:
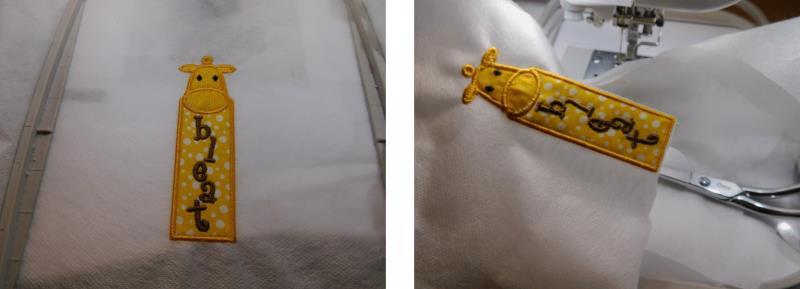
The next color tacks down the back fabric. Remove the hoop one last time to trim the back fabric next to the stitching line.
(Click Image to Enlarge)
Step 9:
Place the hoop back on the machine and complete stitching the bottom, head, and nose satin stitching.
(Click Image to Enlarge)
Step 10:
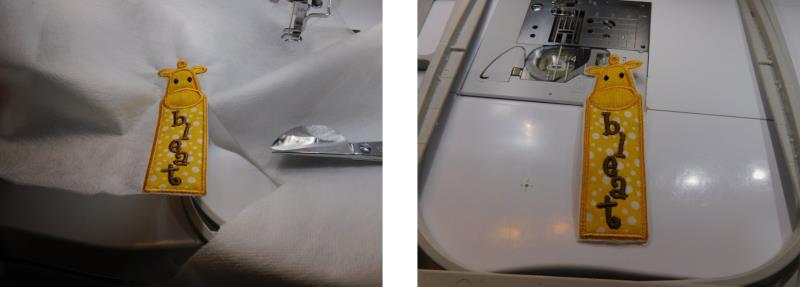
Remove the completed piece from the hoop and trim away the excess stabilizer close to the outer satin edge.
(Click Image to Enlarge)
Step 11:
Be very careful not to accidently snip any threads.
(Click Image to Enlarge)
Step 12:
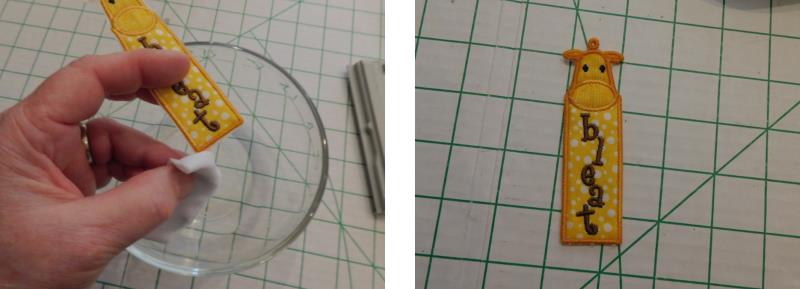
Use a clean white piece of fabric or cosmetic sponge with a little water to dissolve away any remaining stabilizer that shows on the edges. Set the piece aside to dry.
(Click Image to Enlarge)
Step 13:
Repeat the same steps for the Elephant bookmark, using fabrics and threads to coordinate with the book colors.
(Click Image to Enlarge)
Step 14:
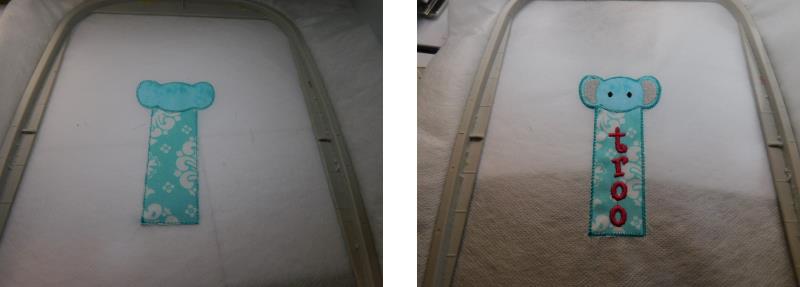
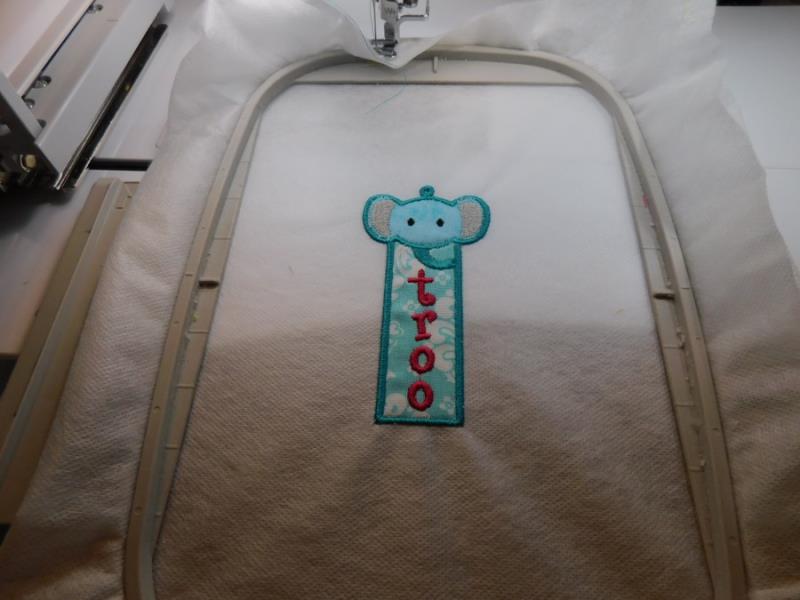
Stitch the placement lines and tack down the fabric, completing the details and letters
(Click Image to Enlarge)
Step 15:
and adding the back fabric and completing the stitching.
(Click Image to Enlarge)
Step 16:
When both bookmarks are completed and dried, cut two 12’ piece of ribbon and knot one ribbon in each top hole of the bookmark so the bookmark can be placed in the book.
(Click Image to Enlarge)
Step 17:
Don't you think these bookmarks are adorable!
(Click Image to Enlarge)
Step 18:
Congratulations on creating a delightful gift for a budding young reader!
Ramona Baird has been in the embroidery industry for over 23 years. She and her husband owned a commercial and retail embroidery store in Arizona for many years. She is an experienced digitizer having been mentored by award-winners Pat Williams and Lindee Goodall. Ramona is a contributor to “Creative Machine Embroidery” magazine having 5 covers to her credit. Ramona has worked for Wilcom America and served many years as Education Director for the American Sewing Guild. With a degree in fashion design, she is able to design and execute patterns which Pat Williams says are “out of the box” in creativity and application. Ramona likes to challenge the boundaries of embroidery and bring new and exciting designs, ideas, and projects to EmbroideryDesigns.com. She wants embroiderers of all levels to increase their skills and enjoyment in using their embroidery machine for gift-making and personal pleasure.