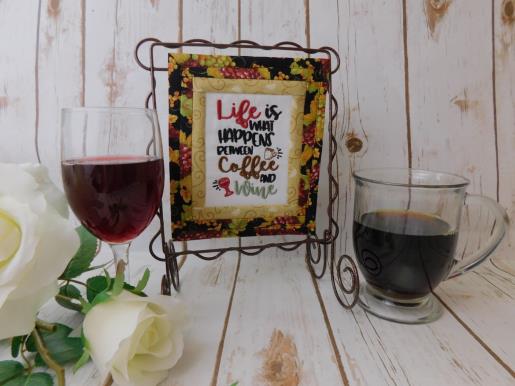
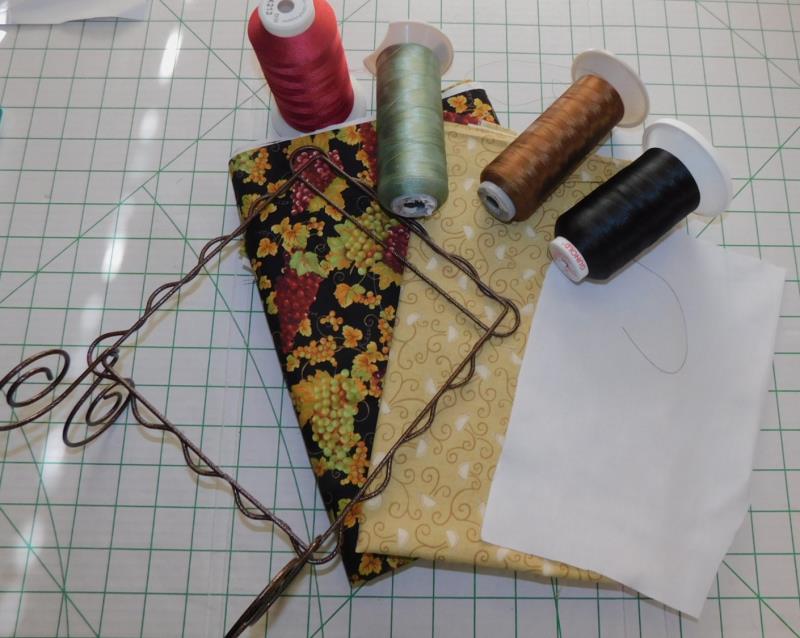
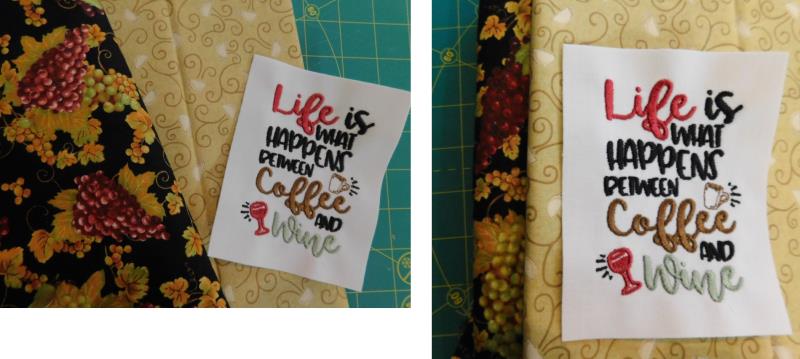
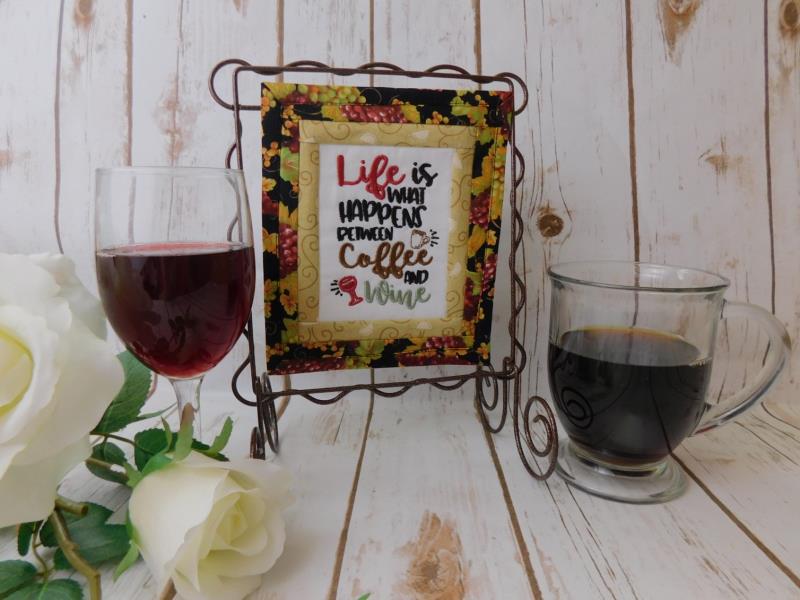
Frames vary slightly in size. Use the instructions as a general guide for creating this mini-wall-hanging and adjust the measurements for fabrics, sewing and finishing as needed. Coordinate the coffee fabric and wine fabric, using a lighter color as a guide. For the fabrics used, the background color of the coffee fabric was present in the grape fabric, so these fabrics coordinated very well. The thread colors used were present in both fabrics making for a coordinated look.
Think about using this as a gift for a co-worker or for a sewing friend who enjoys both coffee and wine. Instead of using a frame, a small hook may be placed on the back so it could be put on a wall, or even use it as a hot pad or mug rug—it’s the perfect size!
Step 1:
Read through the instructions thoroughly before beginning and assemble all the materials needed to complete the project. Coordinate fabrics and embroidery threads.
(Click Image to Enlarge)
Step 2:
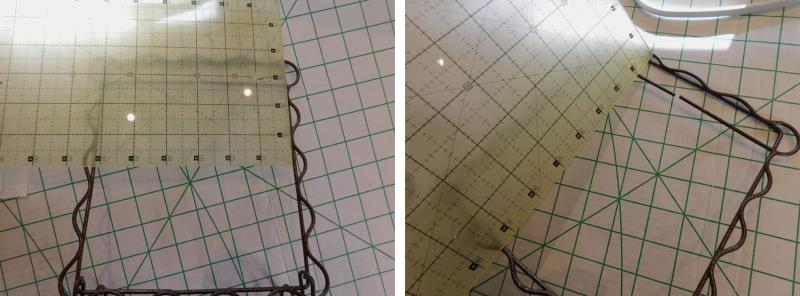
Measure the width and height of the inside of the frame. All these frames vary in size slightly, so you’ll have to adjust the measurements of the fabrics used in the project.
(Click Image to Enlarge)
Step 3:
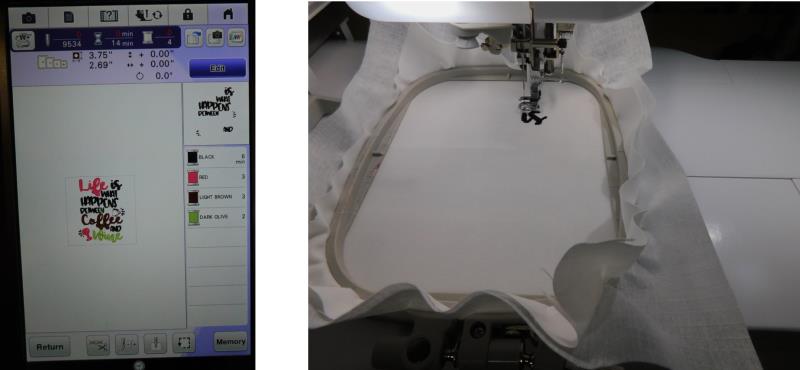
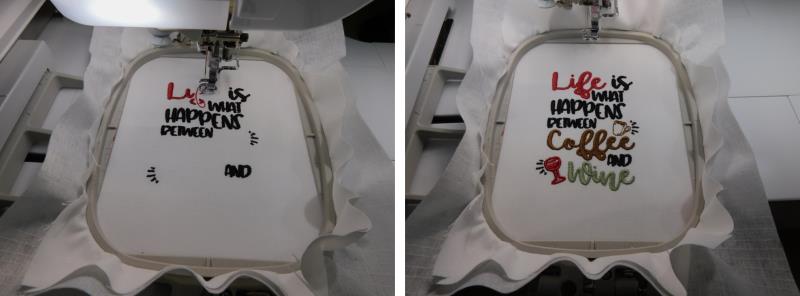
Decide on which thread colors will be used for which parts of the design. Load the design on the machine. Hoop the white Kona cotton with stabilizer
(Click Image to Enlarge)
Step 4:
and stitch the design following the color sequence with the chosen colors.
(Click Image to Enlarge)
Step 5:
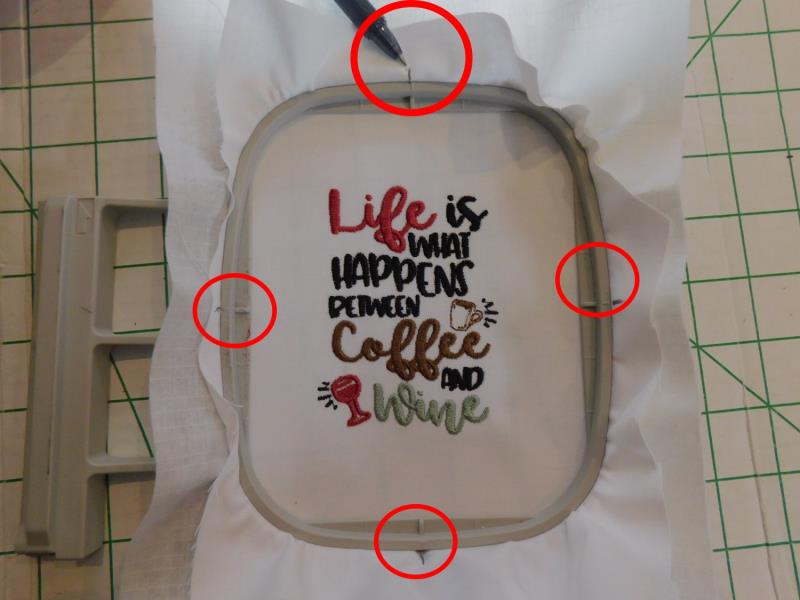
Before removing the fabric from the hoop, use the tick marks to mark the fabric outside of the hoop using the tick marks on the hoop as a guide. These marks will aid in trimming up the fabric squarely.
(Click Image to Enlarge)
Step 6:
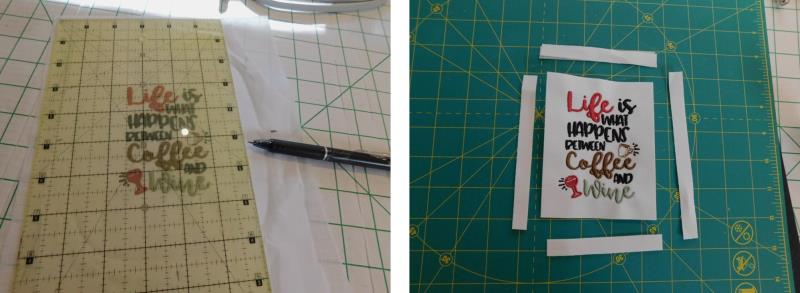
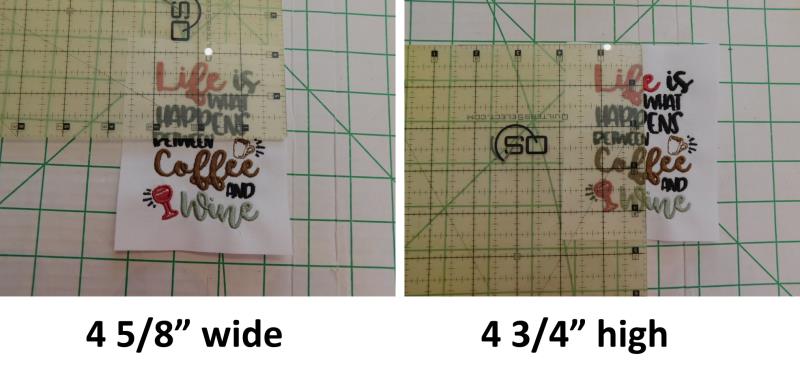
Mark and trim the fabric so the embroidered piece measures
(Click Image to Enlarge)
Step 7:
4 5/8” wide by 4 ¾” high.
(Click Image to Enlarge)
Step 8:
The prints work well together in this project because their common denominator is the golden background color of the coffee print fabric. Cut out the four border pieces as listed in the Materials list. When cutting the grape fabric, try and fussy cut the fabric so the grapes show well in the border section.
(Click Image to Enlarge)
Step 9:
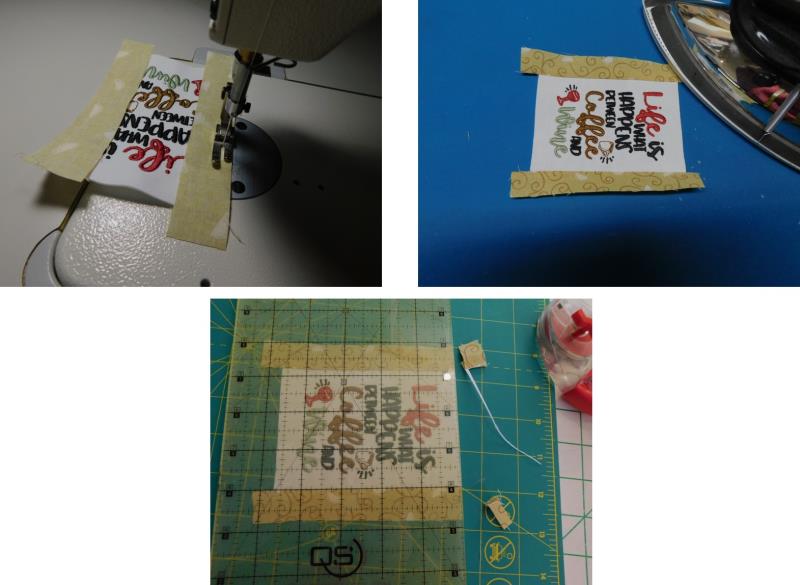
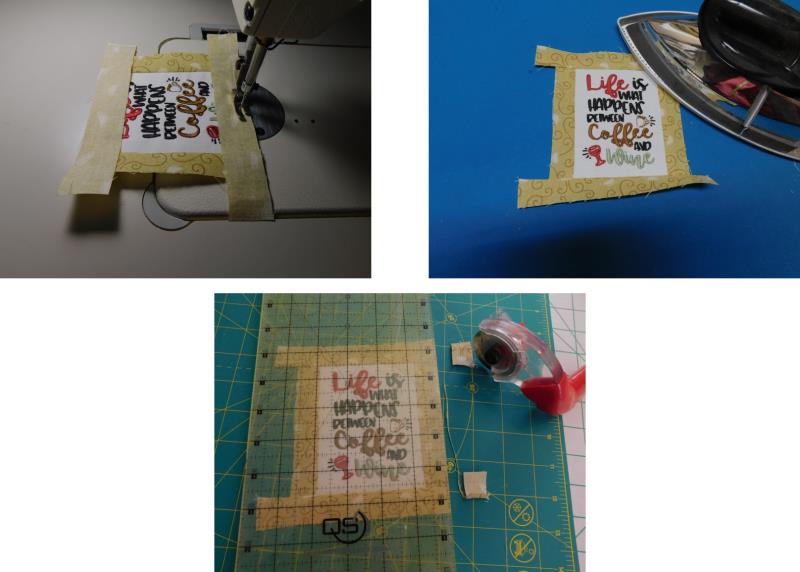
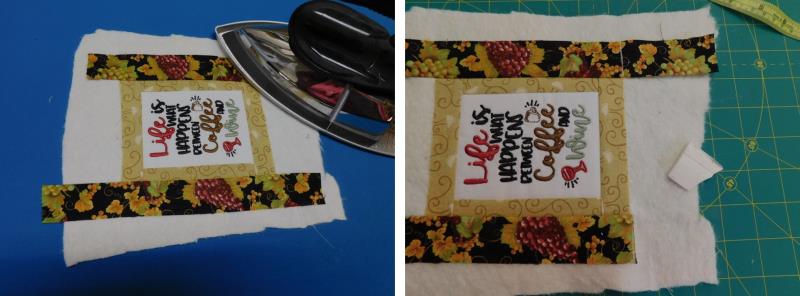
Beginning with the coffee fabric strips, center two on the left and right side of the embroider, right side down. Stitch using a ¼” seam allowance. Press the pieces to the outside and then trim them even with the embroidered fabric at the top and bottom.
(Click Image to Enlarge)
Step 10:
Next, place the remaining two strips at the top and bottom, right sides together, stitch with a ¼” seam allowance, press to the outside and trim even with the other strips.
(Click Image to Enlarge)
Step 11:
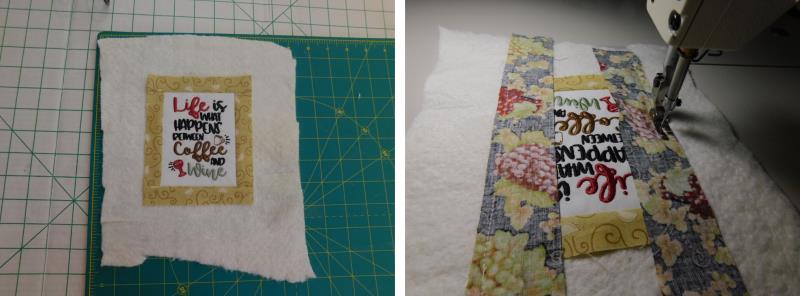
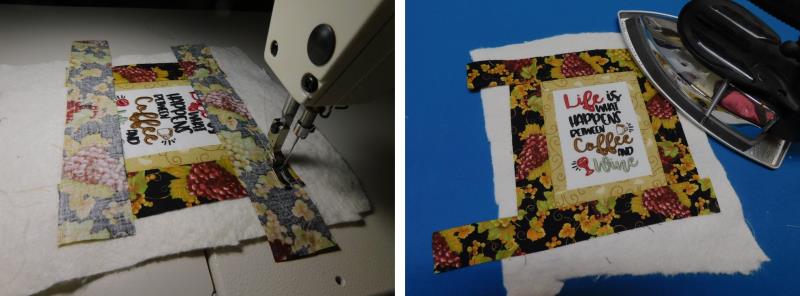
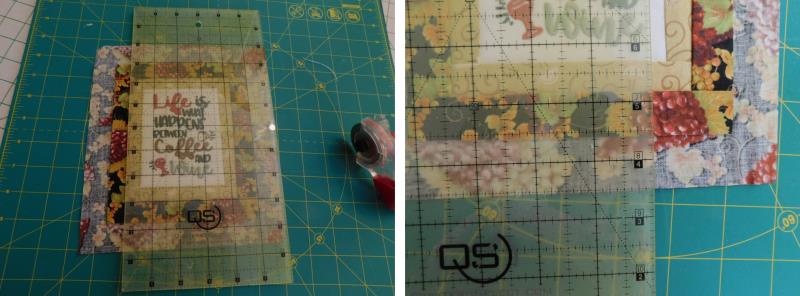
Center this section onto the cotton batting. Now we’ll be stitching in the quilt a you go method. Lay the left and right grape strips, right side down, and stitch using a ¼” seam.
(Click Image to Enlarge)
Step 12:
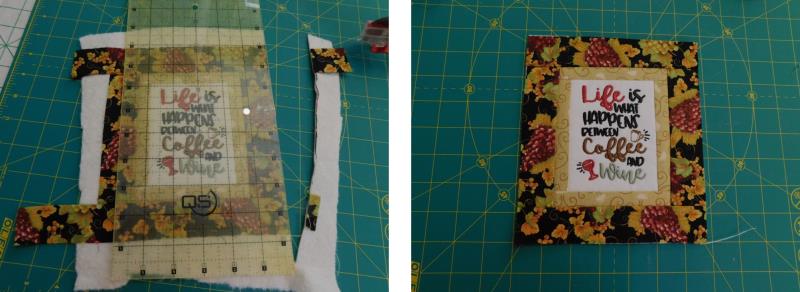
Press the seams to the outside and then mark and trim evenly as shown.
(Click Image to Enlarge)
Step 13:
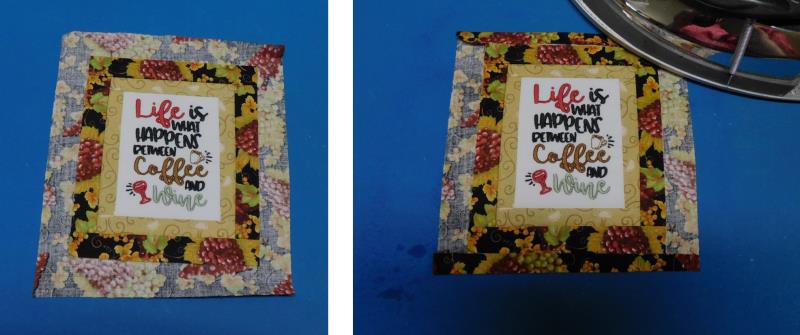
Place, sew, and press the remaining two grape strips to the top and bottom.
(Click Image to Enlarge)
Step 14:
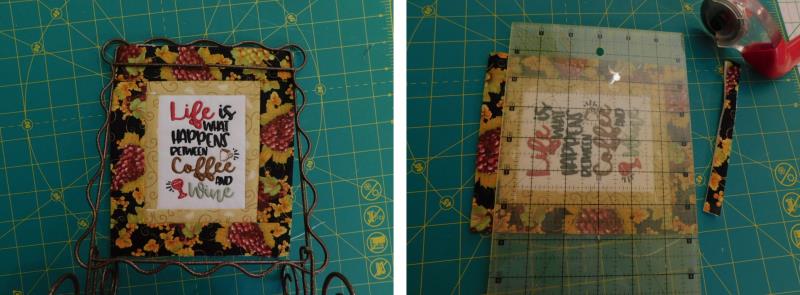
Trim the batting and strips evenly. Now here is where you’ll probably have to fudge the measurements to get the piece to fit the frame.
(Click Image to Enlarge)
Step 15:
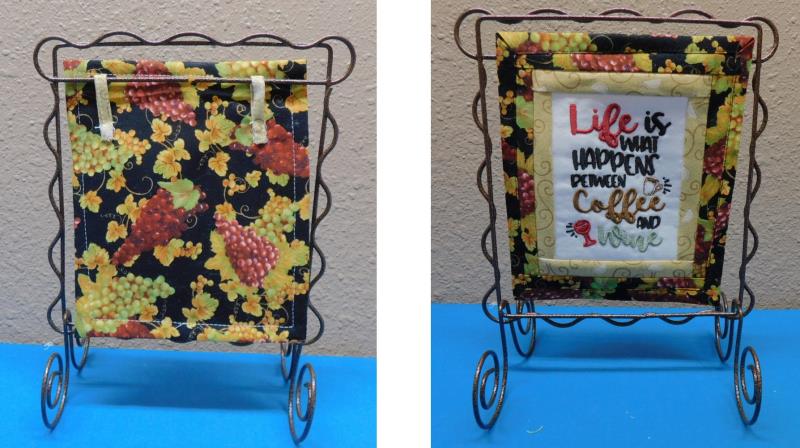
Check the piece as it is against the frame and then figure out how much will need to be trimmed so when the piece is finished, it will be about ¼” smaller all the way around inside the frame. Determine this measurement and trim the outer borders.
(Click Image to Enlarge)
Step 16:
With wrong sides together, center the embroidered piece with borders onto the grape backing fabric piece. Measure and cut 1” larger all the way around than the outside borders.
(Click Image to Enlarge)
Step 17:
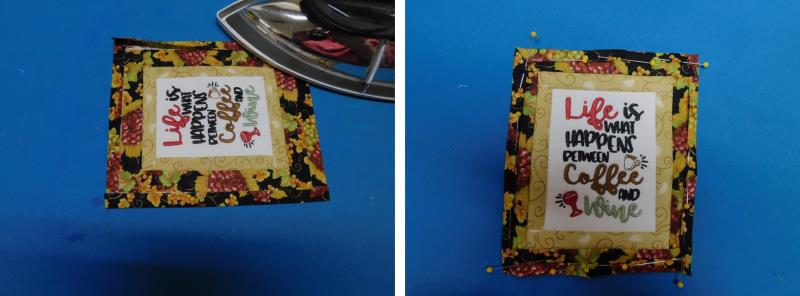
Press the backing fabric in ¼” at the top and bottom.
(Click Image to Enlarge)
Step 18:
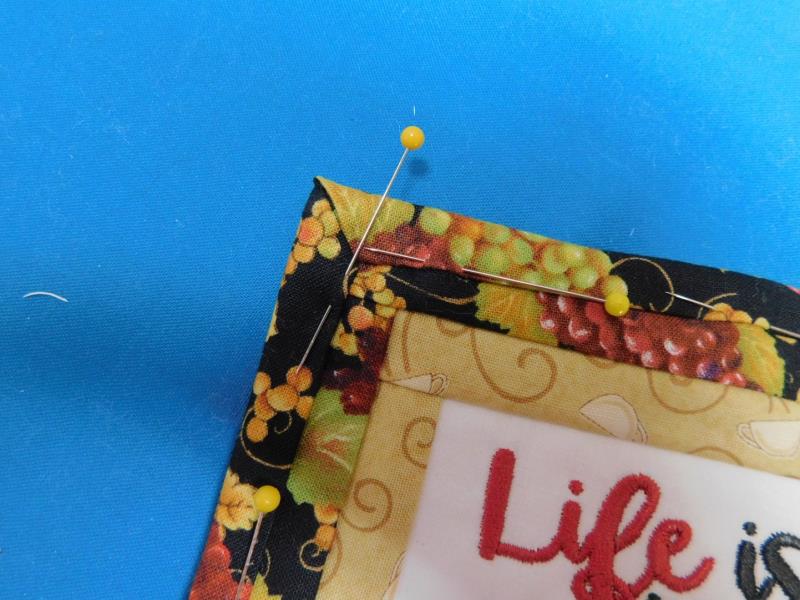
Press the backing fabric sides in ¼”. Miter the corners and pin.
(Click Image to Enlarge)
Step 19:
Be sure the borders are neatly mitered. Note: if I were to do this project again, because the binding is so small and covers the outer border, I would omit the outer border and trim the cotton batting to the size needed then cut the backing fabric the size needed so the edges would cover the inside borders ¼”.
(Click Image to Enlarge)
Step 20:
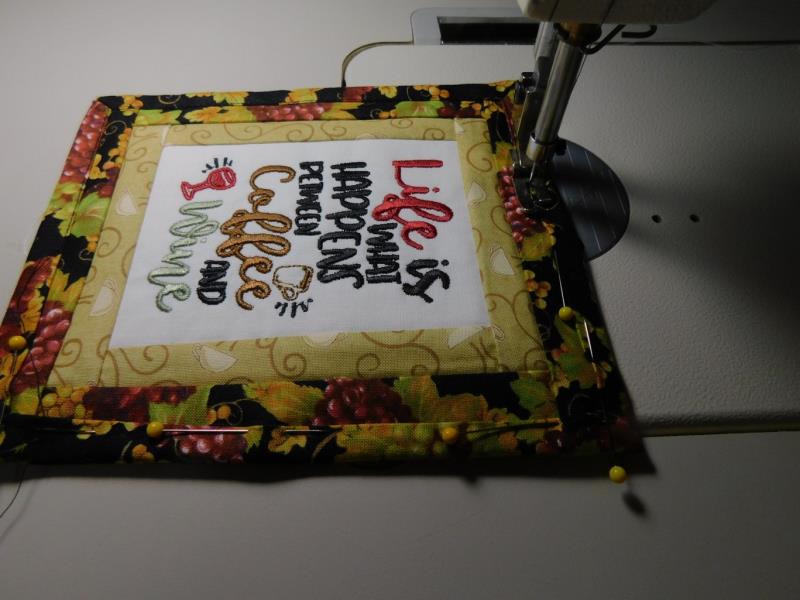
20. Edge Stitch the binding in place, removing the pins as you go.
(Click Image to Enlarge)
Step 21:
Use fabric scraps to create hanging loops and hand sew them to the back of the piece.
(Click Image to Enlarge)
Step 22:
Congratulations on finishing the project. Have coffee while making the piece and then marvel at your new project and celebrate with a glass of wine!
Ramona Baird has been in the embroidery industry for over 23 years. She and her husband owned a commercial and retail embroidery store in Arizona for many years. She is an experienced digitizer having been mentored by award-winners Pat Williams and Lindee Goodall. Ramona is a contributor to “Creative Machine Embroidery” magazine having 5 covers to her credit. Ramona has worked for Wilcom America and served many years as Education Director for the American Sewing Guild. With a degree in fashion design, she is able to design and execute patterns which Pat Williams says are “out of the box” in creativity and application. Ramona likes to challenge the boundaries of embroidery and bring new and exciting designs, ideas, and projects to EmbroideryDesigns.com. She wants embroiderers of all levels to increase their skills and enjoyment in using their embroidery machine for gift-making and personal pleasure.