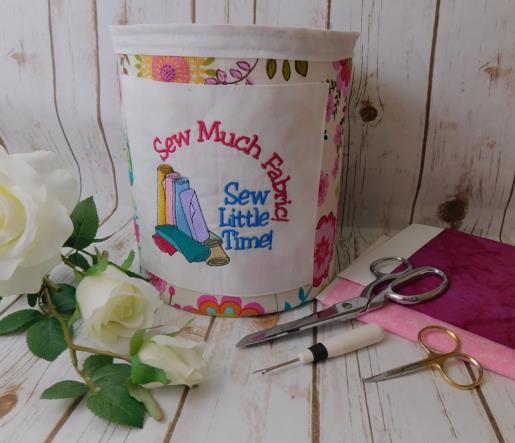
This project uses a kit to create a spring-style pop-up basket. The kit may be purchased through several sources on the Internet (search Sewing Girl Basket Pop-ups kit) or at a local quilt store. There are also several YouTube videos showing variations on how to construct the basket.
Because this is a kit, basic instructions will be given and show how the embroidery design was edited a bit (original design is meant to be a clock), and a couple of tricks that I found helpful in constructing the basket that varies from the printed instructions with the kit.
This basket is a lot of fun to do. There are three sizes and the 8” size is shown in this project. Be sure to keep the instructions from the kit because there are refill springs so you can make several baskets!
Step 1:
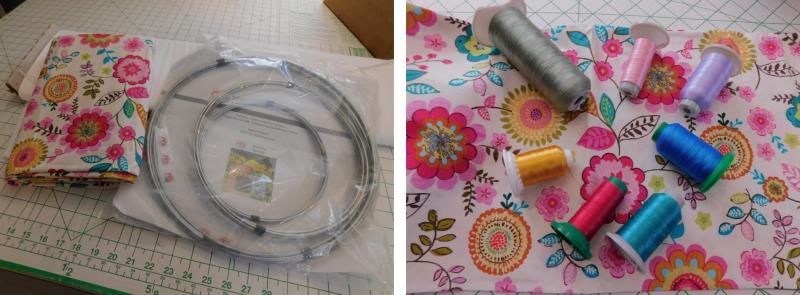
Read through the instructions for the kit and these instructions thoroughly before beginning and assemble all the materials needed to complete the project, which are listed are in the kit. Choose thread colors for the embroidery that will coordinate with the fabric print.
(Click Image to Enlarge)
Step 2:
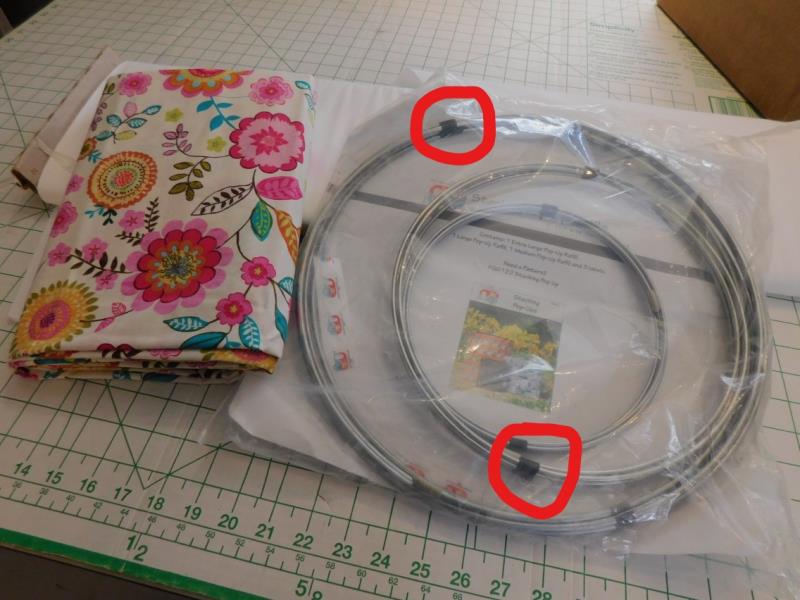
One important thing to note in the kit instructions: do not remove the tape from the spring until instructed to do so.
(Click Image to Enlarge)
Step 3:
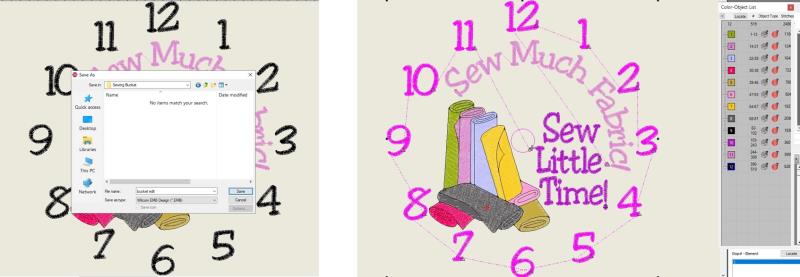
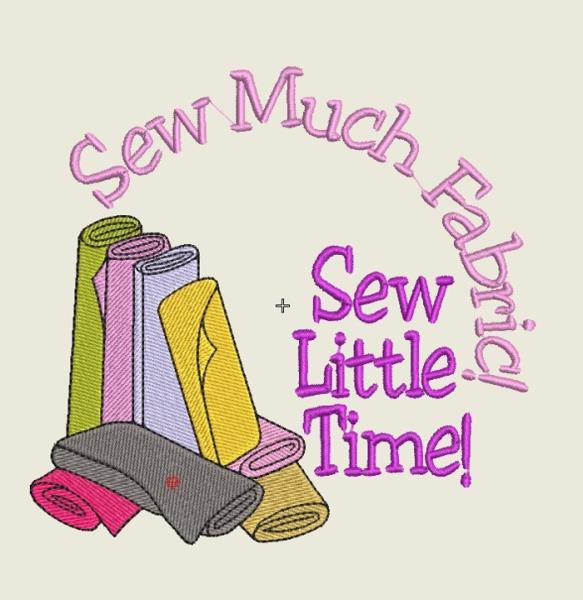
The numbers in the design are the last to sew. If you have embroidery software, save the design
(Click Image to Enlarge)
Step 4:
and delete them. Save the file and then export in the file format needed for the machine. If you don’t have embroidery editing software, you’ll just omit sewing the last color.
(Click Image to Enlarge)
Step 5:
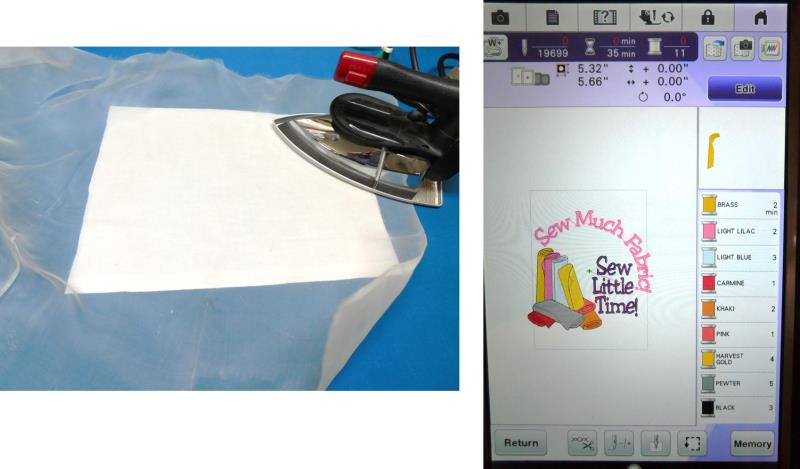
Press interfacing onto the back of the white Kona cotton. This will help hide the print of the fabric. For this project Stacey Easy Knit interfacing was used. Load the design on the machine.
(Click Image to Enlarge)
Step 6:
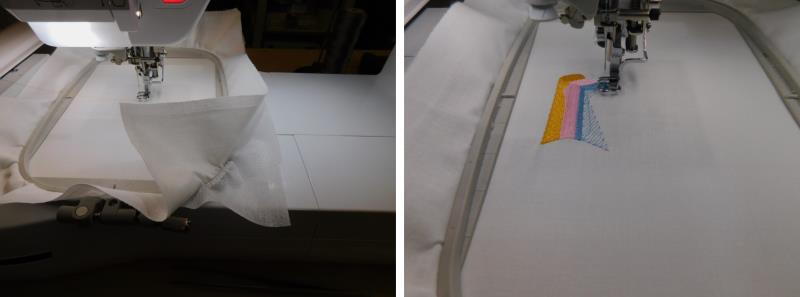
Hoop the fabric with embroidery stabilizer and stitch following the color sequence will the selected thread colors.
(Click Image to Enlarge)
Step 7:
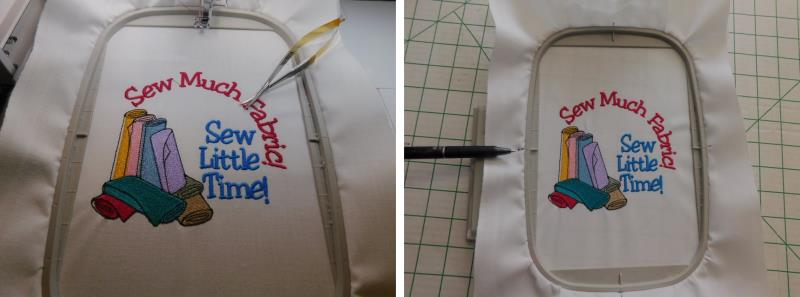
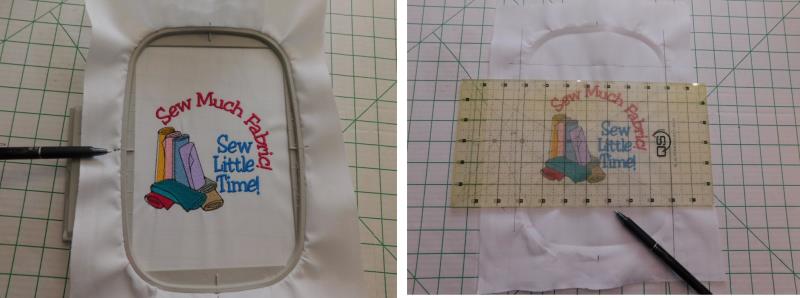
Use small embroidery nippers to clip any threads between words. Mark the fabric outside the hoop with tick marks across from the tick marks on the hoop. These marks will be used as alignment lines to trim the fabric.
(Click Image to Enlarge)
Step 8:
Using a gridded ruler, mark 1” outside of the outer most edge of the stitching on all sides.
(Click Image to Enlarge)
Step 9:
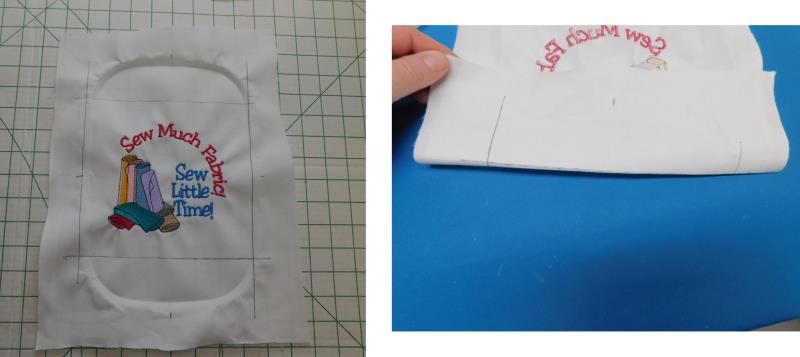
Use the lines as guides. Fold back the fabric along each of the lines.
(Click Image to Enlarge)
Step 10:
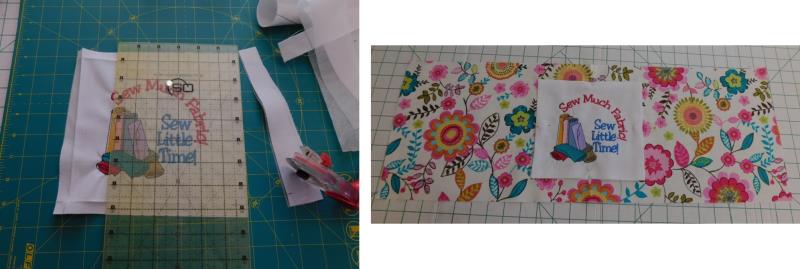
Trim the fabric ¼” outside of the folded edge on all sides. Cut all the fabric pieces and interface them according to the instructions provided in the kit. Also cut any remaining pieces like the elastic and binding. Quarter mark the outside fabric for the basket and quarter mark the embroidered piece. Align the quarter marks to align the embroidered piece to the basket.
(Click Image to Enlarge)
Step 11:
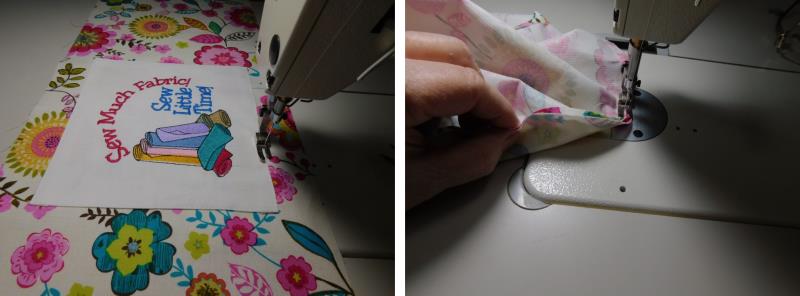
Edge stitch the embroidered fabric to the basket front fabric. Follow the kit instructions for basket assembly.
(Click Image to Enlarge)
Step 12:
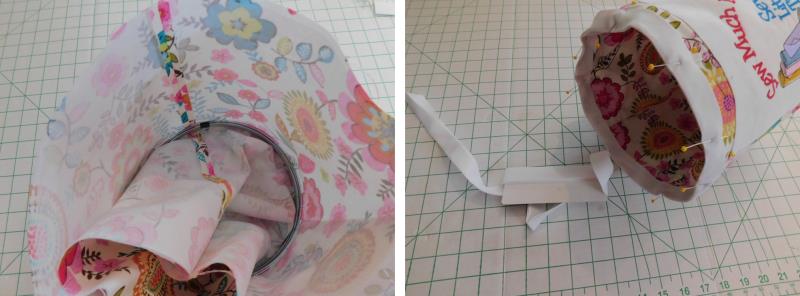
The outside, lining, and bases for the basket are sewn and then the spring is placed at the bottom of the basket (the tape is still not removed at this point). Instead of making binding for this project, purchased binding was used to finish the top of the basket.
(Click Image to Enlarge)
Step 13:
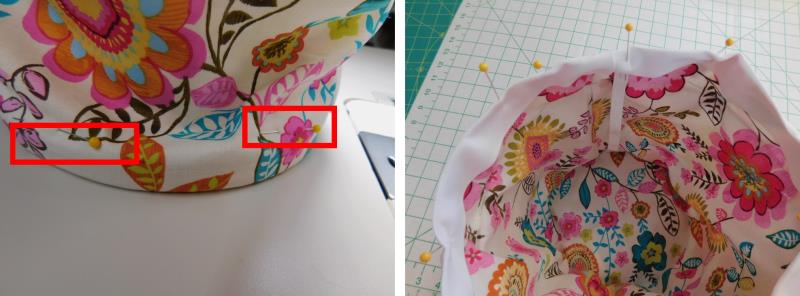
One thing I found helpful is before the tape was removed to release the spring, I put pins near the bottom of the basket just above the spring all the way around the basket catching the front and lining, and then removed the tape to release the spring. This made maneuvering the basket to sew on the binding much easier. I used the elastic strip and pinned it at the seam under the binding.
(Click Image to Enlarge)
Step 14:
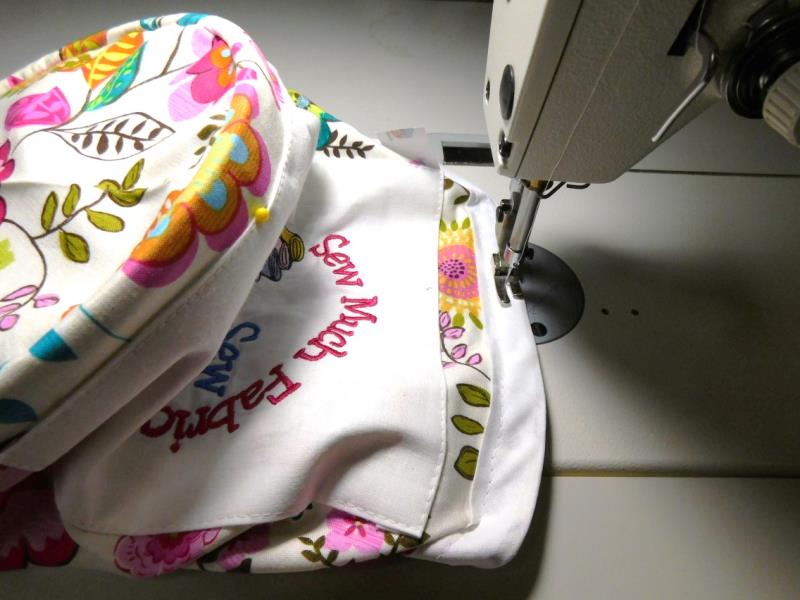
By having the pins toward the bottom just above the spring, sewing the binding on the top was much easier. Top stitch the binding in place.
(Click Image to Enlarge)
Step 15:
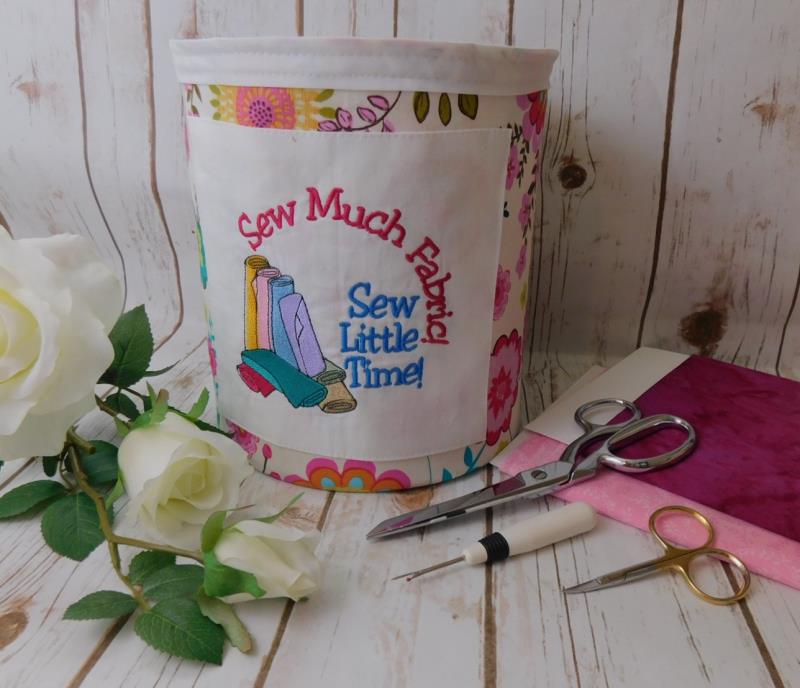
Here is the basket completed with the bottom view and the front view after the pins at the bottom were removed which released the spring.
Step 16:
Congratulations on creating a Pop-Up Sewing Basket. Honestly, these were so easy to do I know I’ll be making more—maybe for sewing friends for a guild gift exchange!
Ramona Baird has been in the embroidery industry for over 23 years. She and her husband owned a commercial and retail embroidery store in Arizona for many years. She is an experienced digitizer having been mentored by award-winners Pat Williams and Lindee Goodall. Ramona is a contributor to “Creative Machine Embroidery” magazine having 5 covers to her credit. Ramona has worked for Wilcom America and served many years as Education Director for the American Sewing Guild. With a degree in fashion design, she is able to design and execute patterns which Pat Williams says are “out of the box” in creativity and application. Ramona likes to challenge the boundaries of embroidery and bring new and exciting designs, ideas, and projects to EmbroideryDesigns.com. She wants embroiderers of all levels to increase their skills and enjoyment in using their embroidery machine for gift-making and personal pleasure.