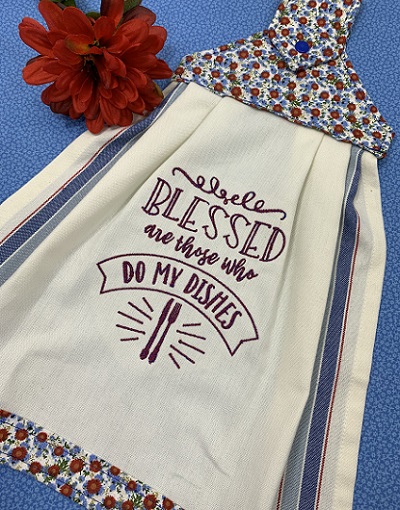
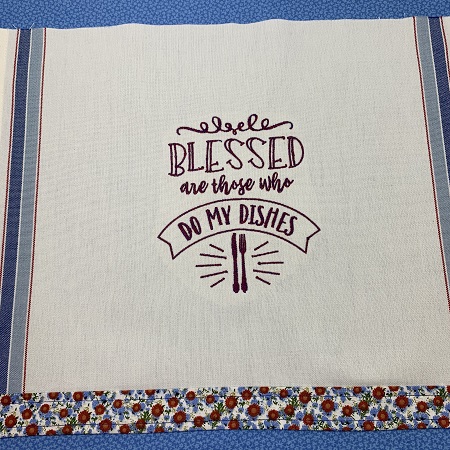
The perfect hanging towel for all kitchens. What better hint for help than a kitchen towel that says 'Blessed are those who do my dishes!' The design is available in 4 sizes. Size 5.30"x6" was used for this project. The American Twister Tweed thread has two strands of thread (red & blue) twisted together giving designs a heather appearance.
Step 1:
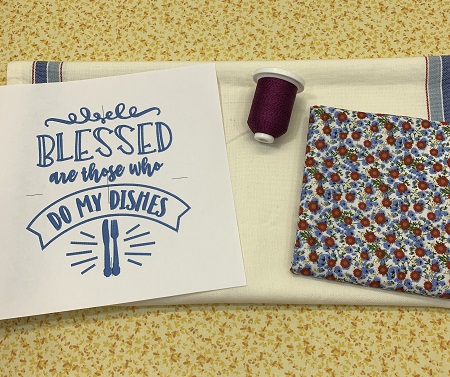
Read all the directions before beginning the project. Gather supplies and materials. Print the design template and topper pattern.
Step 2:
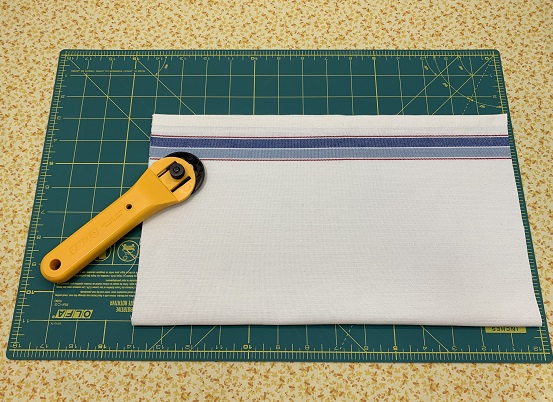
Cut one piece of toweling 14.5"x16.5". If you do not have the toweling, cut a cotton kitchen towel (approx. 16"x28") in half giving you a piece of toweling approximately 14.5"x16.5" in size.
(Click Image to Enlarge)
Step 3:
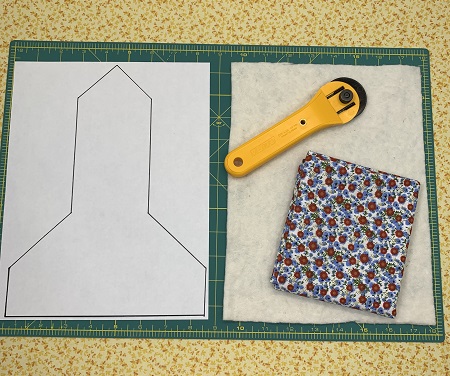
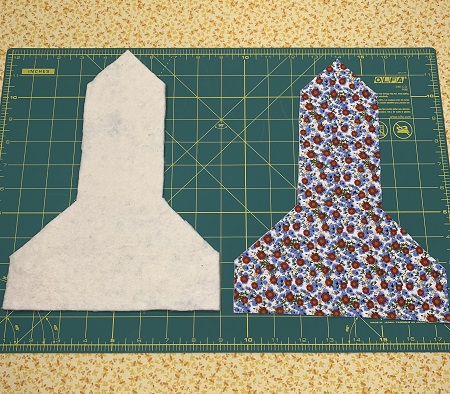
Cut one piece of the low nap batting with the towel topper pattern.
Step 4:
Cut 2 pieces of the towel topper pattern using the 100% cotton fabric.
Step 5:
Cut a 2.5" x 18.5" strip of fabric for the trim at the bottom of the towel. The measurement is for a 14.5"x16.5" towel. Use your towel measurements and add 2" to the length of your towel.
(Click Image to Enlarge)
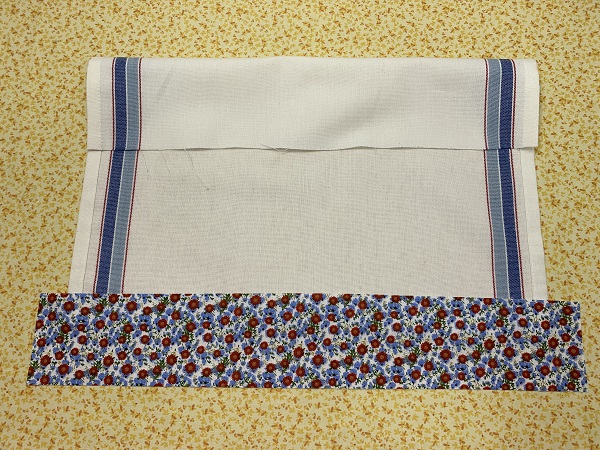
Step 6:
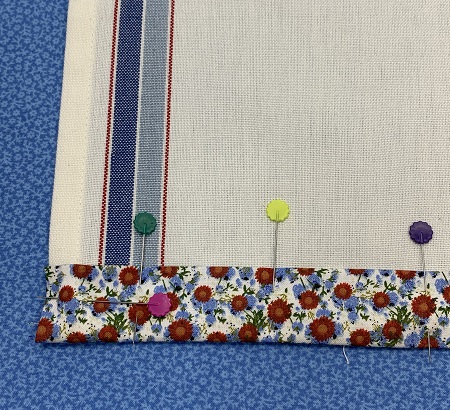
Trim: Pin the fabric strip with the RIGHT side down to the WRONG side of the kitchen towel at the bottom.
(Click Image to Enlarge)
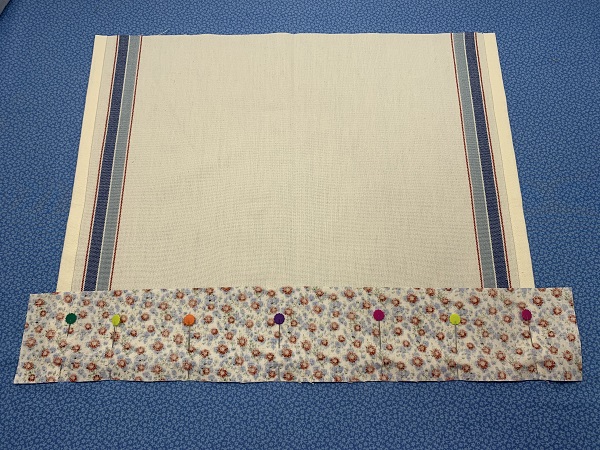
Step 7:
Sew the fabric strip to the kitchen towel using a 1/4" seam. Reinforce stitching at the beginning and end of the seam.
Step 8:
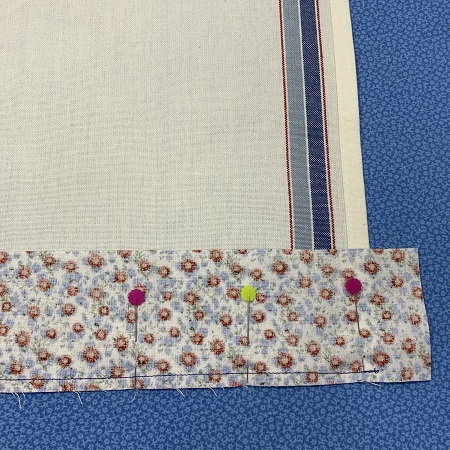
Flip the fabric strip to the right side of the kitchen towel. Press the seam line with an iron.
Fold the ends of fabric strip on each side even with the towel. Press with an iron.
Fold the fabric strip in half and pin in place.
Step 9:
Topstitch around all sides of the trim using a sewing machine.
Step 10:
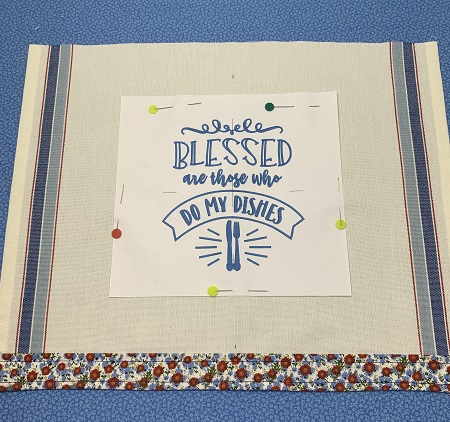
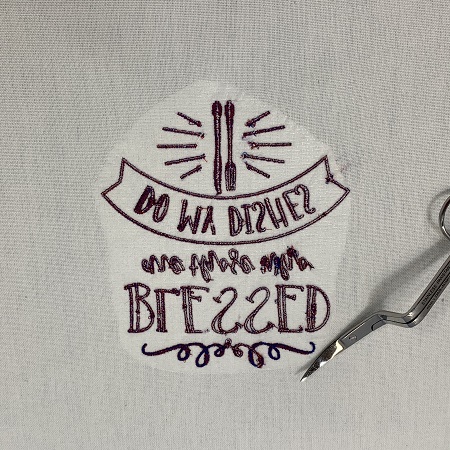
The design is available in 4 sizes. A design template for the largest size 5.3"x6" has been included with the project instructions. The design template is the actual size of the embroidery design & an excellent tool for placement. Embrilliance Essentials embroidery software program was used to print the design template. A trial version is available if you need a different size design template.
Use the design template as a placement guide.
Step 11:
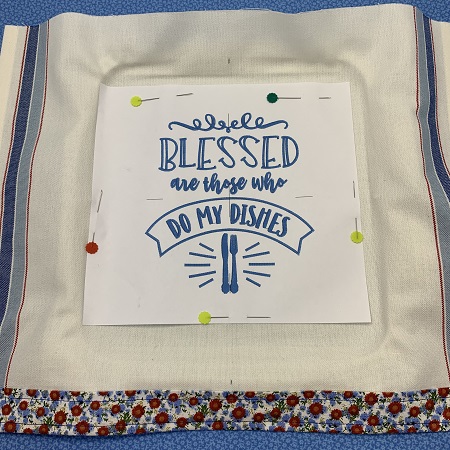
Floating the towel: Hoop one piece of No Show poly mesh stabilizer. Stabilizer must be taut in the hoop. Center the towel on the stabilizer using the axis grid on the design template and the hoop.
Lightly mist the stabilizer with a temporary adhesive spray (404 Repositionable Adhesive). Gently press the towel onto the stabilizer. Surface must be smooth and wrinkle free. Use pins for additional support.
Step 12:
Load the design onto the embroidery machine. Needle size (90/14) is very important with Twister Tweed thread. Designs with less density work better with the Twister Tweed thread also. Use a reduced speed (600-700 spm) to reduce thread breakages. A thread stand was also helpful using this thread.
Stitch the design.
Step 13:
Trim the stabilizer from the design. Leave 1/4" to 1/2" margin around the design. Trim long threads if needed.
Step 14:
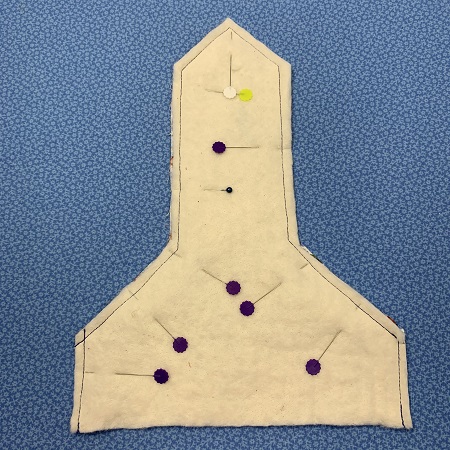
Topper: Place the two pieces of topper fabric right sides together. Then place the low nap batting on top. Pin the 3 pieces together. Sew a 1/4" around the topper leaving the bottom open.
Step 15:
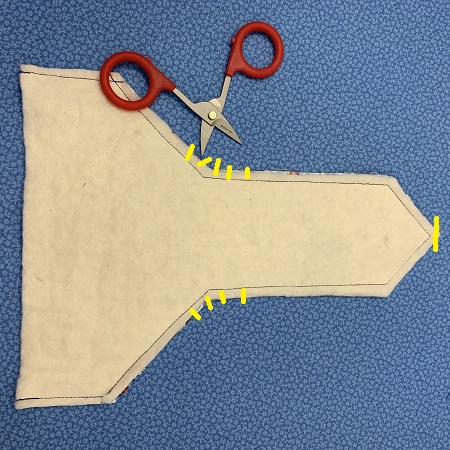
Use small scissors to clip around the curved areas on the topper. Cut the tip of of the point being careful not to cut the stitches.
Step 16:
Turn the topper right side out. Press seams with an iron.
Step 17:
Fold the bottom edge under 1/2". Pin in place if needed & press with an iron.
Step 18:
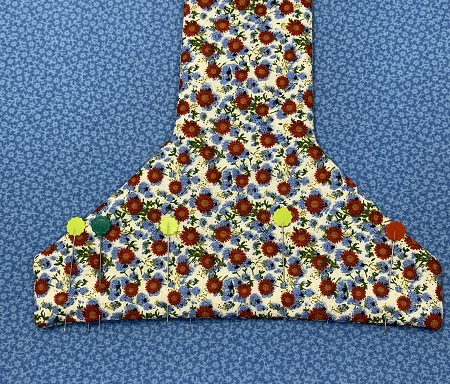
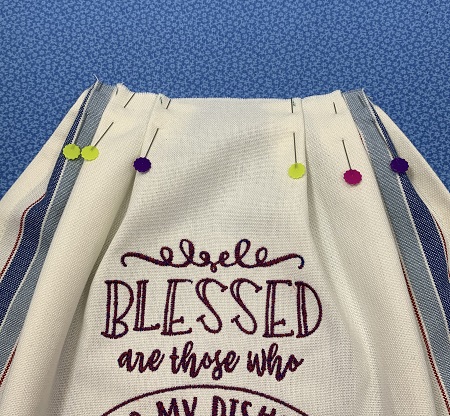
Gather the top of the kitchen towel so that it matches the width of the bottom of the towel topper. Pin the gathers in place. I pinned pleats at equal distances on each side to make the gathering on the towel.
Step 19:
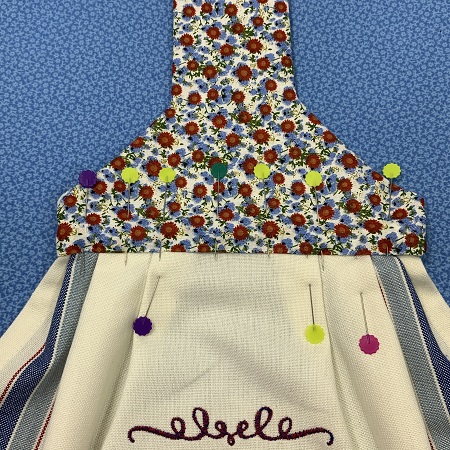
Insert the gathered towel 1/2" into the towel topper. Pin the topper to the towel. Make sure that the towel is inserted evenly into the topper on the front and back of the topper.
Step 20:
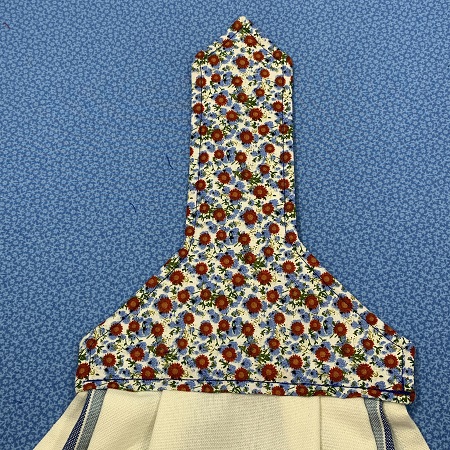
Topstitch around the outer edges of the towel topper. Reinforce the stitches on the topper where the towel is attached. I stitched that row twice to make it sturdier.
Step 21:
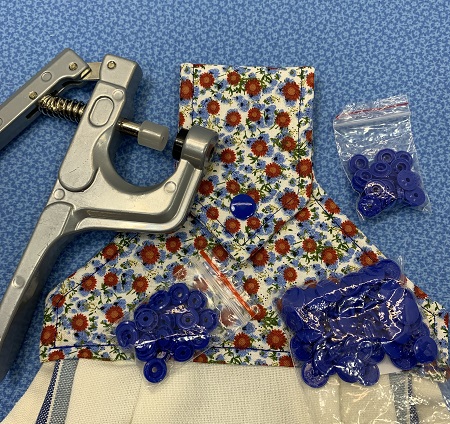
Add a snap to the topper. Decide where to put the snap. Mark the spot with a fabric pen. Attach the snaps.
Step 22:
You have completed a handing kitchen towel. Congrats! Sew Fun!
Beautiful things are made, one stitch at a time...
Marisa Littleton is a retired educator with a love for teaching and learning. Interests include machine embroidery, hand embroidery, quilting, cooking, and antiques.