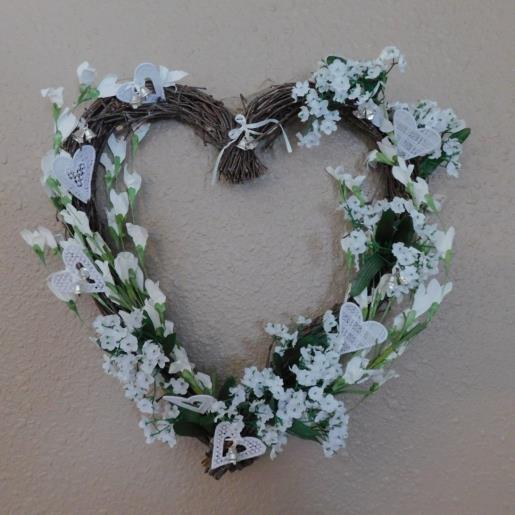
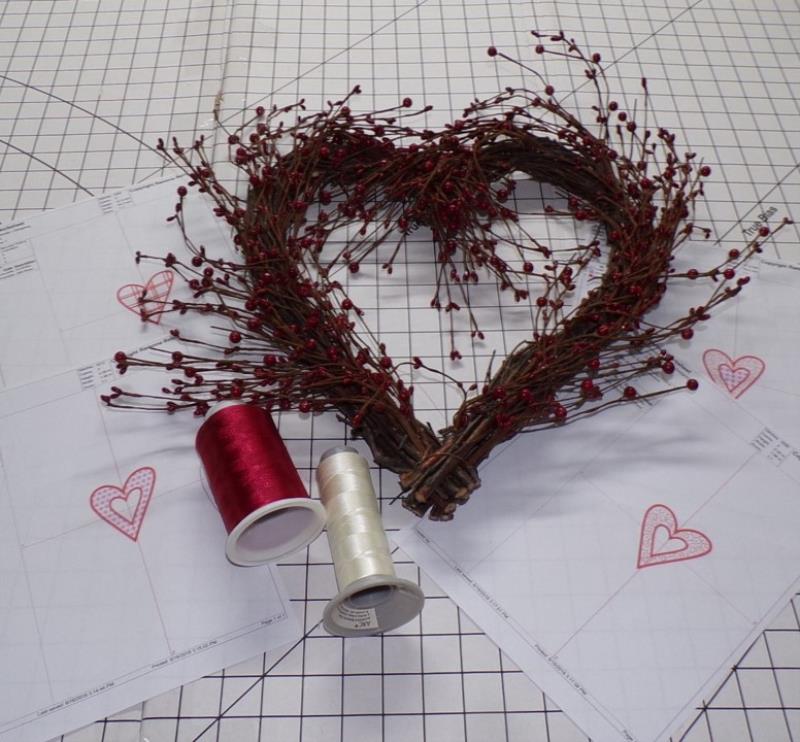
Depending on the size wreath you purchase, you can mix and match and stitch as many hearts as you’d like. The instructions are the same for stitching all the hearts. The time given is approximate for stitching hearts and assembly of the wreaths shown; it does not include drying time for the FSL hearts. The hearts stitch fast and the colors can be coordinated for a bridal shower, wedding, anniversary, or Valentine’s day celebration! Shown are a wreath for Valentine’s day or a winter wedding with crimson and white. The white wreath can be used for a wedding or anniversary.
Step 1:
Read through the instructions thoroughly before beginning and assemble all the materials needed to complete the project. Print out the color change sheets. Coordinate the colors for the wreath to the celebration colors. The first part of the instructions will be for the crimson wreath.
(Click Image to Enlarge)
Step 2:
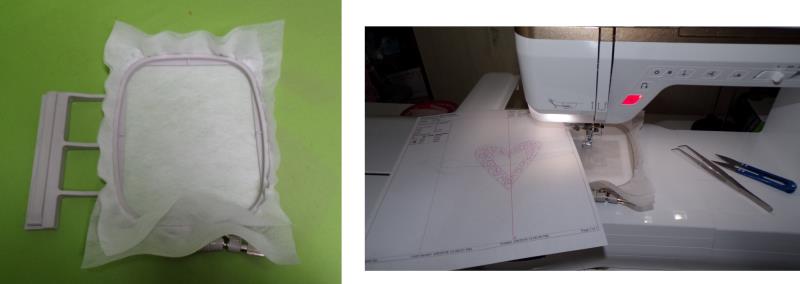
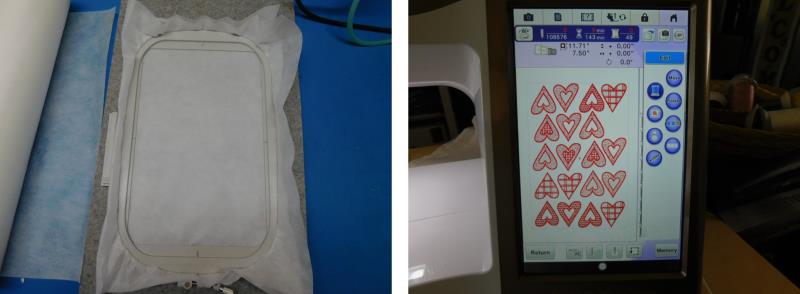
Hoop two layers of fibrous water-soluble stabilizer. Load the first design on the machine and place the hoop on the machine.
(Click Image to Enlarge)
Step 3:
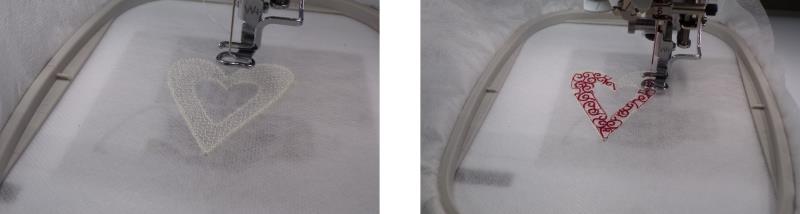
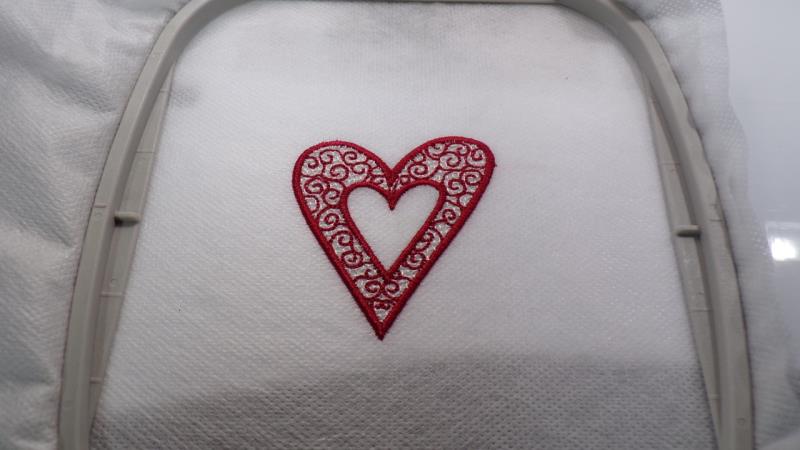
Stitch Color 1: white, the base for the heart. Stitch Color 2: the inside decorative element.
(Click Image to Enlarge)
Step 4:
Continue stitching which is the outer satin border.
(Click Image to Enlarge)
Step 5:
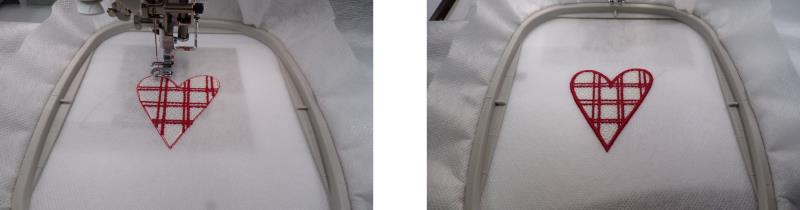
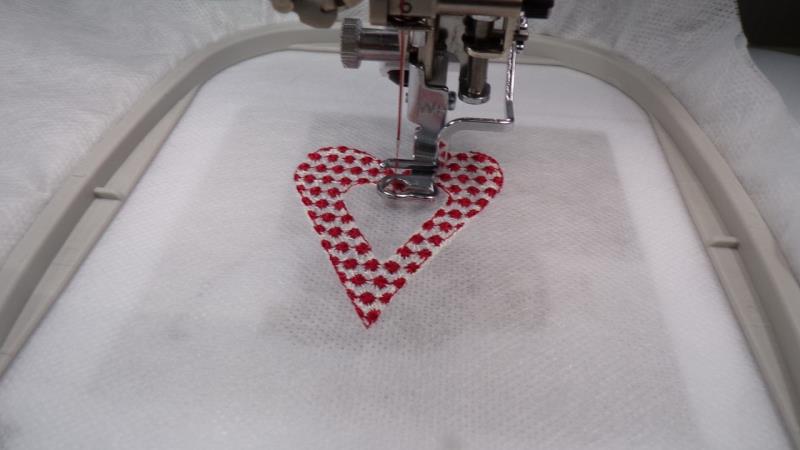
Load the second design on the machine. Stitch following the color sequence.
(Click Image to Enlarge)
Step 6:
Load the third design, stitching following the color sequence.
(Click Image to Enlarge)
Step 7:
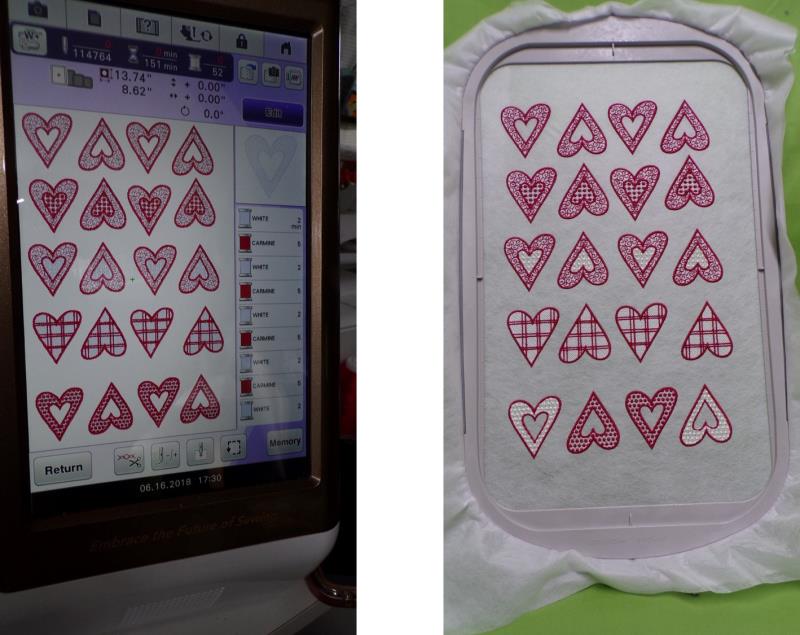
If the machine you have has a large hoop, you can gang up the colors. Just be sure to leave space between each heart design.
(Click Image to Enlarge)
Step 8:
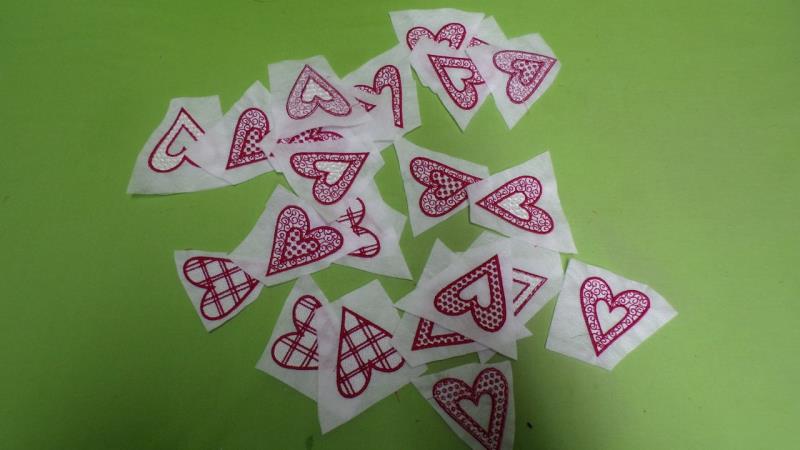
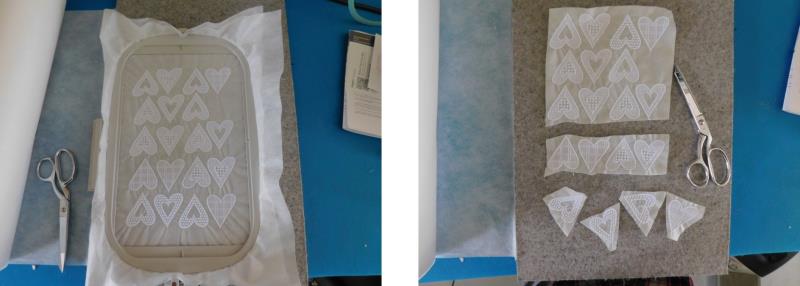
After all the designs are stitched, generally cut around each heart.
(Click Image to Enlarge)
Step 9:
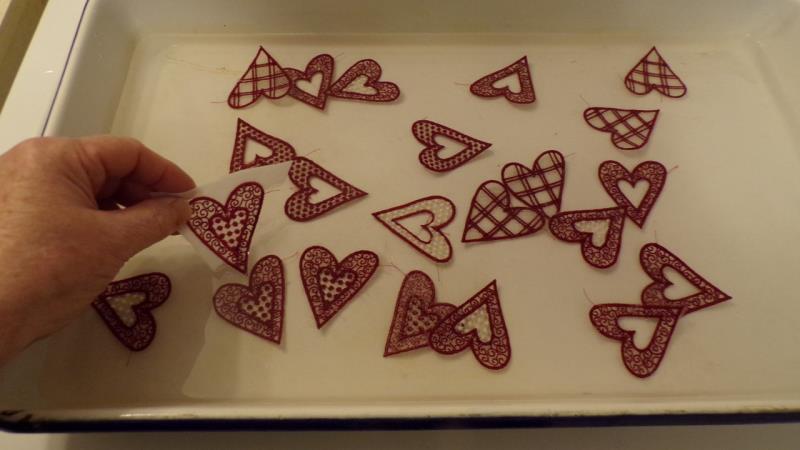
Follow the manufacturers' directions to rinse out the excess stabilizer. Rinse just until the stabilizer is dissolved—most of the stabilizer should be left in the hearts. Lay the hearts on a flat surface and allow to dry completely, preferably overnight.
(Click Image to Enlarge)
Step 10:
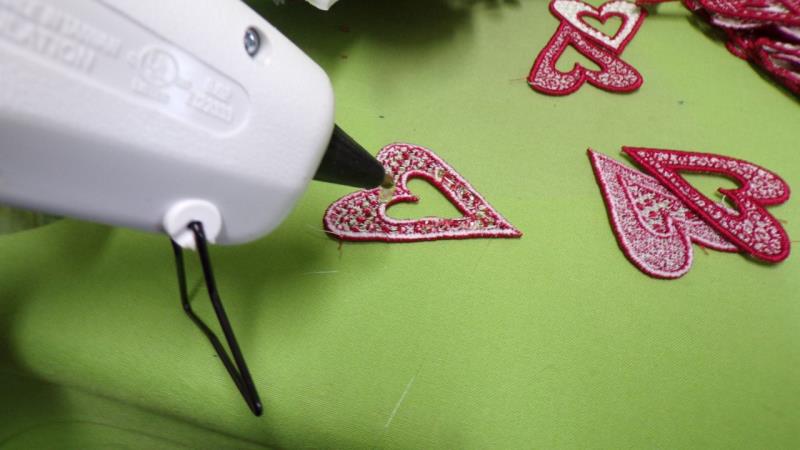
Determine where the hearts are to be placed on the wreath. Gently pull the berry sections away from the wreath to fan them out. Place a dab of hot glue on the back side of a heart and position it on the wreath as determined, holding in place until secure.
(Click Image to Enlarge)
Step 11:
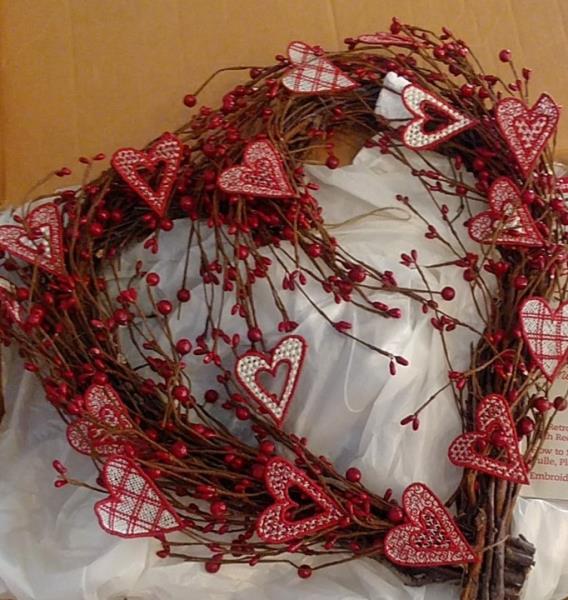
Continue until all the hearts are positioned as desired. The wreath can be left like this with no bow or flowers; or continue adding flowers and a bow.
(Click Image to Enlarge)
Step 12:
For the white wedding wreath, stitch the hearts as before, but set the machine to stitch each heart all in white thread.
(Click Image to Enlarge)
Step 13:
After all the hearts have finished stitching, generally cut them apart and then rinse out the stabilizer as was done in step 9, and let them dry preferably overnight.
(Click Image to Enlarge)
Step 14:
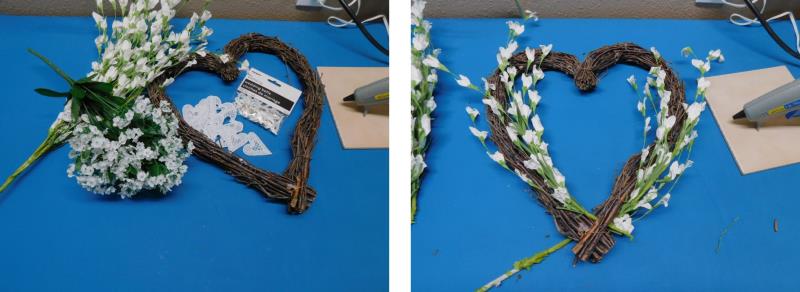
Assemble the wreath using the floral picks and bells. Begin with the longer picks. Use hot glue on the ends and position the stems into the twigs of the wreath.
(Click Image to Enlarge)
Step 15:
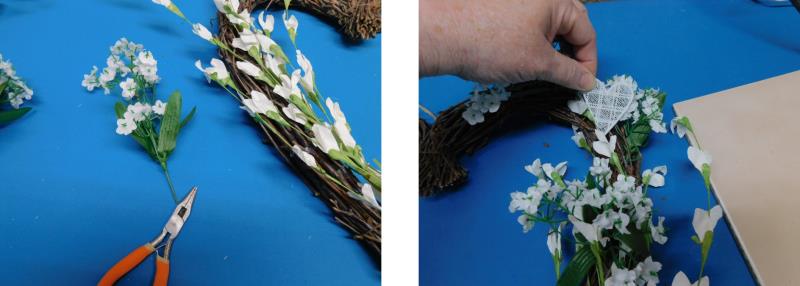
Use the wire cutter to cut stems off the smaller flower pick, add hot glue on the stem ends and insert them as desired in-between the twigs of the wreath. After the flowers are added, use hot glue to affix the hearts into position on the wreath.
(Click Image to Enlarge)
Step 16:
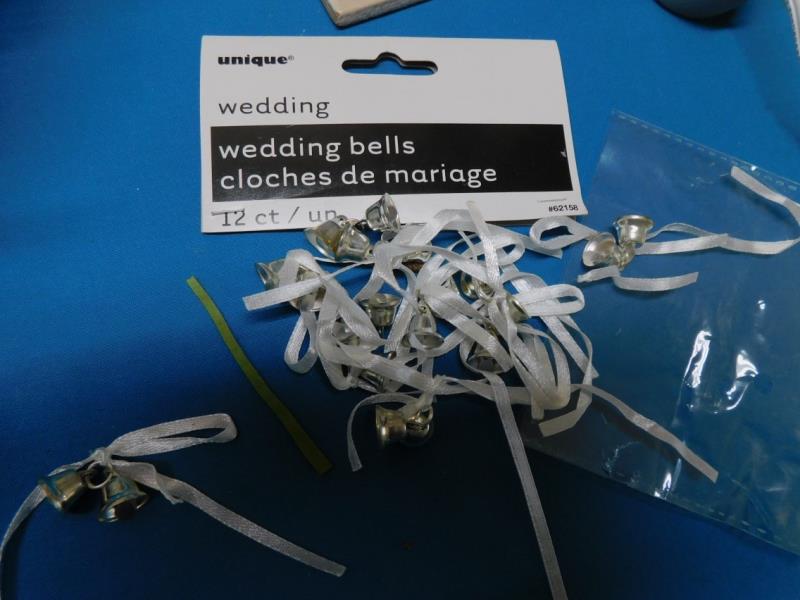
The bells have ribbon attached. Use your own ribbon or use the ribbon assembled on the bells.
(Click Image to Enlarge)
Step 17:
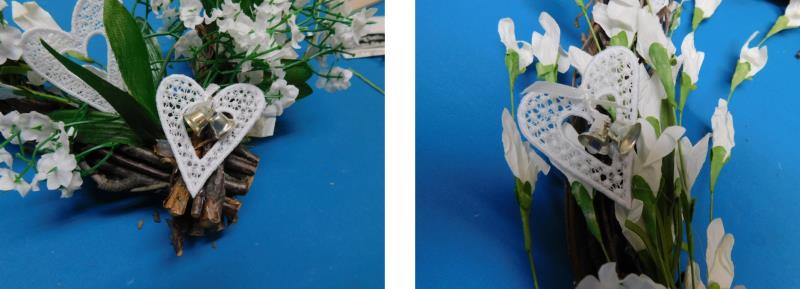
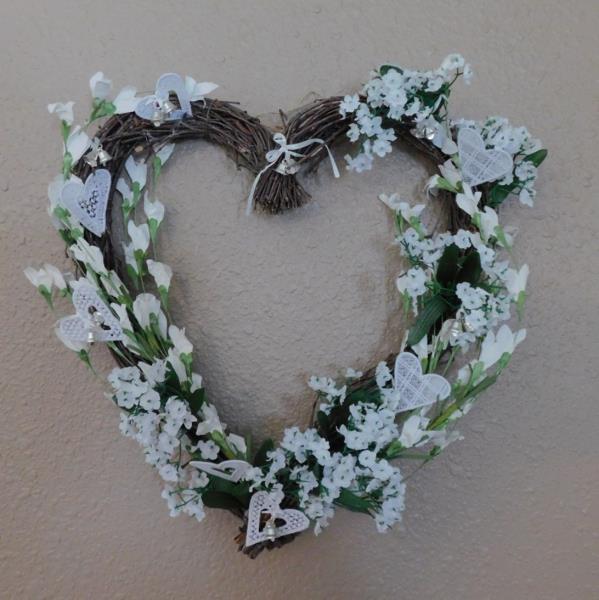
Tie bells inside the open-heart shapes and in the flowers as desired.
(Click Image to Enlarge)
Step 18:
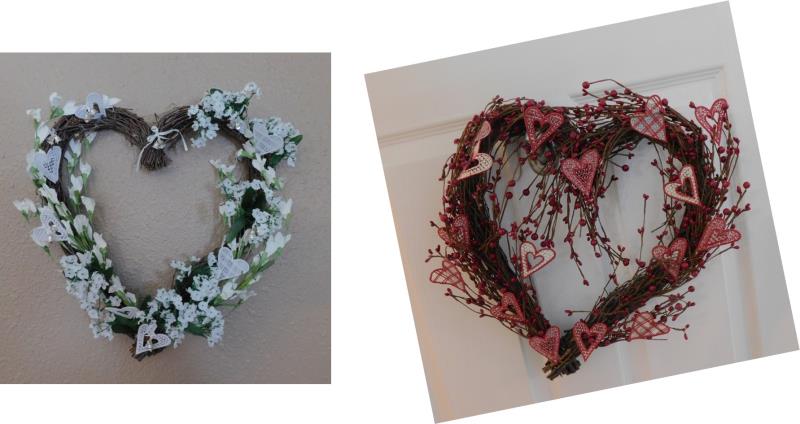
Here are just two examples of the many styles of wreaths that may be done with these FSL Hearts! Use your imagination, to create a wreath in the colors to coordinate with any celebration theme for weddings, anniversaries, or Valentine’s Day.
Ramona Baird has been in the embroidery industry for over 23 years. She and her husband owned a commercial and retail embroidery store in Arizona for many years. She is an experienced digitizer having been mentored by award-winners Pat Williams and Lindee Goodall. Ramona is a contributor to “Creative Machine Embroidery” magazine having 5 covers to her credit. Ramona has worked for Wilcom America and served many years as Education Director for the American Sewing Guild. With a degree in fashion design, she is able to design and execute patterns which Pat Williams says are “out of the box” in creativity and application. Ramona likes to challenge the boundaries of embroidery and bring new and exciting designs, ideas, and projects to EmbroideryDesigns.com. She wants embroiderers of all levels to increase their skills and enjoyment in using their embroidery machine for gift-making and personal pleasure.