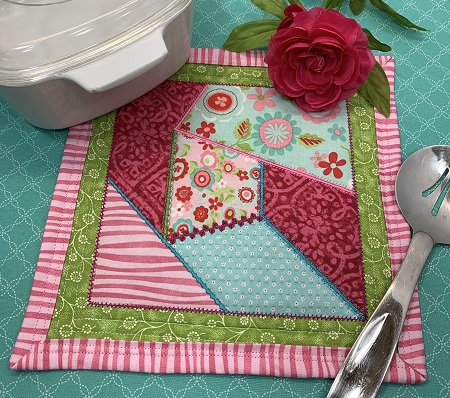
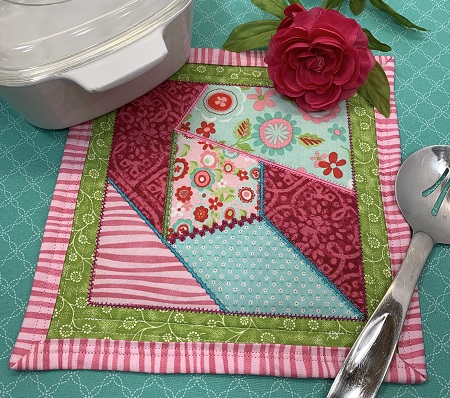
Pieces of cheerful, bright colors make a charming 'Patchwork Hot Pad' for your kitchen. Use Insul-Bright and cotton thread if you plan to use the hot pad with very hot items. A great scrap buster project that is fun and functional. The design pack has five different patterns in four sizes. Technique: Applique Quilt Block. Design size: 7.86"x7.86. Stitch Count: 8,300. Stabilizer: No Show poly mesh stabilizer. Hooping Technique: Floating. Embroidery Needle Size: 90/14. Fabric: 100% quilter's cotton.
Step 1:
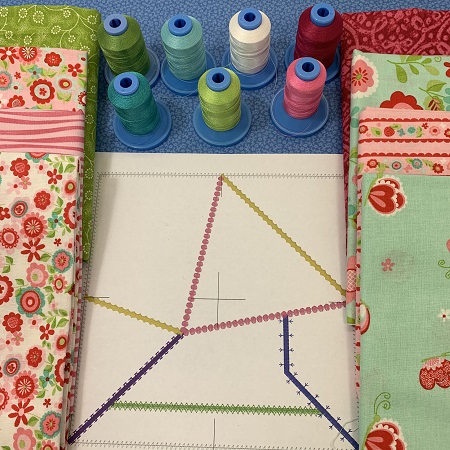
Gather the materials and read through the instructions before beginning. Iron and lightly starch the 100% cotton fabric.
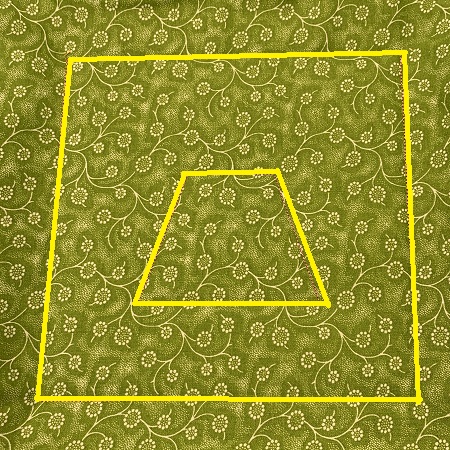
Cut two 12"x12" pieces of cotton for the front and back of the hot pad.
Cut one 12"x12" piece of cotton batting.
Cut one piece of 12"x12" of Insul-Bright (optional).
Cut one piece of 2"x42" strip of cotton fabric for binding.
Step 2:
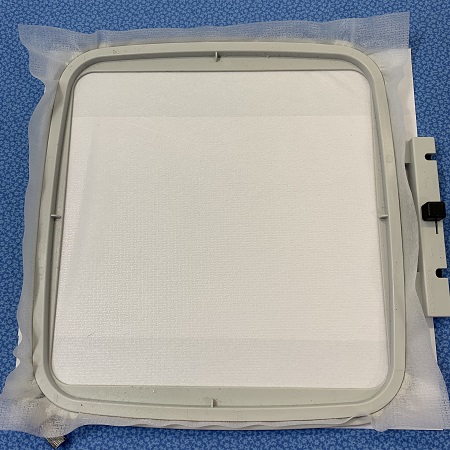
Hoop one piece of No Show poly mesh stabilizer.
Step 3:
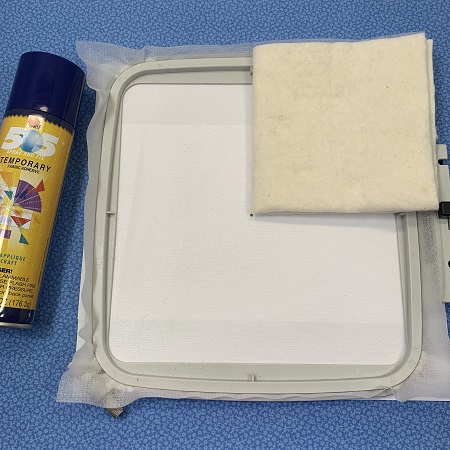
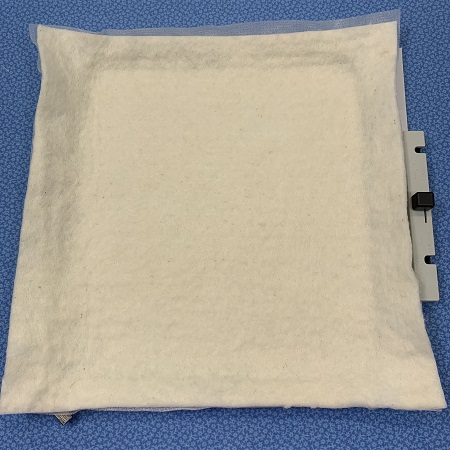
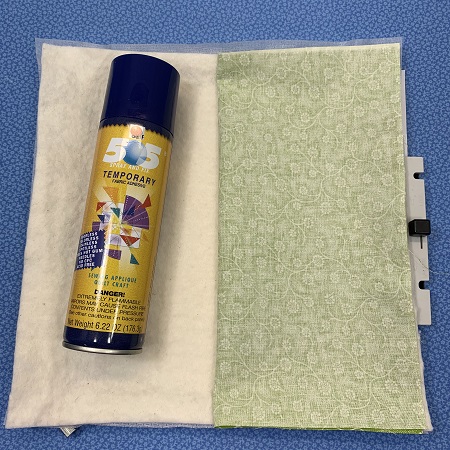
Use a light mist of 505 Temporary Adhesive spray on the stabilizer. Add one piece of low nap cotton batting on the stabilizer.
Step 4:
Batting surface should be smooth and wrinkle free. For added heat resistance, add one piece of Insul-Bright over the cotton batting or just use the Insul-Bright by itself.
Step 5:
Lightly mist the batting with 505 Temporary Adhesive spray. Place one 12"x12" piece of fabric on top of the batting. Surface should be smooth and wrinkle free.
Turn the hoop over with the wrong side of the hoop is facing you. Lightly mist the stabilizer with 505 Temporary Adhesive spray. Place one 12"x12" piece of fabric on the stabilizer using the outline from the front as a guide.
NOTE: You may need to add painter's tape around the fabric edges on the back for added stability.
Step 6:
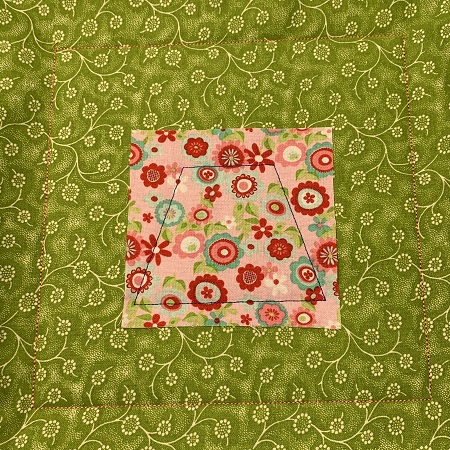
Appliqueing the patchwork pieces. Attach the hoop to the machine. Load the design on the machine. Check your needle, thread, and bobbin. Color Stop 1 outlines the quilt block and placement stitches for the first piece.
Step 7:
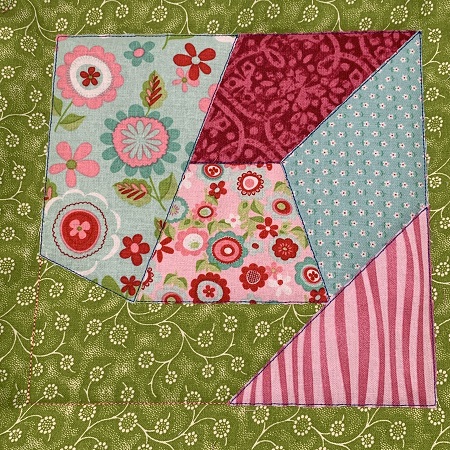
Lightly mist a small area of the fabric piece you are using with 505 Temporary Adhesive spray. Put the fabric over the placement stitches. Color Stop 2 is the tack down stitches for the first block.
Step 8:
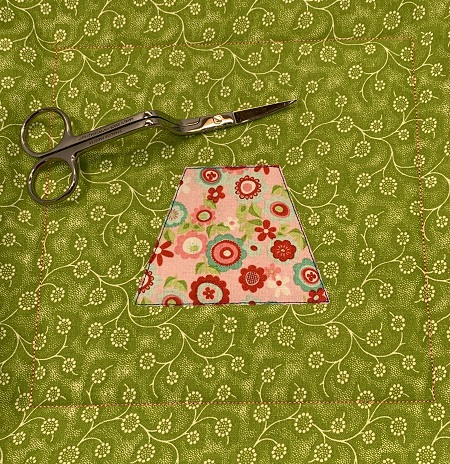
Remove the hoop from the machine, but Do Not UNHOOP the project. Use applique scissors or snippers to trim the fabric around the stitches. Clip close to the stitches, but do not nip the stitches. (Piece 1).
Step 9:
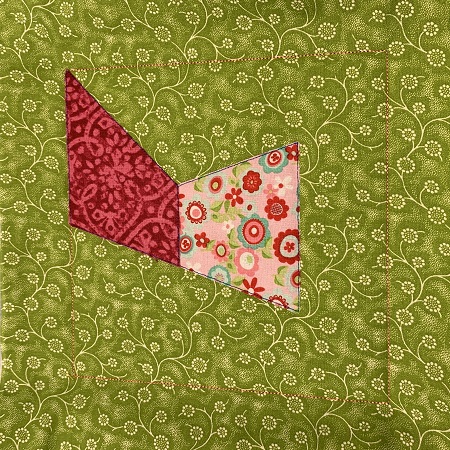
Continue with Steps 7 & 8 for each piece in the block. (Piece 2)
Step 10:
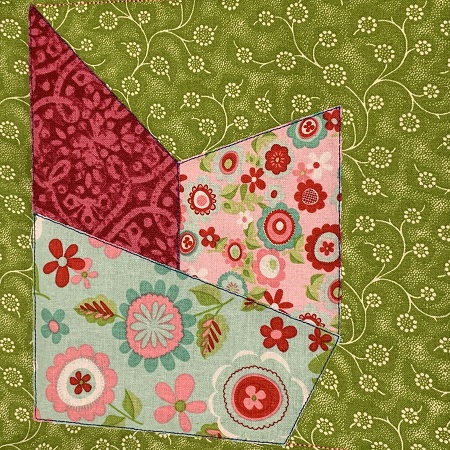
Continue with Steps 7 & 8 for each piece in the block. (Piece 3)
Step 11:
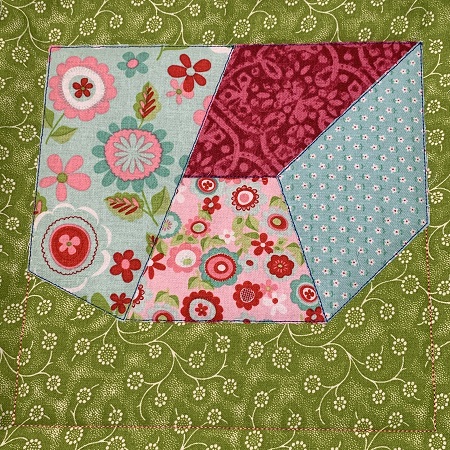
Continue with Steps 7 & 8 for each piece in the block. (Piece 4)
Step 12:
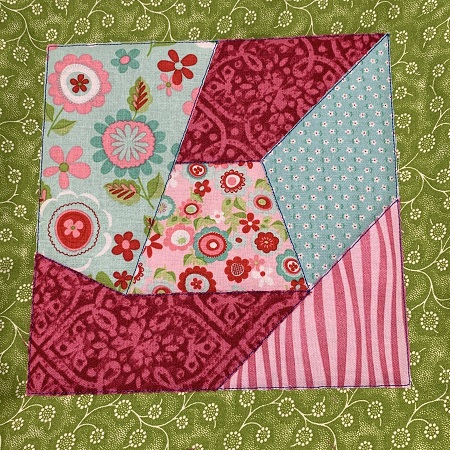
Continue with Steps 7 & 8 for each piece in the block. (Piece 5)
Step 13:
Continue with Steps 7 & 8 for each piece in the block. (Piece 6).
Step 14:
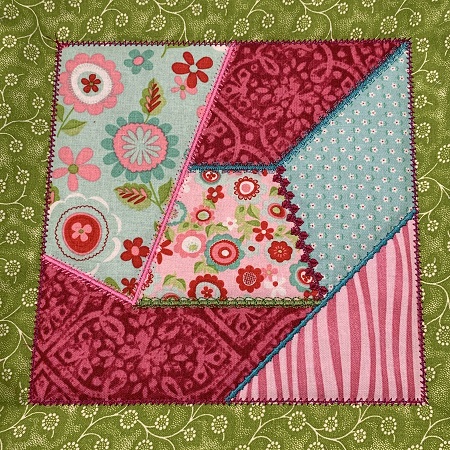
Once all the blocks have been tacked down, finishing stitches will be added to the sides of the pieces. Follow your color guide in the color stops to finish stitching the block.
Step 15:
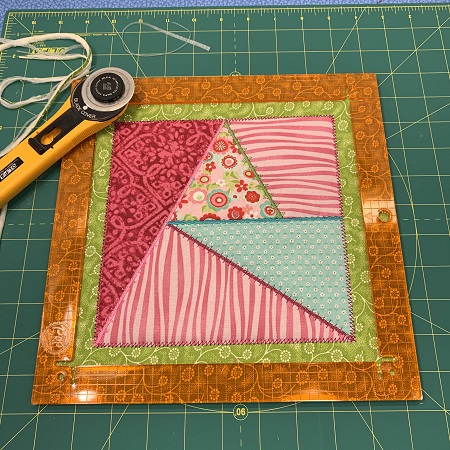
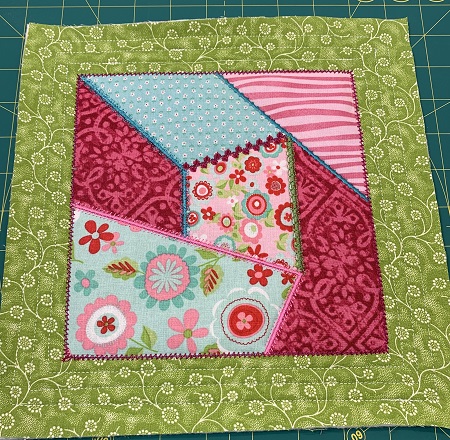
Remove the hoop from the machine. Use a ruler and rotary cutter to square the sides of the block. You want each side to measure the same. The example is approximately 10.5"x10.5". A Kimberbell Orange Pop rectangle was used to trim the block.
Step 16:
Quilting the block. Batting has been sandwiched between a top and bottom fabric creating a 'Quilted As You Go' (QAYG) technique for the pieces in the patchwork quilt block. Stitch 3 rows about 1/2" or less from each other around the block to quilt the edges of the hot pad together.
Step 17:
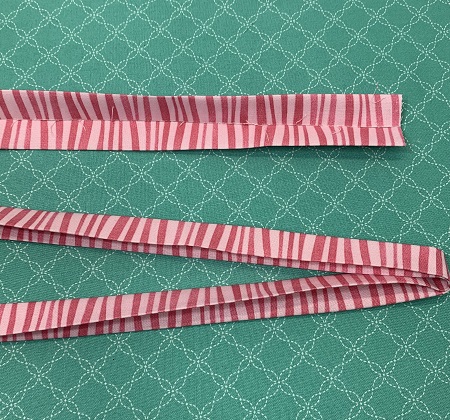
Trim for the hot pad. Fold the 2"x42" strip of cotton fabric in half. Press the fold line with an iron. Open the folded strip. Fold the raw edges of each side toward the crease line. Press the fold lines on each side. Fold the strip in half.
Step 18:
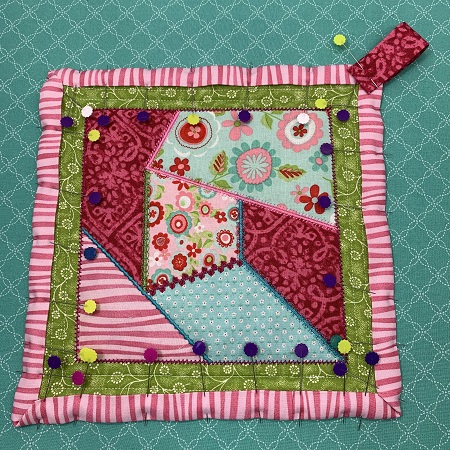
Pin the trim around the edges of the hot pad. A tab may be added to a corner for hanging if you prefer. (The completed sample does not have a tab.) Topstitch two seams about 1/4" apart around the edge of the trim. Reinforce the stitches at the beginning and ending of the seam.
Step 19:
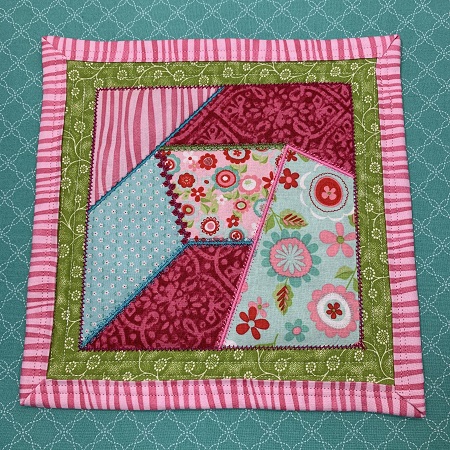
You have finished a crazy 'Patchwork Hot Pad'! Congrats!
Step 20:
Have a scrappy, happy day!
Step 21:
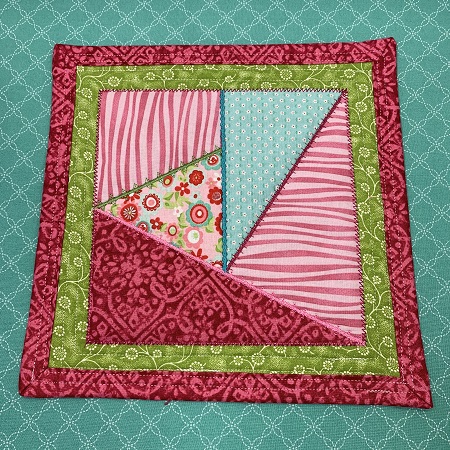
Example of another 'Patchwork Hot Pad'. Oh, the things we can make....pillows, purses, runners, lap throw, etc.
Marisa Littleton is a retired educator with a love for teaching and learning. Interests include machine embroidery, hand embroidery, quilting, cooking, and antiques.