A handy kitchen project to make for yourself or as a gift. The two end pockets are made in the hoop. The long strip and the adding of the pockets is accomplished at your sewing machine.
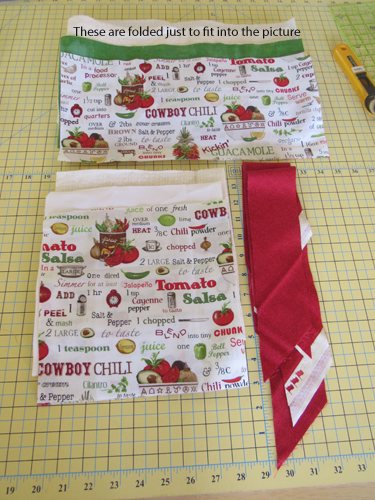
a. 7” x 35” cut one each strip of the print fabric, the grunge green, cotton batting and Insulbrite® Thermal batting. b. For the front pockets cut 2 9” x 9” squares of the white Kona® cloth, the print fabric and cotton batting. c. Cut the binding fabric 2 ½” wide and join strips together to get 88” of bias binding.
Step 2:
Lay the strip of grunge green flat on a table. This will be the inside fabric that touches the pan. If yours is a print place the print face down.
(Click Image to Enlarge)
Step 3:
Spray one side of the Insulbrite® Thermal Batting with spray adhesive and smooth over the green fabric. It does not matter which side of the Insulbrite® that you spray.
(Click Image to Enlarge)
Step 4:
Spray the cotton batting strip with adhesive and place over the Insulbrite®.
(Click Image to Enlarge)
Step 5:
Spray the wrong side of the outside fabric, in this case the Mexican food print, and place it right side up over the cotton batting.
(Click Image to Enlarge)
Step 6:
Wind a bobbin with the cotton thread that you will use for stitching the binding to the project. Thread your sewing machine with the cotton thread in the top and bobbin.
(Click Image to Enlarge)
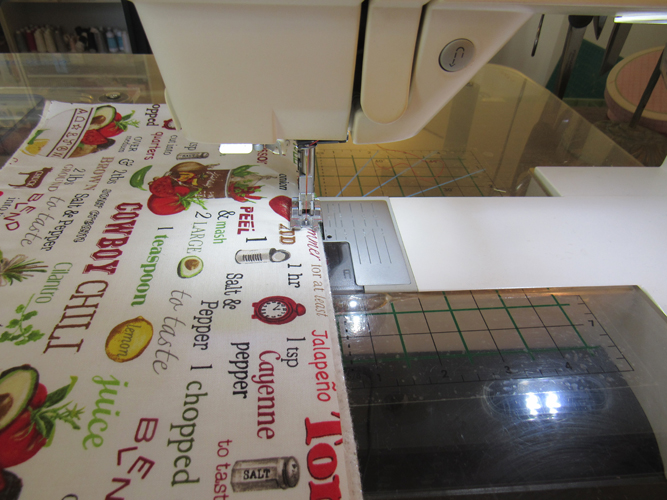
Step 7:
Baste down each side of your quilt sandwich with a scant ¼” seam using a 4mm stitch length.
(Click Image to Enlarge)
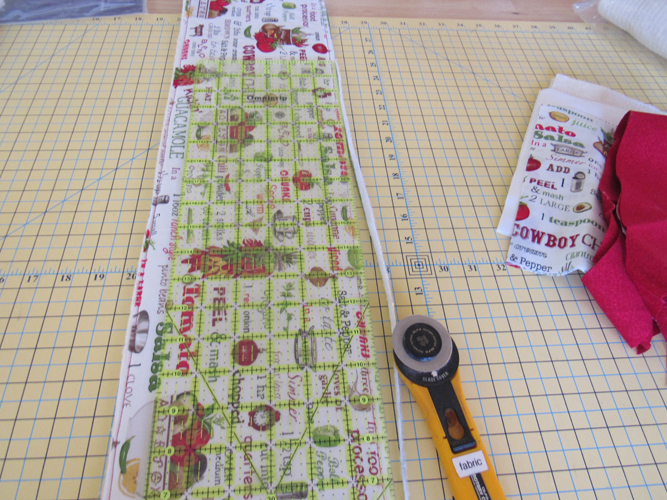
Step 8:
Trim off any batting that has squished out the sides of your fabrics.
(Click Image to Enlarge)
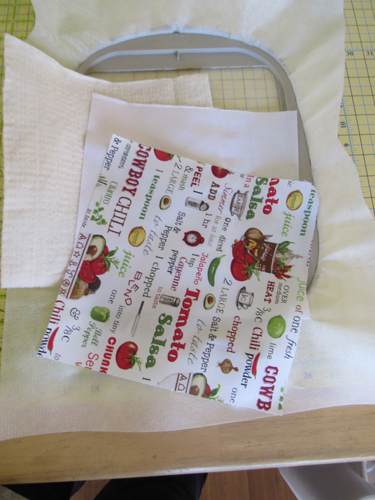
Step 9:
(Click Image to Enlarge)
Cut 2 9” squares of the white Kona® cloth, the print fabric and cotton batting to make the pockets. Hoop no-show stabilizer tautly in the hoop.
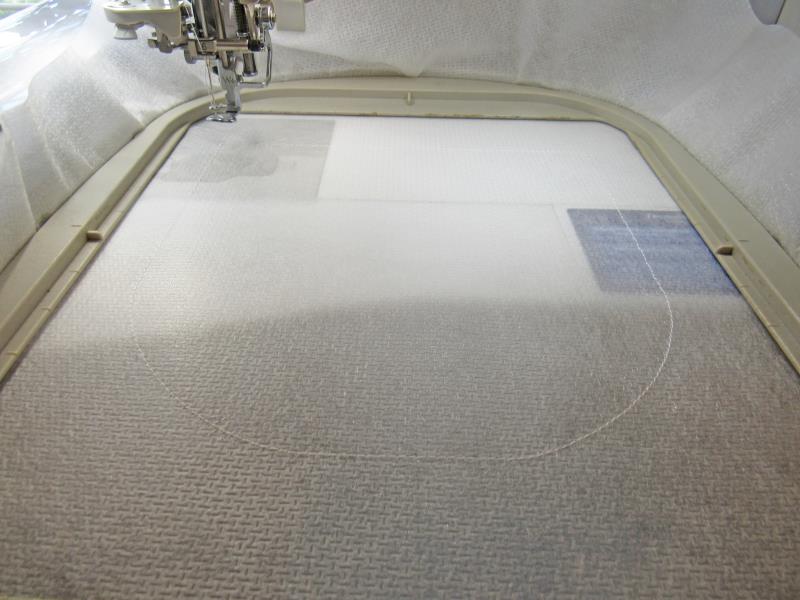
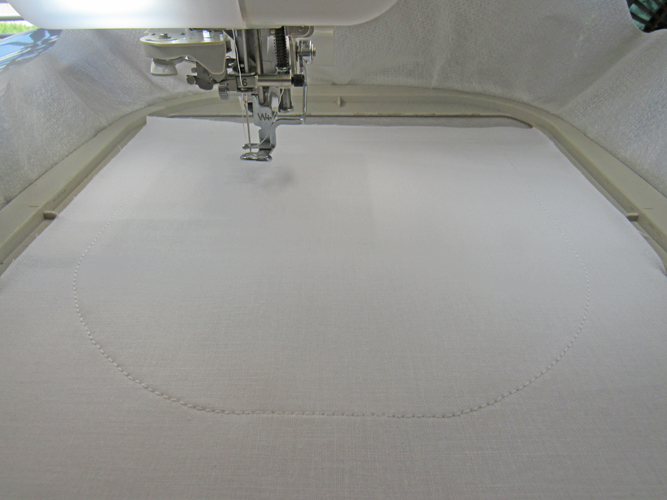
Step 10:
Run color-stop 1 (CS1) in white thread as a placement line for your fabric.
(Click Image to Enlarge)
Step 11:
Spray adhesive on the back of the white fabric and position over the placement lines so that the fabric exceeds the placement lines by ½” on all sides. Run CS 2 in white to tack down the white fabric.
(Click Image to Enlarge)
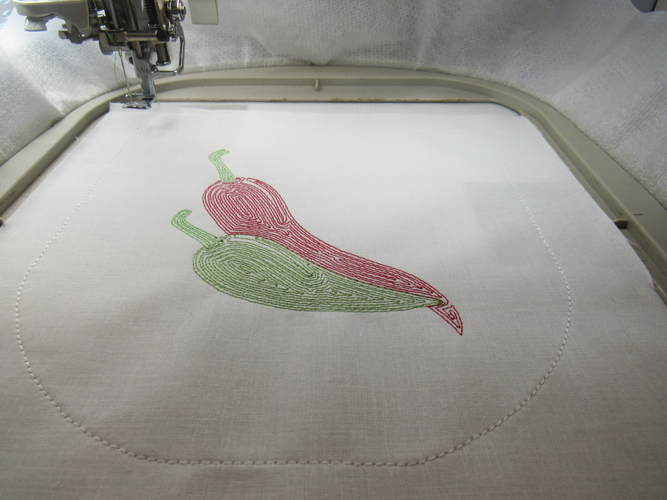
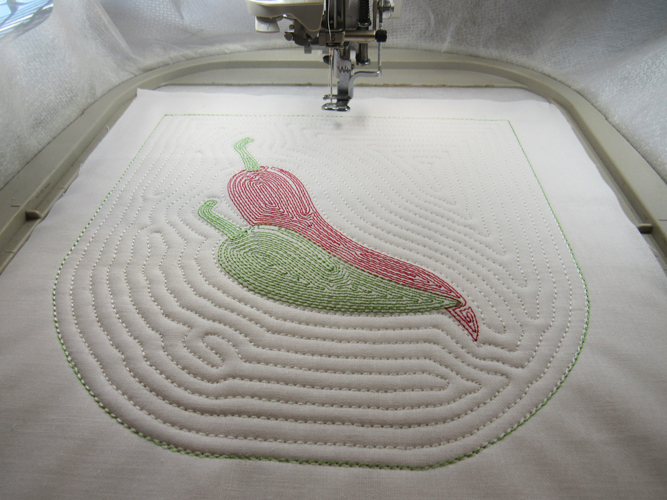
Step 12:
Follow the color chart to embroider the chili with color stops 3 through 5.
(Click Image to Enlarge)
Step 13:
Remove the hoop from the machine, do not unhoop, lay the hoop face down on a flat surface. Spray adhesive on the cotton batting square and align over the block on the back of the hoop. Spray adhesive on the back of the print fabric and place right side up over the cotton batting.
(Click Image to Enlarge)
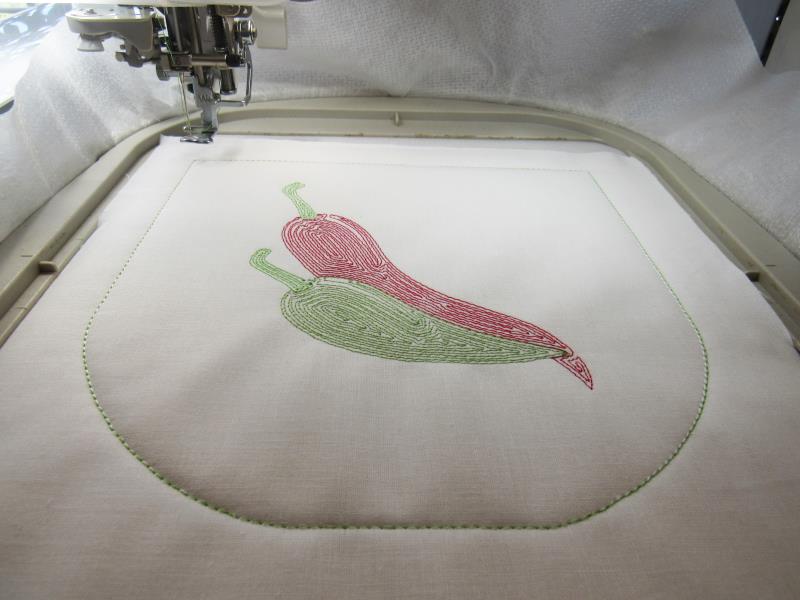
Step 14:
Return the hoop to the machine, run CS 6 in a contrasting color. Such as the green, so that you can later see it to use as your cutting line.
(Click Image to Enlarge)
Step 15:
Run the final CS in white to quilt the pocket.
(Click Image to Enlarge)
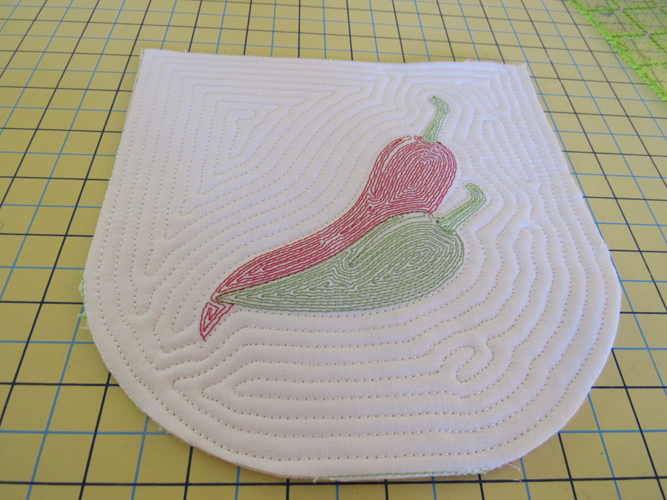
Step 16:
Cut out the pocket right on the outside tack down lines without leaving any seam allowance.
(Click Image to Enlarge)
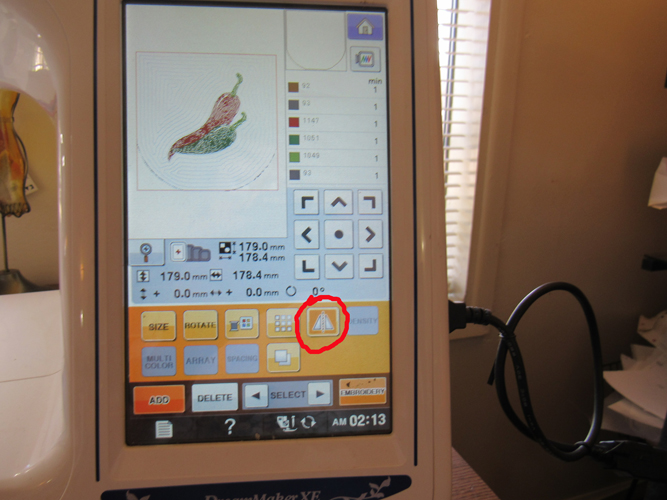
Step 17:
Mirror image the design at the screen in your machine and repeat Steps 10-16 to make the second pocket.
(Click Image to Enlarge)
Step 18:
Press two 8” lengths of binding in half lengthwise. Stitch to the top of the back of each pocket with a ¼” seam.
(Click Image to Enlarge)
Step 19:
Bring the binding over the top to the front of the pockets and stitch down.
(Click Image to Enlarge)
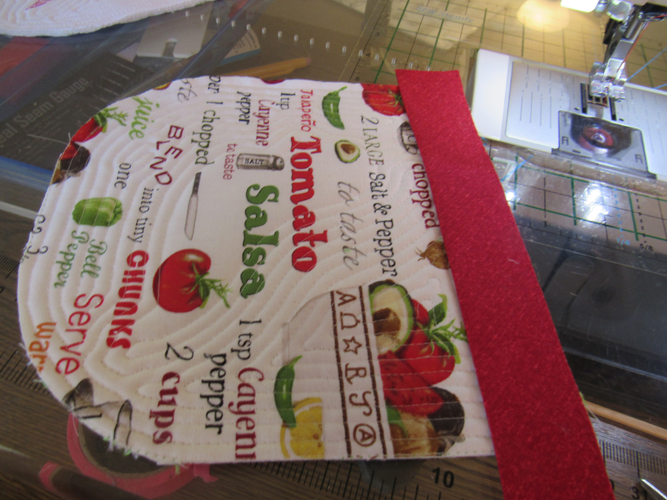
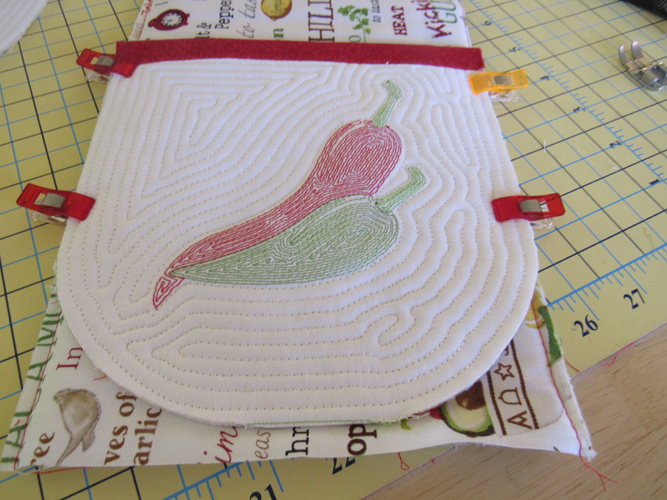
Step 20:
Place a pocket at each end of the print side of the center band and clip to hold them in place. The layers of the band may not be perfectly even after having basted them together. Be sure to place your pocket high enough so the all four layers of the band are underneath the pocket.
(Click Image to Enlarge)
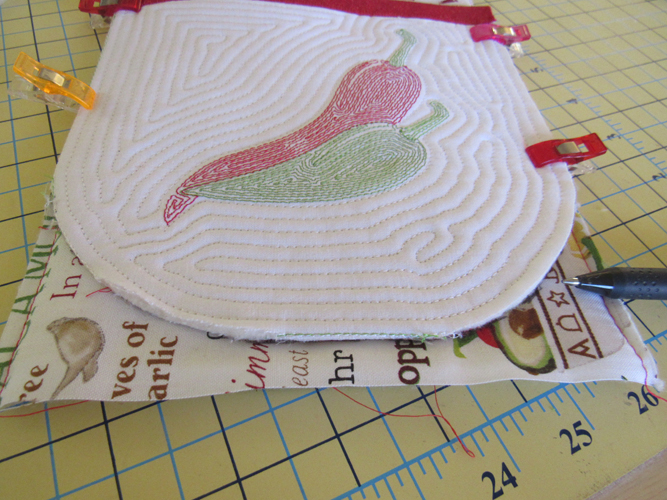
Step 21:
Draw a line with a fabric marking pen around the bottom curve of the pockets.
(Click Image to Enlarge)
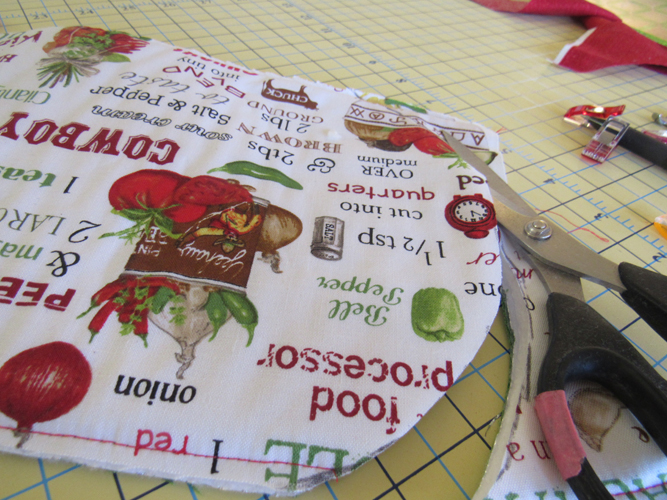
Step 22:
Cut the ends of the bands along your markings to fit the curves of the pocket.
(Click Image to Enlarge)
Step 23:
Put a size 14 or 16 needle in your sewing machine as you will now be sewing through a lot of layers. Baste the pockets to the ends of the long band with a zigzag stitch.
(Click Image to Enlarge)
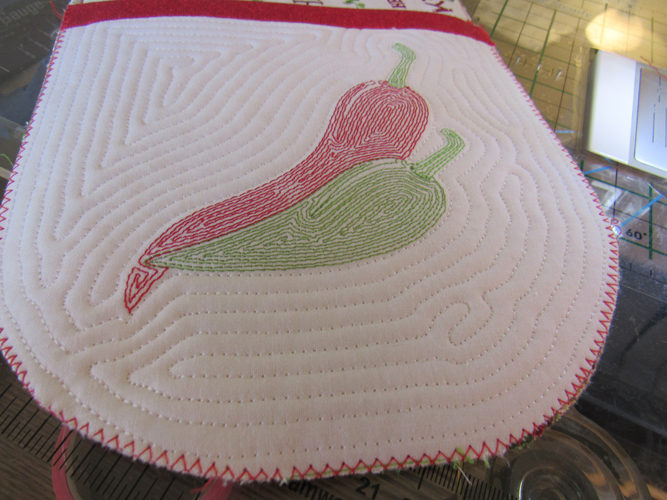
Step 24:
Bind as desired around the whole double potholder.
(Click Image to Enlarge)
Step 25:
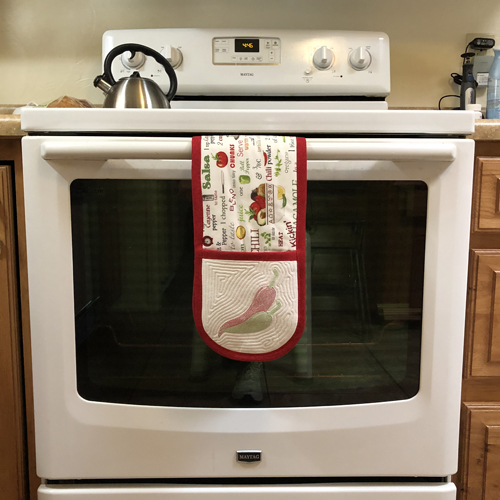
Congratulations you have completed your double postholder! Make them for yourself or as a great gift to a friend.
Award winning Digitizer, Embroidery Educator, Author and a Consultant to the Industry, Pat Williams has 30 years of experience in the embroidery industry. Pat has won multiple awards for her digitizing expertise including the 2007 Impressions Awards Grand Championship, Best of Show as well as the 1st and 2nd Place Awards. Pat’s love of digitizing has afforded her the opportunity to write numerous articles for Impressions magazine in the United States and Images Magazine in Europe. In 2001 Pat was named “Embroidery Educator of the Year.” For many years Pat taught digitizing seminars at the ISS Shows in Long Beach, CA and for Compucon software. She now resides in Tucson, AZ.