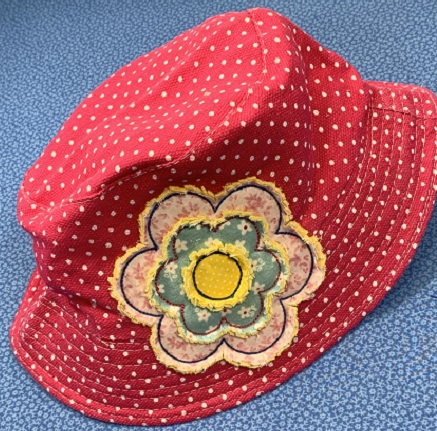
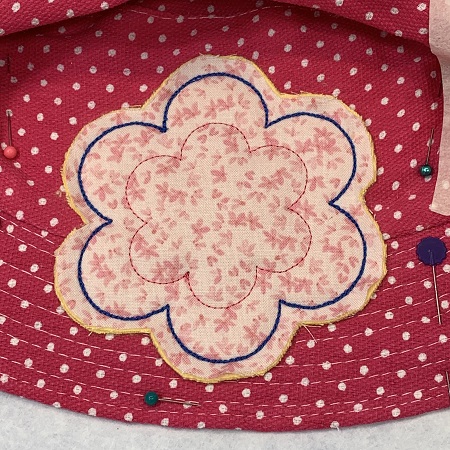
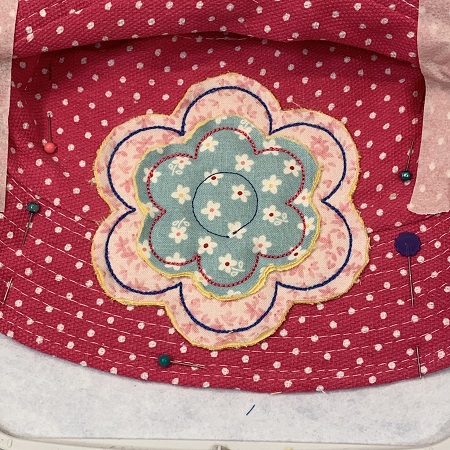
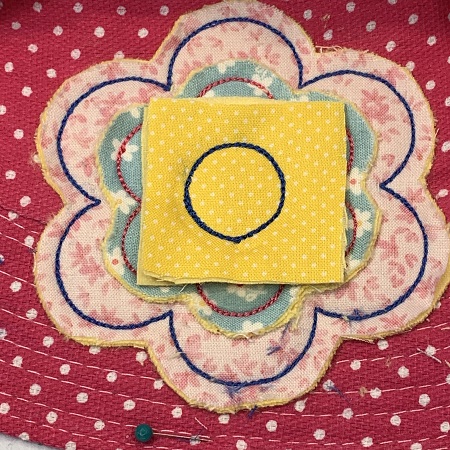
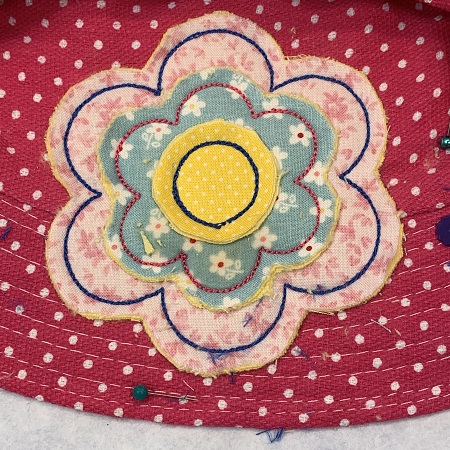
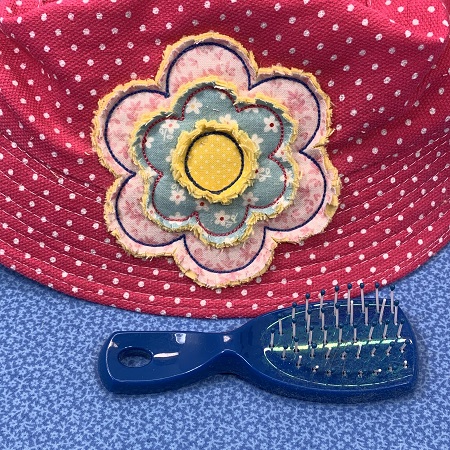
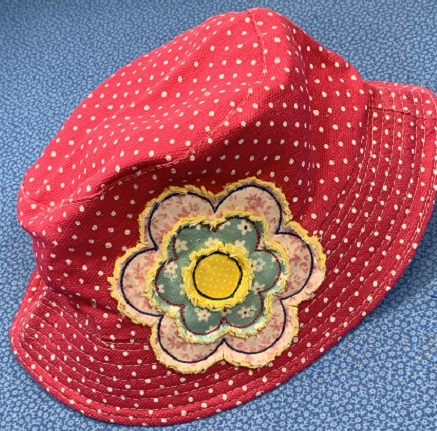
A 'Raggedy Edge' or 'Shabby Chic' appliqued flower on a child's hat creates a stylish accessory for a young ladies summer wardrobe. The Design Technique is most often called 'raggedy edge' applique, but is also classified as 'shabby chic'. Layers of flannel under the appliqued fabric help create the fringe around the design. The design can be enhanced by a contrasting color of flannel.The hooping technique used for the project is floating. The design is available in two sizes. The smaller size was used for this project. A copy of the design template has been included with the instructions to help with placement on the hat. Project completion time is based on the use of a single needle embroidery machine.
Step 1:
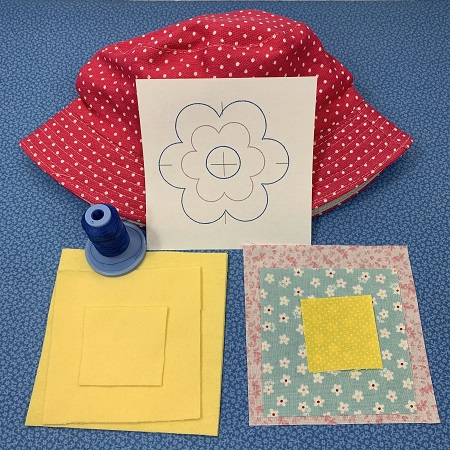
Read all the directions before beginning the project. Gather the supplies and materials. You will need some good, sharp scissors for this project. Two colors of thread were used for the example. As a time saver, one color of thread can be used for all steps.
Step 2:
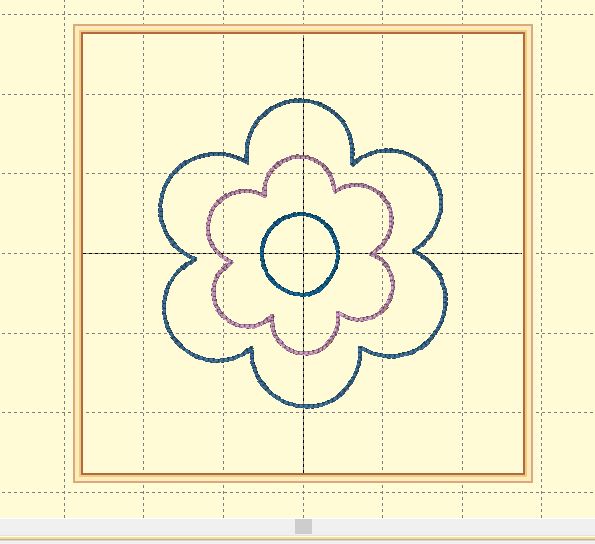
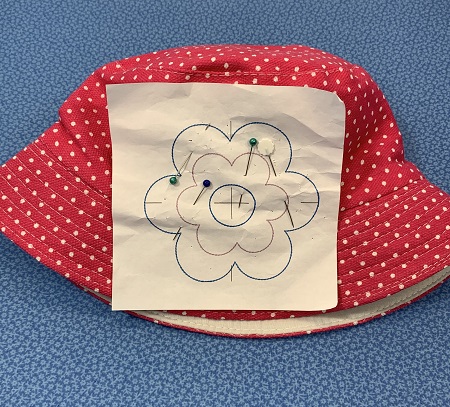
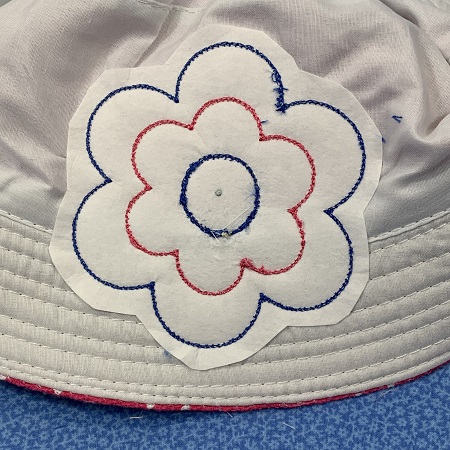
Print one copy of the design template. The design template is included with the instructions. The template is very helpful with design placement especially if you are not using a hat hoop.
NOTE: The paper design template is the actual size of the stitch out. Use the template as a guide for placement and positioning of the design on the hat.
(Click Image to Enlarge)
Step 3:
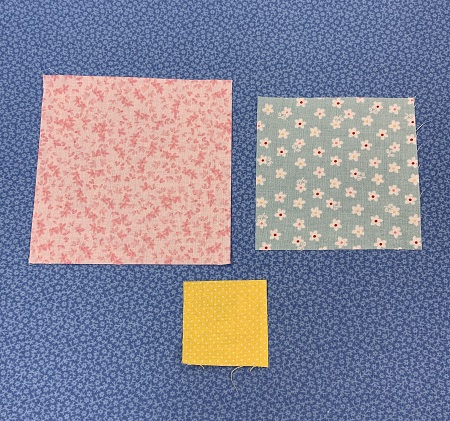
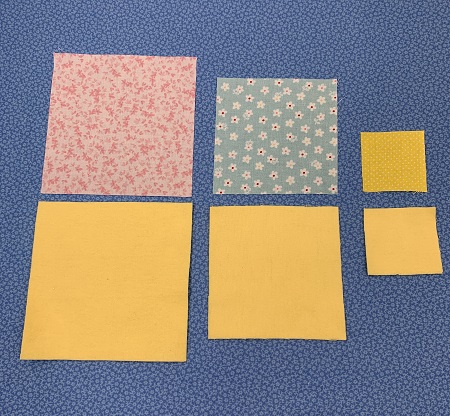
Three different complimentary fabrics were used for the flower.
Cut one 4”x4” piece 100% cotton Fabric A. Cut one 3”x3” piece 100% cotton Fabric B. One 2”x2” piece 100% cotton Fabric C.
Step 4:
Flannel was used to create the raggedy or shabby fringe around the appliqued flower. White flannel is often used for the fringe. Yellow flannel was used for the example to add more dimension to the flower.
Cut two 4”x4” pieces of flannel. Cut two 3”x3” pieces of flannel. Cut two 2”x2” pieces of flannel.
Step 5:
Find the front & back of the hat if there is a difference. Decide where you want to place the flower on the hat. Use the design template as a placement guide on the hat. Pin the template to the hat.
TIP: A common problem with hats is placing the design too close to the top. The design template makes placement much easier. Even better, would be having someone try the hat on to check the placement before you begin stitching.
Step 6:
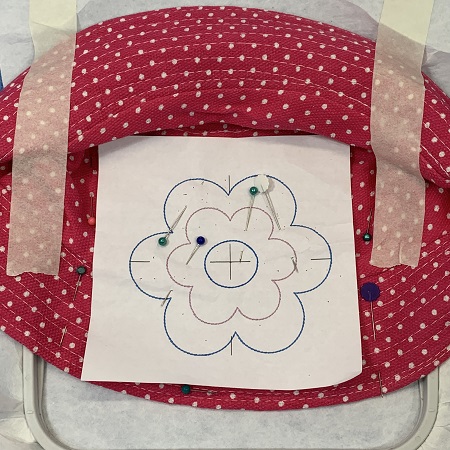
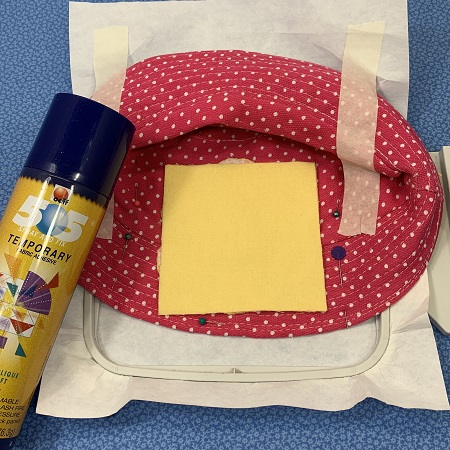
Hoop one piece of cut away (2.0) stabilizer. Mark the center and axis points on the stabilizer. Match the center and axis points on the stabilizer and the template. Use a fine mist of temporary adhesive spray and pins to secure the hat to the stabilizer. Painter's tape was used to hold the rest of the hat out of the stitching field.
Step 7:
Load the design on the machine. Check your needle. Make sure the bobbin has adequate thread. Carefully attach the hoop to the machine.
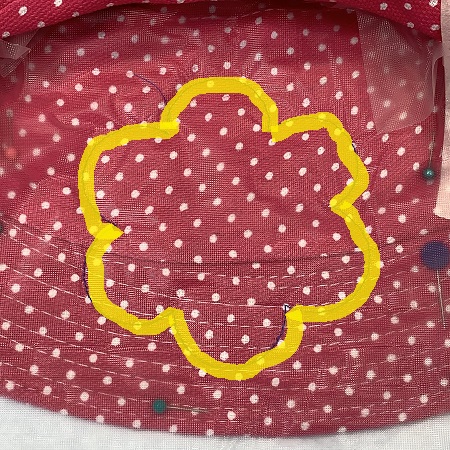
Stitch Color Stitch 1 (CS1).
Step 8:
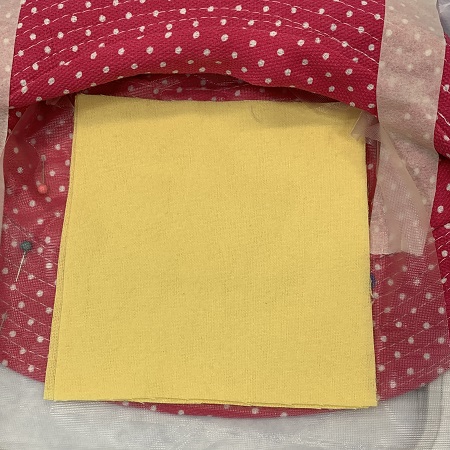
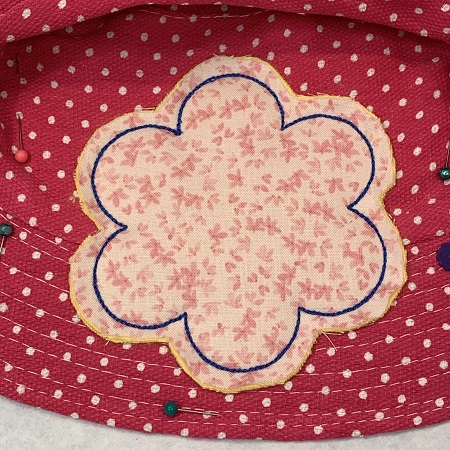
Carefully remove the hoop from the machine. Do not un-hoop the hat. Lightly mist the back of one of the 4"x4" yellow flannel with the temporary adhesive spray. Press both pieces of the flannel over the placement stitches.
Step 9:
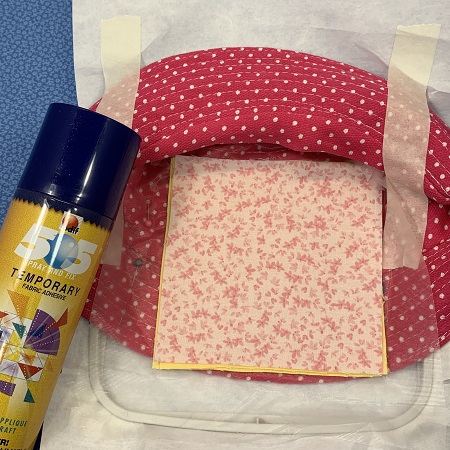
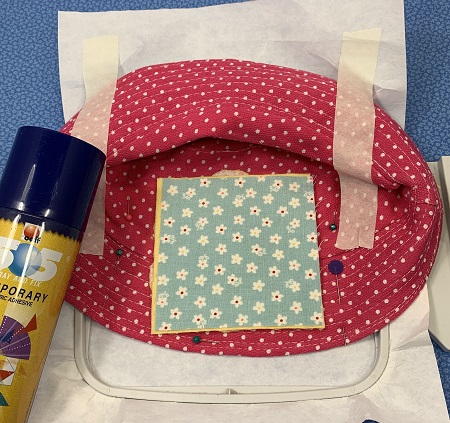
Next, lightly mist the 4"x4" piece of Fabric A with the temporary adhesive spray. Gently press the fabric over the flannel on the hoop. Make sure the fabric surface is smooth and wrinkle free.
Step 10:
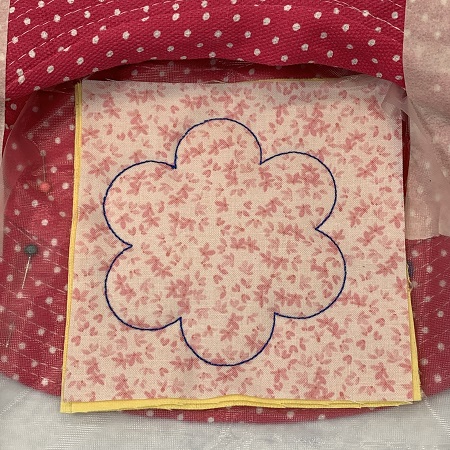
Attach the hoop to the machine. Stitch CS2. CS2 will tack down the flannel and fabric to the stabilizer.
Step 11:
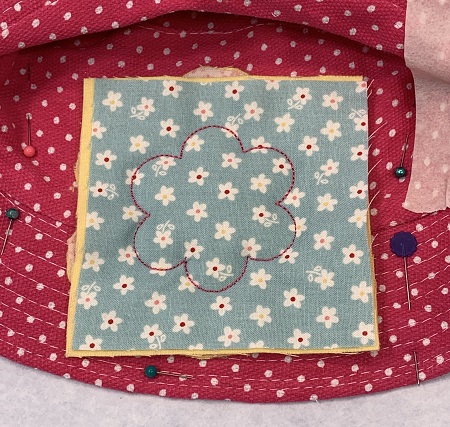
Carefully remove the hoop from the machine. Do not un-hoop the hat. Trim excess fabric from around the flower leaving just a little less than 1/2" margin around the flower edges.
Attach the hoop to the machine. Stitch CS3. CS3 is the bean stitch around the flower edges.
Step 12:
Stitch CS4. CS4 is the placement stitch for Fabric B.
Step 13:
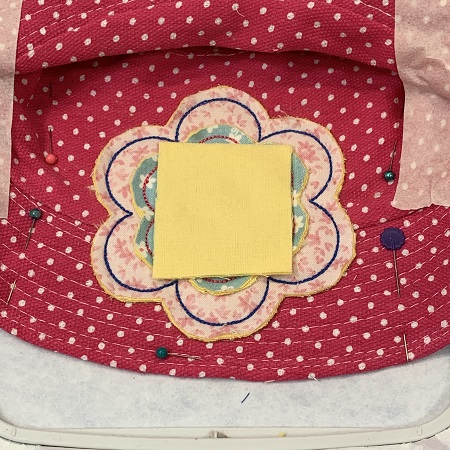
Carefully remove the hoop from the machine. Do not un-hoop the hat. Lightly mist the back of one of the 3"x3" yellow flannel with the temporary adhesive spray. Press both pieces of the flannel over the placement stitches.
Step 14:
Next, lightly mist the 3"x3" piece of Fabric B with the temporary adhesive spray. Gently press the fabric over the flannel on the hoop. Make sure the fabric surface is smooth and wrinkle free.
Step 15:
Attach the hoop to the machine. Stitch CS5. CS5 will tack down the flannel and fabric.
Step 16:
Carefully remove the hoop from the machine. Do not un-hoop the hat. Trim excess fabric from around the flower leaving just a little less than 1/2" margin around the flower edges.
Attach the hoop to the machine. Stitch CS6. CS6 is the bean stitch around the flower edges.
Step 17:
Stitch CS7. CS7 is the placement stitch for Fabric C.
Step 18:
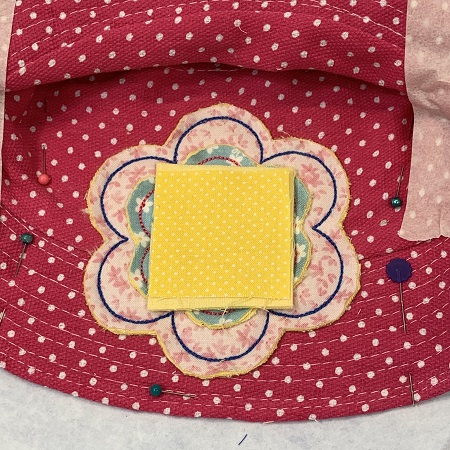
Carefully remove the hoop from the machine. Do not un-hoop the hat. Lightly mist the back of one of the 2"x2" yellow flannel with the temporary adhesive spray. Press both pieces of the flannel over the placement stitches.
Step 19:
Next, lightly mist the 2"x2" piece of Fabric C with the temporary adhesive spray. Gently press the fabric over the flannel on the hoop. Make sure the fabric surface is smooth and wrinkle free.
Step 20:
Attach the hoop to the machine. Stitch CS8. CS8 will tack down the flannel and fabric.
Step 21:
Carefully remove the hoop from the machine. Do not un-hoop the hat. Trim excess fabric from around the flower leaving just a little less than 1/2" margin around the flower edges.
Attach the hoop to the machine. Stitch CS9. CS9 is the bean stitch around the flower edges.
Step 22:
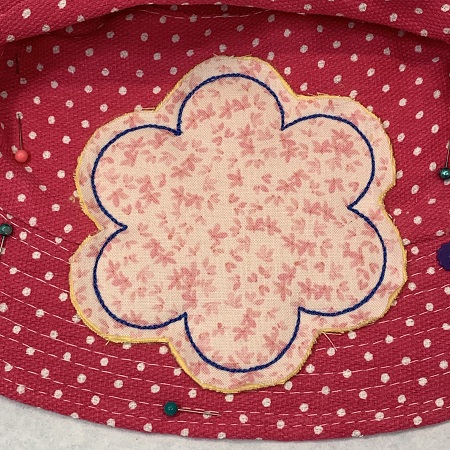
You have completed stitching the raggedy edge flower. Now, remove the project from the hoop. Trim excess stabilizer from around the stitched design leaving about 1/2" margin.
Step 23:
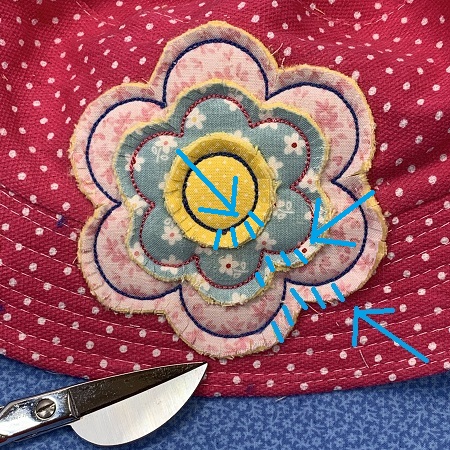
Using a good pair of sharp scissors, clip at 1/4" intervals around the edges of each section of the flower.
Step 24:
Fray the edges of the fabric using a stiff brush.
Step 25:
Congrats! You have made a 'Raggedy Edge Flower Hat'. WTG!!!
Marisa Littleton is a retired educator with a love for teaching and learning. Interests include machine embroidery, hand embroidery, quilting, cooking, and antiques.