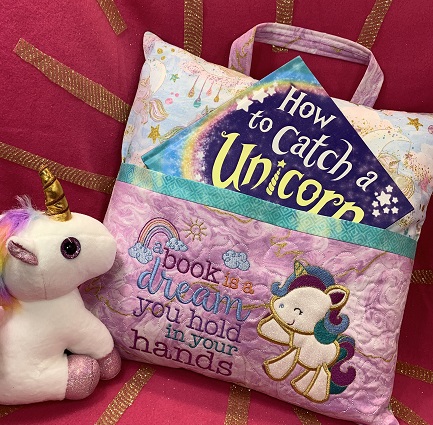
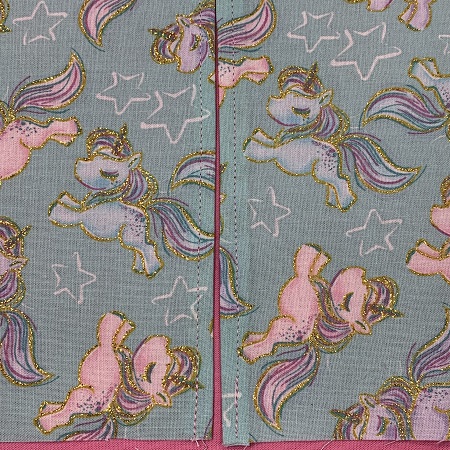
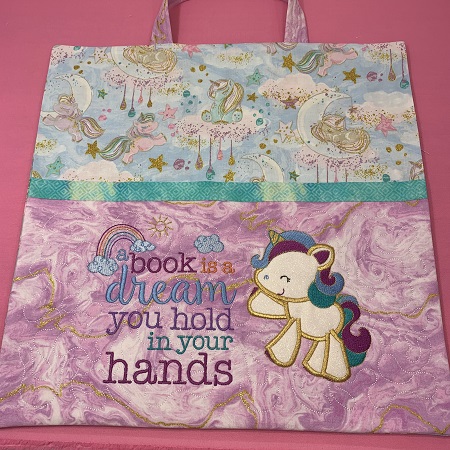
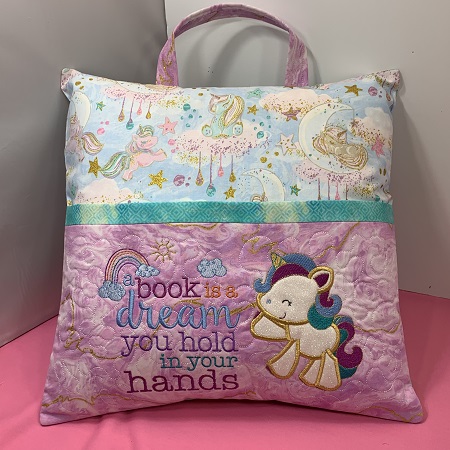
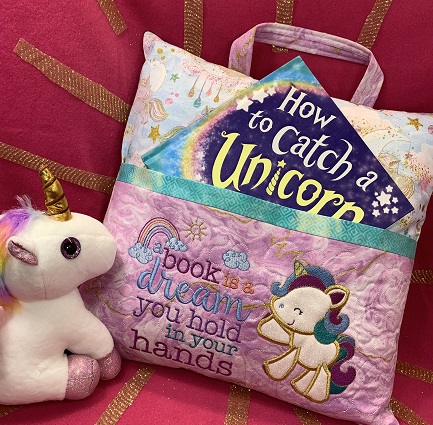
Unicorn Reading Pillow. Use the pocket for a favorite book. The handy handle makes transporting the pillow easy peasy! This project does have multiple hoop changes and requires basic sewing skills. Design Techniques: Applique; Lettering; Stippling. Hoop Method: Floating. Project time is based on the use of a single needle embroidery machine.
Step 1:
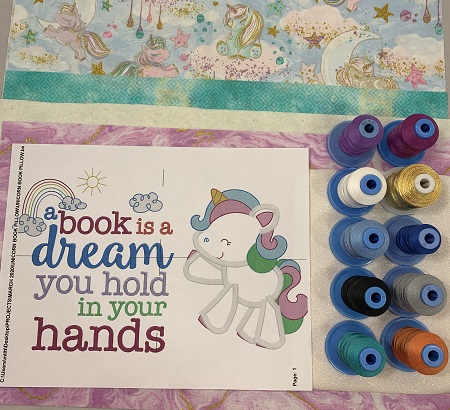
Read all the directions before beginning the project. Gather supplies and materials. Print design templates. You will need two copies of the stippling templates.
Step 2:
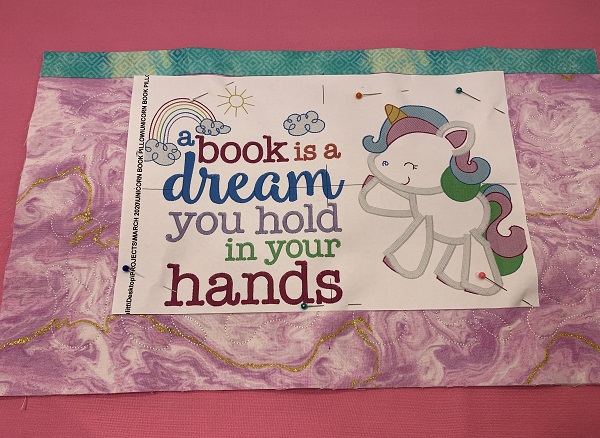
An embroidery software program (Embrilliance Essentials) was used to combine two designs into one template. A design template was printed after the two designs were put together. This step reduces that number of hoop changes needed for this project. It is not necessary. Just easier. You can stitch each design separately.
(Click Image to Enlarge)
Step 3:
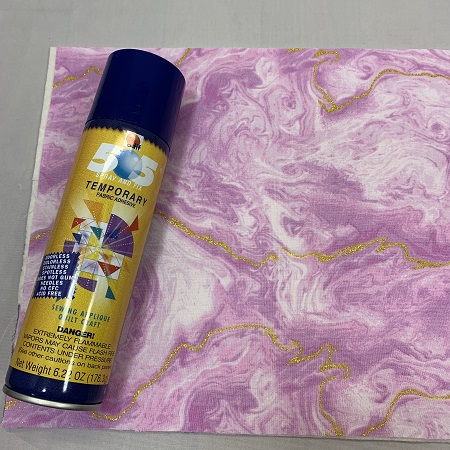
Lay the 10”x17” pieces of batting on a flat surface. Lightly mist the batting surface with a temporary adhesive spray.Place Fabric A (10”x17”) piece with right side up onto the batting. Surface should be smooth and wrinkle free.
Step 4:
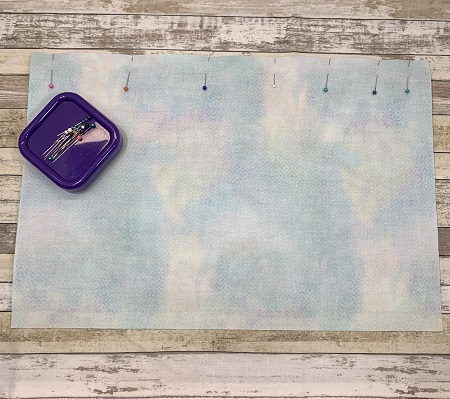
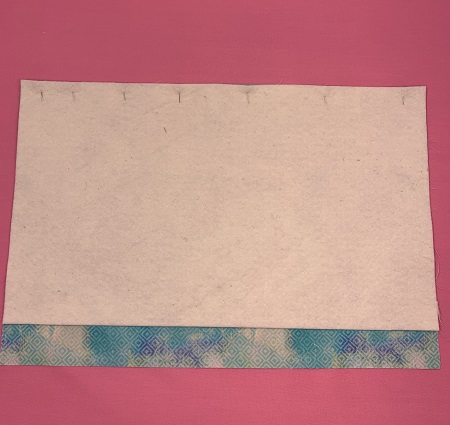
Place Fabric B 11x17 right side down. Pin the together across the top. There will be a 1" overlap for Fabric B.
Step 5:
Sew a 3/4" seam along the edge. Reinforce the stitching at the beginning and end of the seam. The width of this seam will actually be the width of the binding edge on the pocket.
Step 6:
(Click Image to Enlarge)
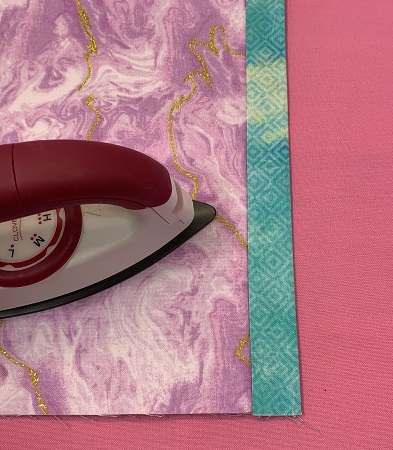
Fold the fabric over to the back leaving a ¾” border. Line up fabric edges at the bottom. Press with an iron.
Step 7:
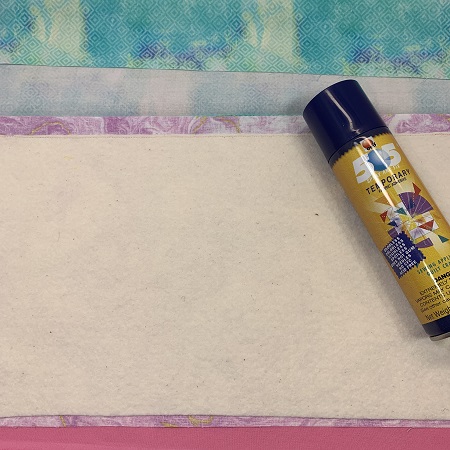
Fold back the fabric. Lightly mist the batting surface with temporary adhesive spray. Smooth the fabric surface.
Step 8:
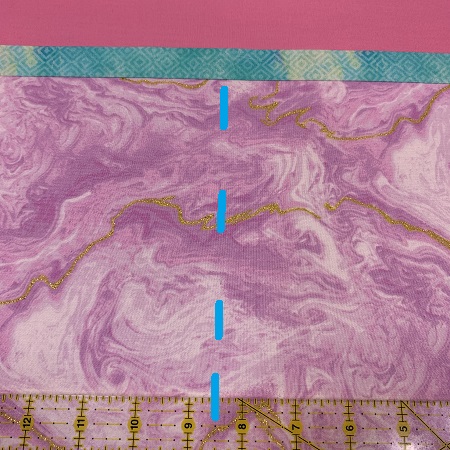
Find the center point lengthwise on the pocket piece. The center should be 8.5. Mark the center with a fabric marker.
Step 9:
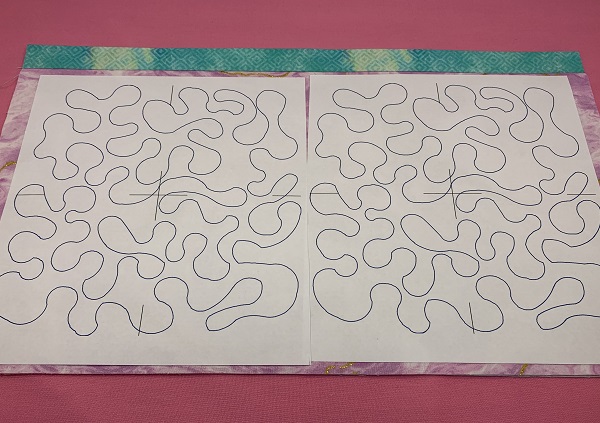
Align a stippling design template on each half of the fabric.
(Click Image to Enlarge)
Step 10:
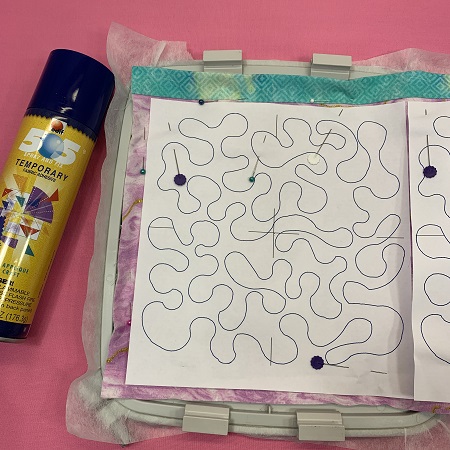
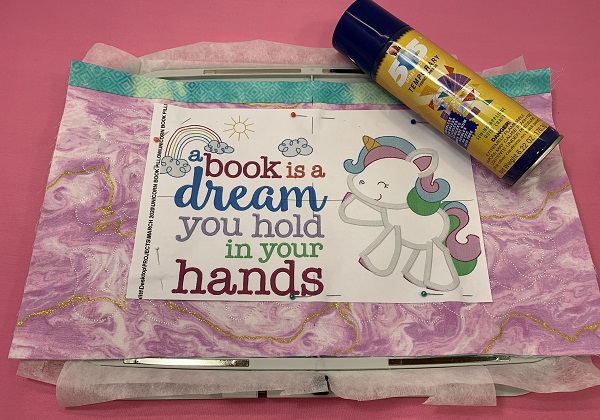
Hoop 1 piece of tear away stabilizer in a 8"x8" frame. Float the fabric over the half you are stippling. Use a temporary adhesive spray and pins to secure the fabric to the stabilizer. Load the 7.5x7.5 stipple design.
Step 11:
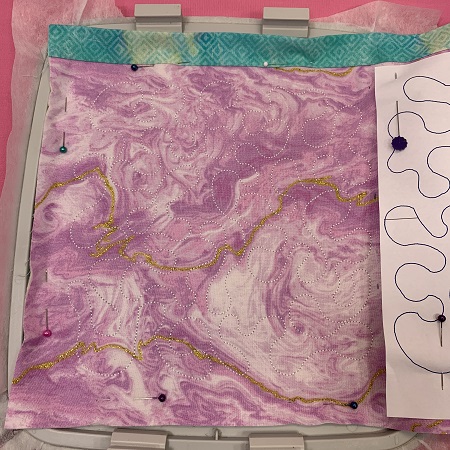
Embroider the stipple design on side 1. Remove the fabric from the hoop. Gently tear away stabilizer from the back of the fabric.
Step 12:
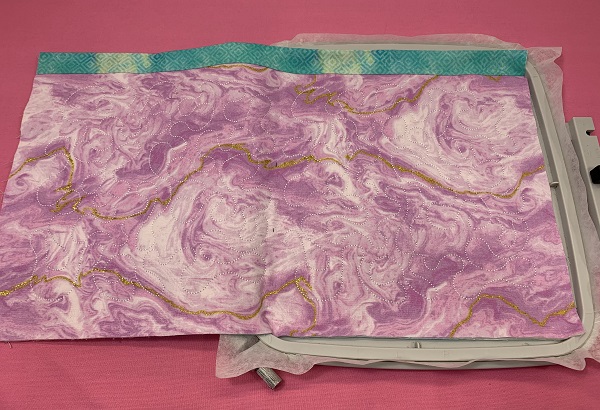
Repeat the last 2 steps for side 2 of the pocket front: 1. Hoop 1 piece of tear away stabilizer in 8x8 frame. Float the fabric over the half you are stippling. Use a temporary adhesive spray and pins to secure the fabric to the stabilizer. Load the 7.5x7.5 stipple design. Embroider the stipple design on side
2. Remove the fabric from the hoop. Gently tear away stabilizer from the back of the fabric.
(Click Image to Enlarge)
Step 13:
Mark the center of the pocket front. Use the design template as a guide for placement on the pocket. Leave a 3.5" margin from the bottom edge of the fabric.
(Click Image to Enlarge)
Step 14:
Hoop 2 pieces of tear away stabilizer in the 8x12 frame. Center the stippled fabric with the design on the stabilizer. Use pins and a temporary adhesive spray to secure the stippled fabric to the hoop.
(Click Image to Enlarge)
Step 15:
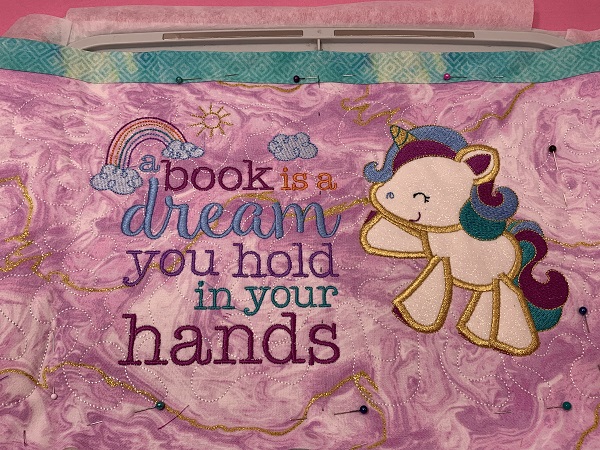
Load the design onto the embroidery machine. Follow the color chart to stitch the design. When the stitching is completed, remove the hoop from the machine. Gently tear away the stabilizer from the back. Trim long threads if needed.
(Click Image to Enlarge)
Step 16:
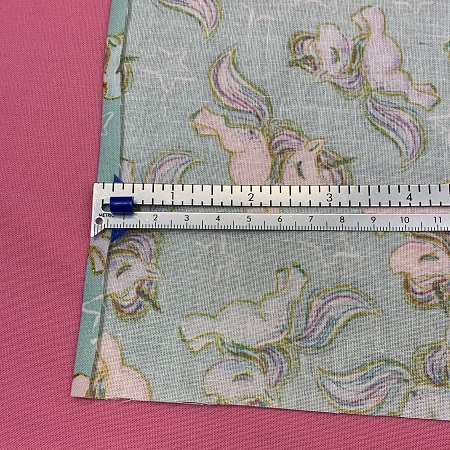
Next you need the two pieces for the back (11"x17"). Fold one edge down 1/4" on one long side and press with an iron. Fold the edge down another 1/4" and press.
Step 17:
Repeat this process for the second piece of fabric.
NOTE: Non-directional fabric was used for the back of the pillow. If the fabric has a direction in the print, lay the pieces together before deciding which side needs to be hemmed.
Step 18:
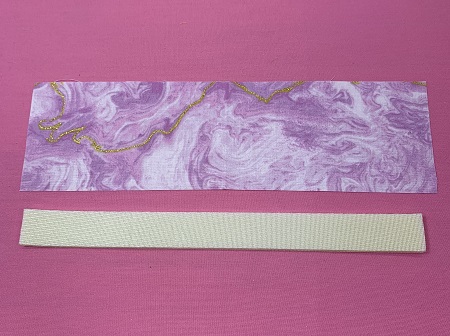
Next, you will make the handle for the reading pillow. Cut one piece of cotton fabric 3"x12". Cut one piece of Bosal 2 side fusible foam 1"x11".
Step 19:
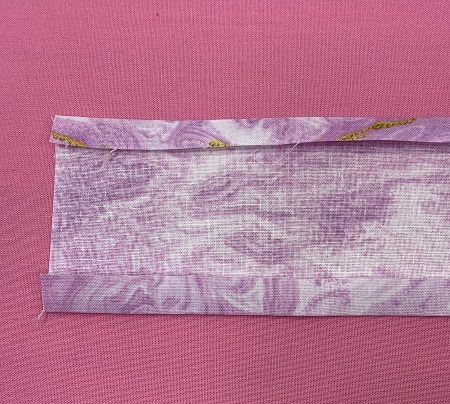
Fold the long sides of the fabric down 1/4" and press with an iron.
Step 20:
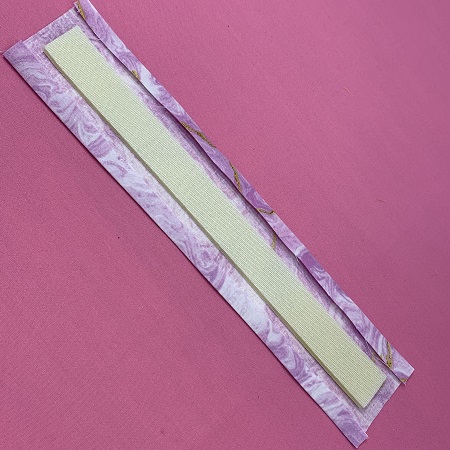
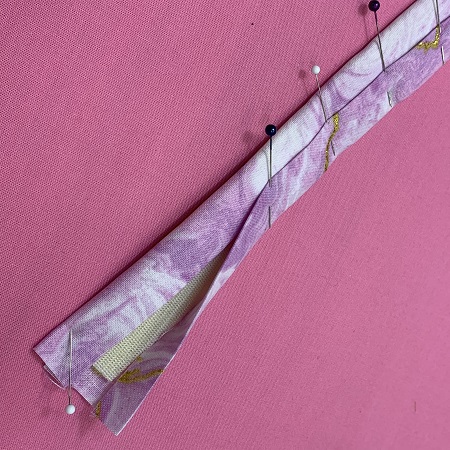
Place the Bosal foam in the center of the fabric. Fold each side of the fabric over the foam.
Step 21:
Pin the folded sides in place.
Step 22:
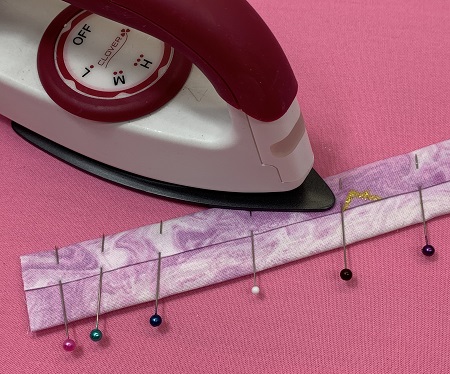
Press with an iron.
Step 23:
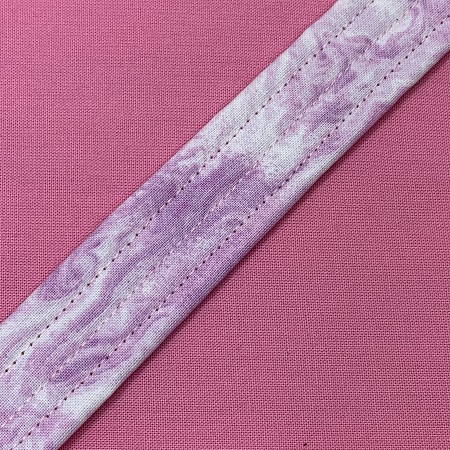
Sew a 1/8" seam along each side of the handle. Sew a seam in the middle of the handle. Reinforce the stitching at the beginning and end of each seam.
Step 24:
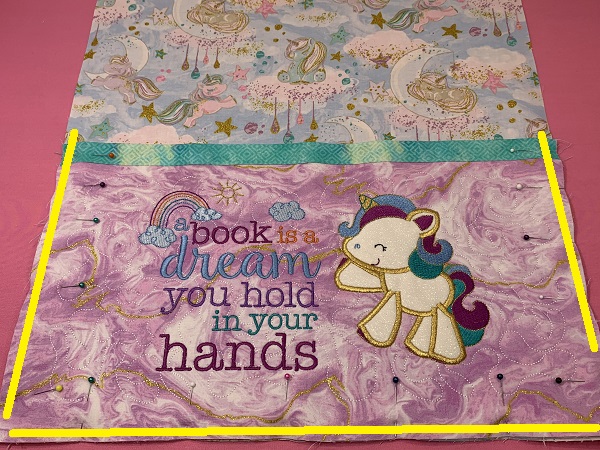
Place the 17"x17" piece of fabric for the front on a flat surface. Place the pocket on the lower end of the fabric. Pin the sides together. Sew a 1/4" seam along the edges of the pocket. Reinforce the stitching at the beginning and end of the seam.
(Click Image to Enlarge)
Step 25:
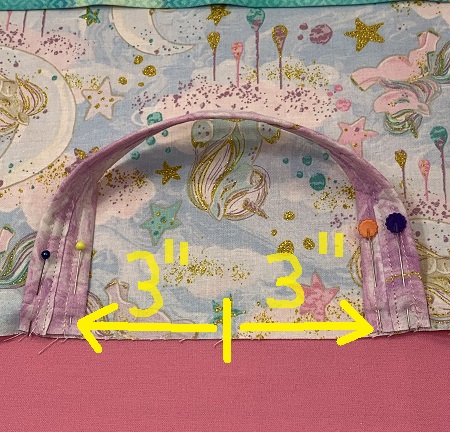
Find the center point at the top of the 17"x17" piece of the pillow front. Measure 3" from each side of the center point. Pin the handle in place. Sew the handle to the fabric. Reinforce the stitching.
Step 26:
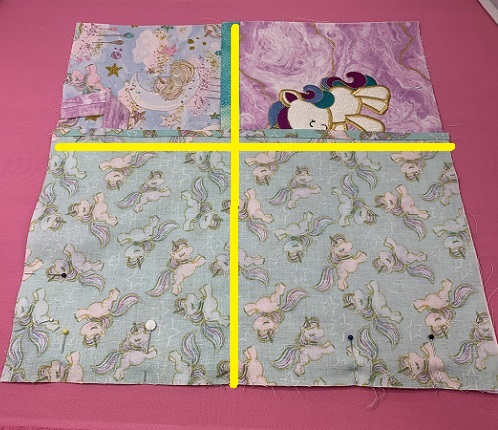
Place the front side of the pillow facing you on a flat surface. Place the two pieces of the back cover right side down on the pillow front. The pieces will overlap. The opening in the back should be go from top to bottom of the pillow. Whereas, the pocket section goes side to side on the pillow.
Step 27:
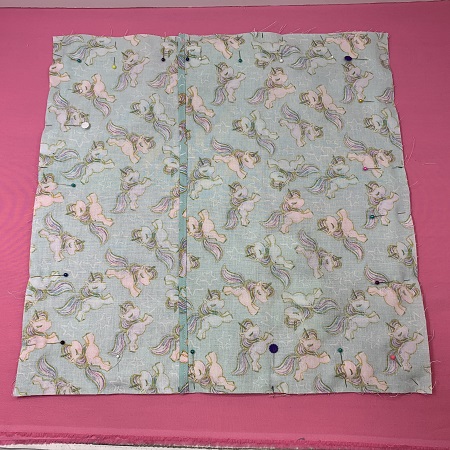
Pin the back pieces to the front piece of the pillow. Square or even the fabric edges if needed. Sew a 1/4" seam around the pillow. Sew the seam again to reinforce the stitching.
Step 28:
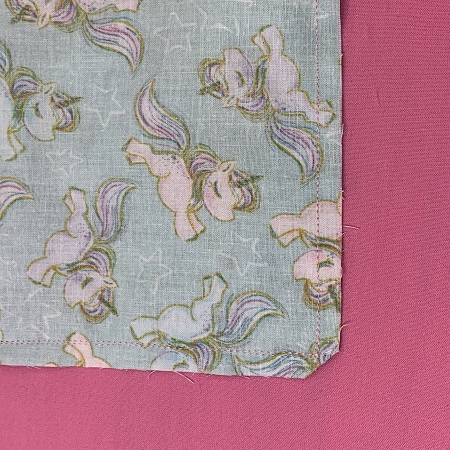
Trim the corners on the pillow.
Step 29:
Turn the pillow right side out. Congrats! You have finished the Unicorn Pillow.
Step 30:
Insert a 17"x17" pillow in the opening in the back. Great job!
Marisa Littleton is a retired educator with a love for teaching and learning. Interests include machine embroidery, hand embroidery, quilting, cooking, and antiques.