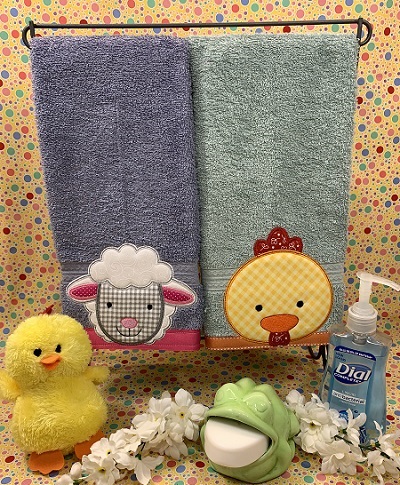
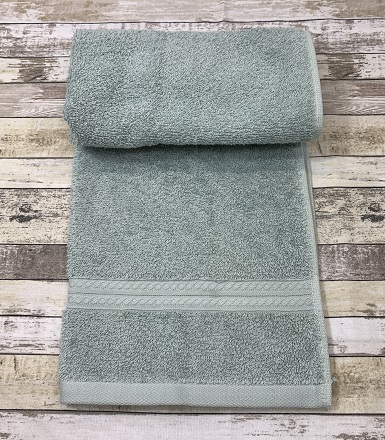
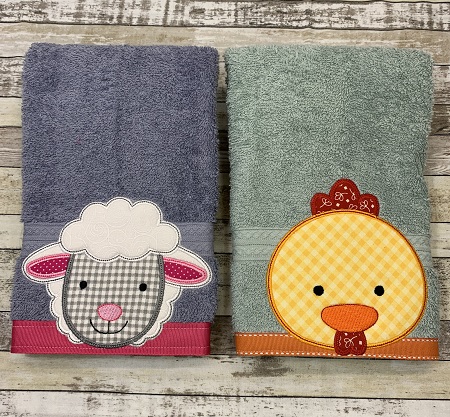
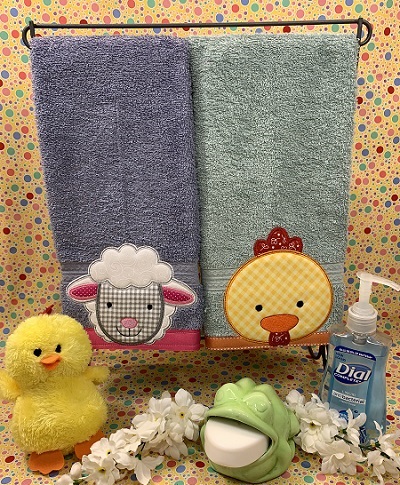
Peaker Hand Towels with an appliqued farm animal. The design offers two sizes. The larger size was used for this project. Some basic sewing skills are used to apply the ribbon to the towel. Design technique: Applique. Hooping Method: Floating. Project time is based on the use of a single need embroidery machine.
Step 1:
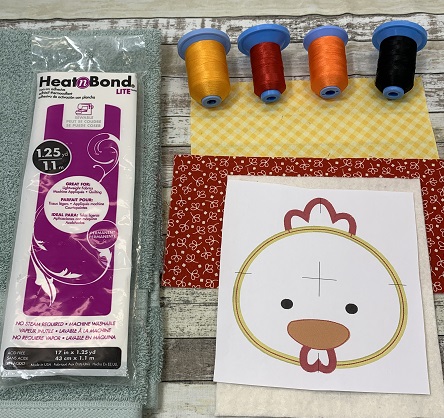
Read all the directions before beginning the project. Gather supplies and prepare materials. Print a paper design template.
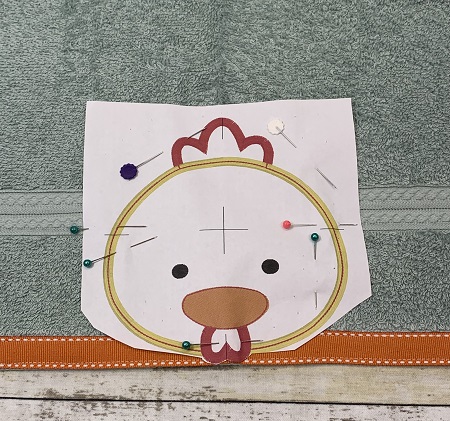
NOTE: The paper design template is the actual size of the stitch out. Use the template as a guide for placement and positioning of the design. Embrilliance Essentials embroidery software was used to print the template.
Step 2:
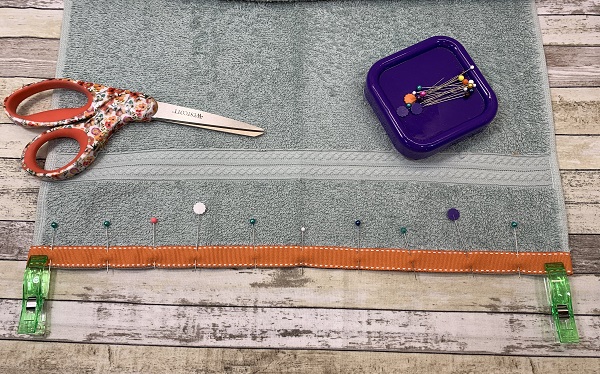
First you will add the ribbon to the bottom edge of the hand towel. Begin by measuring the width of the hand towel. Add 3" to your measurement. Cut the grosgrain ribbon to this length.
Place the ribbon on the bottom edge of the hand towel leaving about 1.5" overlap on each side. Pin the ribbon in place.
Fold the overlap on each side to the back of the hand towel. Fold the overlap in half and pin in place.
(Click Image to Enlarge)
Step 3:
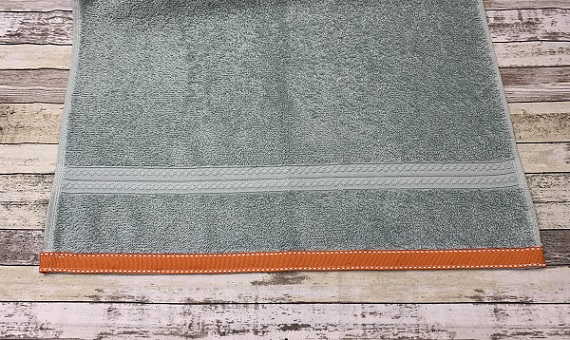
Sew 1/8" of a seam along each side of the ribbon. Reinforce the stitching at the beginning and end of the seam.
(Click Image to Enlarge)
Step 4:
(Click Image to Enlarge)
Fold the towel in half lengthwise. Press along the fold line with an iron. The crease creates a center line for placement of the design.
Step 5:
Using the design template, use the crease as a placement guide on the towel.
Step 6:
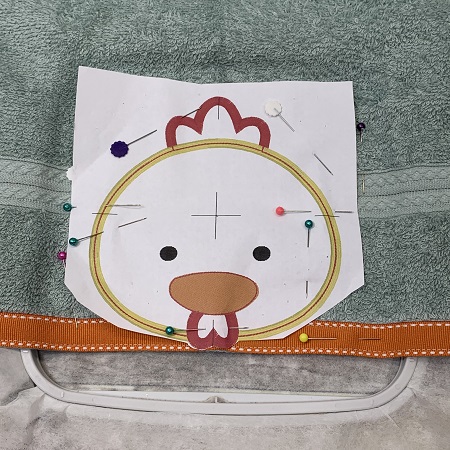
Hoop one piece of medium weight tear away stabilizer. Use the axis and center points on your hoop to center the hand towel on the stabilizer.
Fold back one side of the towel. Lightly mist one side of the stabilizer with a temporary adhesive spray. Gently press the hand towel back onto the stabilizer. Repeat for the other side of the hand towel. Surface must be smooth and wrinkle free.
Step 7:
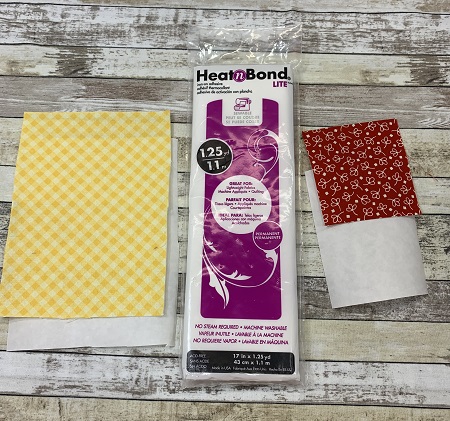
Cut one piece of Heat n Bond lite 5"x5". Cut two pieces of Heat n Bond lite 3"x3". Fuse the Heat n Bond lite to each piece of fabric. Follow the Heat n Bond lite directions on the package.
Step 8:
Load the design onto your embroidery machine. Use a 80/14 size embroidery needle. Attach the hoop to the machine. Place one piece of Water Soluble Stabilizer (WSS) over the stitching field.
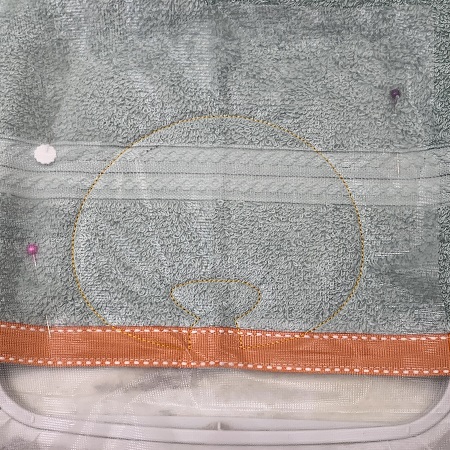
Stitch Color Stop 1(CS1). CS1 is the placement stitches for the face.
Step 9:
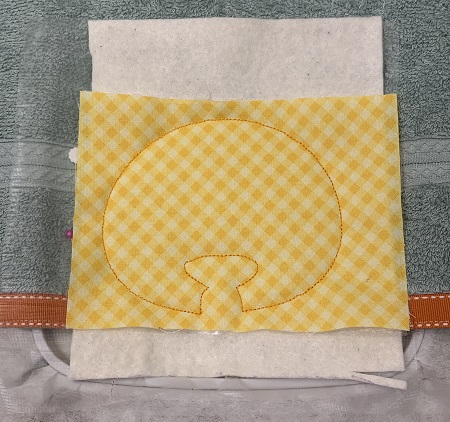
Remove the hoop from the machine. Do not remove the project from the hoop. Place one piece of 6"x6" batting over the placement stitches. Lightly mist the batting surface with the temporary adhesive spray. Place the 5"x5" piece of yellow fabric on the batting. Surface must be smooth and wrinkle free.
Stitch CS2. CS2 is the tack down stitches.
Step 10:
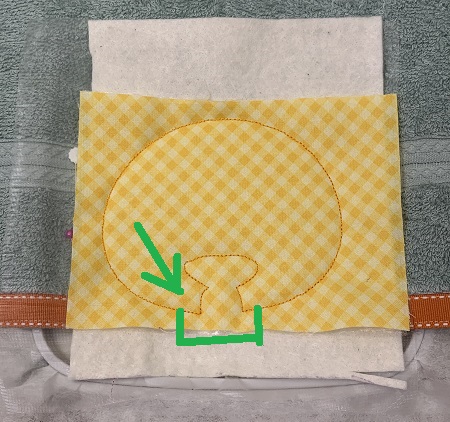
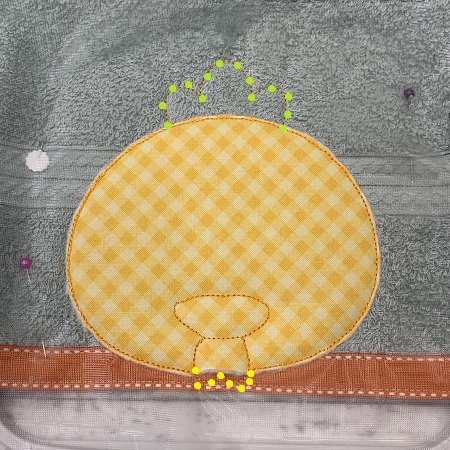
Remove the hoop from the machine. Do not remove the project from the hoop. Separate the fabric and batting from the WSS. Carefully trim the batting and fabric from around the tack down stitches. I did not trim the beak. Be careful not to cut the stitches.
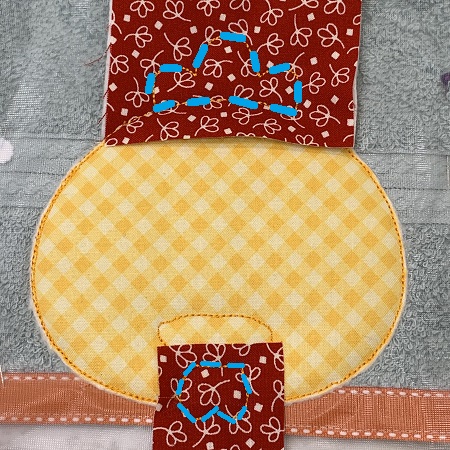
TIP: Leave a small wedge of batting at the bottom of the face. The section is marked on the photo. You will not have to add batting there for the next step. This step just saves a little time and materials.
Step 11:
Stitch CS4. CS4 is the placement stitches.
Step 12:
Place batting over the placement stitches. Lightly mist a temporary adhesive spray over the batting. Place the red blender fabric over the placement stitches. Stitch CS5. CS5 is the tack down stitches.
Step 13:
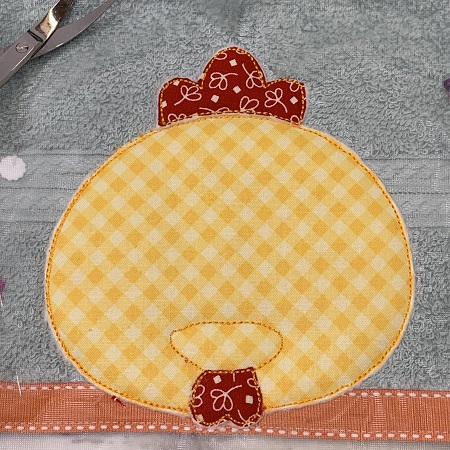
Remove the hoop from the machine. Do not remove the project from the hoop. Separate the fabric and batting from the WSS. Carefully trim the batting and fabric from around the tack down stitches.
Step 14:
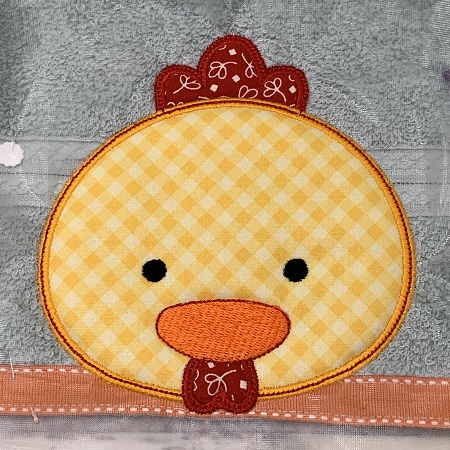
Follow the color guide to finish stitching the chick.
Step 15:
Remove the hoop from the machine. Remove the project from the hoop. Tear away the WSS topping and the tear away stabilizer from the back of the hand towel. Trim long threads if needed.
The design pack has 21 different animals in it. Amazing designs! Awesome package!
Marisa Littleton is a retired educator with a love for teaching and learning. Interests include machine embroidery, hand embroidery, quilting, cooking, and antiques.