| Preface: | For each hooping, two pieces of fibrous water soluble-stabilizer are to be used. Also, if possible, turn the cutter off on the machine. At the beginning of each color change, pull the bobbin thread to the top and hold the thread tails until the first few stitches have tied on, and then cut the tails of both threads. This will keep the work clean and there won’t be any trimmed threads to the back of the work.
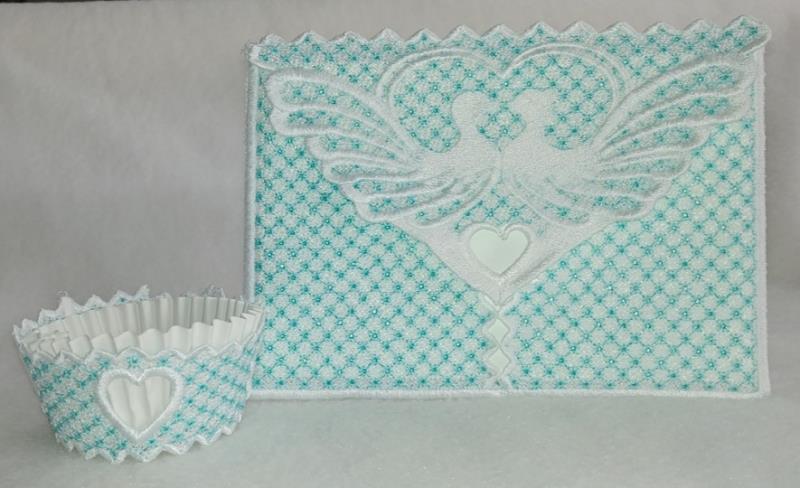
There is one file for the FSL Envelope that includes all the pieces to complete it. There are color stops programmed for each step and to do new hoopings. If you wish to do one color throughout, simply stitch with one color, starting the machine at each color stop and hooping new stabilizer when required. The project designs were stitched in two colors: white for the background, aqua-mint for the decorative fill, and white again for the final stitching of the doves, scallops and assembly stitching lines. The stops are programmed so if you wish, you could actually stitch with three thread colors: background in one color, the decorative fill in a second color, and a third color used for the scallops, doves, and assembly. All assembly is done in the hoop, too! This envelope will hold a 4” x 6” card. |
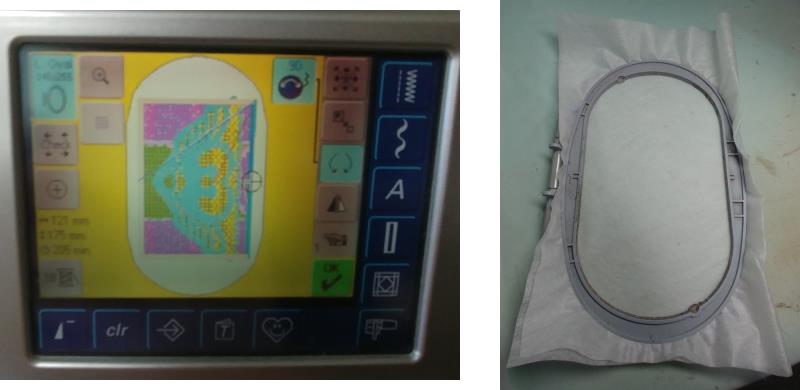
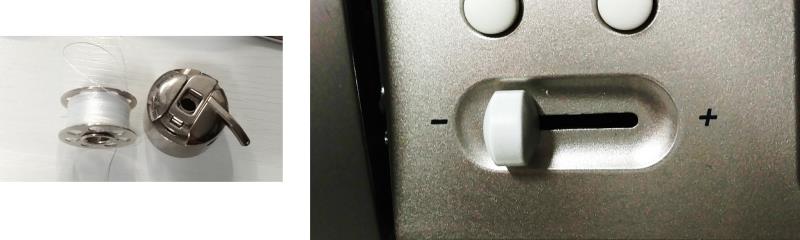
Step 1: | Read through the instructions thoroughly before beginning and assemble all the materials needed to complete the project. The time is an estimate for stitching and assembly in the hoop and to block the project and start the drying process. Please thoroughly read the preface understanding that all the back, flap, and two fronts are included in one file and there are stops to allow re-hooping for stitching all the parts and doing the assembly as outlined in the steps. Load the FSL Envelope design on the machine and rotate the design if needed. and hoop the stabilizer. Place the hoop on the machine. | 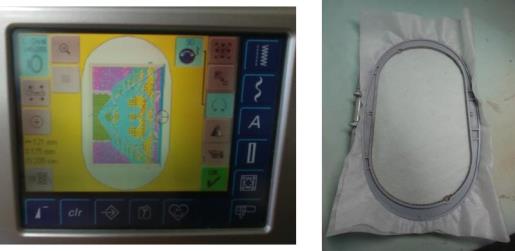 (Click Image to Enlarge) |
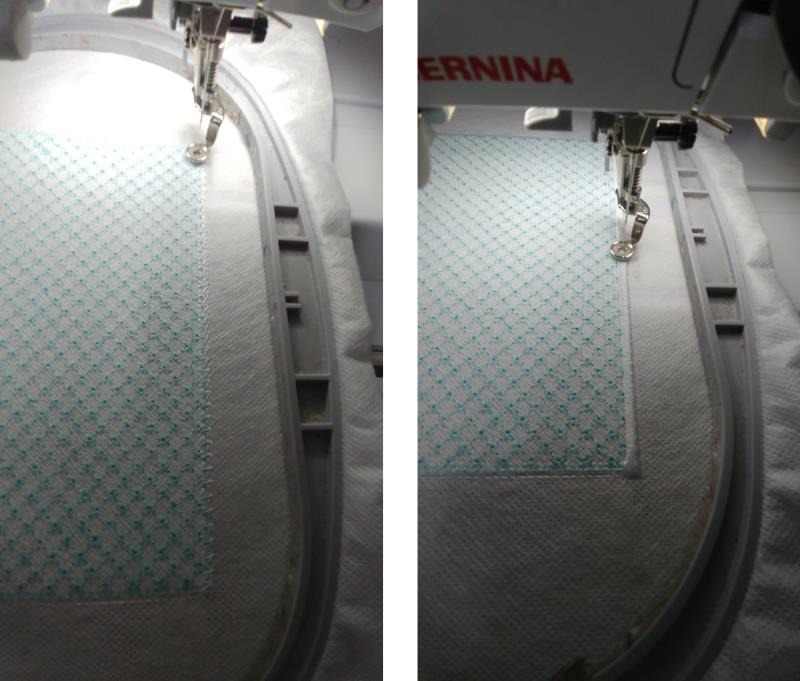
Step 2: | Color 1, white, stitched the background of the envelope back. Color 2, aqua, stitches the decorative fill | 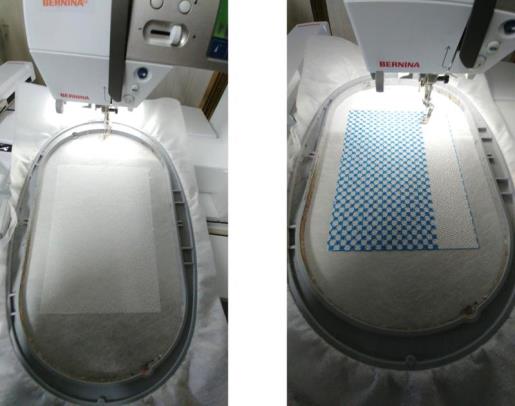 (Click Image to Enlarge) |
Step 3: | 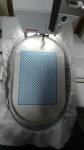 (Click Image to Enlarge) and outer edge zig-zag for the envelope back. Remove the piece from the hoop and set aside. |
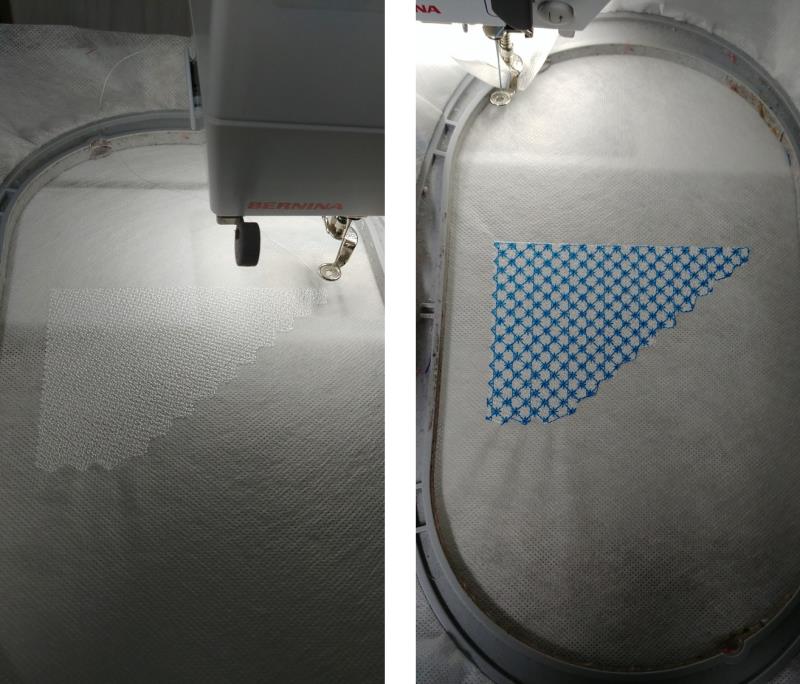
Step 4: | Hoop stabilizer. Stitch color 3, white, which will stitch the background color of the envelope left front panel. Color 4, aqua, stitches the left panel decorative fill. Stitch color 5, white, which is the scallop and outer edge zig-zag stitches. Remove the stitching from the hoop and set aside. |  (Click Image to Enlarge) |
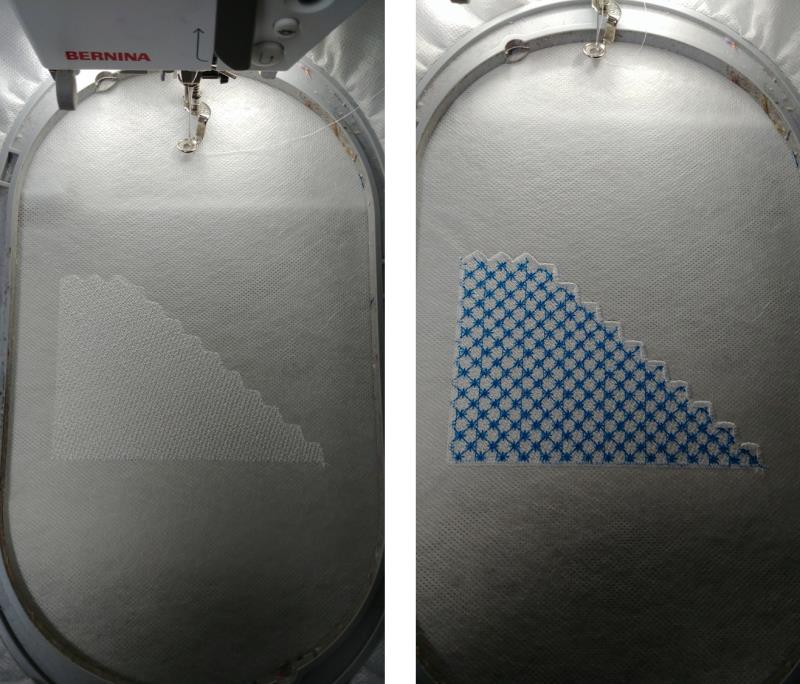
Step 5: | Hoop stabilizer. Stitch color 6, white, which will stitch the right panel background. Stitch color 7, aqua, which stitches the decorative fill for the panel. Color 8, white, stitches the scallop and outer edge zig-zag stitches. Remove the stitching from the hoop and set aside. | 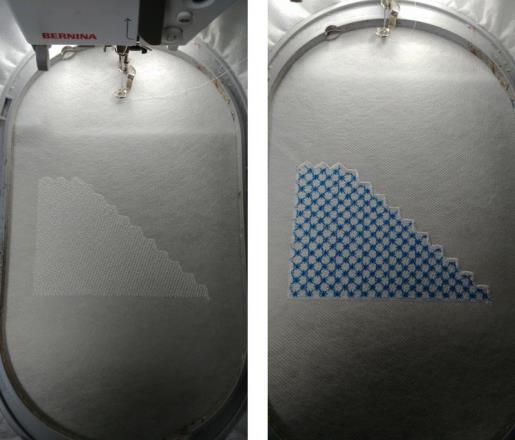 (Click Image to Enlarge) |
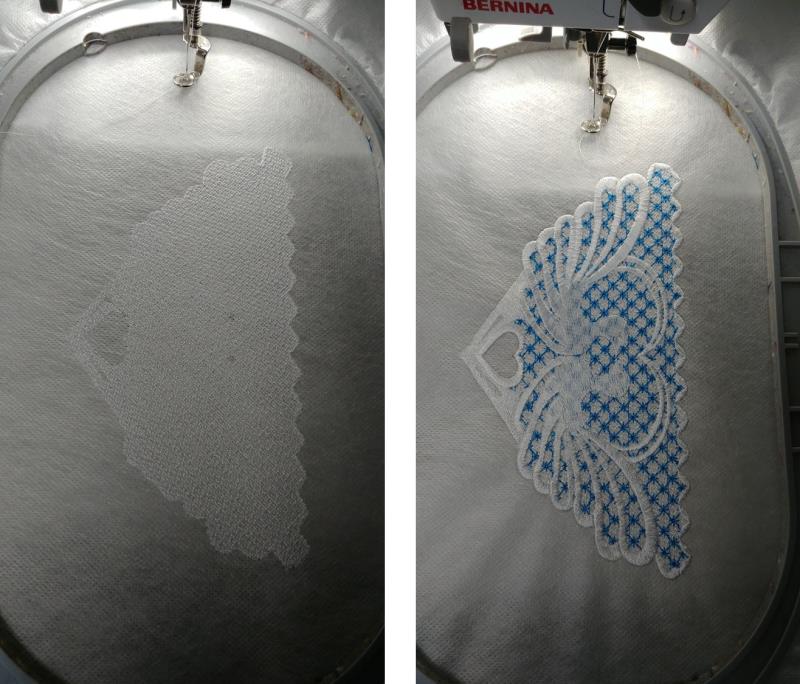
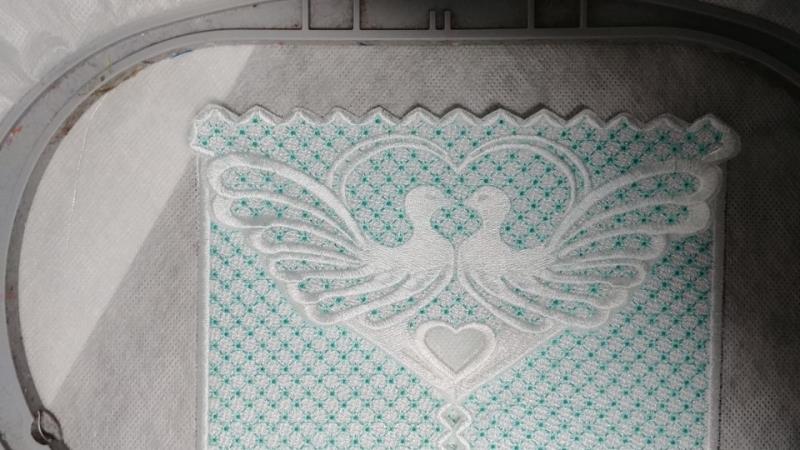
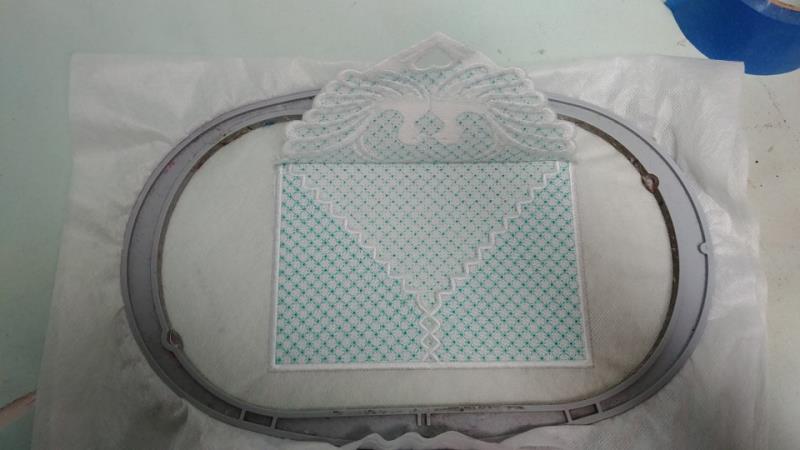
Step 6: | Hoop stabilizer. Stitch color 9, white, which will stitch the background color for the flap. Color 10, aqua, stitches the decorative fill. Color 11, white, stitches the scallops and doves. Remove the stitching from the hoop and set aside. | 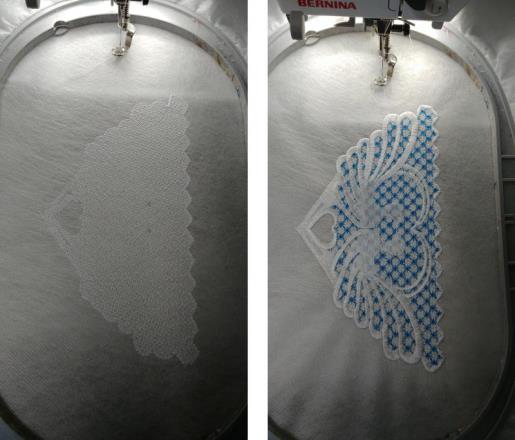 (Click Image to Enlarge) |
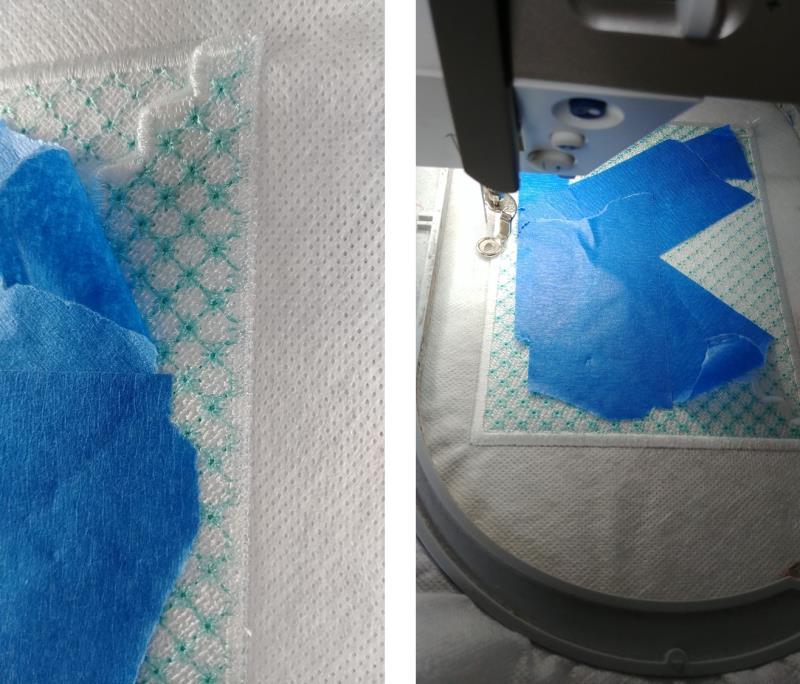
Step 7: |  (Click Image to Enlarge) Trim all pieces close to the stitching line to remove the excess stabilizer. Be very careful not to accidentally clip any stitches. There will be a flap, left and right fronts, and the back. |
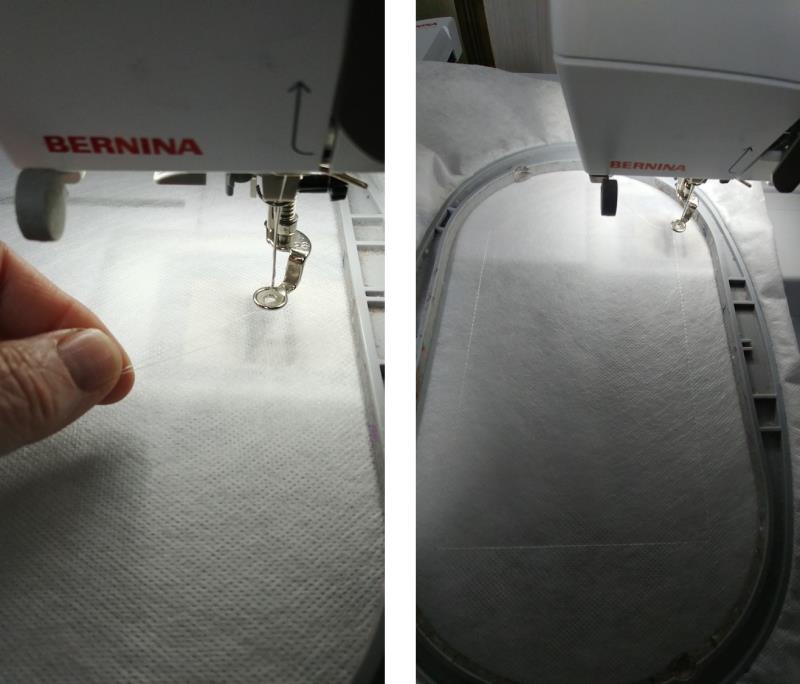
Step 8: | Fill a bobbin with the same color that was used for the scallops. Also, slow the machine way down for the next steps. The white thread will be used for all the remaining steps. |  (Click Image to Enlarge) |
Step 9: | Hoop stabilizer and stitch color 12 which will stitch the placement line for the envelope back. | 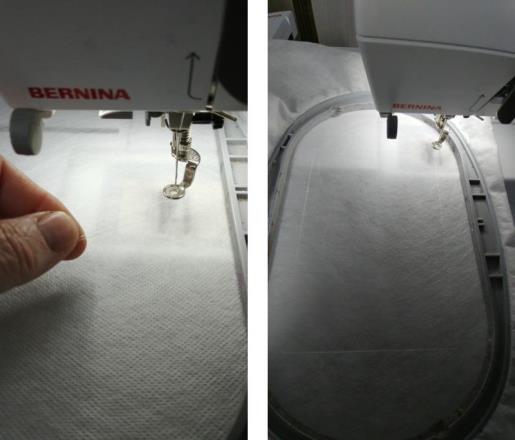 (Click Image to Enlarge) |
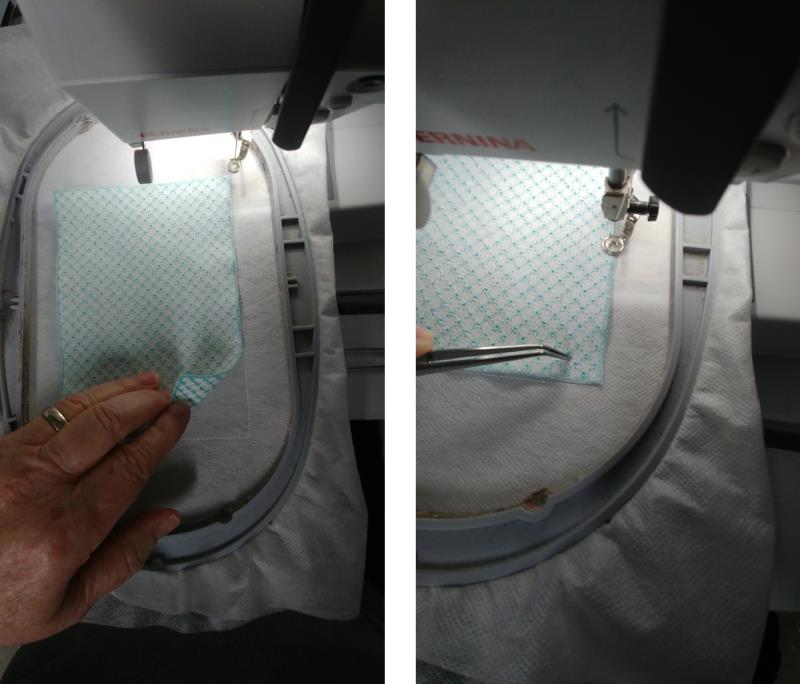
Step 10: | Place the envelope back, wrong side up, over the placement line matching the edges of the envelope back to the placement line. Use a tweezers (or sew-through embroidery tape) to help hold the envelope back in place as the tack down stitches secure the envelope back to the stabilizer. | 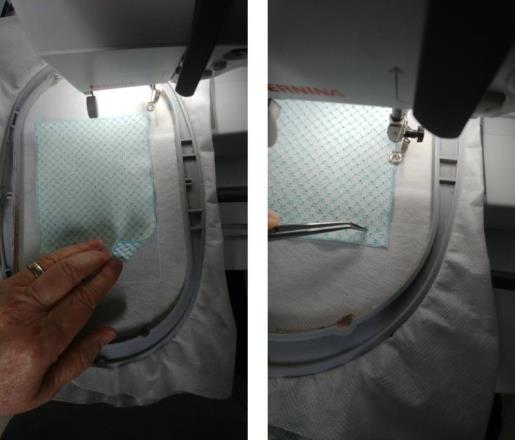 (Click Image to Enlarge) |
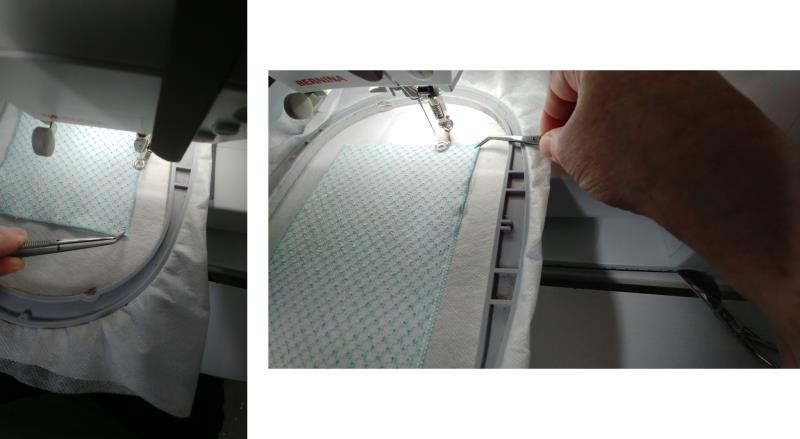
Step 11: | Stitch slowly and make sure the edges of the envelope back are caught within the tack-down stitching. | 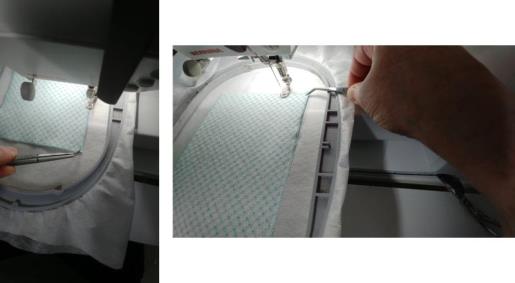 (Click Image to Enlarge) |
Step 12: | Stitch color 14 which creates a satin edge at the top of the envelope back. | 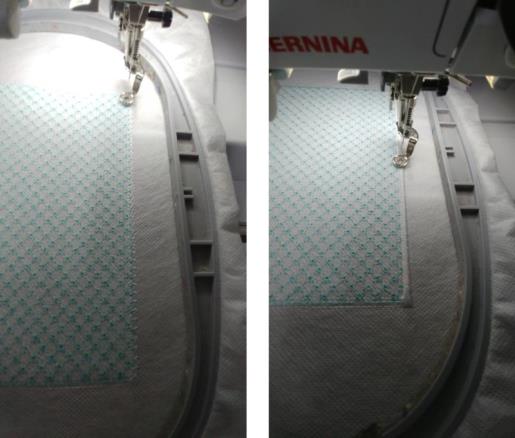 (Click Image to Enlarge) |
Step 13: | Remove the hoop from the machine but do not remove the stabilizer. The left and right front panels will not be positioned in place for stitching. Begin with the left panel. Position the left panel in place matching the left and bottom edges to the envelope back left and bottom. Use painters tape (or sew through embroidery tape) to temporarily secure the left flap in place; keep the tape out of the way of the outer edges which will be stitched. Place the hoop on the machine and stitch color 15 which will tack-down the left panel to the envelope back. Remove the hoop from the machine but do not remove the stabilizer from the hoop. Align the right panel right and lower edges to the right side of the envelope back. | 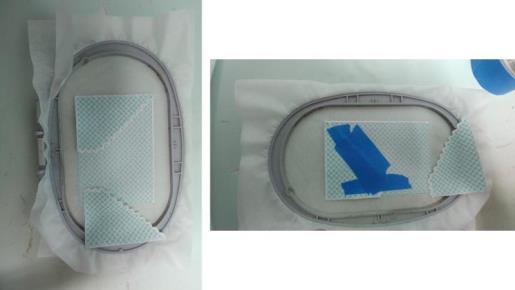 (Click Image to Enlarge) |
Step 14: | It may be helpful to temporarily use pins to hold the panel into position until the painter’s tape is used to secure the right panel to the envelope back. If pins were used, carefully remove them and return the hoop to the machine. | 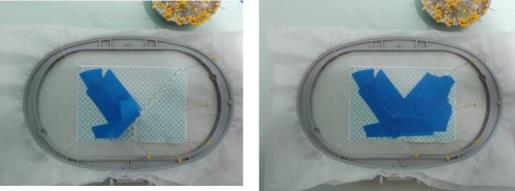 (Click Image to Enlarge) |
Step 15: | Stitch color 16 to tack the right panel to the envelope back. | 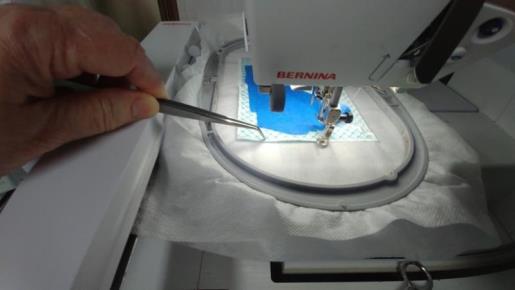 (Click Image to Enlarge) |
Step 16: | Stitch color 17 to create a beautiful satin edge for the envelope. | 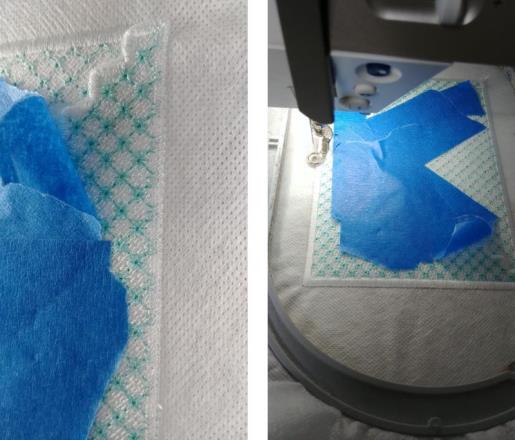 (Click Image to Enlarge) |
Step 17: | The last step is to secure the flap in place. Remove the hoop from the machine (do not remove the stabilizer from the hoop). |  (Click Image to Enlarge) |
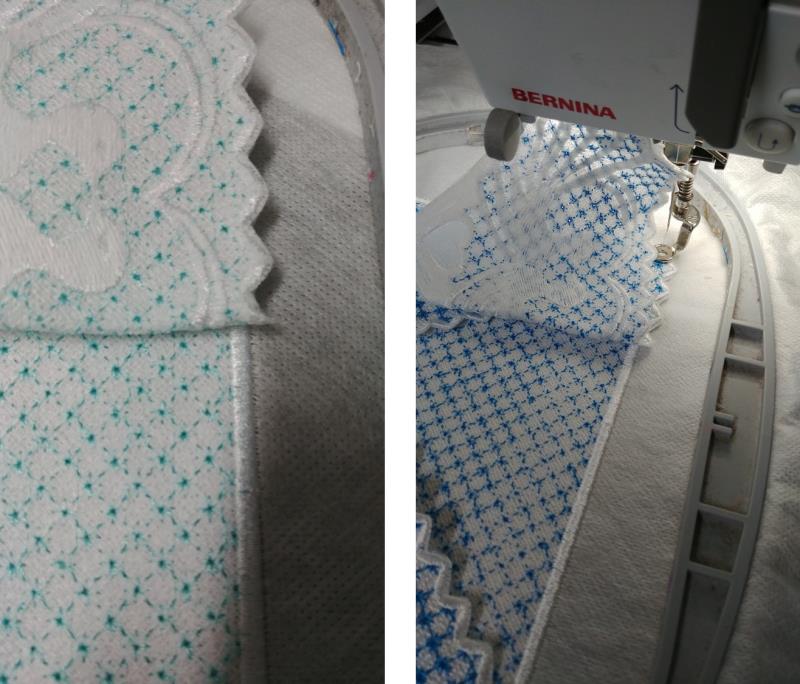
Step 18: | Align the flap top edge to the top of the envelope over the satin stitching done in step 14. The bottom of the scallops should run along the bottom of the satin stitching on the top of the envelope back. Stitch the last color to secure the flap to the envelope back while continually checking the alignment. |  (Click Image to Enlarge) |
Step 19: | Double check to make sure the flap is secured in place. |  (Click Image to Enlarge) |
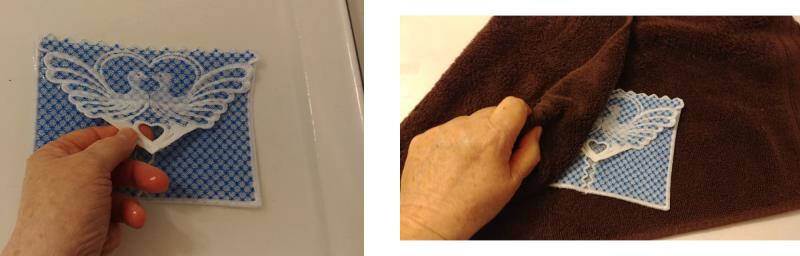
Step 20: | Remove the envelope from the stabilizer; trim away the excess stabilizer from the outer edges of the envelope. |  (Click Image to Enlarge) |
Step 21: | Dissolve the stabilizer according to the manufacturer’s directions for the product used. Rinse only enough stabilizer away that it opens up all the holes; most of the stabilizer should remain within the project so the piece will be pretty stiff when it dries. Use a towel or paper towels to blot away the excess water. |  (Click Image to Enlarge) |
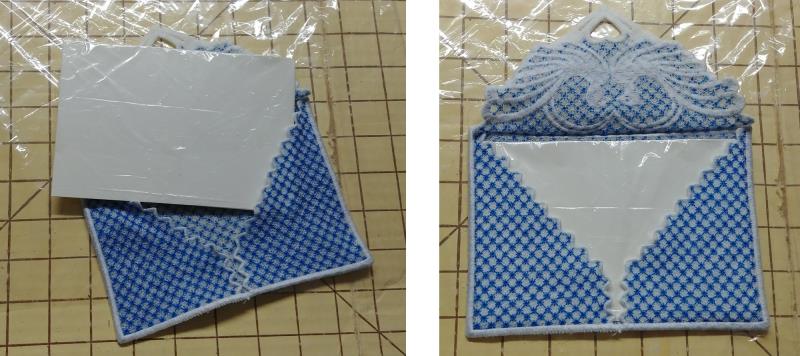
Step 22: | Card stock is used to help keep the shape of the envelope as it dries; wrap the card stock in plastic to prevent it from getting soggy from the water in the envelope. Insert the cards into the envelope. “Block” the card on a gridded cardboard surface by aligning the card to the lines on the board that has been covered with some of the plastic wrap, and pinning the card in place to dry completely. Pin the scallop edges to form pretty peaks, and keep the outer edges as straight as possible. Also use pins to hold the flap fronts down and to align the scallops, and to hold the dove tails down. After the front has dried (preferably overnight), remove the pins and flip the envelope over to completely dry the envelope back. |  (Click Image to Enlarge) |
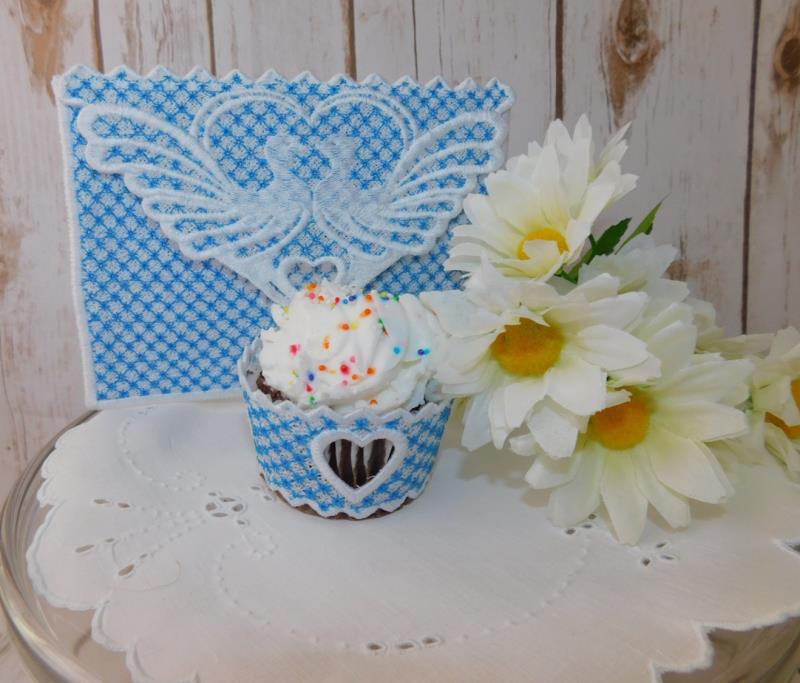
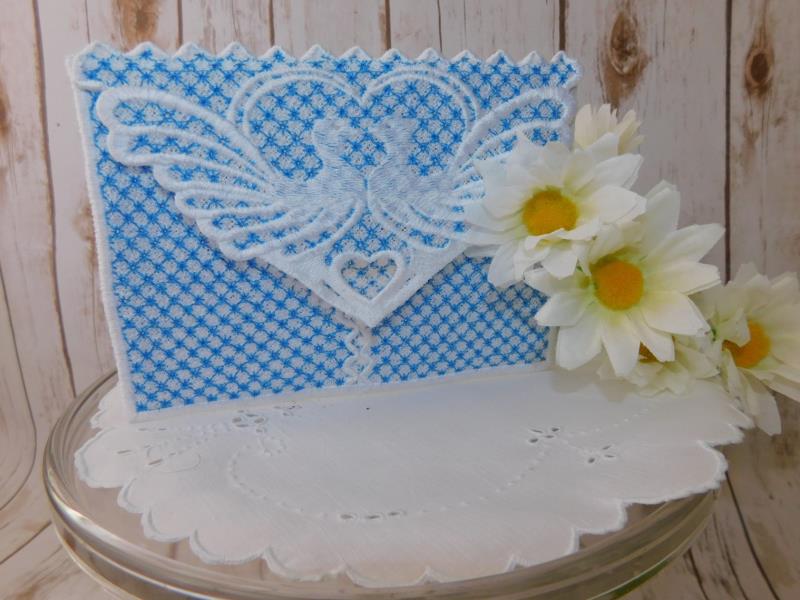
Step 23: | Repeat all the steps to create as many envelopes as you need. This envelope is not only useable for weddings, but also for anniversaries, a bridal shower, Valentine’s day or a thank you with a hand-made card tucked inside. | 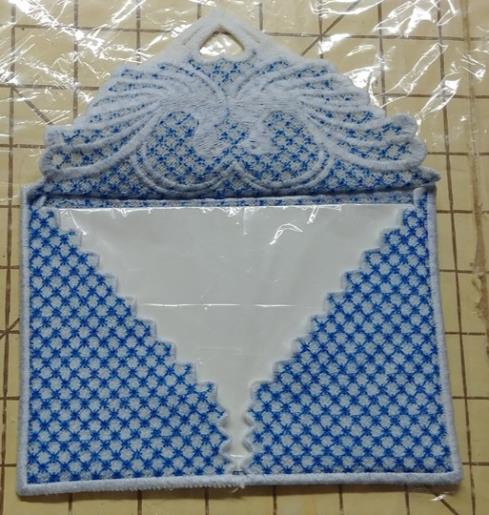 (Click Image to Enlarge) |
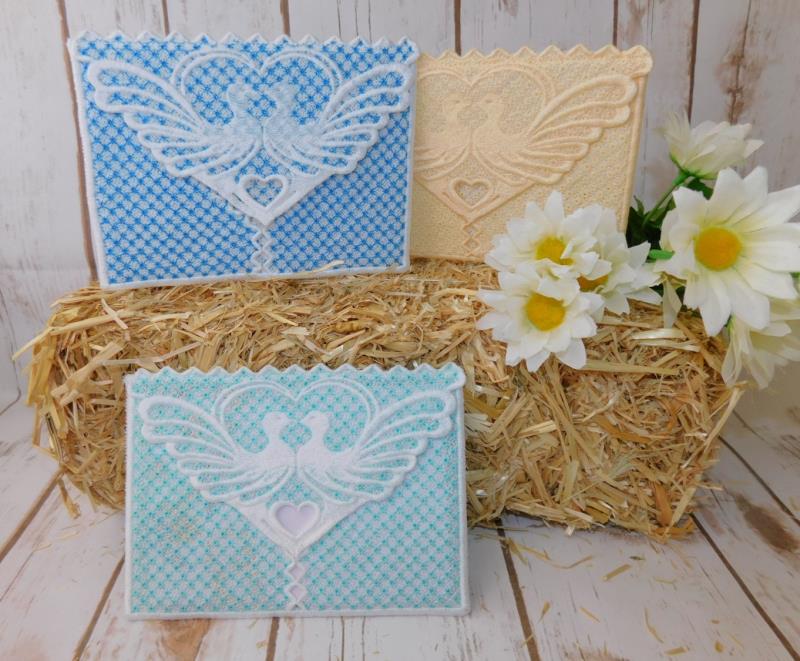
Step 24: | Here are three cards, two different colors and an ivory envelope done in just one color. If using for a bridal party, coordinate the threads to match the colors selected for the wedding party. | 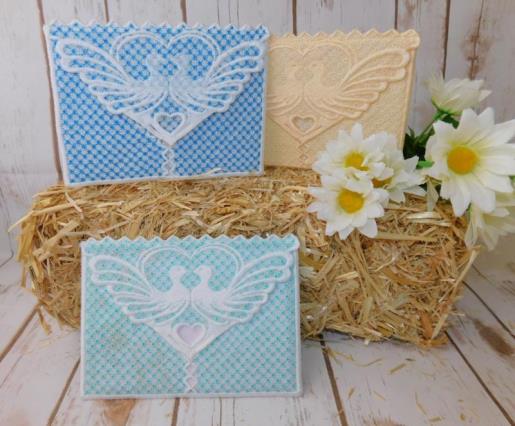 (Click Image to Enlarge) |
Step 25: | Check out the FSL Cupcake Wrapper, too! It matches the envelope and is stitched quickly in the same manner. | 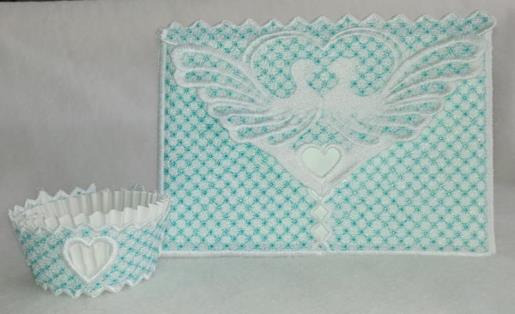 (Click Image to Enlarge) |
Step 26: | This set is perfect for so many celebrations. |  (Click Image to Enlarge) |
Step 27: | Congratulations on completing the FSL Love Doves Envelope. |  (Click Image to Enlarge) |
|